Tuesday, September 30, 2014

My Gut is NOT Full of Crap

Pop

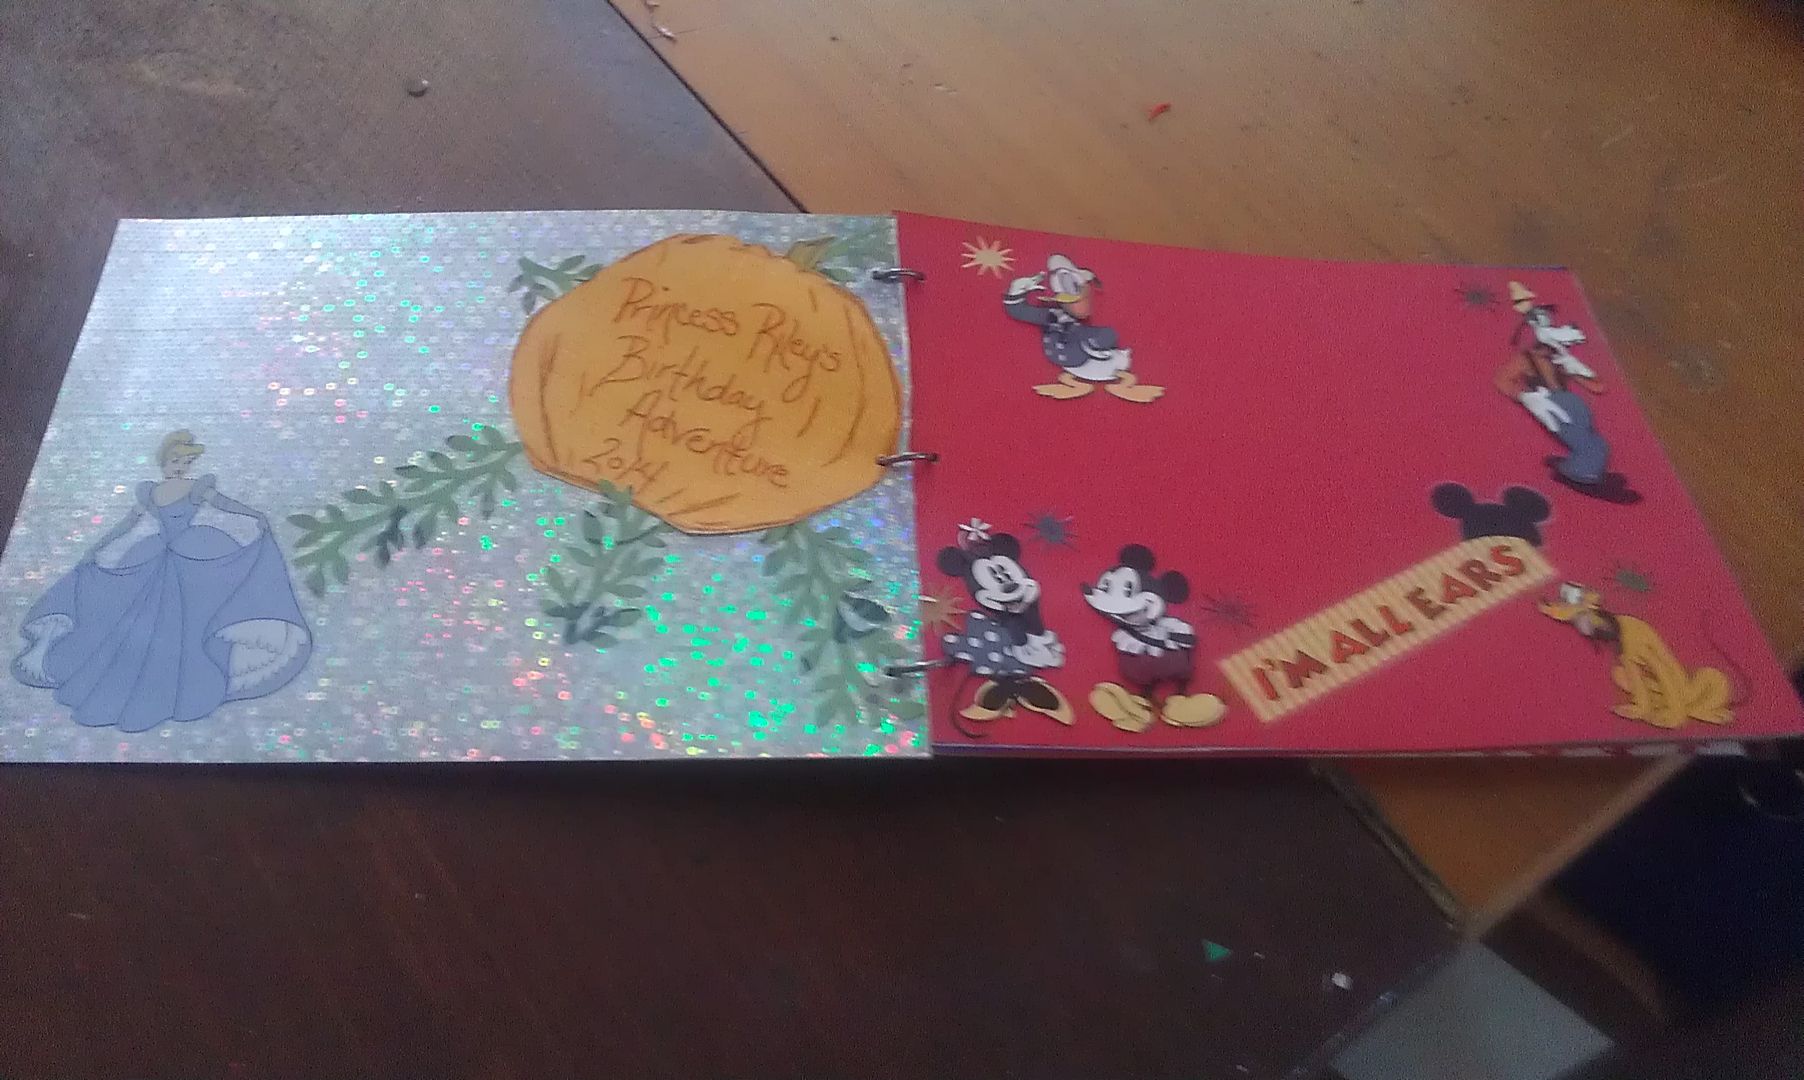
The abdominal pain epic has been going on for over two years at this point. It's a long story if your interested here are my old posts on the subject:

For those of you who don't want to reread I'll sum up the ordeal. A little over two years ago I started having horrible abdominal pain. It was an excruciating experience. I'd have these "attacks" in the middle of the night for hours for two or three consecutive nights every month or so. In the end I was told I had a hormone imbalance causing cysts which were bursting causing all the pain. The doctor told me hormone regulation on the pill was the only option. I was really upset because I wanted to know why this was happening and stop it. The last thing I wanted was to go on hormone regulation to possibly make the symptoms bearable. I knew it wasn't what I wanted, but I couldn't take it anymore. I begrudgingly went on the pill over the summer.

Around Christmas I decided managing the symptoms (if you could call it that) wasn't panning out. I was wacky from the pill and I was still having abdominal pain, it just wasn't as severe. After New Years I stopped taking the pill. Mike and I read anything we could find on the subject and decided it might be related to how well my liver processes hormones. I started taking Reishi, a mushroom you can take in capsule form to help liver function. I denied myself even an occasional ibuprofen (not easy). I charted my cycles to see when exactly the pain was happening on my timeline. It was rough at first because the pain came back immediately.

After a month or two went by I had a string of dental issues which caused me to give up caffeine. Around the same time I dramatically increased my water intake. I didn't completely cut out caffeine forever. I laid off entirely for a month and now have some occasionally, but no more coffee in the morning. These changes in hydration and caffeine intake happened late July. This month I realized it had been two months since I'd had any abdominal pain.

Mike it certain it just took that long for the pill to work its way out of my system. He's probably right, but I now the caffeine and water adjustments played a role for sure. I'm so glad I didn't stay on the pill. In the end I really believe it was as simple as a few adjustments in my diet and routine. You just have to go with your gut!

Sunday, September 28, 2014

What the Right Decision Looks Like

After three weeks of school I transferred Riley. The details aren't important because after three weeks at her new school it is clear I did the right thing. Thank God! My heart is overflowing with gratitude. Look at the evidence, I found my sweet happy girl again.

First Day Sign Nature Collage Circle Time H House A Alligator
Apple Tree Field Trip Diney Apple Stamping Music
RH Party Ballerina Shofar

There was a new first day sign for our fresh start. She's collected leaves for a nature collage, learned new songs, discussed science topics, practiced her handwriting, made friends, made art, taken a field trip, befriended the stuffed dinosaur in the front office (Diney), learned about a different culture, practiced her musical scales, been to a party and danced a lot! The bulletin board inside the door says "You are artists! You are bright! You are explorers! You are loved! You are the reason we are here." Isn't that great? I'm glad she's happy and learning again.

Monday, September 22, 2014

Conversations with Cute: Video Edition 2014

If you want to see previous cuteness click here: Three Year Old Video Interview and Last Year's Video.

What's your favorite color?
Red, Pink & Purple
Expanding her color horizons a bit

What's your favorite toy?
The penguin toy at my school.
What does it do?
It's a bobble head, You have to bobble it's head. It's a bobble head, when I pet one.

What's your favorite fruit?
My favorite fruit is...ah Dragon Fruit
He Dad brought one home the store the other day, the kids LOVED it.

What's your favorite tv show?
Everything is awesome.
Everything is awesome is not a tv show, Goose. It's from a movie. Is it Wild Kratts or Dora? Something with episodes.
Dora the Explorer.
(Daddy opens the door and Roo tells him he's going to be on the video)

What's your favorite food to eat for lunch?
I need to think a lot...steak (big smile)
It's news to me, We give it to her now and then, but she's never very excited about it.

What's your favorite clothes to wear?
I like to wear my Rapunzel dress. Yeah because I'm princess Rapunzel.

What's your favorite game to play? Is it the cupcake game?
Yes!!

What's your favorite snack?
Bread and cheese sticks

What's your favorite animal?
I like a sea otter

What's your favorite song?
Everything is Awesome!
(From the Lego Movie)

What's your favorite book?
Uh...bully goat
Llama Llama and the Bully Goat

Who's your favorite person to play with?
Savannah

What's your favorite food to eat for dinner?
(I have no idea what she said at first)
Isn't it chicken nuggets?
Chicken nuggets and meat
(Odd that she tacked meat in general on there)

What's your favorite thing to do outside?
Push the big blue ball into the slide so I can push it out again. I can slide down and push it out again.

What's your favorite thing to drink?
Um...Sprite
(She had her first Sprite last Christmas and hasn't had one since. Must have made an impression.)

Where's your favorite place to go?
Neverland

What do you like to do before bed?
Frangoline and the Midnight Dream I like to read that a lot!

What's your favorite thing to eat for breakfast?
Um..pancakes

What was your favorite thing you got for your birthday?
The Cupcake Game

What do you want to be when your all grown up?
A ballerina and a paleontologist. Paleontologists have to very serious.
Are you very serious?
No.
Do ballerinas have to be serious?
No.

Ok, look at Mommy, smile and say I'm 5!
I'm 5!

Friday, September 19, 2014

Five Year Check-Up!

Diney

First of all as much as I could live at Disney forever, it sure is nice to get back to normal! Riley's dinosaur friend in the front office was glad to have her back at school!

Check Up

Right on the heals of our trip we had Miss Roo's five year check up! I knew she had her last round of shots for a long while, coming up. We discussed this as always in the 48hrs prior. She was pensive the whole morning and unusually quit. By the time I picked her up that afternoon to head to her appointment she was almost giddy. "I'll see you later, guys! I have to go get my shots! I'm going to get stickers and lollipops!" It was adorable, but not as adorable as when we walked into the doctor's office and she told the lady and the desk in her most excited voice "I'm ready for my shot!" The lady behind the desk laughed and insisted Roo give her a big high five.

Miss Roo is growing steadily, but is only in the 10th percentile for her age. Small for her age, but perfectly proportioned height to weight just like her mom. It's funny because she doesn't seem smaller than the other kids in her class. I only had two "concerns" going in: 1) Hemangioma 2) Vision. He checked her "baby button" and said it was breaking down and had become calloused. He recommend we put lotion on it at night.

Sidebar: A few days later Roo was in my room telling me a story: "One day I was trying to wash my hands and I thought the lotion was soap by accident! Ewww. I had to wash it off and start again! So Dun-Dun!" She did the funny-est gesture when she said the last part too. Super dramatic ending, hilarious.

He did agree with me that her eye was rolling in enough to cause concern just from observing her since he'd been in the room. He also did a simple exam and concluded "The left one rolls in significantly and the right one rolls in slightly as well." Yeesh. With both of her parents having vision problems and wearing glasses in childhood it was bound to happen. Unfortunately, the recent issues with Roo's now former school have fostered some serious trust issues for me so I do not relish the thought of finding a new doctor.

Then it was time for her last two shots until she turns eleven! She was raring to go. Dr. Jay told her that she could have 3 stickers AND 3 lollipops if she was brave and didn't cry. She was pretty excited. I pulled the long sleeve shirt she had insisted on wearing off her arms. I left it around her neck and turned a bit and said "Now you have a cape!" (we've always referred to getting shots as "getting your superpowers" in our house). She hopped up on my lap and I said "I know you don't need it, big girl, but I'm going to give you a gentle hug until it's done." She really didn't need the gentle hug. She sat still and only uttered a tiny "ouch" and immediately confirmed that didn't count as crying. "No Ma'am, it's ok to say ouch." She said ouch one more time and then it was over.

She hoped down and adjusted her shirt before I blinked. Dr Jay commented "Almost no one gets three lollipops, good job Riley." There was a quick high five as she had important business to attend to. She practically sprinted down the hall. She chose a Snow White sticker, Sofia the first sticker and a Sleeping Beauty sticker. Then she chose her three lollipops and humored Mom for a picture of my brave girl. As always I let her have a celebratory lollipop right away. She earned it.

Thursday, September 18, 2014

Princess-tastic Birthday Adventure Part 2

Merida
Princess Hug Princess Dance Snow White Jasmine

There was magic! Wishes and dancing! Princesses and cupcakes! It was a wonderful trip. Happy Birthday my big 5 year-old girls! We love you!!

Saturday, September 13, 2014

DIY Magic Band Decorating

Magic Bands

When Magic bands appeared on the scene I remember thinking they were pretty plain. Soon after Disney rolled out all their Magic Band accessories and I remarked to my husband "those are cute, but I could make them make them pretty without all that." Cue my first stay on Disney property ever to prompt a little Pinterest research. Miss Roo got these adorable Frozen tattoos in one of her birthdays gifts. It was super easy and they turned out great.

Materials

  • Magic Bands!
  • Disney Themed Temporary Tattoos
  • Clear Nail Polish
  • Sparkly Nail Polish
  • Small Skewers/Qtips
  • Scissors
  • Wet Washcloth/Paper Towel
Supplies Tattoo

Choose your tattoo and cut it out. I found long slim-er tattoos fit best. Cut as close to the design as you can. Remove the the clear film and place it face down on your band. Cover with a wet washcloth for about 20 seconds. Make sure you don't move your tattoo around while applying it, it will cause tears. Gently peal off the backing paper. Allow your tattoo to dry. Then apply a thin coat of nail polish evenly over top of the tattoo.

Clear Coat

Once your clear coat is applied use a skewer to clean up any part of the tattoo that goes over the edges. Apply sparkly nail polish as desired. For Roo's pink band I used pink sparkly polish on the Mickey head and in a thin coat over the rest of the band. For another band I used silver sparkles on top of the snow flakes and Mickey head. On the last two I applied a coat of silver sparkles over the whole band. Once you're done allow to dry completely and you're all set!

Finished Bands Roo's

In Action

Princess Roo eating a Mickey bar and sporting her sparkly magic band.

Friday, September 12, 2014

DIY Disney Autograph/Scrapbook

It's crafty time! After discussing the Disney trip with my partner in crime I was worried that Roo would feel left out because Boo has an autograph book and always has it signed. My family has never done the autograph thing, but with everything being so match-y and even for our birthday princesses I decided she should have something. I decided as long as I didn't spend any money on it it would be a nice way to de-stress.

Cardstock Supplies

Materials

  • Thin Cardboard (ex: cereal box, shirt box, etc)
  • Card Stock in a variety of colors
  • Scrapbooking paper
  • Glue Stick
  • Crop-a-dile/hole punch
  • Disney Embellishments (Stickers, Paper, Pictures of Characters, etc)
  • Scissors
  • Glitter Pens/glitter
  • Ribbon
  • Metal Rings
Front Cover Front Cover Inside

I plucked a silver shirt box from our recycle bin for the cover. Mike helped me cut two even sized rectangle pieces about 6x8in. I wanted mine a little larger than the standard autograph books because I wanted to be able to add photos, tickets, etc after the trip. Once we had these two silver rectangle cover pieces Mike suggested we emboss it. We printed an image of Minnie Mouse's head (just the outline) and then laid the paper over the silver side. Pressing down very firmly with a pencil we traced Minnie. Viola! Super simple.

Next, I flipped the cover over and cut a piece of scrapbook paper to glue over top of the cardboard. I chose a silver sparkly piece of paper because I wanted to create the bibbidi bobbidi boo moment. After I had my magic sparkly background I added a Cinderella sticker in the corner. Next, I drew a pumpkin on orange paper. I traced a large circle and wrote "Princess Riley's Birthday Adventure 2014" then I erased some of the edges and made them more pumpkin-shaped. I used paper with a subtle texture and drew lines with colored pencils and markers. After I had my pumpkin I used my Martha Steward vine cutter and green paper to make pumpkin vines. I placed the pumpkin in the top corner and then make vines shooting out in all directions as if the pumpkin were caught in the moment right before it became the carriage.

Back Cover Back Cover Inside

I kept the back cover super simple. I just put a Tinkerbell sticker in the center and a "Disney Memories" sticker beneath that. These are all things I had laying around, a lot of people have given me their excess craft supplies especially Disney themed (and I soooooo appreciate them). If you're not as fortunate as I am most of the background paper and stickers are available at any craft store or even Amazon. Then I flipped it over and covered the ugly cardboard inside with this adorable rainbow Mickey silhouette paper. It didn't line up exactly right so I added some chocolate brown ribbon on either side. I'm so in love with that paper!

Vintage Mickey Page Royal Ball

With covers down it was time to make pages. I traced the cover onto solid card stock and cut ten pages. Next I embellished each page with stickers, background paper, ribbon, glitter. I just choice themes for each page based on my craft supplies. I have a vintage fab five page, a Snow White and the seven dwarfs page, a Cinderella's castle page, a mad tea party page, and an under the sea page to name a few. When adding glitter I made sure I stuck to one area so it wouldn't cause bumps in signatures. Feel free to embellish front and back I did for a few of mine. As I finished pages I laid them under a heavy book to dry (unless they had wet glitter). When I couldn't find the exact thing I wanted a picture of/sticker for I did a Google image search and printed it out. One of my favorite pages I made has a princess group shot that I printed that includes Aurora in the now rare blue dress (my favorite!). Remember to steer clear of putting anything to close to the left edge where you need to punch your holes.

Hole Punch Template Holes

Now for me, deciding the order of the pages was tricky. When I cut my card stock I split up the colors neatly, but when embellishing the pages I'd changed the which pages should be together. I cleared my table of craft supplies and moved the pages around and around until I was happy. Next, I used a scrap piece of cardboard and measured the left side of a page against it, marking "X"s for my three holes. Then I used my template and crop-a-dile to punch holes in the covers and pages.

Once all the holes were punched I had to put each ring through one page at a time. I got the smallest size, thinking there would be less wear and tear, but if your planning to continue adding pages the larger size rings are probably faster to put on. Once each ring was closed I gently tested turning pages. My holes turned out to be a bit to far in so I trimmed the edge (again leave yourself that margin, just in case). Once the pages turned freely, I chose some red ribbon with white polka dots a la Minnie and cut three strips. You just need enough to tie little knots, they don't need to be even. I tied a ribbon around each ring. Ta-da!

Page Test Finished

Wednesday, September 10, 2014

DIY Disney Shirts

I decided the girls needed special shirts. Princess birthday trip shirts and they could be the gift they open to reveal the trip. Mike decided I needed to learn how to silk screen my own shirts and bought the supplies which gave us some fun options. After a brief tutorial on how screen printing works, I knew we needed Cinderella's silhouette. I wanted it to be clear it was their birthdays and we already had their names in fun princess font too. Ready, set, shirts...

Materials

  • White Shirts (I got mine at Target for $4 they had little bows on one shoulder)
  • Silk Screening Kit or alternately this technique with freezer paper
  • Screen Printing Ink
  • Transparency Film
  • T-shirt Transfer Paper
  • Images you want to use & Photo editing software (we used Paintshop Pro)
  • A Birthday Girl or Two!

Design

Film & Transfer Front Design

I chose the silhouette of Cinderella holding up her gown on either side to admire it. It's a great shape and totally appropriate for some little girls getting princess make-overs via fairy godmothers. I used Paintshop to make a transparent background for the silhouette. We decided to add Cinderella's mice carrying a birthday cake across the bottom. After lots of image searches I gave Mike a few good images of Cinderella's little friends and a birthday cake. He edited out the mice in appropriate positions for cake carrying and pieced together the images for the front and back of the shirt. After all that editing, Mike cut the shape of the mice running by out of the silhouette. First, he made a layer that was just the mice with contrast adjusted all the way to white with the silhouette behind them (for the transparency). Then he made a second image with just the mice in regular color for the t-shirt transfer paper.

On the back of the shirt we had each girl's name in princess font on the top and then Gus Gus holding a match next to a piece of cake with a "5" candle (that he put in backwards, oh Gus Gus). Everything except Cinderella is going to be an iron on transfer. We wanted to avoid doing the whole shirt as an iron on because they don't allow the cotton to breathe and it gets hot. Plus, silk screening, Yay! We decided to do Cinderella in a blue gradient, but I've seen lots of folks choose hot pink and it's adorable.

Print your silhouette on your transparency film. Don't forget to take the film out before you do any day to day printing. Then make a page of all your iron-on elements in Paintshop. Don't forget to reverse them so they will face the right way on the shirt! Print them out on your t-shirt transfer paper.

Gus Gus Cake Princess Font

Making Them

First, paint a thin layer of photo emulsion on both sides of the silk screen. Allow that to dry in complete darkness overnight.

Next, cut out you're iron-on elements with as little white around them as possible. I recommend tiny sewing scissors for small details. Do not cut them apart. Leave them connected so that they are all in the same positions relative to each other. Iron on following the t-shirt transfer paper instructions. You can look at your Cinderella on the transparency as a guide to show you where to put the mice on the front of the shirt.

Then lay the transparency film on top so that the mice match their outlines and leave in strong direct light (sunlight, strong incandescent lamp, etc). The brighter the light source the shorter the time it takes. We used my Ott lamp and it took about an hour, direct mid day sunlight would have taken 25min or so. During this process the photo emulsion exposed to light is bonded together into a plastic-y substance and the emulsion shaded by the transparency film remains more chalk-like. Wash everything you can off the screen this creates your negative space. Prepare your shirt by putting something flat and smooth (not bumpy like cardboard) in between the layers of your shirt. Use something that will wipe clean if it gets inky. Mike recommends particle board.

I got four shirts, just in case and I recommend doing a test run if this is your first time. Next, place your shirt underneath the screen. Arrange your paint along one edge and then squeegee across your stencil. We used Speedball screen printing ink. We did had the paint so it went from lighter blue into darker blue towards the bottom of the gown. We mixed and marbled the inks ourselves into two cups. One with more of the darker color, the other with more of the lighter and poured them out into two blobs on paper plates. That way the paint would marble itself. Allow the shirt to dry completely.

Give them to the Birthday Princesses

Finished Front Princess Font

Reactions!

Smiles & Shock Hugs

The moms are excited too!!

Woohoo!