Showing posts with label bake. Show all posts

Saturday, December 21, 2013

C is for Christmas Cookie!

I had grand plans for trying a new kind of cookie for Santa this year, but Riley ended up with a fever Thursday night. Her sudden illness threw a wrench in things and caused her to miss her class cookie decorating party. So we did regular sugar cookies after all. On Friday night we made the dough and she cut the shapes. Today we "decorated our heads off!"

Decorations Ready Icing
Never too Many Sprinkles Frosty Cookie
Little Man Ta-da

Isaac decorated cookies at the same time at his grandparents' house with his cousin. They made gingerbread ninjas! I think Santa will be pleased.

Santa's Cookies

Friday, September 7, 2012

Rainbow Cupcakes!

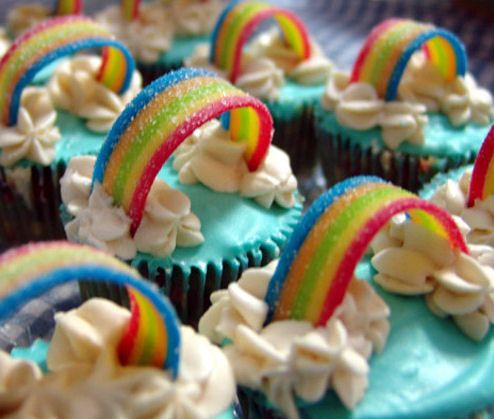
This pretty little picture has gone viral. I found lots of links to the image and not many folks who actually made them. Obviously, cupcakes and blue icing are simple enough. My concern was candy manipulation. Airhead sour belts are very soft and floppy. I wanted to make sure my rainbows arched. This was my only cupcake option other than plain pink or blue frosting. We have a book called Minnie's Rainbow Picnic it had to be these.

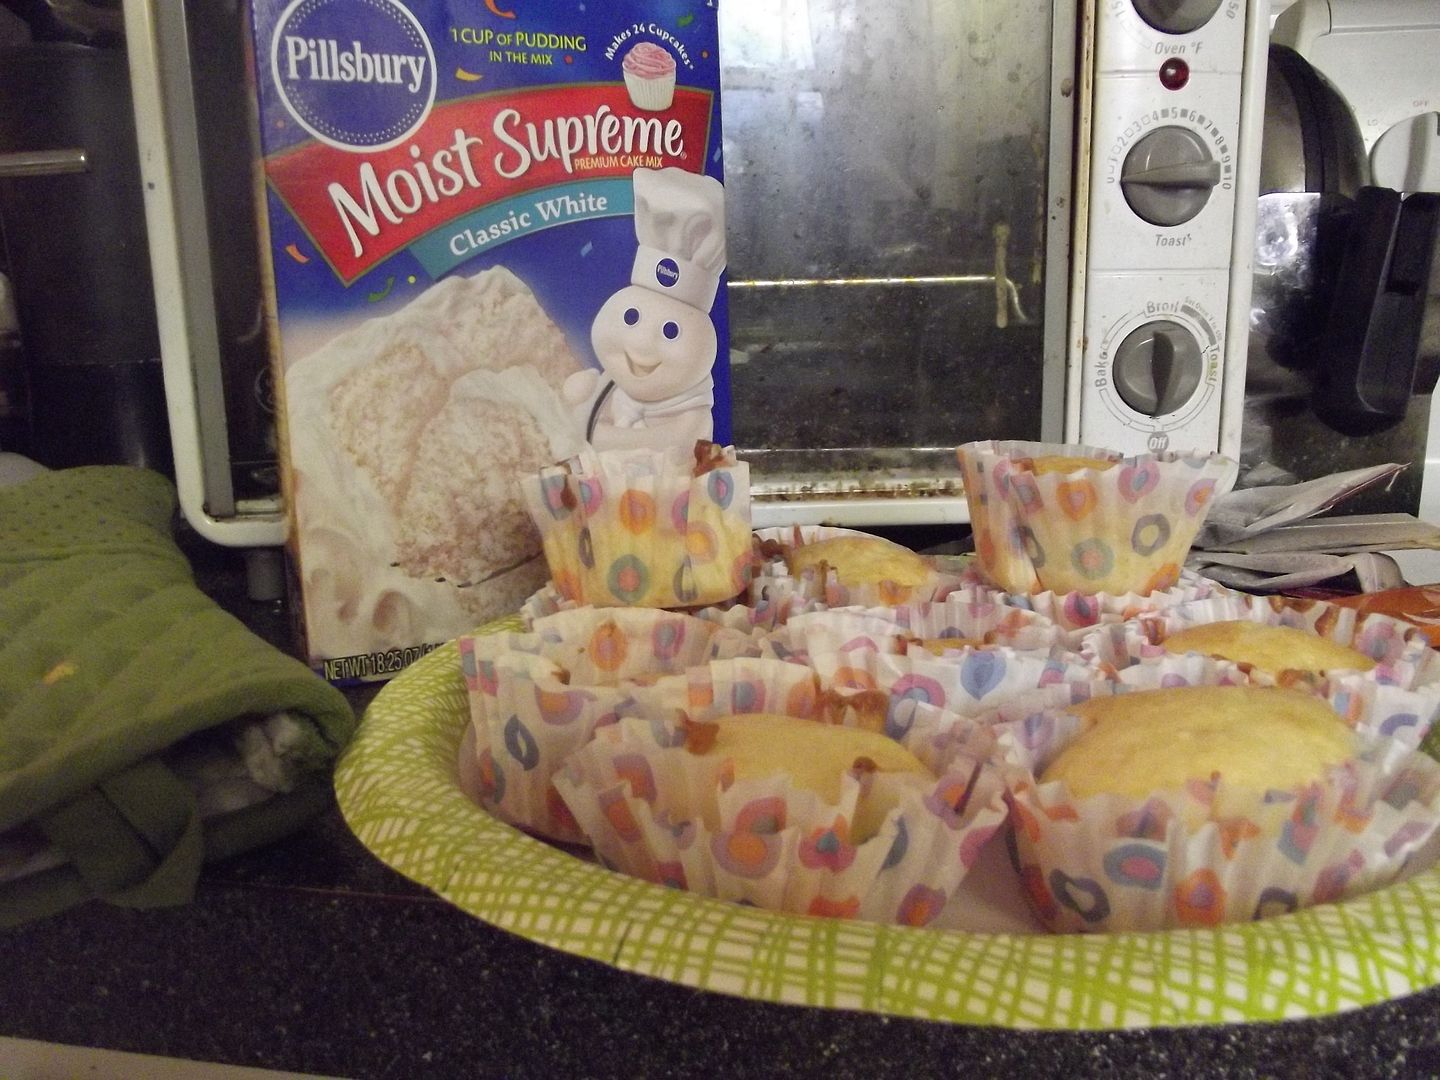
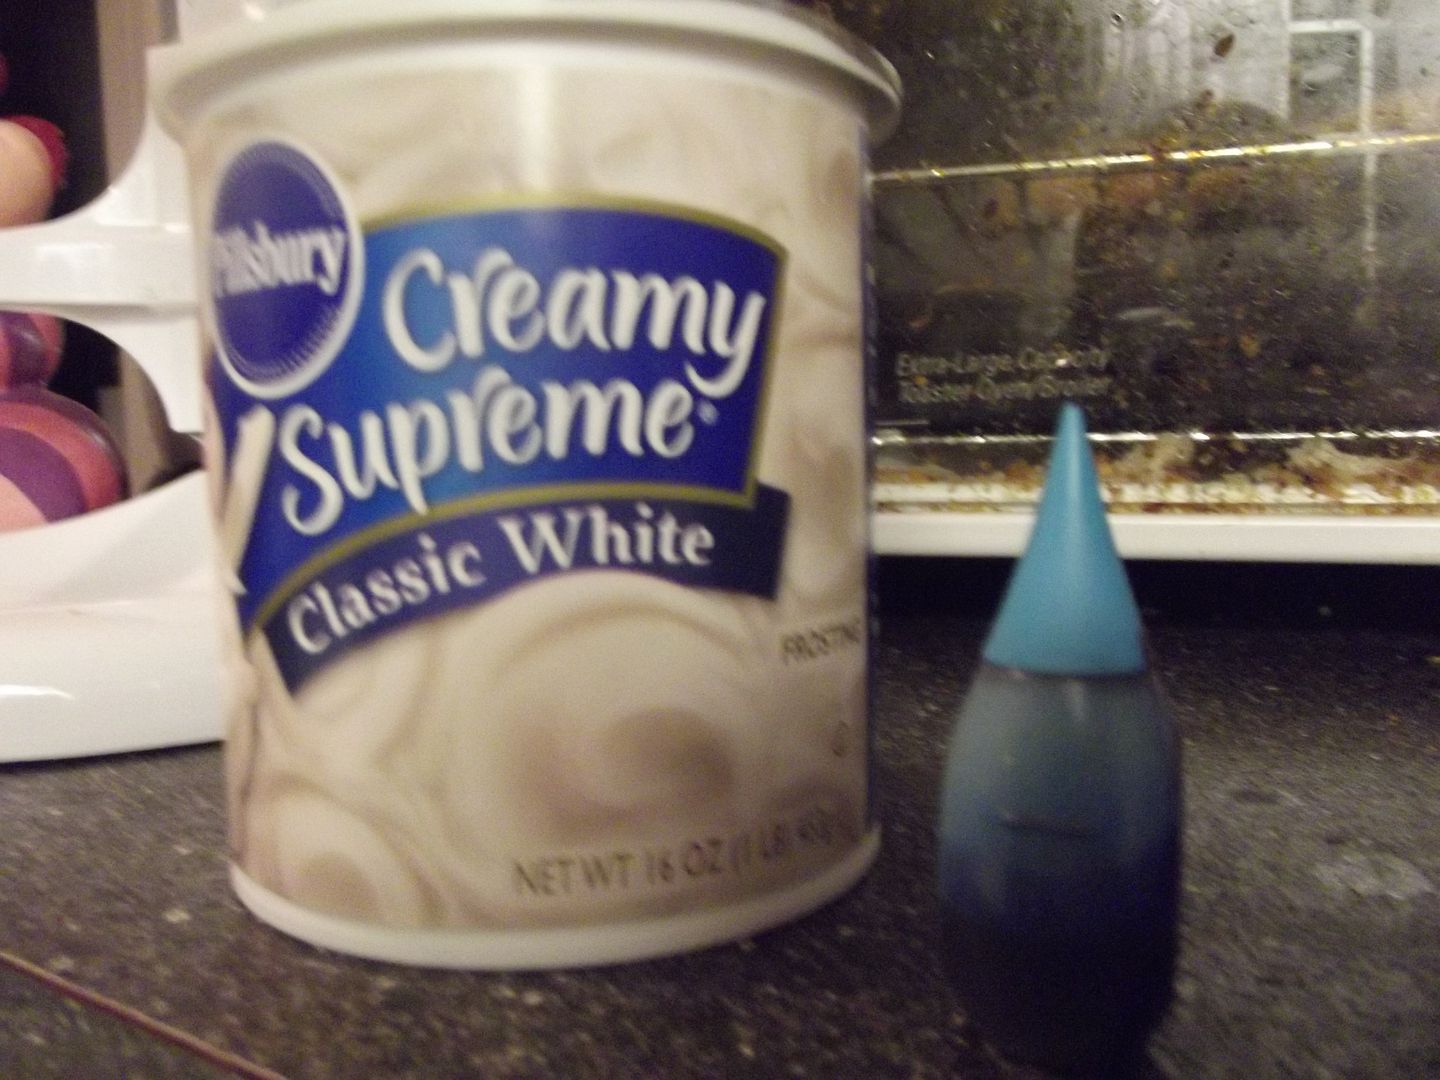
After Mike and I experimented for a week (baking, refrigerating, etc) we decided most of our candy manipulation was a fail. When today (baking day) came I just opened a package of candy and mixed up some cupcakes. Roo requested "ba-nill-wa" so we did "Classic White" mix. I also got the same frosting, we have a little friend with a sensitivity to red 40, and colored it myself.

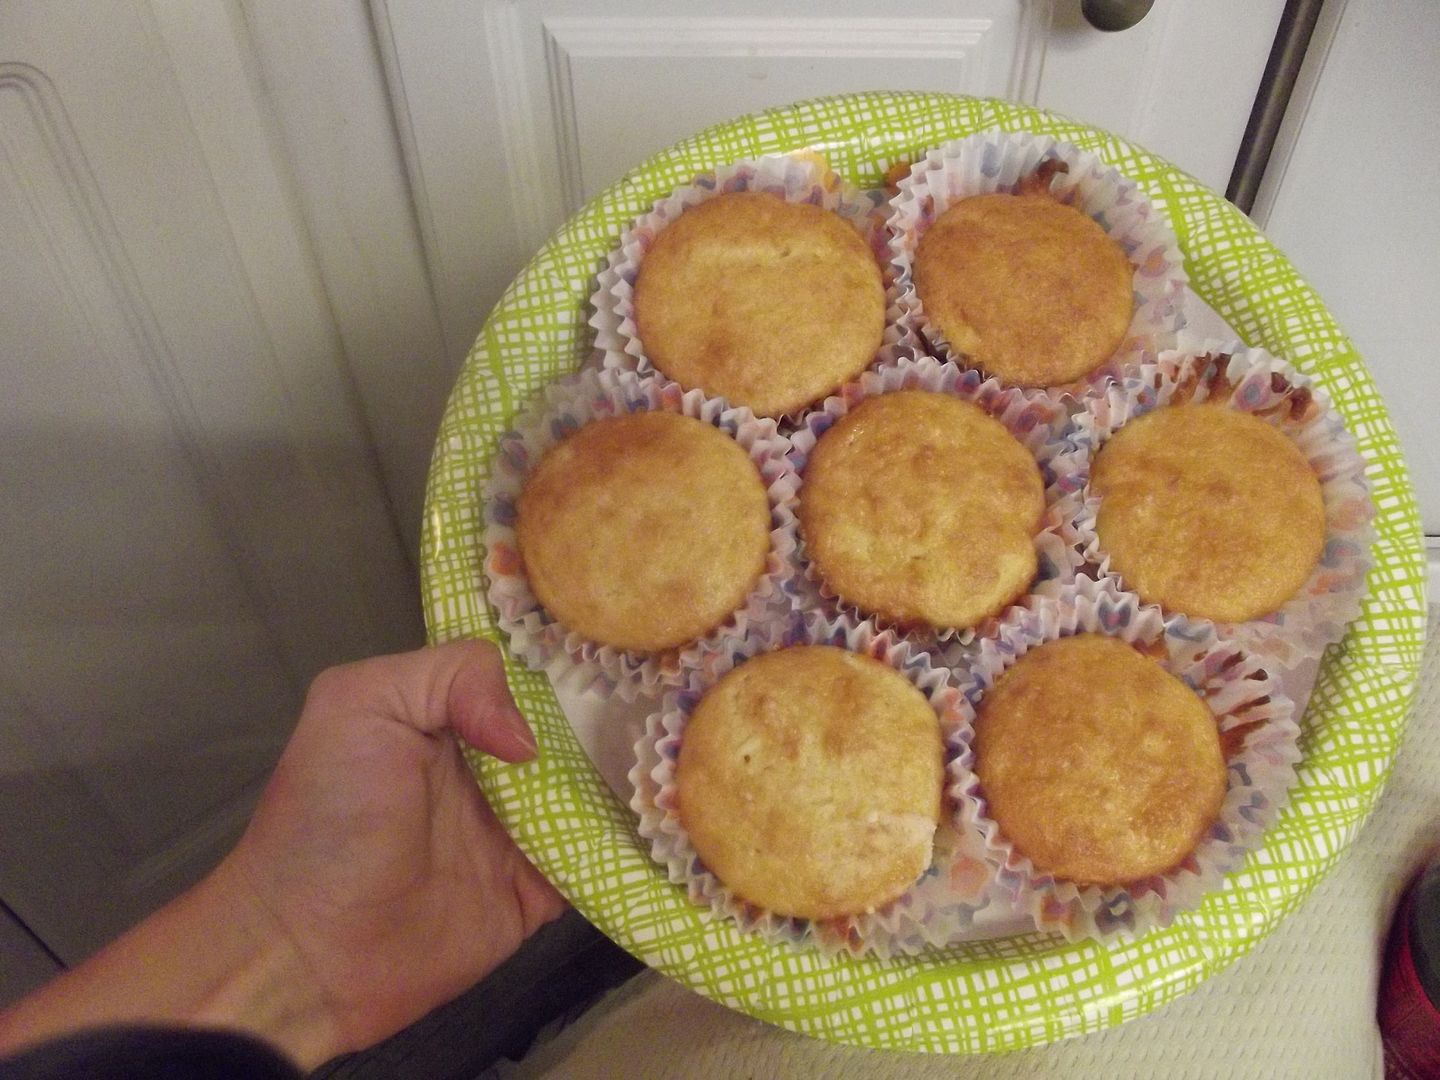
Riley picked the polka dot cupcake papers. I baked 36 vanilla cupcakes and then added a few drops of blue food coloring to the white frosting to get a pretty sky blue. I intended to use the left over white to make clouds.

When push came to shove decorating I only did the sky blue. I used the slightly harder candy belts (that had been open to the air through the baking process). I just made deep parallel slits with a butter knife for rainbow support. I plunged those buggers right in there and that was the end of it.

Party Pictures Courtesy of Lara Jackson Photography

Monday, July 9, 2012

Oreo Bars!

Sorry to disappoint, but there's no science this Monday. Isaac had a rough morning and made some stupid choices so we never got to the water density experiment (Volcano in a Bottle). Instead of talking about my stressful start this week I thought I'd do something I rarely do and share a baking project. Ok, well technically a no-bake project.

No-Bake Chewy Cookies & Cream Bars

Ok, yes almost everything Pinterest (or social media in general) inspires me to make involves Oreos, guilty. Also, like my craft projects my baking ones rarely resemble the pictures in the directions.

Ingredients

  • One 16 oz package of Oreos

  • 5 cups Large Marshmallows

  • 4 tablespoons butter

Step One: Crush the Cookies!

The recipe I linked to says to grind them up in a food processor, but we don't have one. Also hands on cookie crushing is better for stress (And way quieter during nap time). I dumped them in a mixing bowl and crushed them with a wooden spoon. Fun stuff.

Step Two: Melt & Puff

Sounds like a dance, right? First, I didn't have large marshmallows so I used minis. Second, because I was using minis and it seemed like a good idea I poured most of the bag in without measuring at all. The directions I linked to say to do it all at once, but I melted my butter first. Then added the marshmallows and threw them back in the microwave. They recommend 1.5-2 minutes I'm pretty sure a minute total was all I needed but microwaves vary.

Step Three: Mix Up Your Goo

Now pour the buttery, sticky marshmallow concoction into your crushed cookies and stir. Stir, stir, stir, stir...

Step Four: Pan & Set

Are we having fun yet? Pretty simple stuff. Now scrape all your goo into a pan that you have non-stuck. One recipe said cooking spray, another said foil, I read wax paper somewhere, but according to my husband (after the fact of course) powdered sugar does the trick quite well. Spoon it in and let it set, that's it.

The first picture is when I put it in the pan. The second is when I removed it from the fridge to cut it.

Step Five: Enjoy!

It went something like this: "Yum, yum, yum."
"How is it Riley?"
Good! Stiiiiickkky, Mommy!"

Notice the wet wash cloth at the ready.