Showing posts with label Minnie Mouse. Show all posts

Friday, September 14, 2012

The Butcher, The Baker, The Photo Strip Maker

A little pink polka dot fabric tacked to the wall, a large stuffed Minnie Mouse, a good photographer, a group of attractive little party goers and we had our photo booth. I will say that I originally only intended there to be one chair. I thought that way everyone would interact with Minnie. Someone helping me set-up added Roo's party chair to the mix and it stayed. We got a couple cute kissing or holding hands shots, but mostly they just sat next to her. Even so, the cuteness was staggering! The pictures came out great. Which actually made picking just four shots for the strips a pretty difficult task.

I had originally planned to include a 4x6 print of each kiddo in the thank you cards, but my sister-in-law assured me I could make proper photo strips. First, my husband made me a little logo for the top of the strips in the vain of what I thought the front door sign would look like before Roo intervened. If you think that's cute you should see the pictures. So, with four pictures for each guest and a snazzy logo it was time to make a template. Make sure you took all your pictures in landscape and if you have to crop check the "maintain aspect ratio" box. Your template should look something like this (I used Paintshop Pro).

That's all the work because once you've saved your template you just drag and drop. I did a strip for each guest or sibling who sat with Minnie. Then I made a bunch of strips of just Miss Roo for the thank you cards going to folks who didn't have a kid at the party. I bought replacement ink for the printer before I started and a package of glossy photo paper. Then I just printed them out. On highest quality setting they took about 2.5minutes each to print, but it's worth the wait.

Now, I only have a photo size paper cutter so I just used scissors to cut them apart. I'm not the best at straight lines so mine didn't come out super even. I think they're still charming. Then they where ready for thank you cards.

The only tricky part is that my strips don't quite fit in a standard letter size envelope. Currently, all my thank you cards are written and have photos inside them and are sitting in a neat pile until I get the proper size envelope. I'll update this post when I do.

UPDATE: I found a company online that has 4 3/4 x 11 bright pink envelopes. Perfect, right? Fingers crossed, that solves the envelope issue. Now to figure out postage...

Second Update: Two Forever stamps did the tick.

Saturday, September 8, 2012

Friday, September 7, 2012

Rainbow Cupcakes!

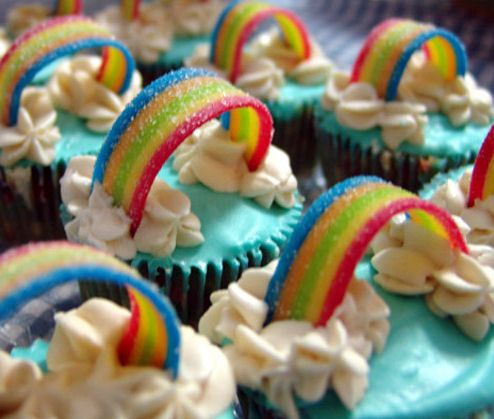
This pretty little picture has gone viral. I found lots of links to the image and not many folks who actually made them. Obviously, cupcakes and blue icing are simple enough. My concern was candy manipulation. Airhead sour belts are very soft and floppy. I wanted to make sure my rainbows arched. This was my only cupcake option other than plain pink or blue frosting. We have a book called Minnie's Rainbow Picnic it had to be these.

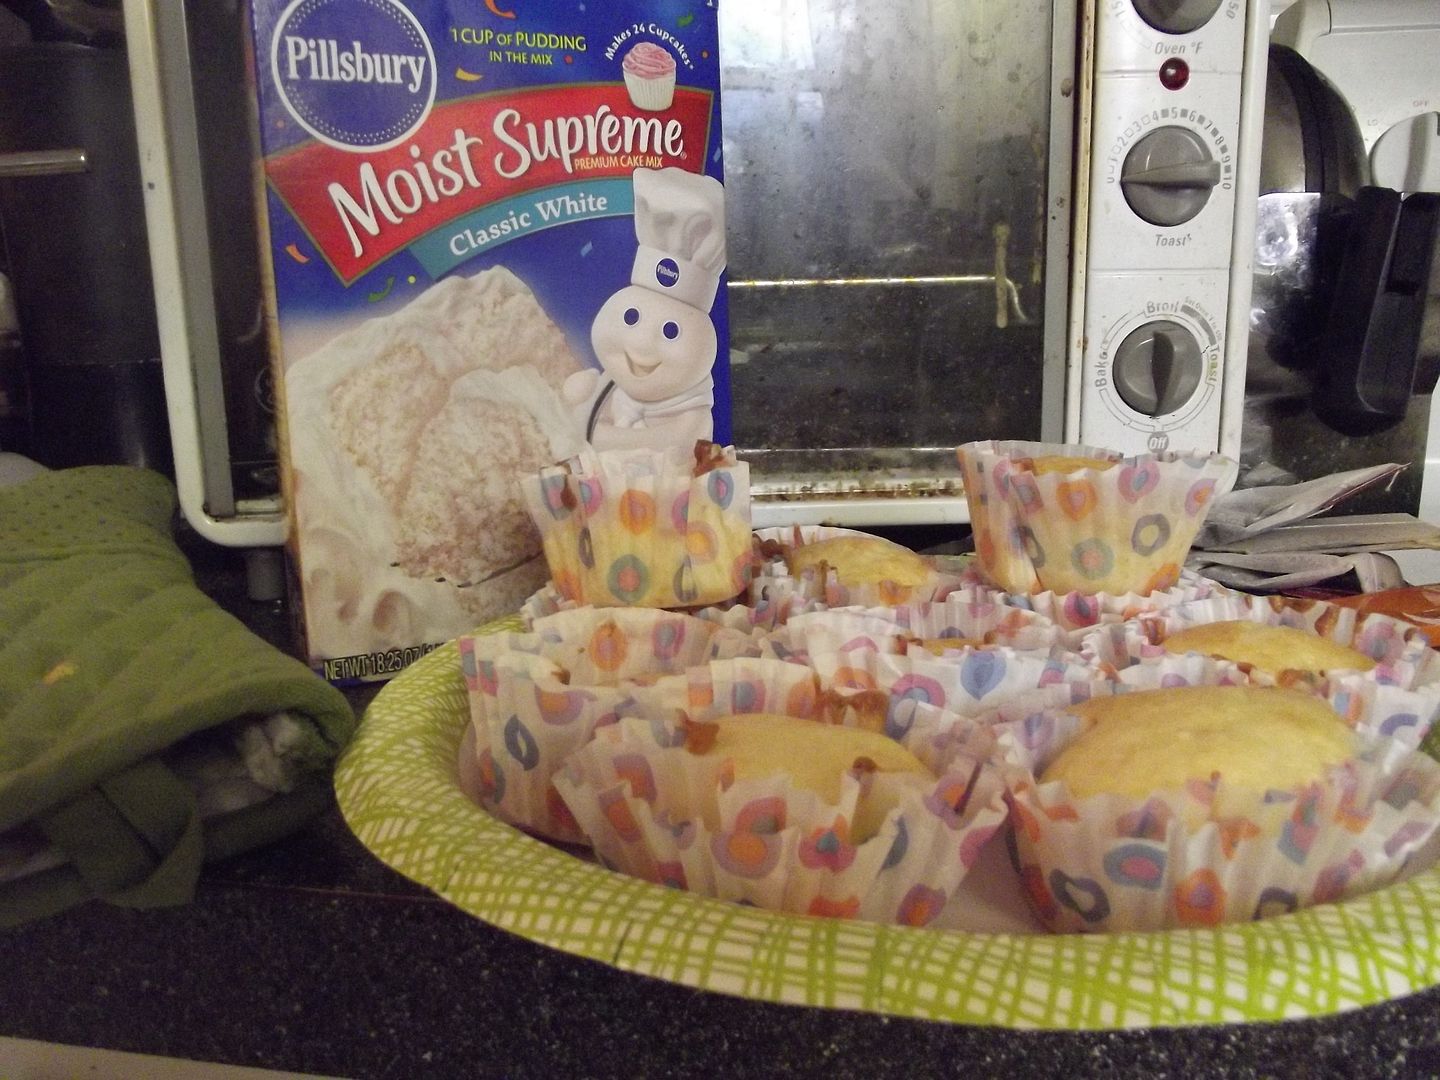
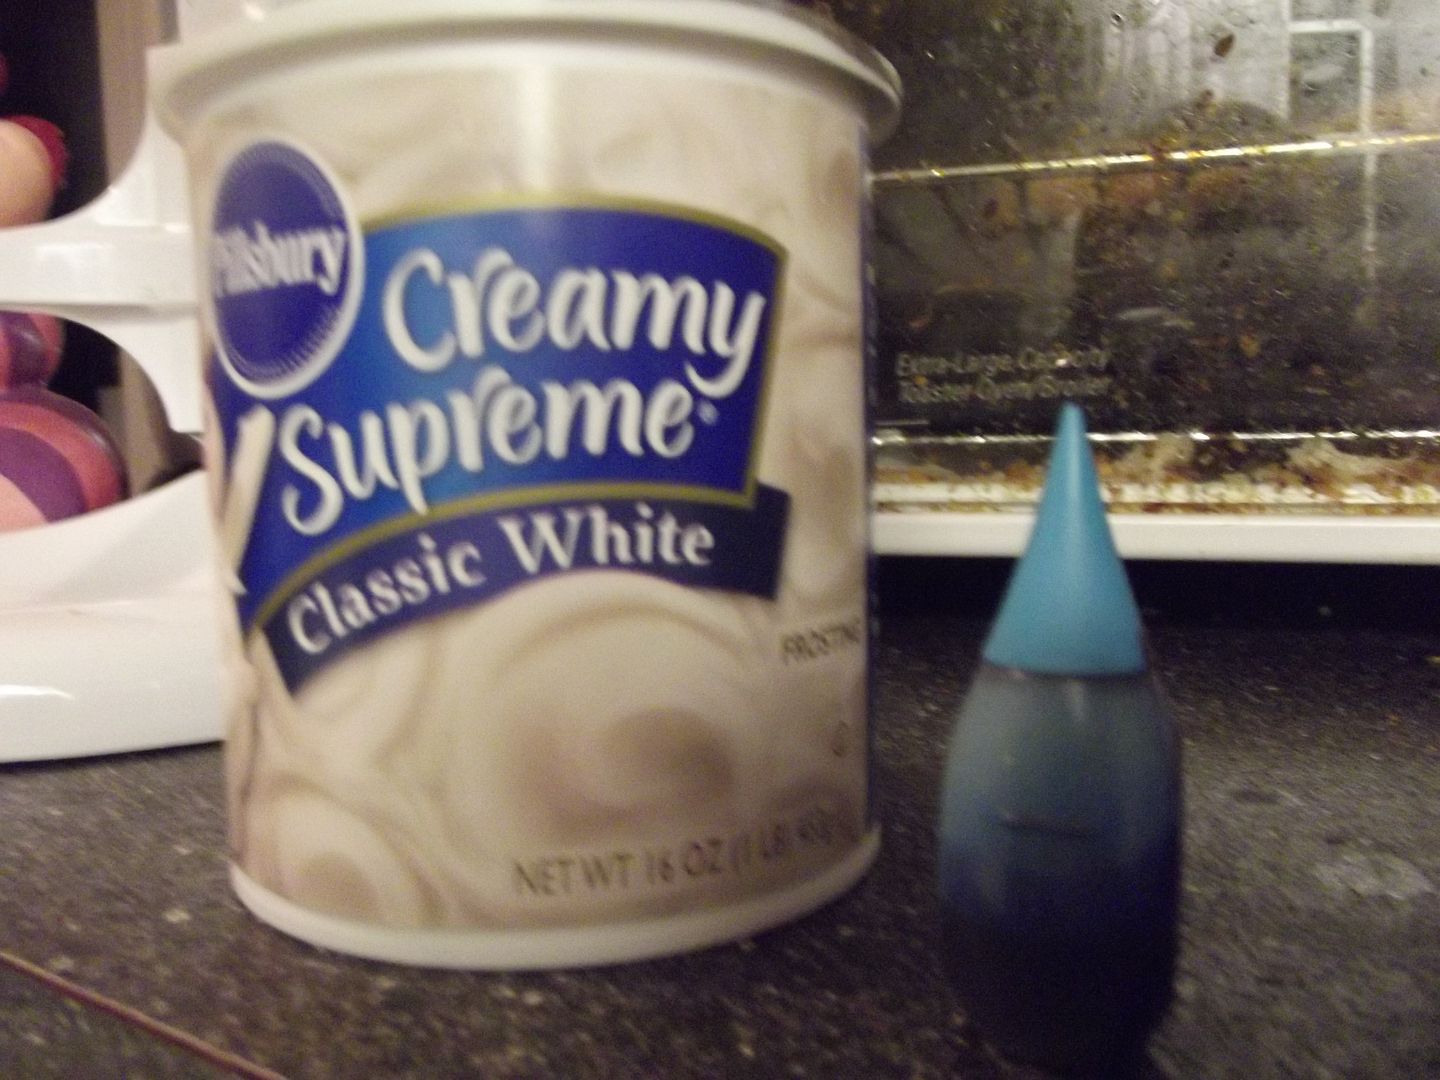
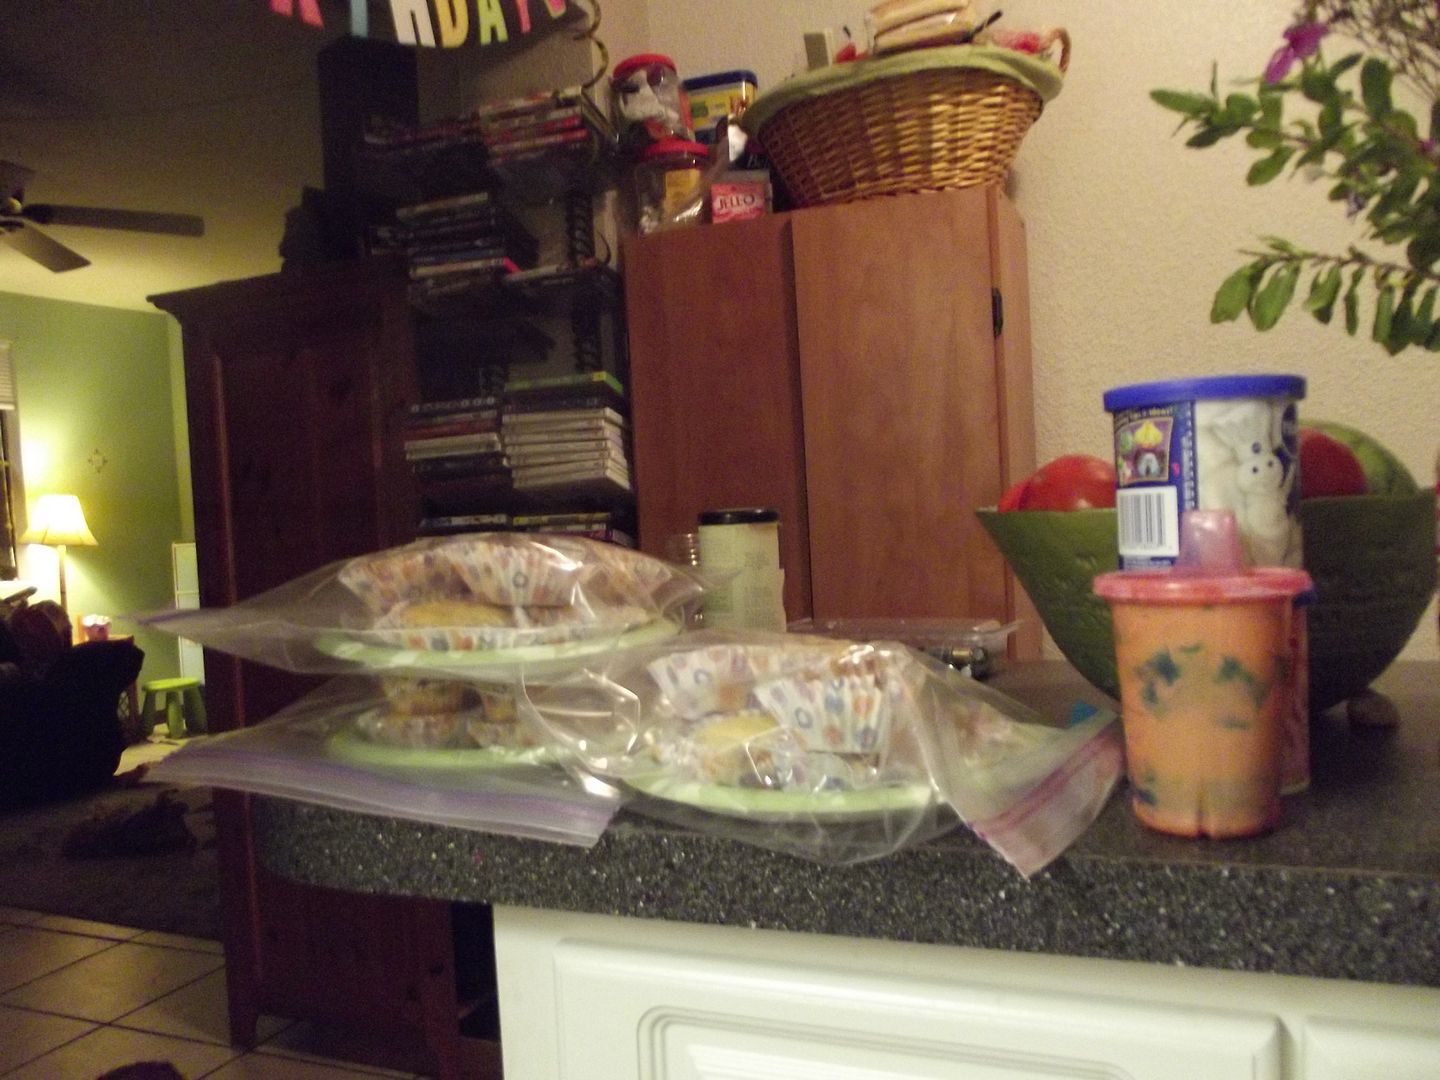
After Mike and I experimented for a week (baking, refrigerating, etc) we decided most of our candy manipulation was a fail. When today (baking day) came I just opened a package of candy and mixed up some cupcakes. Roo requested "ba-nill-wa" so we did "Classic White" mix. I also got the same frosting, we have a little friend with a sensitivity to red 40, and colored it myself.

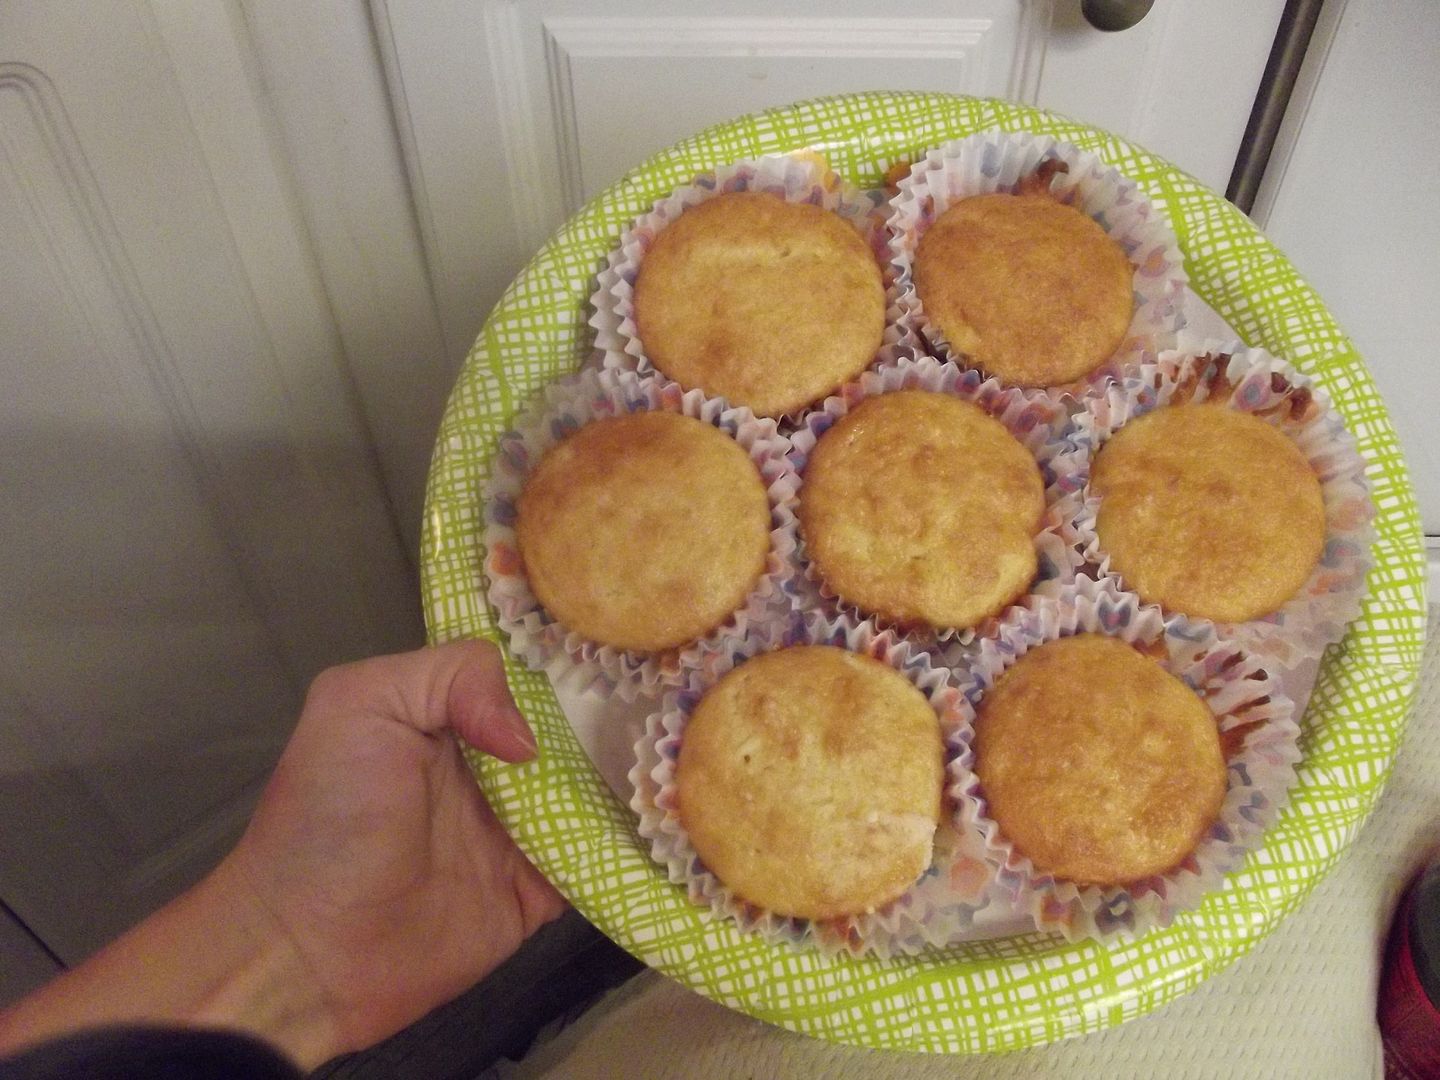
Riley picked the polka dot cupcake papers. I baked 36 vanilla cupcakes and then added a few drops of blue food coloring to the white frosting to get a pretty sky blue. I intended to use the left over white to make clouds.

When push came to shove decorating I only did the sky blue. I used the slightly harder candy belts (that had been open to the air through the baking process). I just made deep parallel slits with a butter knife for rainbow support. I plunged those buggers right in there and that was the end of it.

Party Pictures Courtesy of Lara Jackson Photography

Tuesday, September 4, 2012

More Misc Minnie Decor

Unfortunately, just after I discovered Dog Shaming (and laughed until I cried) I had my own experience. Sigh! I cut a giant number 3 out of a piece of white poster board. Then I covered it in layers of pale pink tissue paper (with decoupage).

Pretty, right? My plan was to stick some of the large paper bows to it and hang it on the wall so it would be in background of the cake pictures. However, Mike saw it and suggested that it needed an outline. I let Roo pick out a boa at the craft store for this. She picked a hot pink and pale pink $8 boa, but I wasn't too bothered because I could take it off and add it to the dress up bin post party. It looked good, but 6ft of boa only made it halfway around.

So, I set it aside with the other party decorations until I can get a second boa. I take Riley to get Isaac from school and explain all the way home how everyone needs to hurry so Riley can get to dance class on time. I crated the dog before I left. She pulled the tiny corner of feather she could reach through the bars and ate the entire boa! There were feathers everywhere.

I scooped them up and moved the wreckage to another room. No, I did not take a picture of Leeloo covered in feathers to submit to the blog. I was so pissed. Overly so because I was in a hurry and I hadn't done anything wrong. Also, I lost my wedding clients over the weekend and this party is literally all I have at the moment. I'm going to attempt a repair, but the thought of buying 3 $8 boas for this silly project makes me sick to my stomach. Speaking of, for an encore Leeloo vomited feather boa on the rug we had just steam cleaned for the party!

On a more pleasant note: I also made this sign for our balloon fort!

Cute, right? Plus it survived the afternoon so Woohoo! We got some more Crazy Forts pieces despite Toys-R-Us no longer carrying what is arguably one of the coolest toys ever conceived. We used them for our Hedgehog Fort at Riley's first birthday. This time we're just doing a dome shape (3 sets worth) filled with punch ball balloons and helium filled balloons. Then covered in pink tulle.

Here's a sneak peek of the structure.

Saturday, September 1, 2012

Bowtique Bags & Minnie Sign

Bowtique Bags

Materials

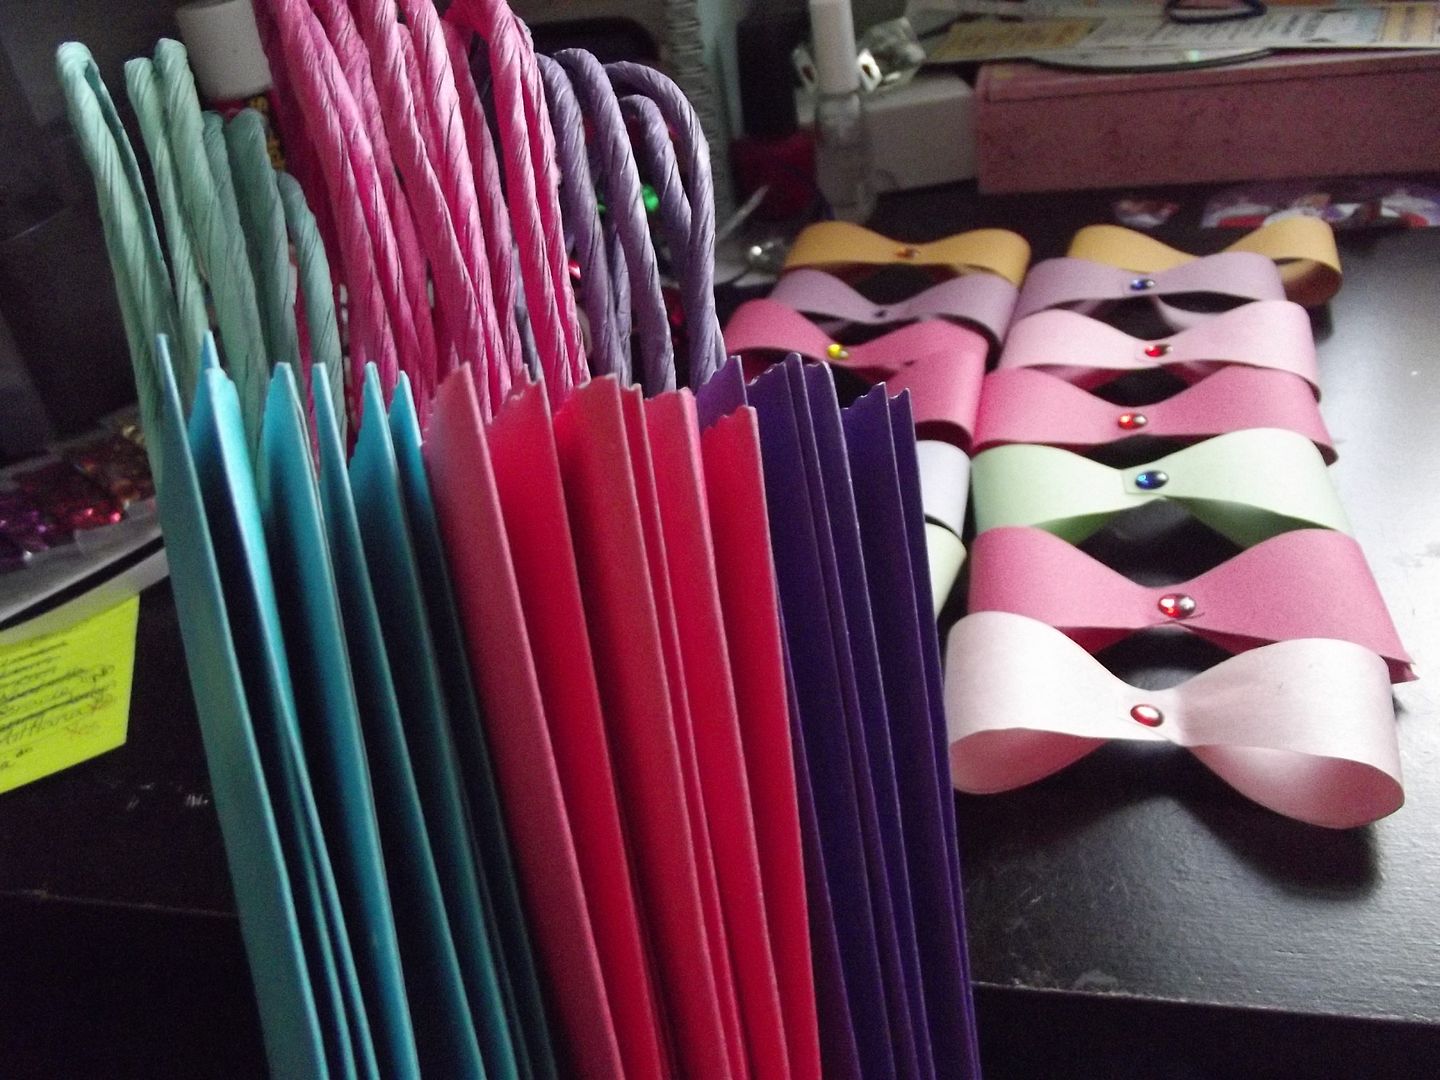
  • Small colored bags with handles (I got mine in packs of 10 from Target's party section)
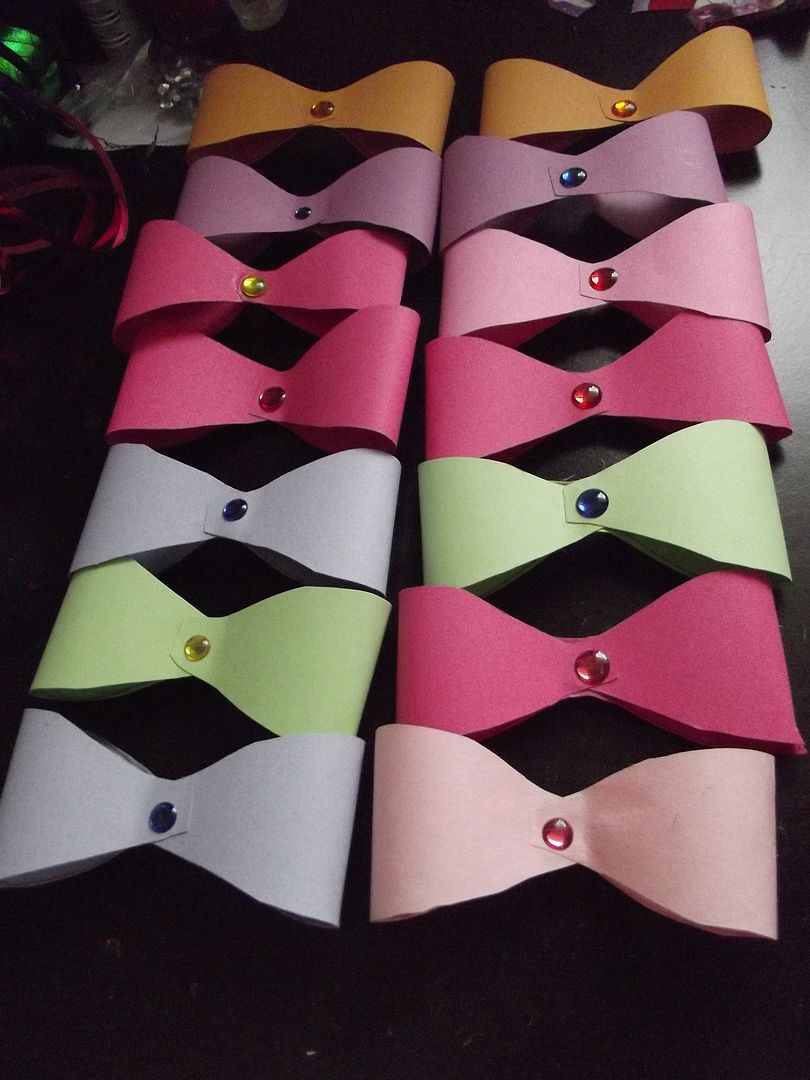
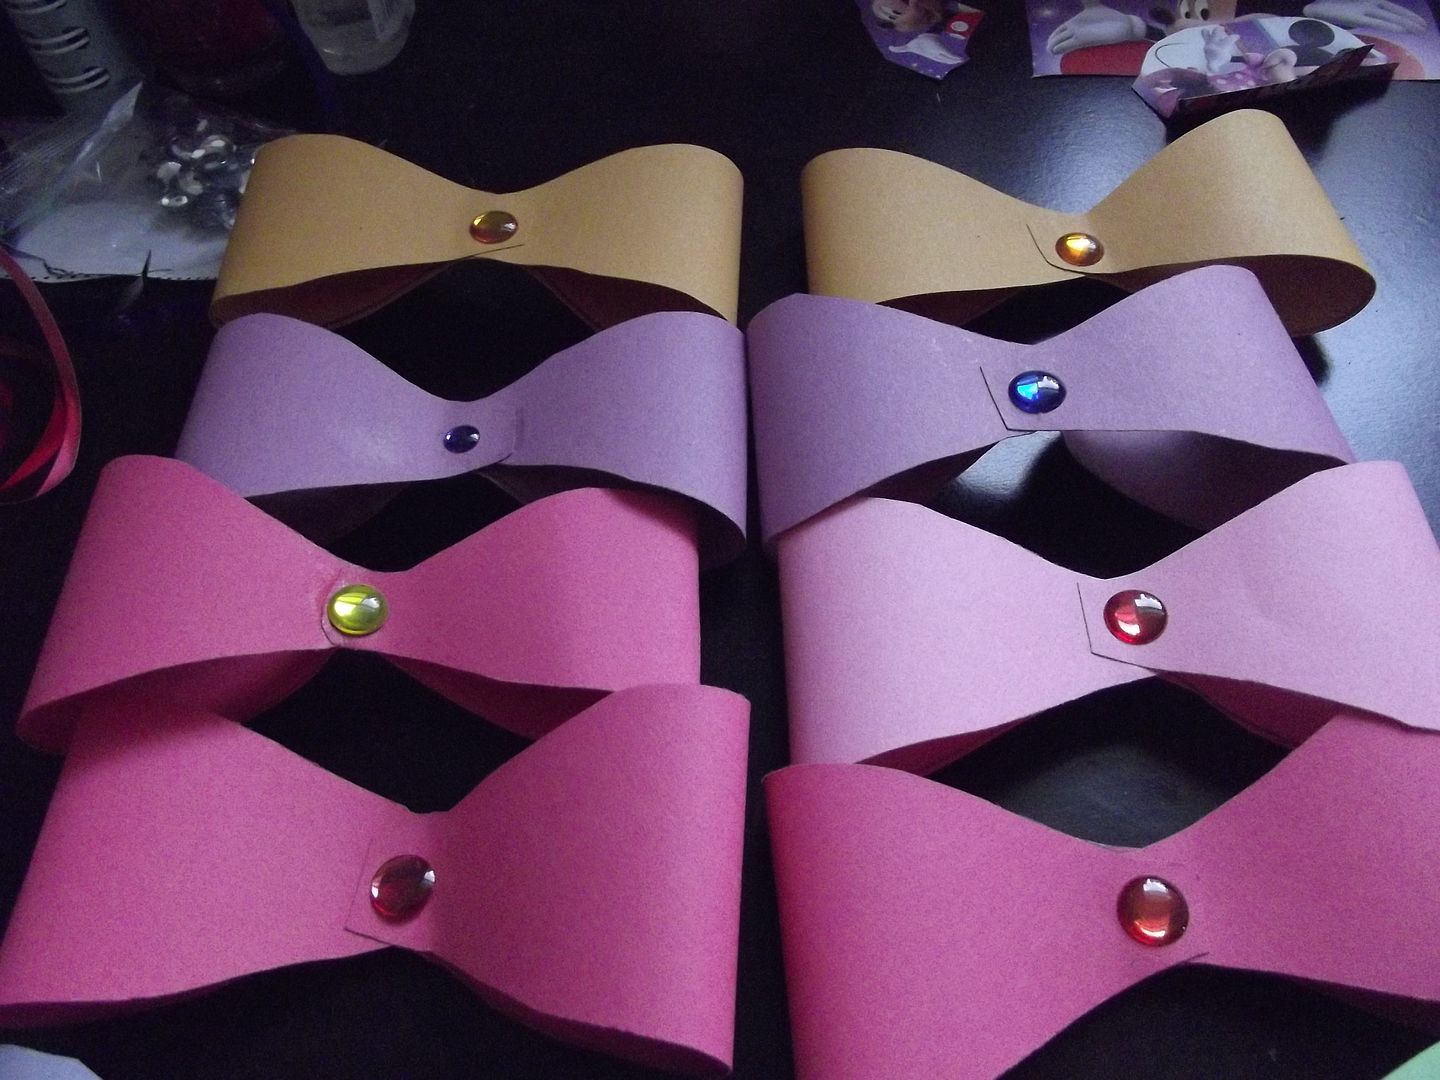
  • Paper Bows
  • Glue
  • Embellishments

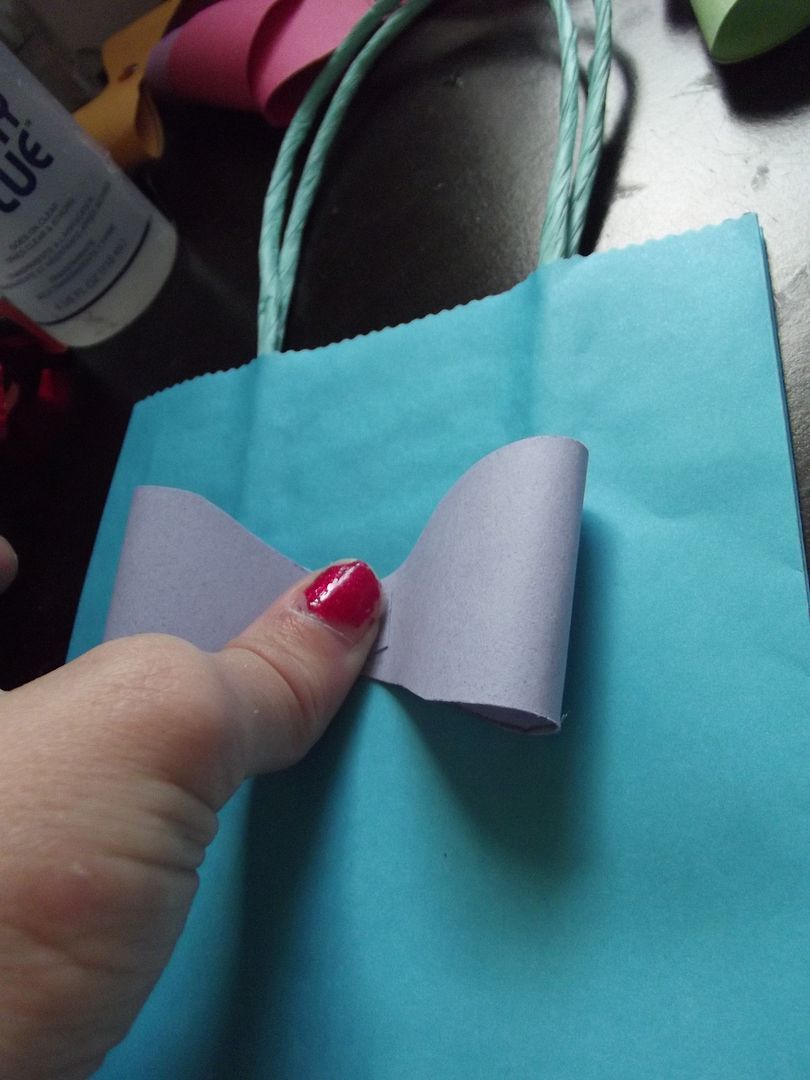
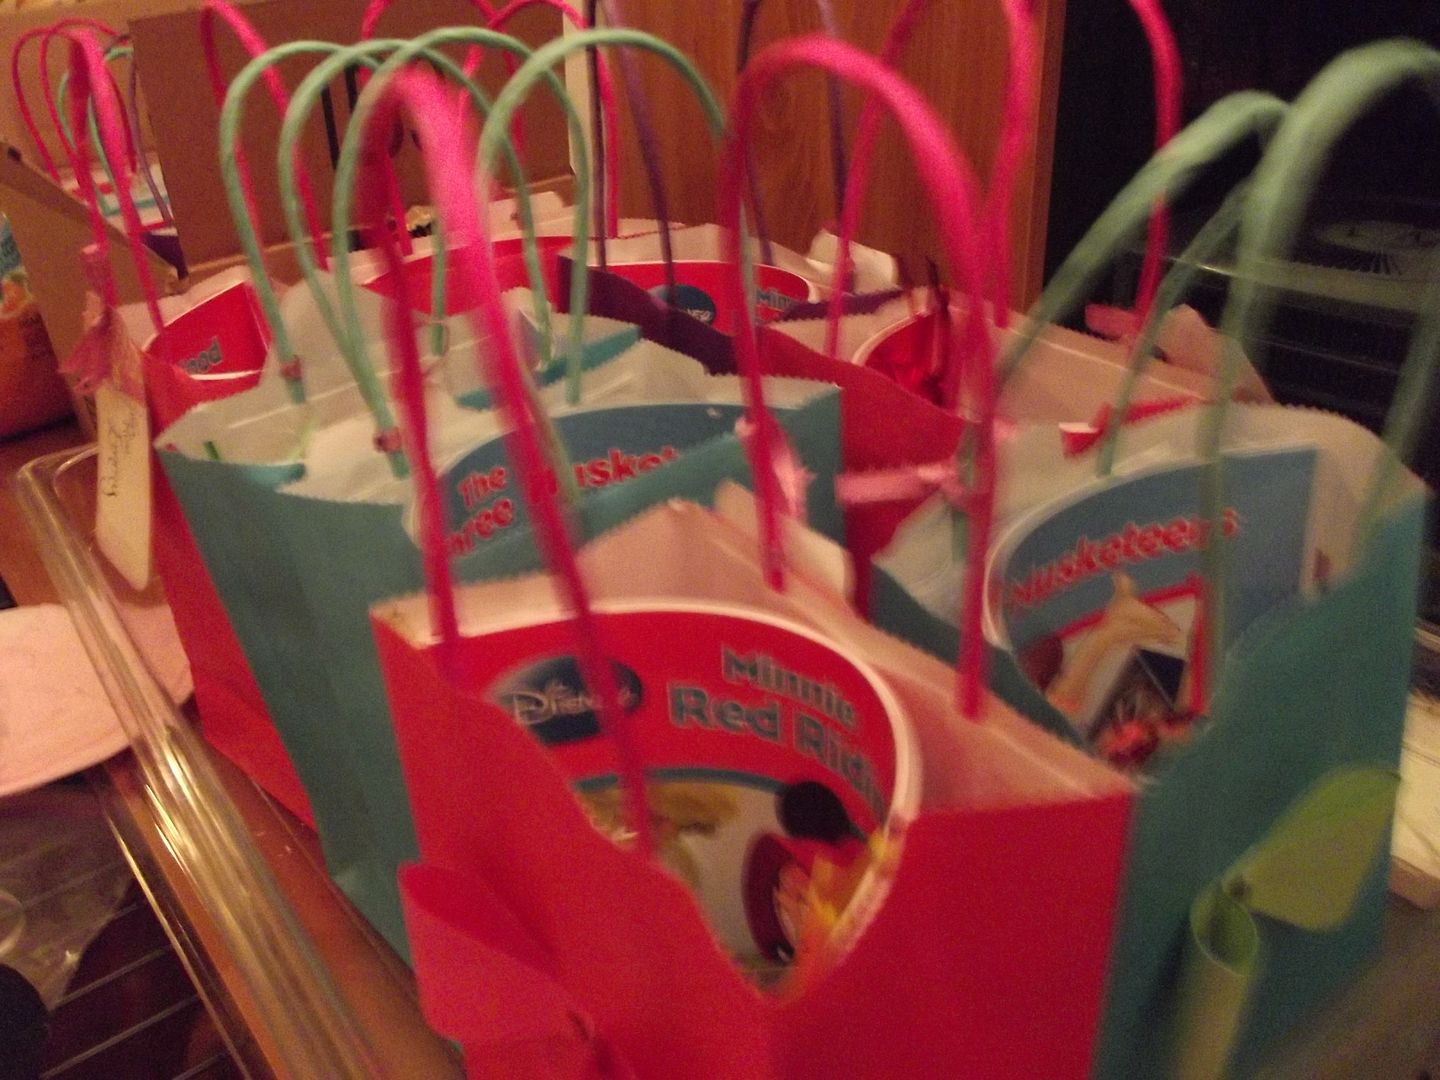
I simply took some of the paper bows I made yesterday and stuck them on the bags. I kept some plain for this purpose. I've used these bags before for favors and I must say I'm a huge fan. They're cheaper then the little plastic ones with licensed characters, they're sturdier and they're a great blank canvas. Plus, I wanted them to look like shopping bags from a boutique. I added a jewel sticker in the middle of each bow. Cute, right?

Now just a dab of tacky glue in the center and press for about 10 seconds. Then let them dry and your ready to roll.

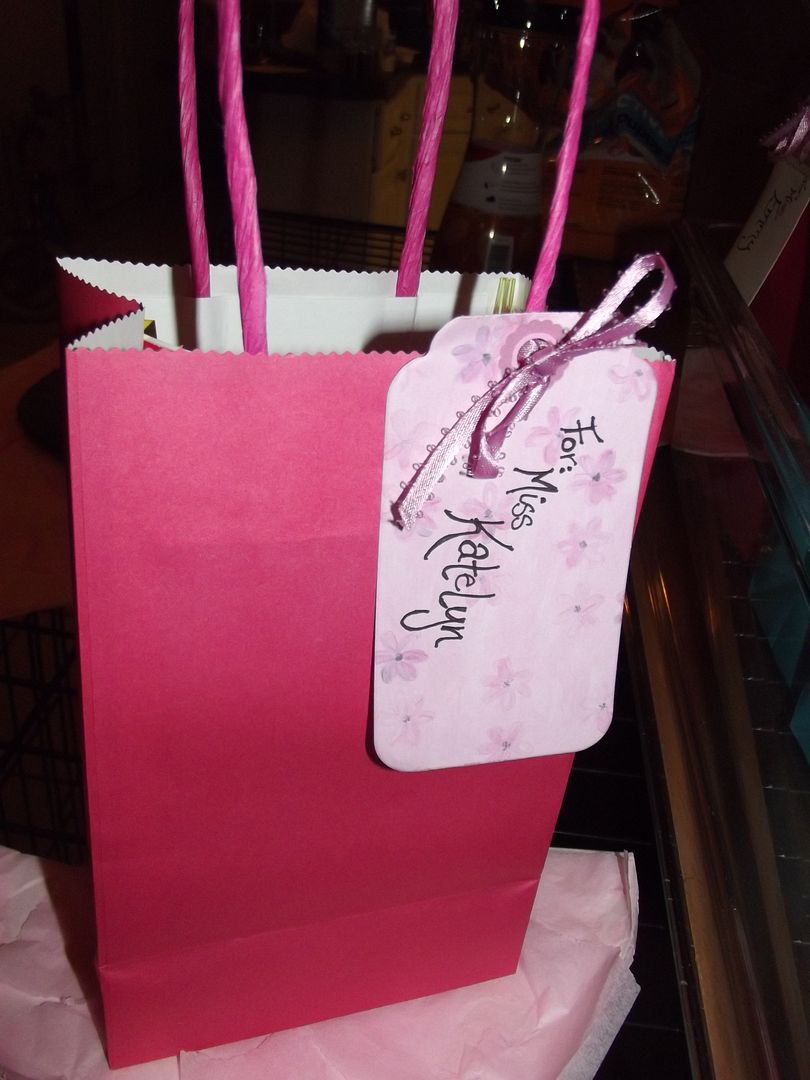
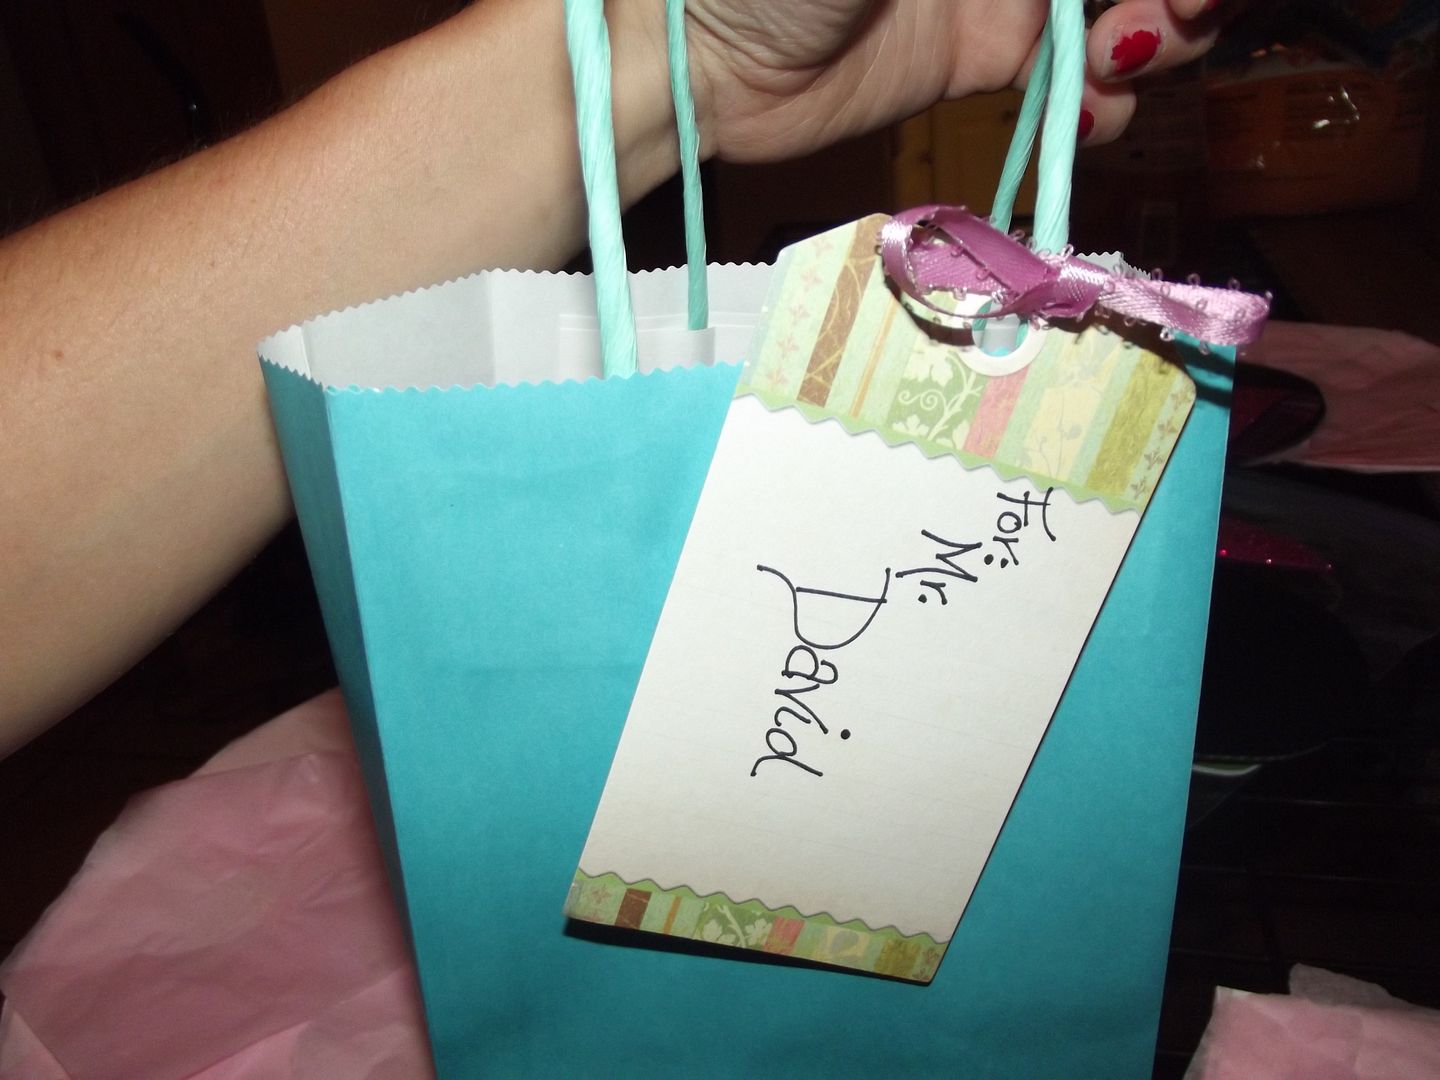
After they were dry I tied tags on with purple ribbon. I wrote Miss & Mr before Riley's friends' names because it seemed fancier. I just used tags from the craft store "tag pack" and a Sharpie. I tied them on in the back so they wouldn't hang over the bows.

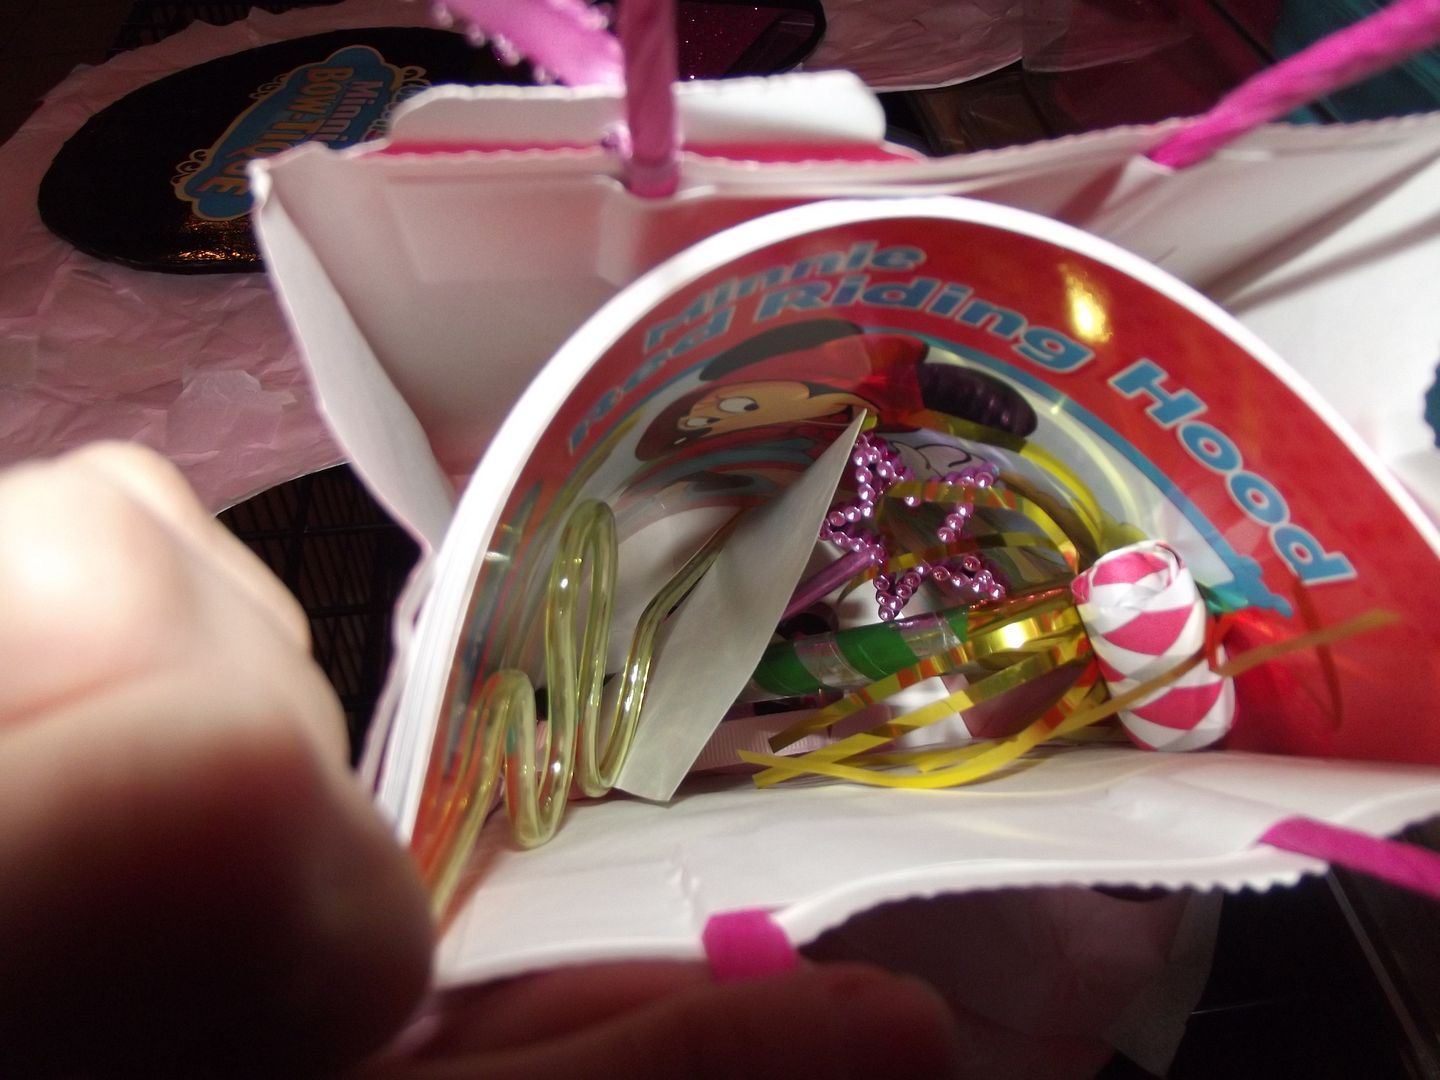
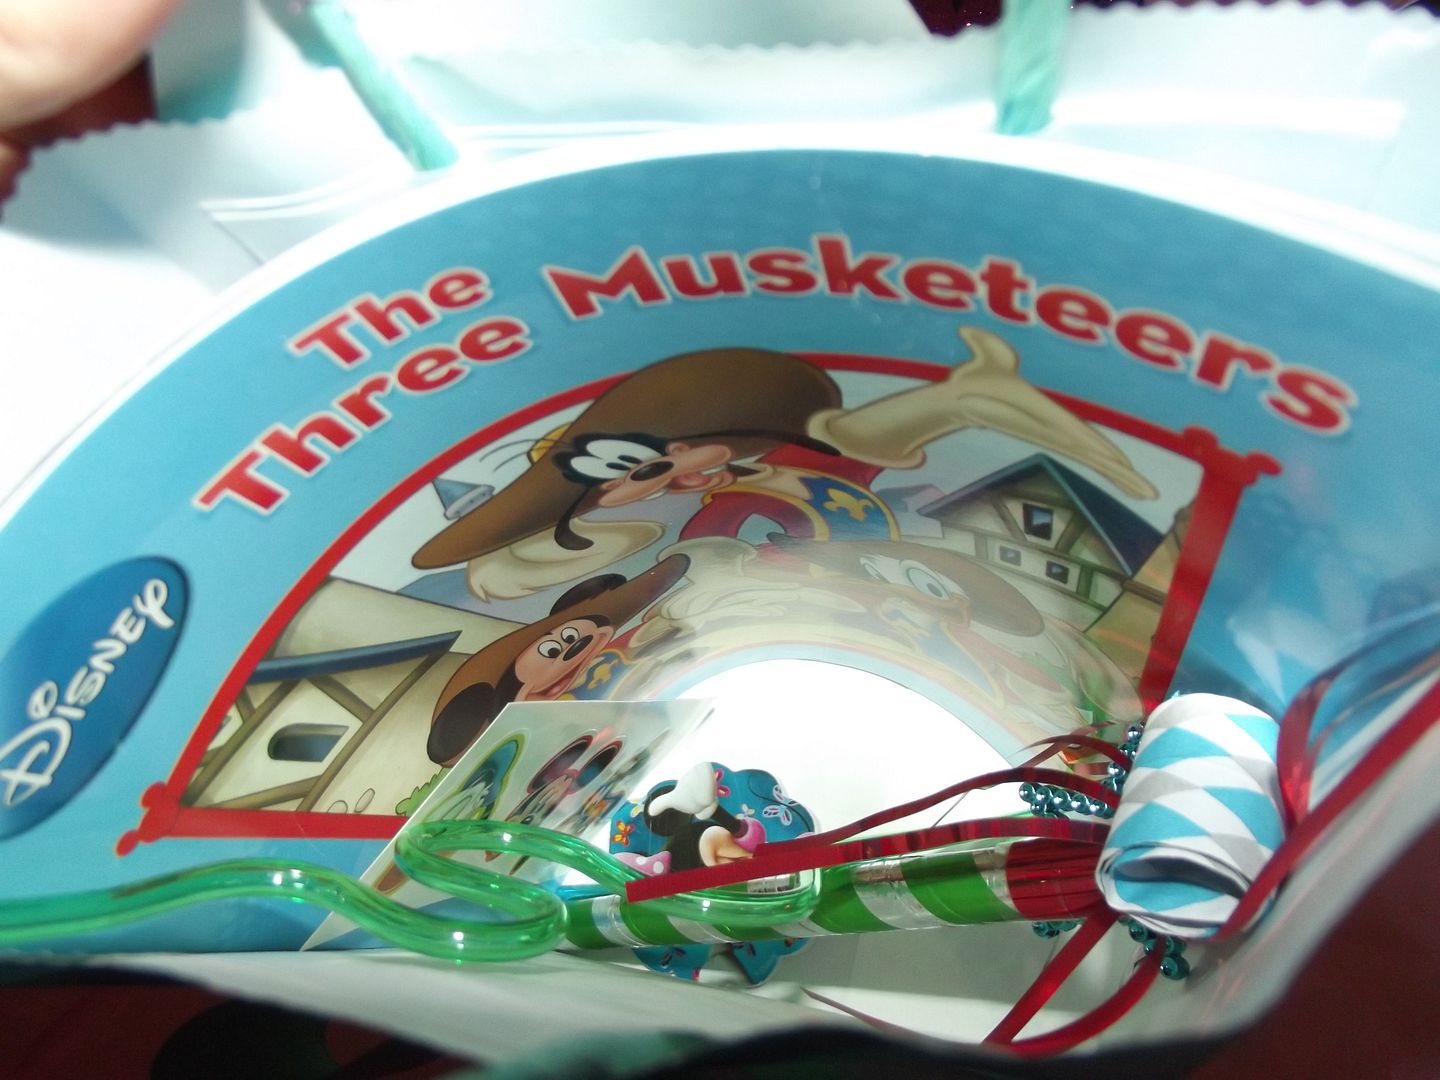
Then I filled them up. They each got a book. Boys are getting Mickey Three Musketeers and girls are getting Minnie Red Ridding Hood. Everyone gets a Minnie notebook, a wand, a party blower, a twisty straw and stickers. Girls also get a doll bow. I left room in the bag for their cups too. I know I always leave parties with my hands full so I thought having a place to stick their Minnie/Mickey cup would be appreciated.
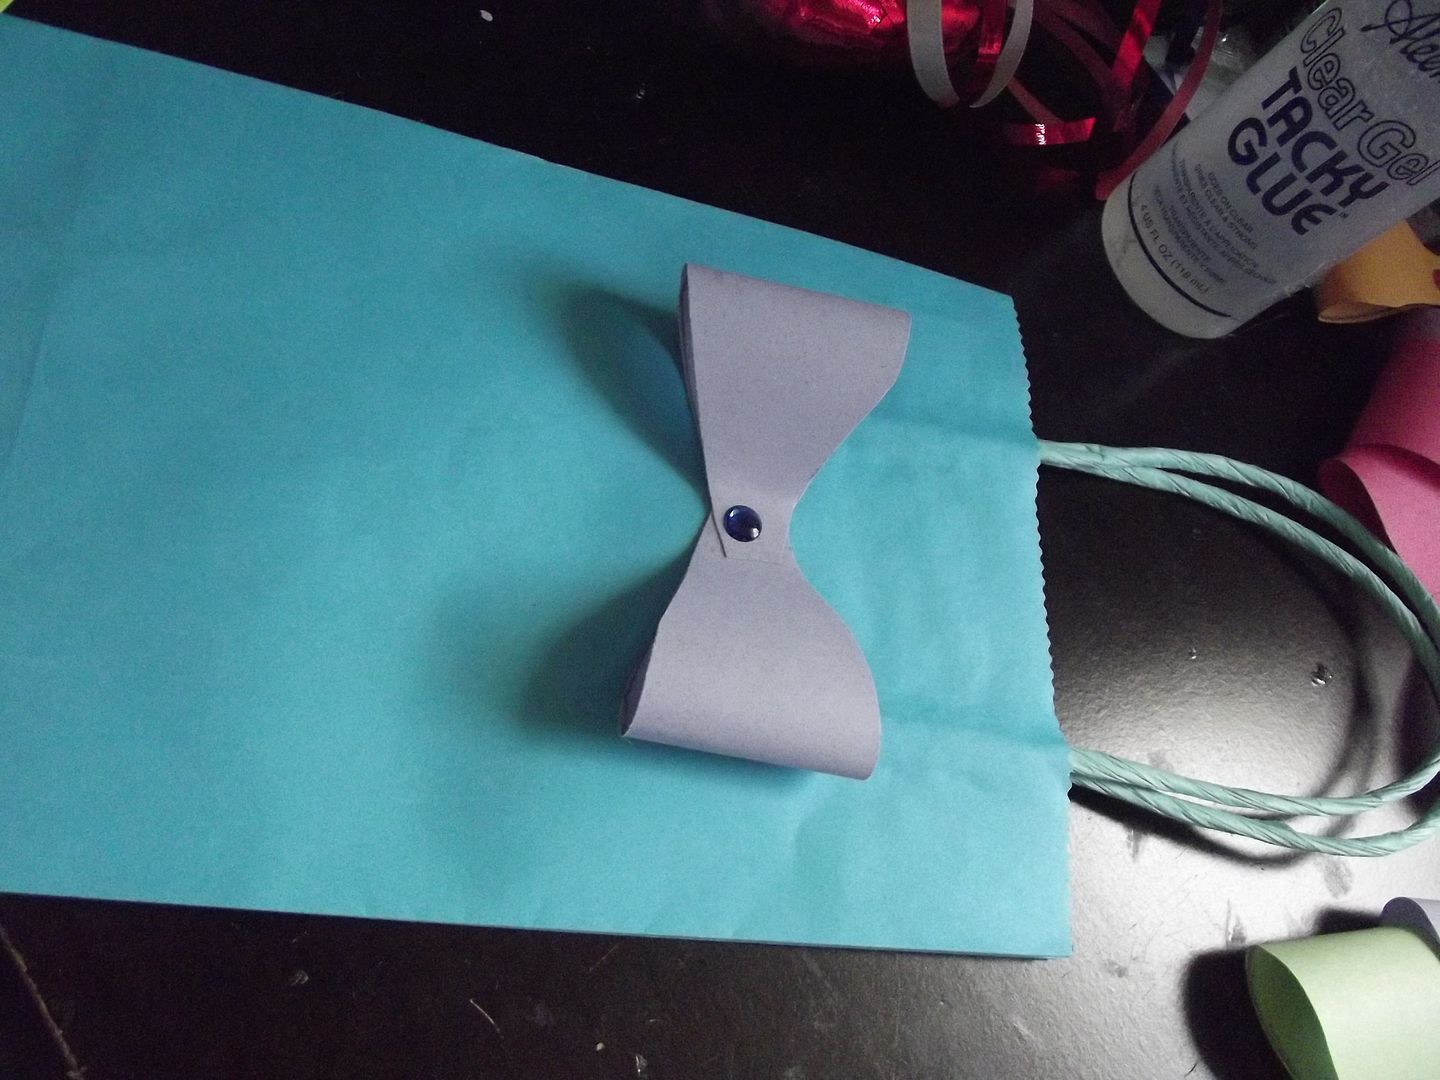
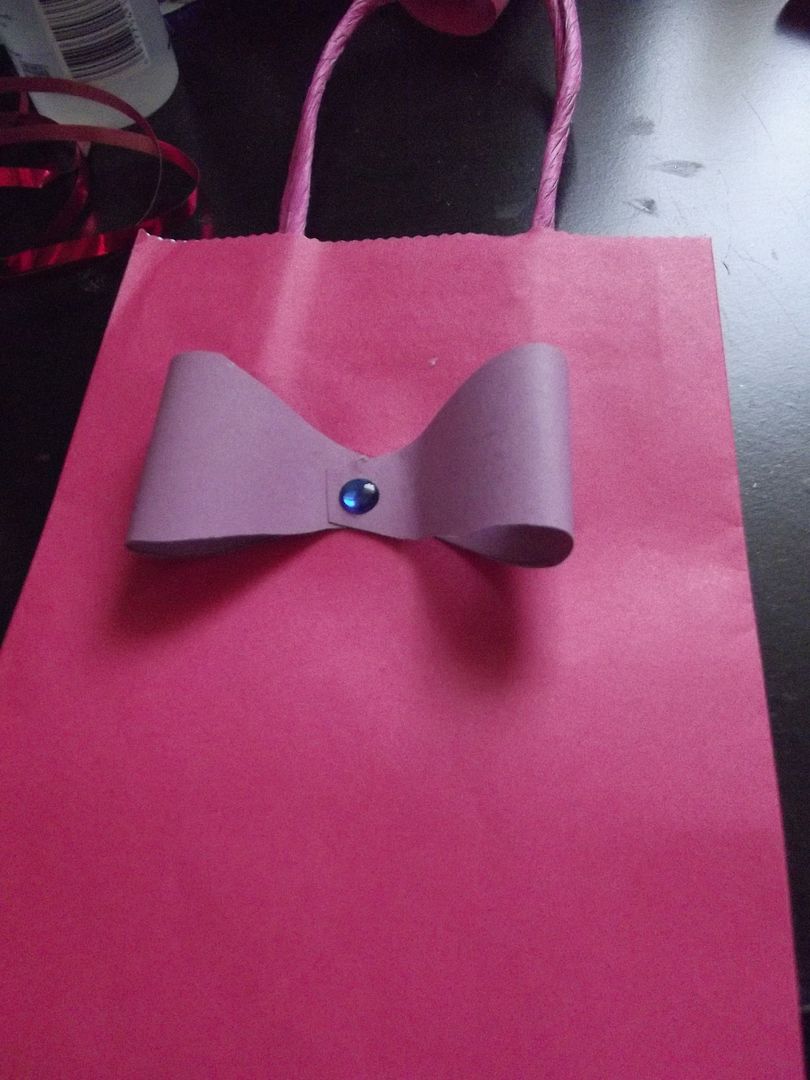
I was going to do a "Riley's Bowtique" label on the front of each, but I liked the simplicity. I still may do them if inspiration strikes, but I'm happy with them the way they are.

Minnie Sign

Materials

  • Cardborad
  • Black Glossy Spray Paint
  • Ribbon/Re-purposed Christmas Bow
  • Stapler

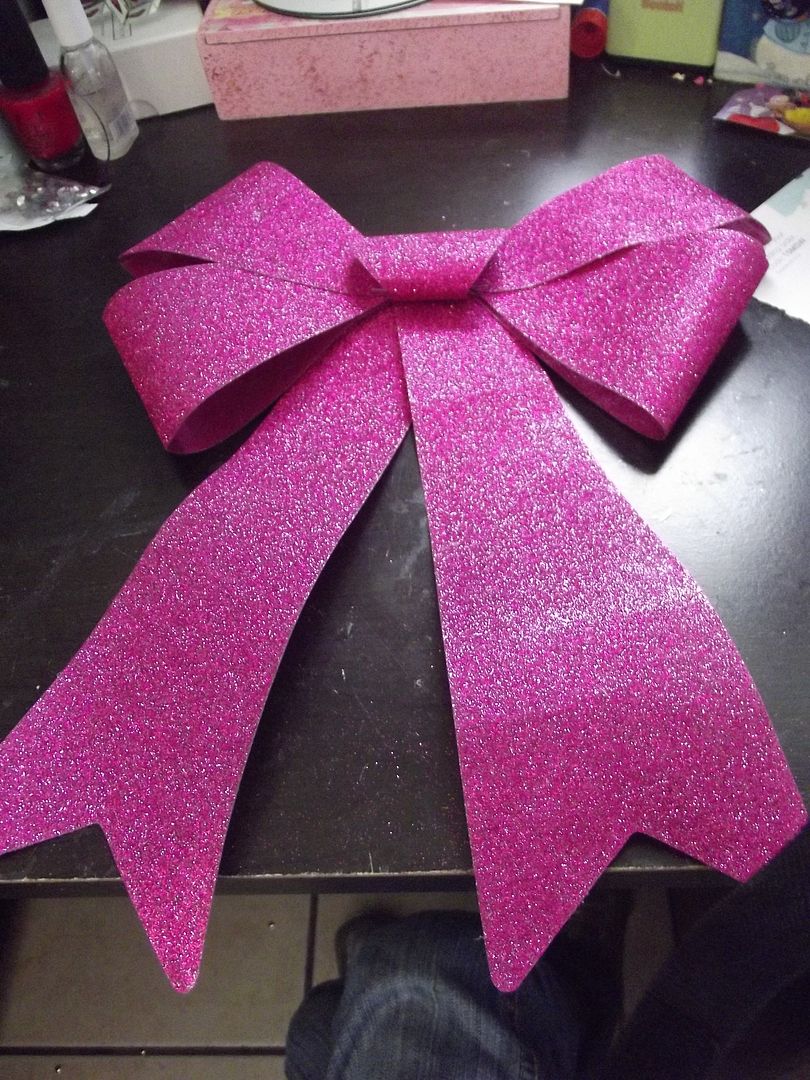
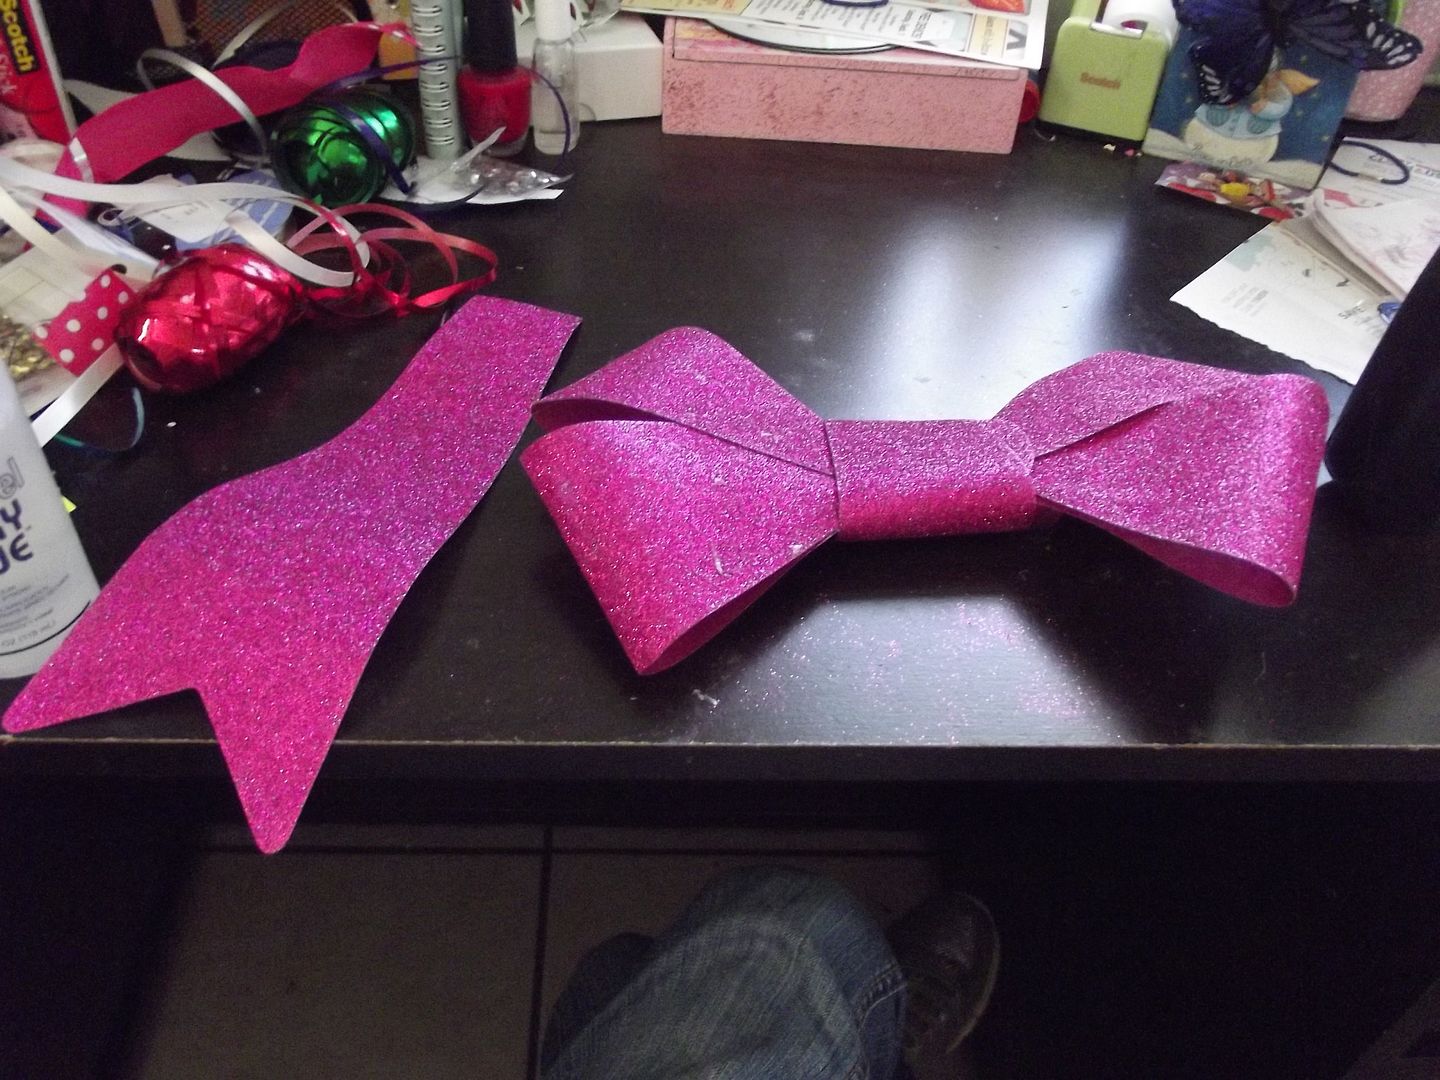
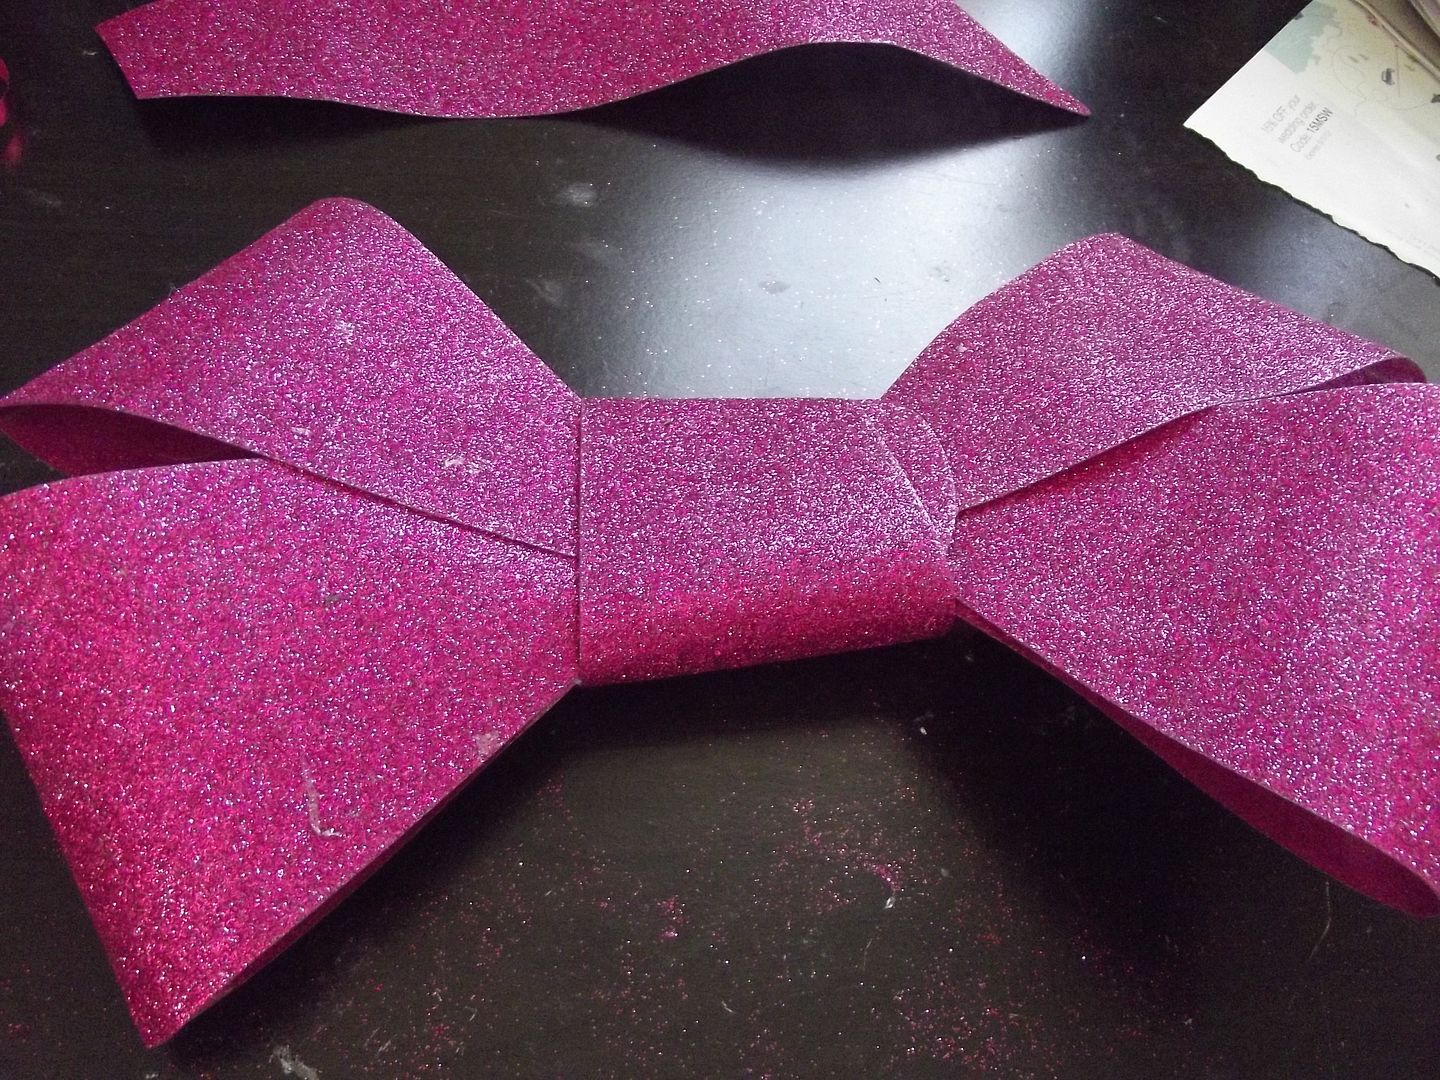
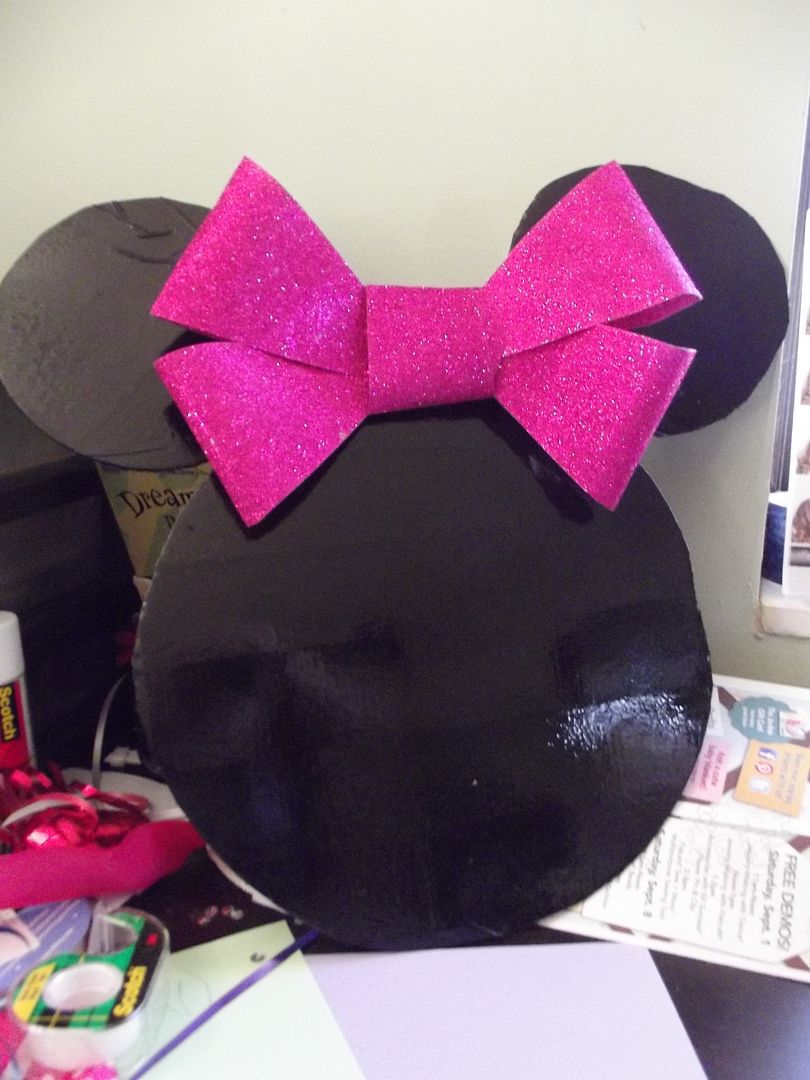
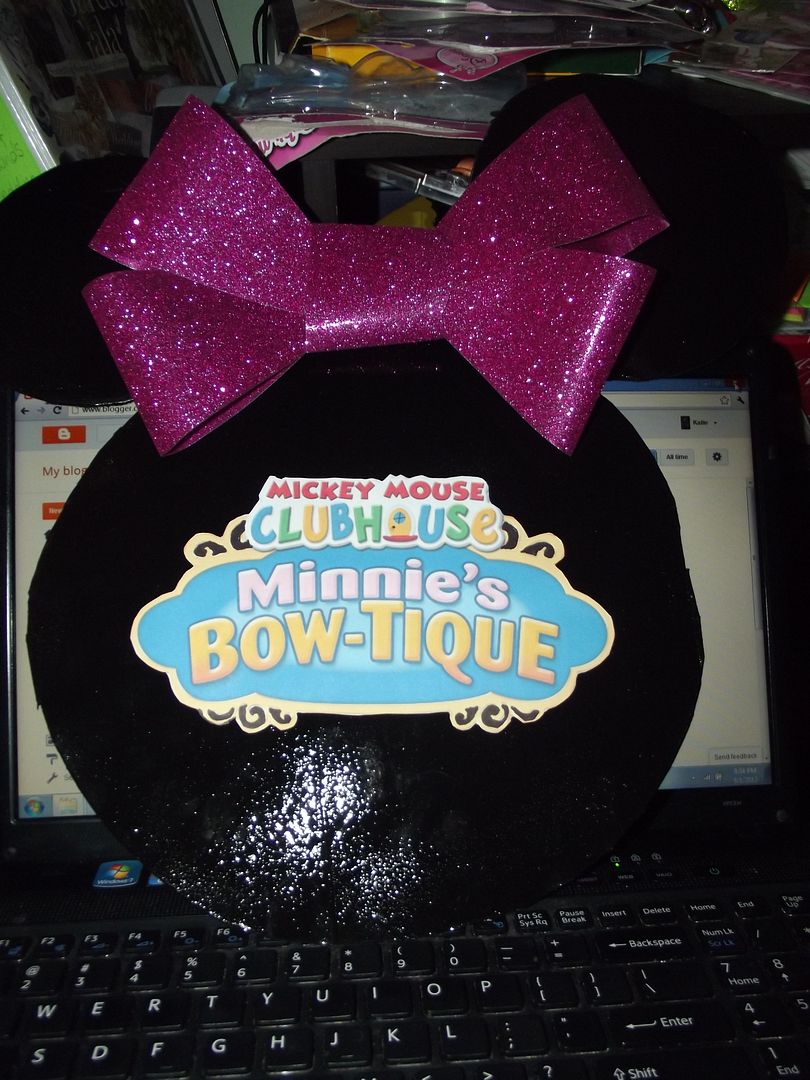
I intended to put the big sparkly pink bow Santa left on Riley's bike last year on my front door. I also intended to make a Minnie sign for just before the driveway that said "Riley's Bowtique". It turned out a little differently. Riley insisted it say "Minnie's Bowtique" and I ended up using the bow I intended for the door on Minnie. I like it a lot though. Don't buy a wooden Minnie from Etsy if you're just going to use it once for a few hours. Cardboard works just fine.

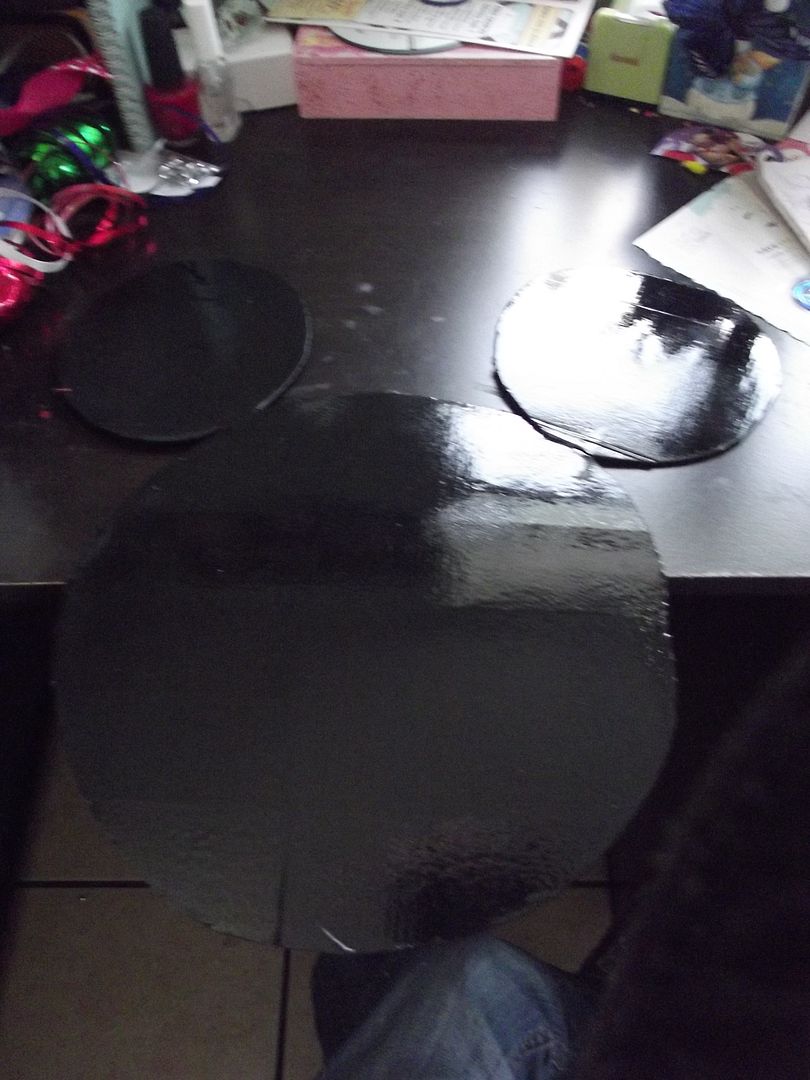
First step: Make Minnie. Just cut your 3 circles from any discarded Amazon box you've got laying around. Attach the ears before you paint so nothing shows. Then hit it with glossy black spray paint. Remember to do both sides if you're going to stake in in the lawn. I was going to use a paint stirring stick when that was the plan. Let it dry, flip it, spray it and than repeat if desired.

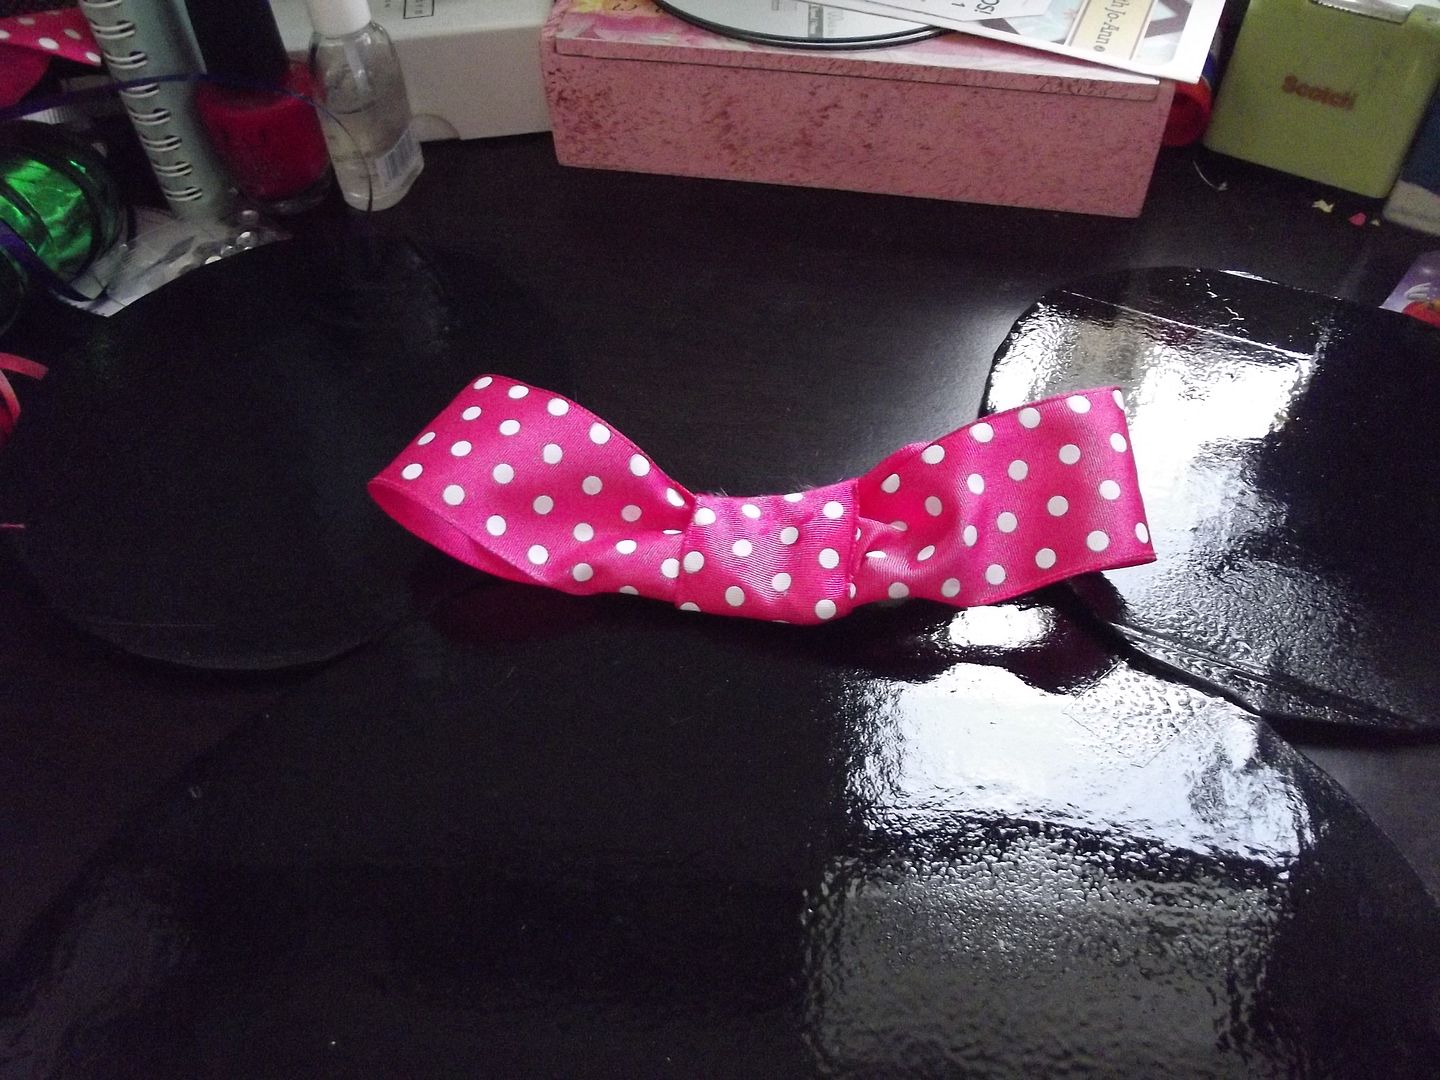
Step Two: Minnie's Bow. This was my original plan for Minnie's bow. It's the same ribbon from the invitations. It was cute, but I thought a bit small. As far as Minnie's bows are considered the bigger the better.

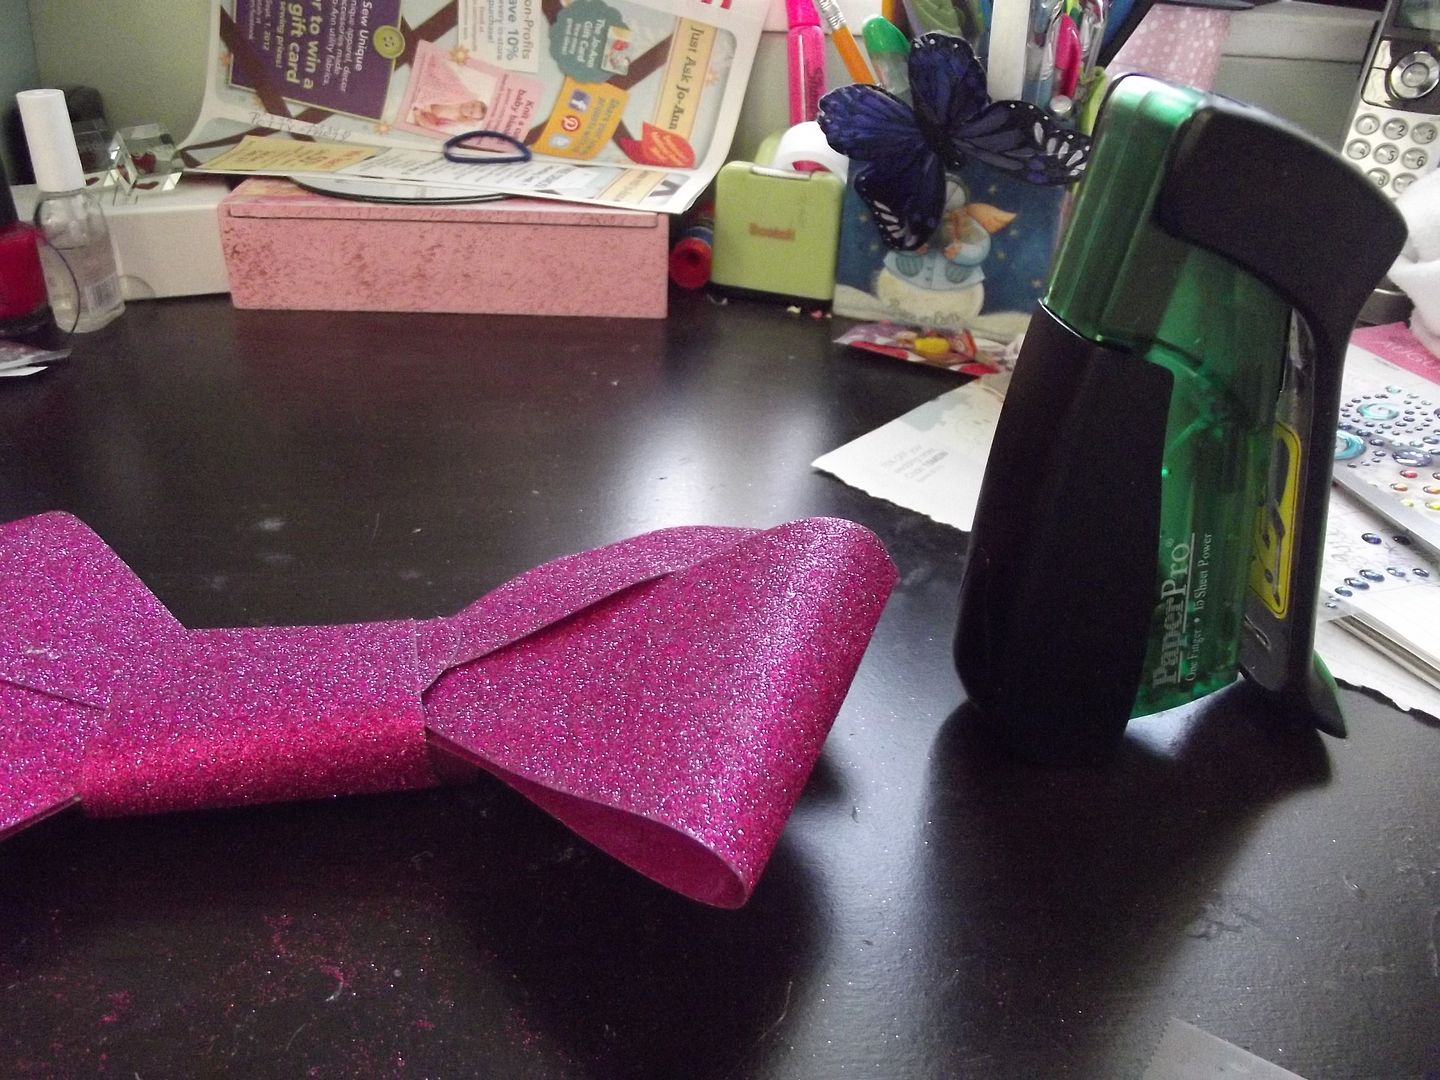
I pulled this from the Christmas box and starting fiddling. Minnie's bows do not have ribbons that hang down. In the end I cut one off and wrapped the remaining ribbon back around the center. I stapled it in the back (and to attach it to Minnie).

Don't you love it? All it cost me was a can of spray paint. I loved it so much I fretted quite a bit about adding words to it at all, but the birthday girl wanted it to say "Minnie's Bowtique" so I pressed on. In the end I printed and cut out the sign. I glued it on with a glue stick that way we can peal it of and hang Minnie in her room, but if you want more permanence decoupage it for sure.

I'm not sure yet whether she'll go directly onto the door or if I'll add a big pink ribbon on either side and hang her from them. Yay, Minnie. I'm still working on the big "3" sign and activity signs. I've also begun experimenting with the cupcake decorations.