Riley's 2nd birthday is (gulp) 3weeks away! I can't believe it. So, I've ordered and received ridiculously cute dinosaur tote bags, How Do Dinosaurs books and baby dinosaur hatching from an egg cups for her guests. We're going small, just VIB's (very important babies) and immediate family. We did 50+ guests last year for her first. It was an amazing, but I'm still recovering. So, it was time for invites.
Materials- Paintshop Pro (or any photo processing website)
- Photo Paper (or any order through a photo website)
- Adorable theme appropriate pictures
- Coloring Pages
- Card Stock/Scrapbooking Paper/Construction Paper
- Crayons & Markers

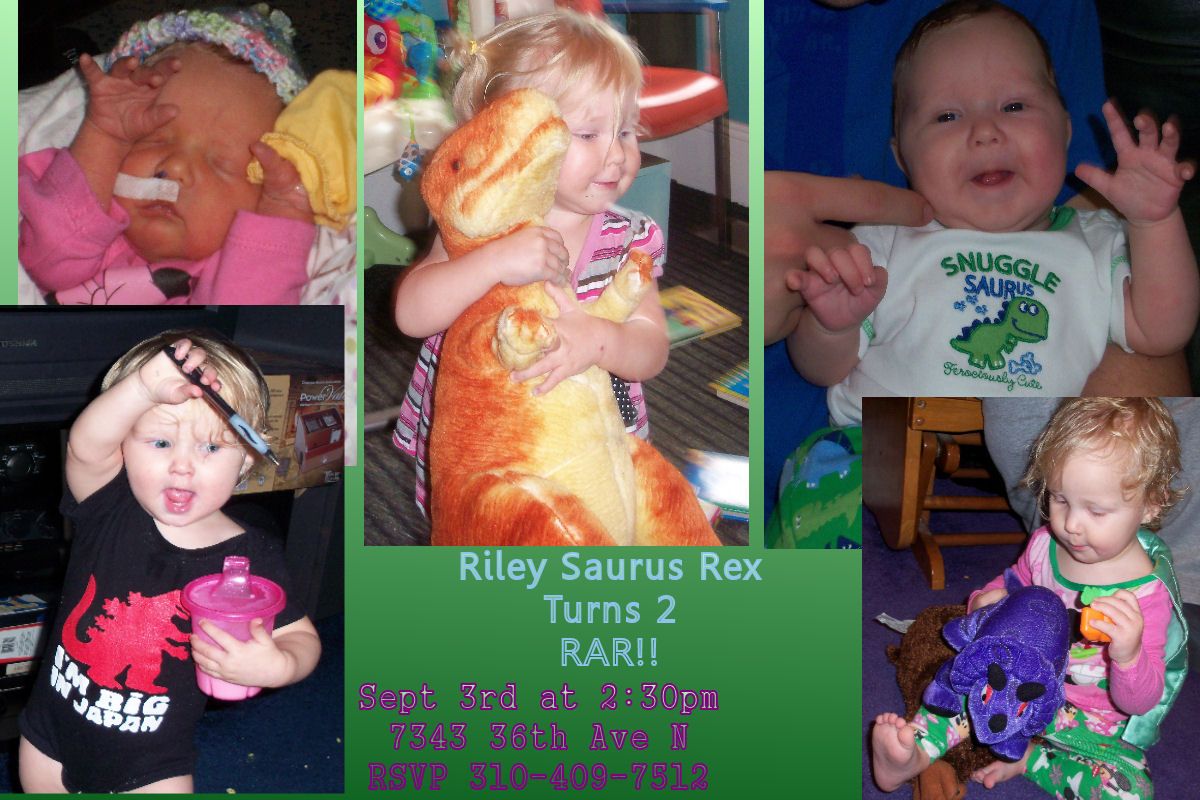
Riley's party is dinosaur themed so earlier in the summer I put a folder on my desktop and started pulling every dinosaur related picture from birth to now into it. I ended up with 33 images. I think that confirms that a dinosaur theme was the right choice. I picked 5 images in the end for a photo collage. I made it in paintshop and added the party info in the center myself, but you can make one on any photo processing site. I kept the collage pretty low key since I intended to mount it on a colorful dinosaur. I printed mine on glossy photo paper at home, but obviously you can easily order yours through any photo site.
 Ta-da!
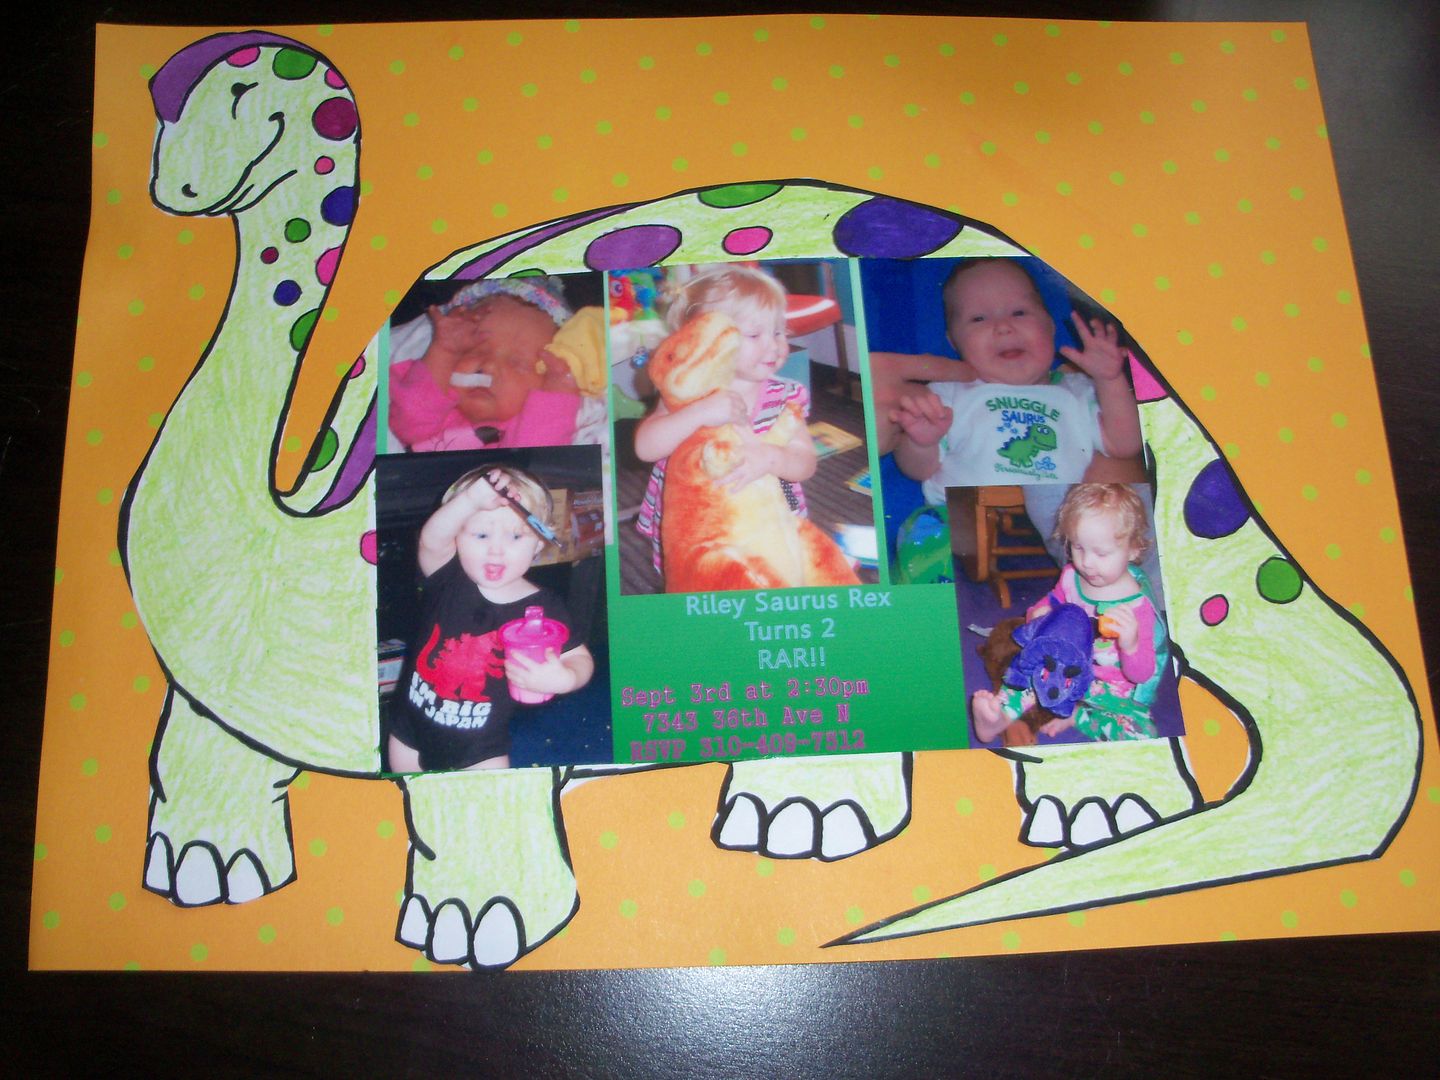
The next step was to find my dinosaur. I find there are two categories of dinos happy toddler friendly ones or more realistic, scary older kid dinos. I did a Google search for dinosaur coloring pages. I picked a happy, be-speckled, brontosaurus friend. I pulled the coloring page into paintshop turned him long ways on the page and distorted his belly to accommodate a 4x6 photo.
Once that was done and I had printed my 4 dinos, I got out the polka dotted paper options. I cut the dino out of the white paper and colored the speckles and head ridge with bright colored fine tip Sharpies. Then I colored the body with a crayon to give him some texture. I'm sure there's something you could color over to get scale pattern, but I didn't bother. I used the same color group and just alternated. If you mount the photo first it's much less coloring. If you're doing a large group, print them onto the colored cardstock.
Next I glued them to the background paper and cropped around the dino with my paper cutter. Once they were mounted I had a good bit of space over his back so I decided to write the name of each VIB on their invites. I took the pictures before I did this. I used a black Sharpie to hand write their names and fine tipped bright colored ones to embellish them. I was considering cutting their names out on my Silhouette, but just wanted to finish and deliver them.
Here they are:


Gulp, gulp... that means six weeks 'till BB's birthday... kinda nice having RR's every year to remind me to get in gear! Cute invites! Fun, fun, fun!
ReplyDelete