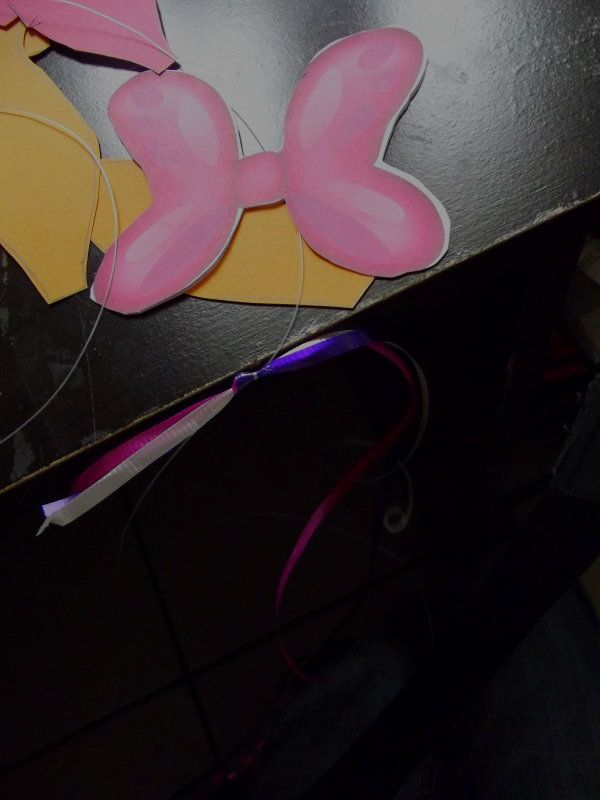
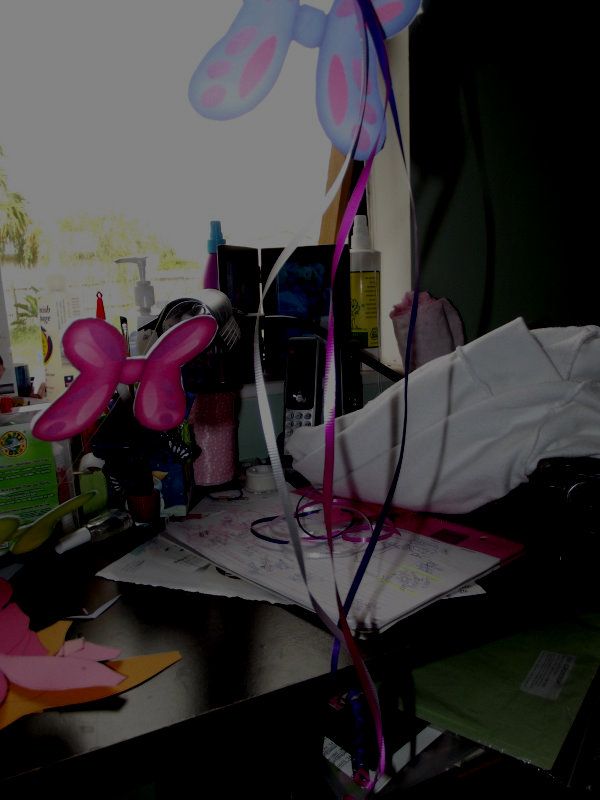
Today was a very busy day for party prep. I started with the butterfly bow mobile. It was easy enough to print and assemble based on their instructions. I made two of them. I used fishing line to sting them so they'd look like they were flying. I added hot pink, white and purple curling ribbon at each end for an embellishment.


Once I was happy with those (thanks Disney for making them so simple!) I moved on to paper bows. Click the link above and print her template. If you're using them for Minnie Mouse bows you don't need the ribbon part. I made both sizes of bow so I could embellish signs and goody bogs, etc.
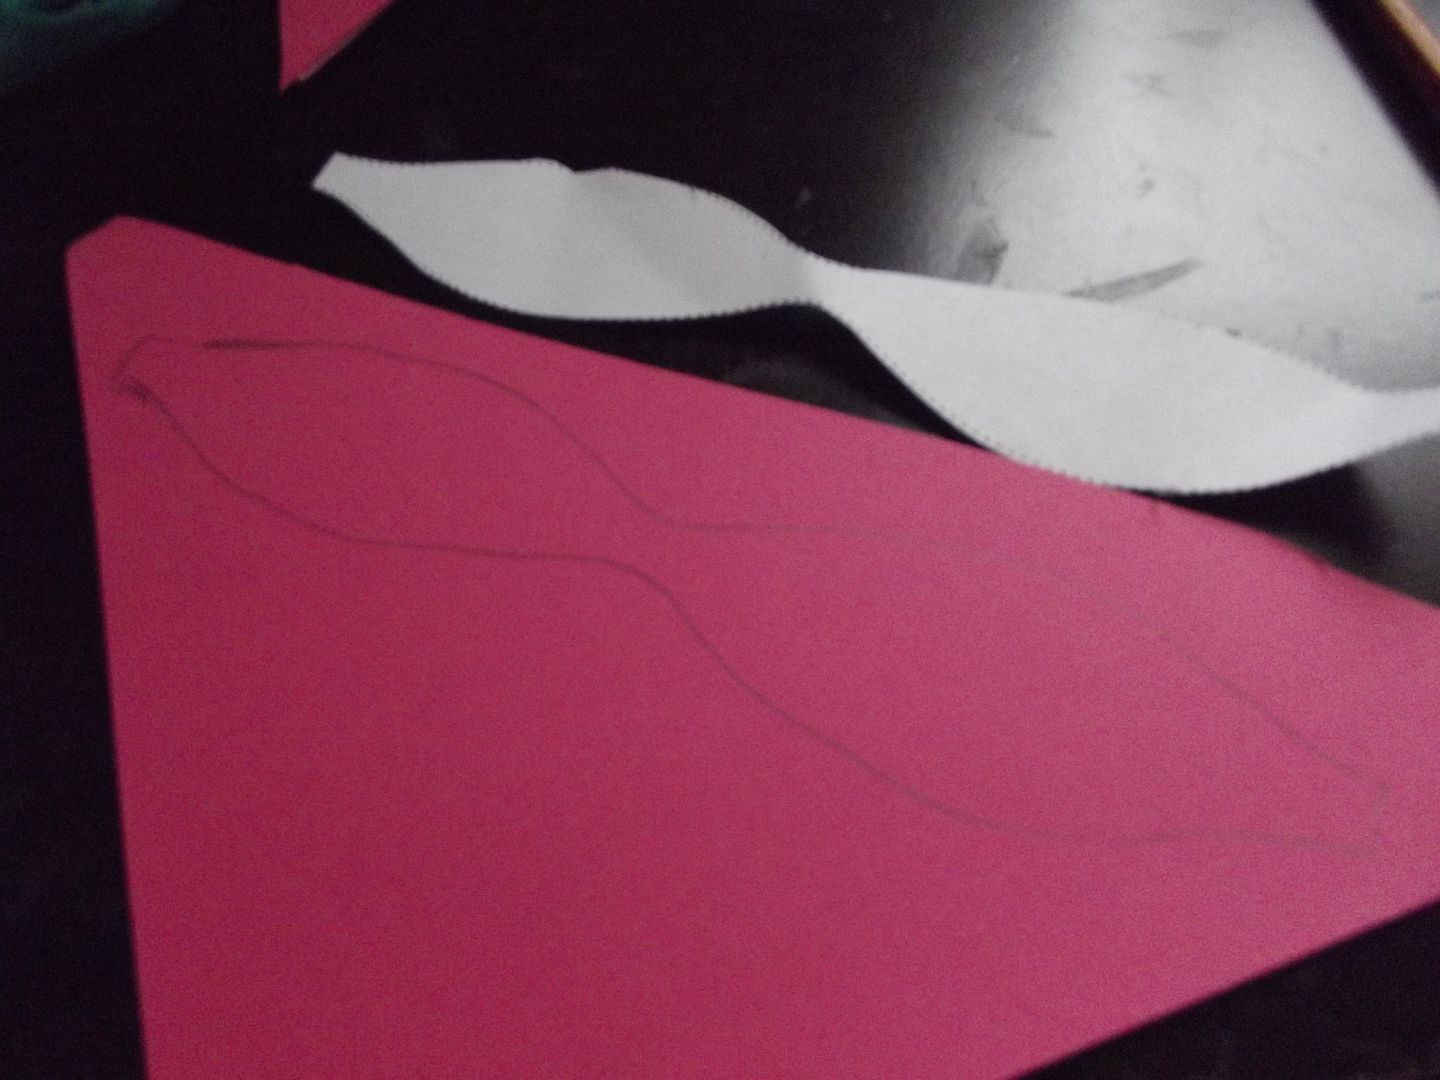
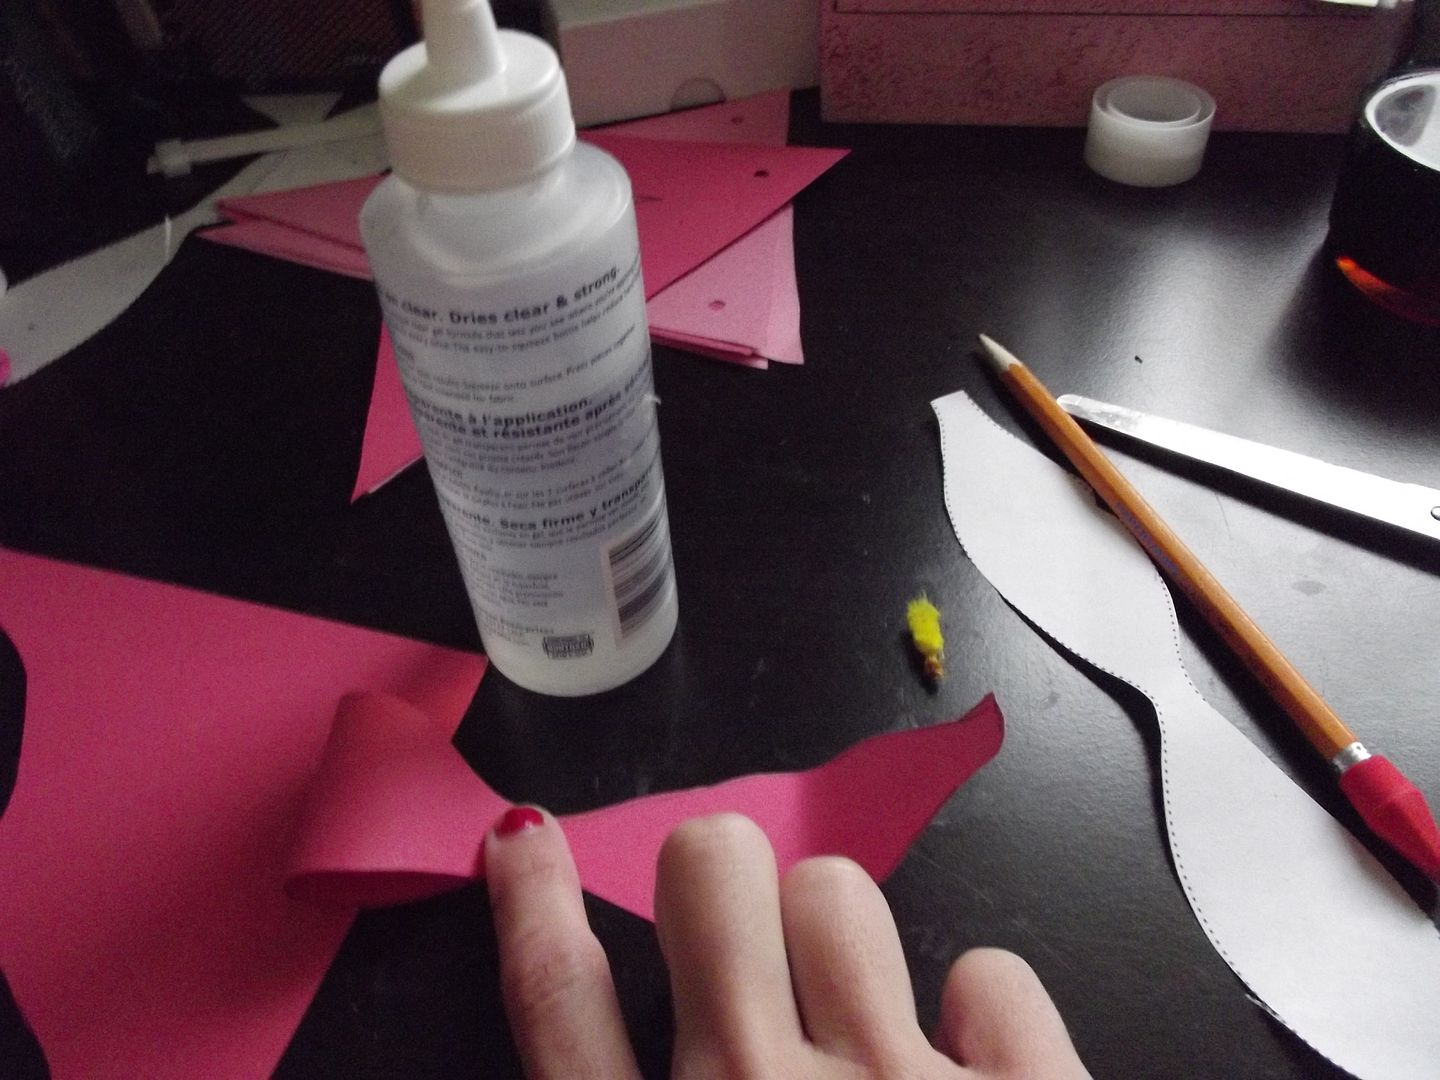

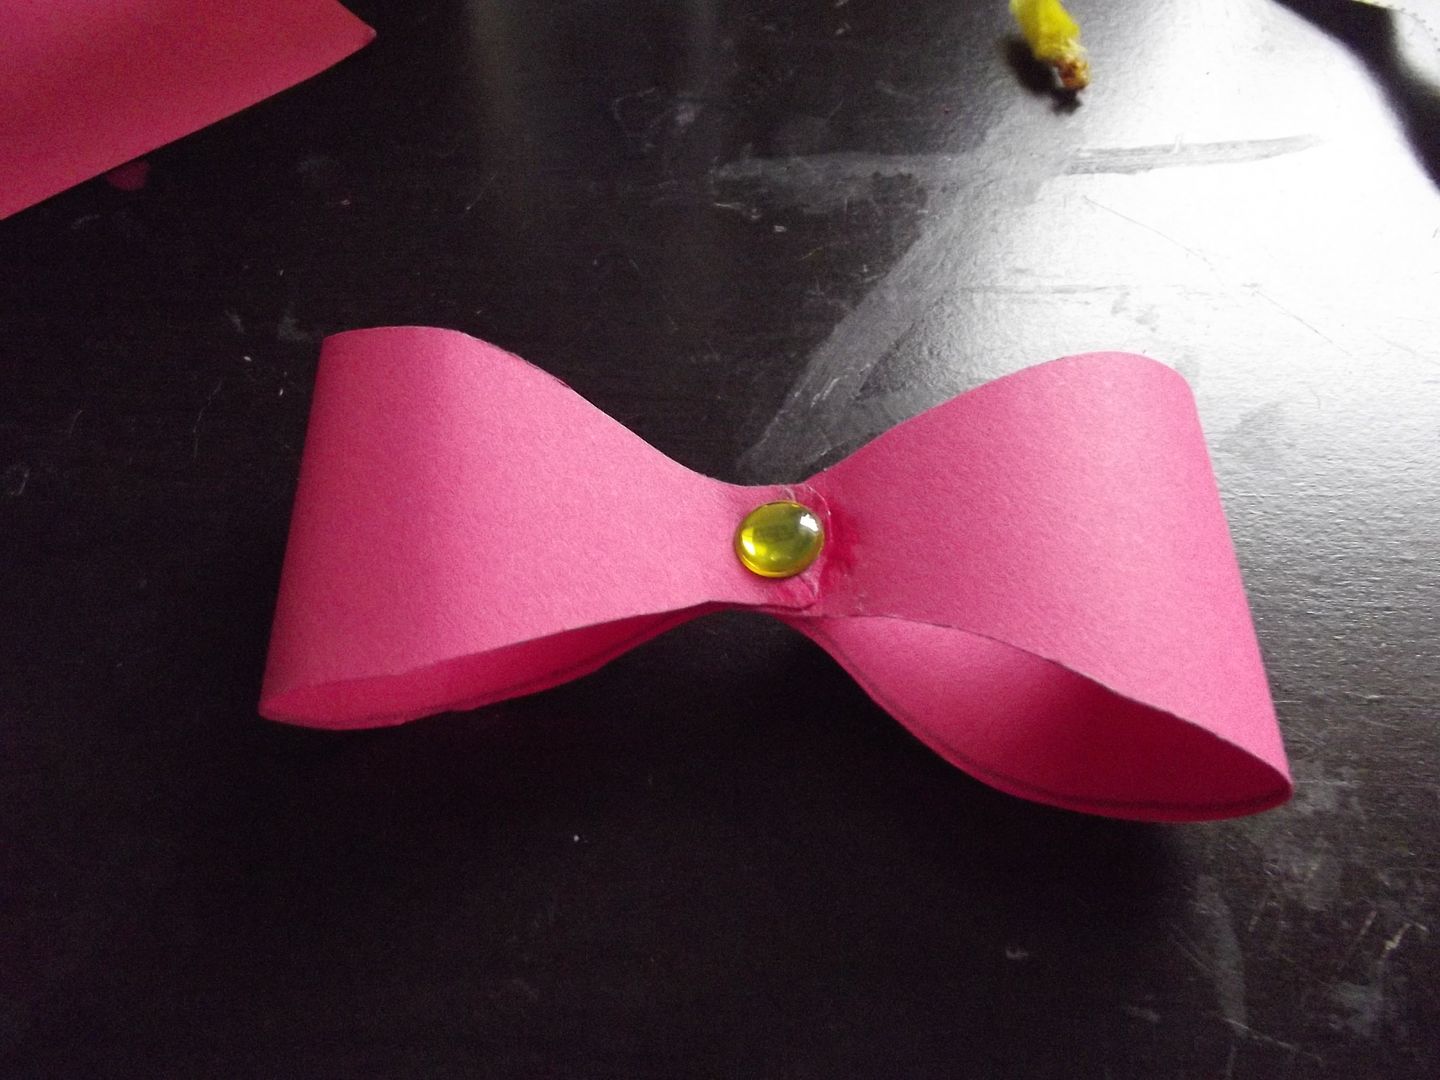
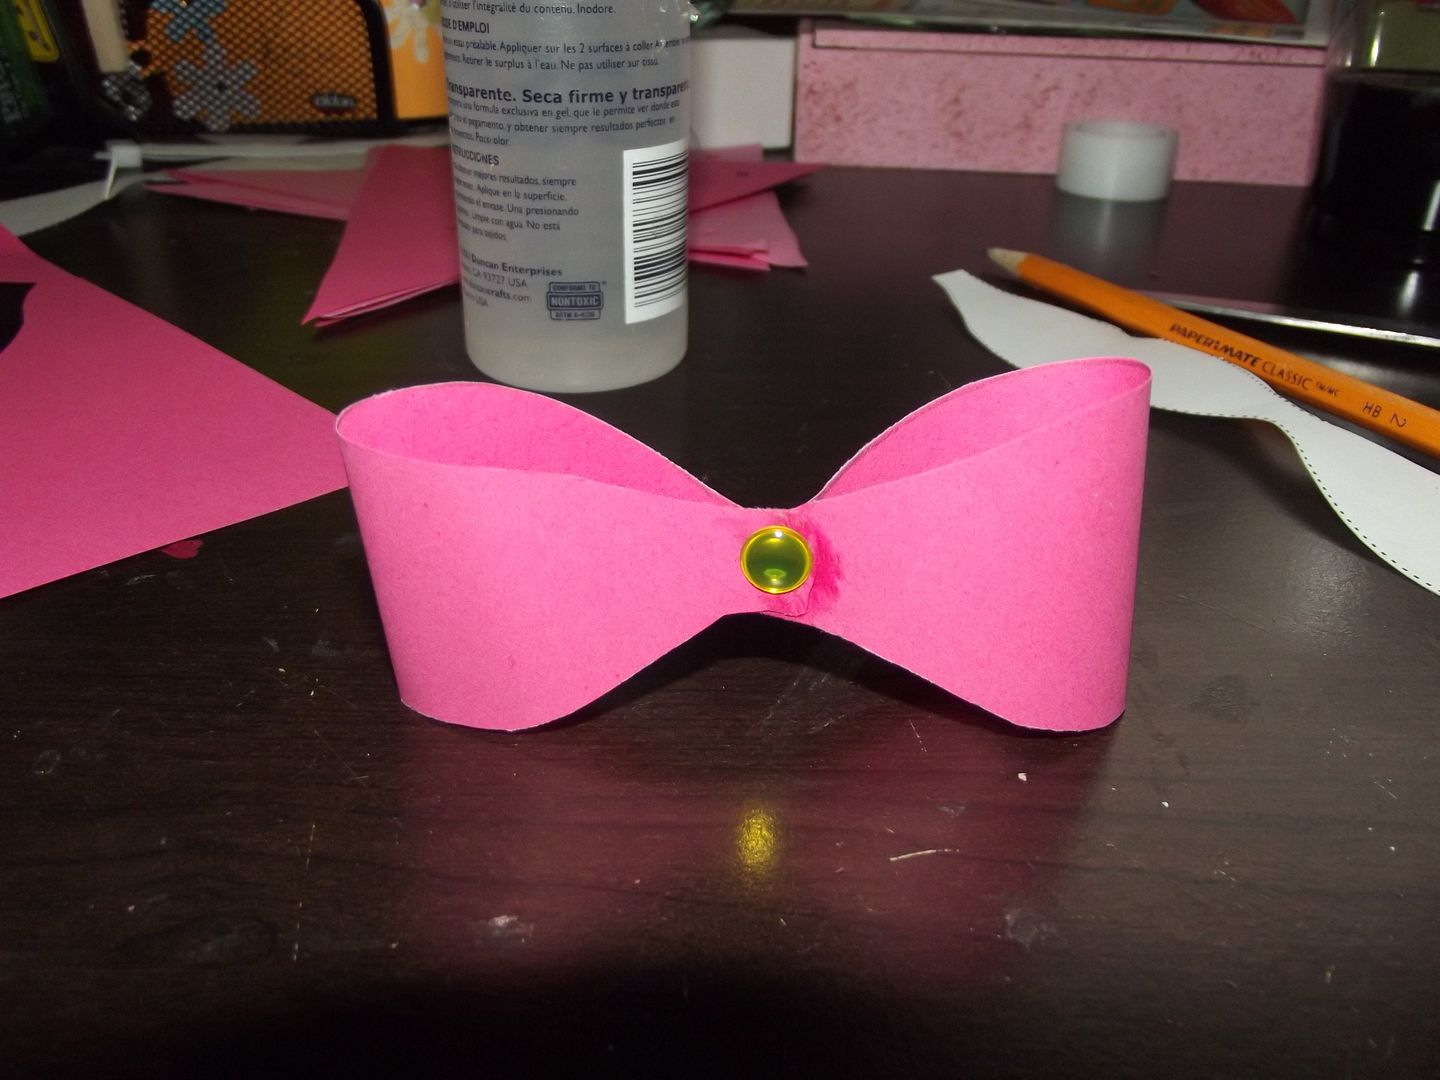
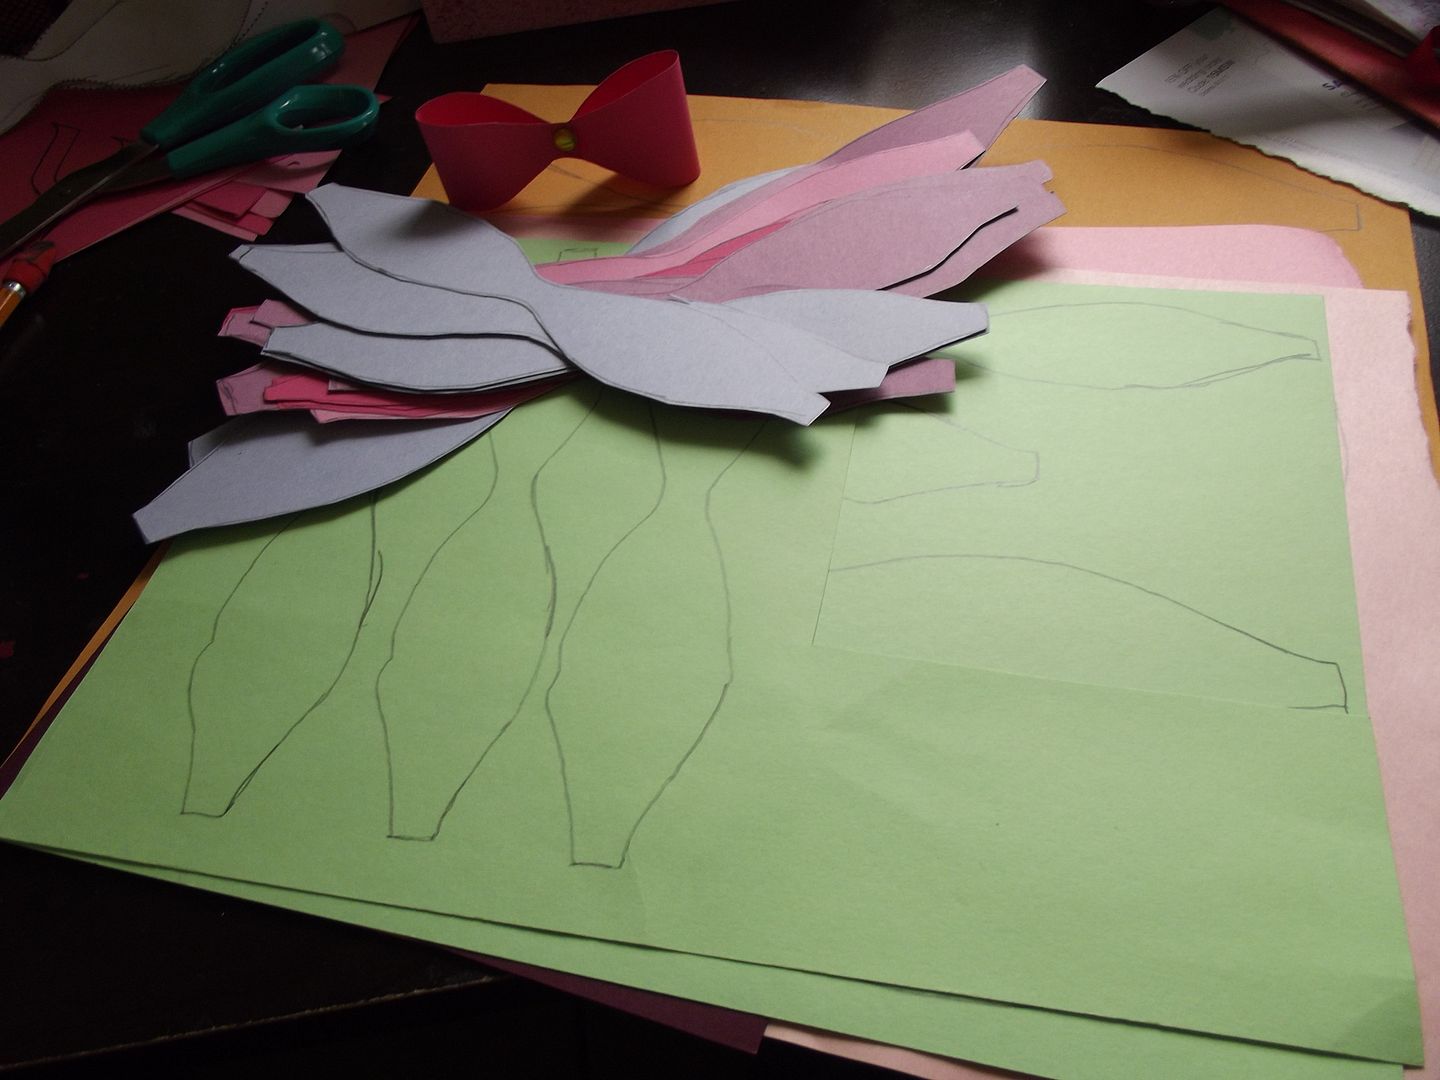
Now after the tedium of tracing and cutting a few dozen bows it was time to glue and embellish. Make sure you add your decorations to the outside of your bow. If you do glue sequins or any other 3D element I recommend folding and then unfolding your bow so you can see where the creases are. Some of my ill-placed glitz popped right off.
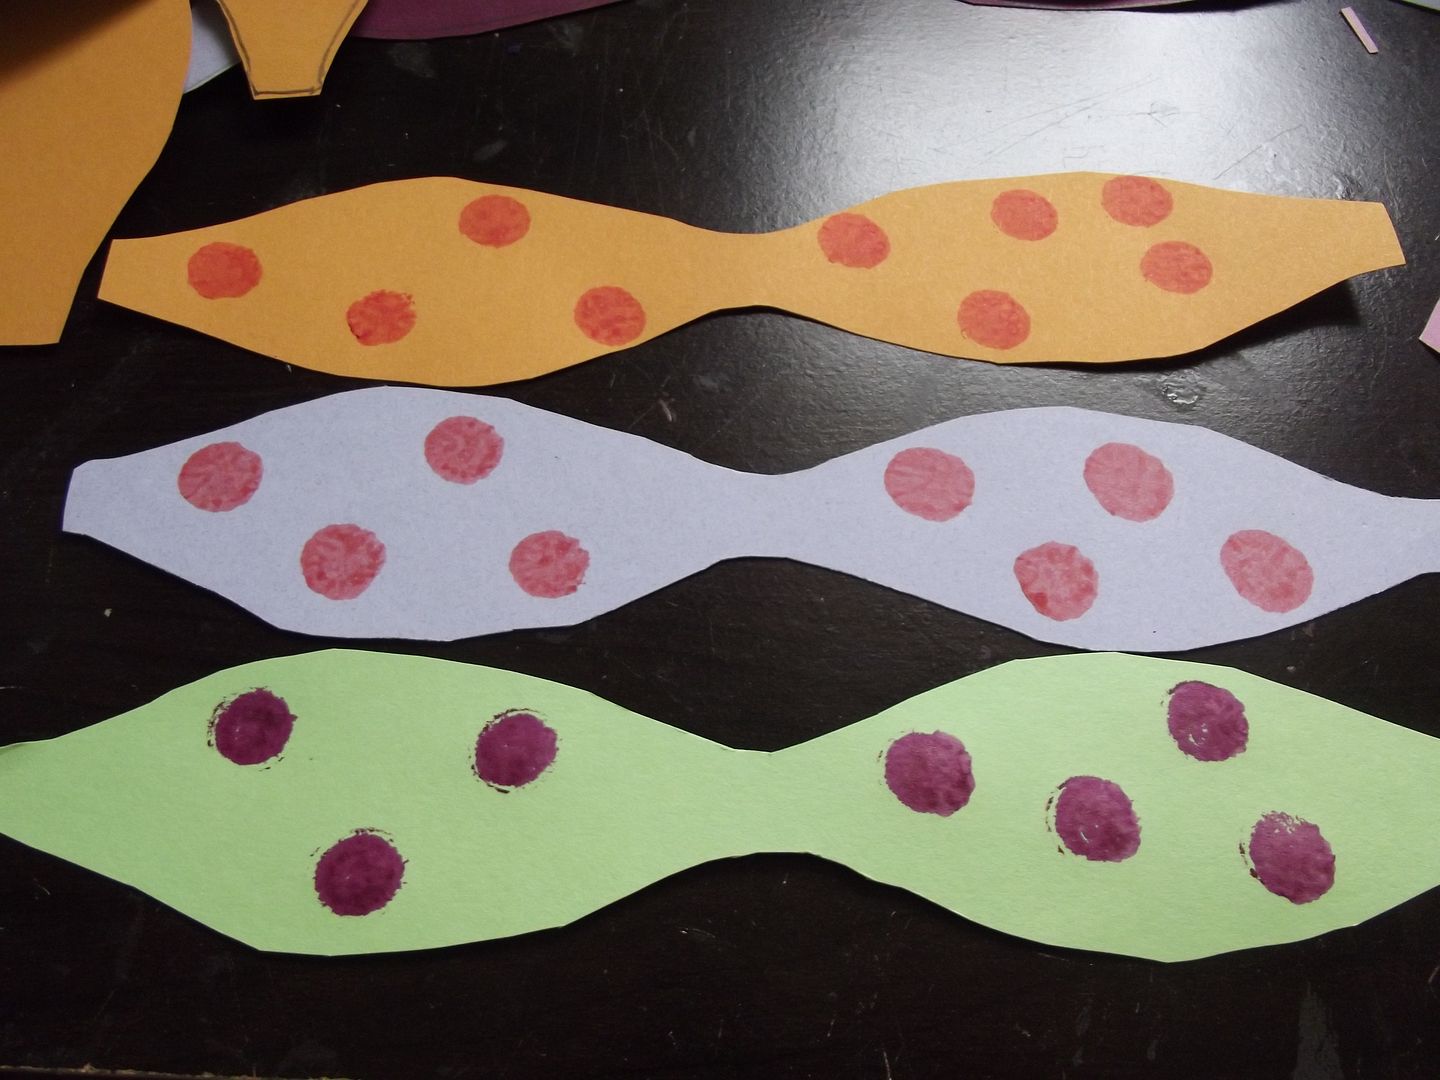
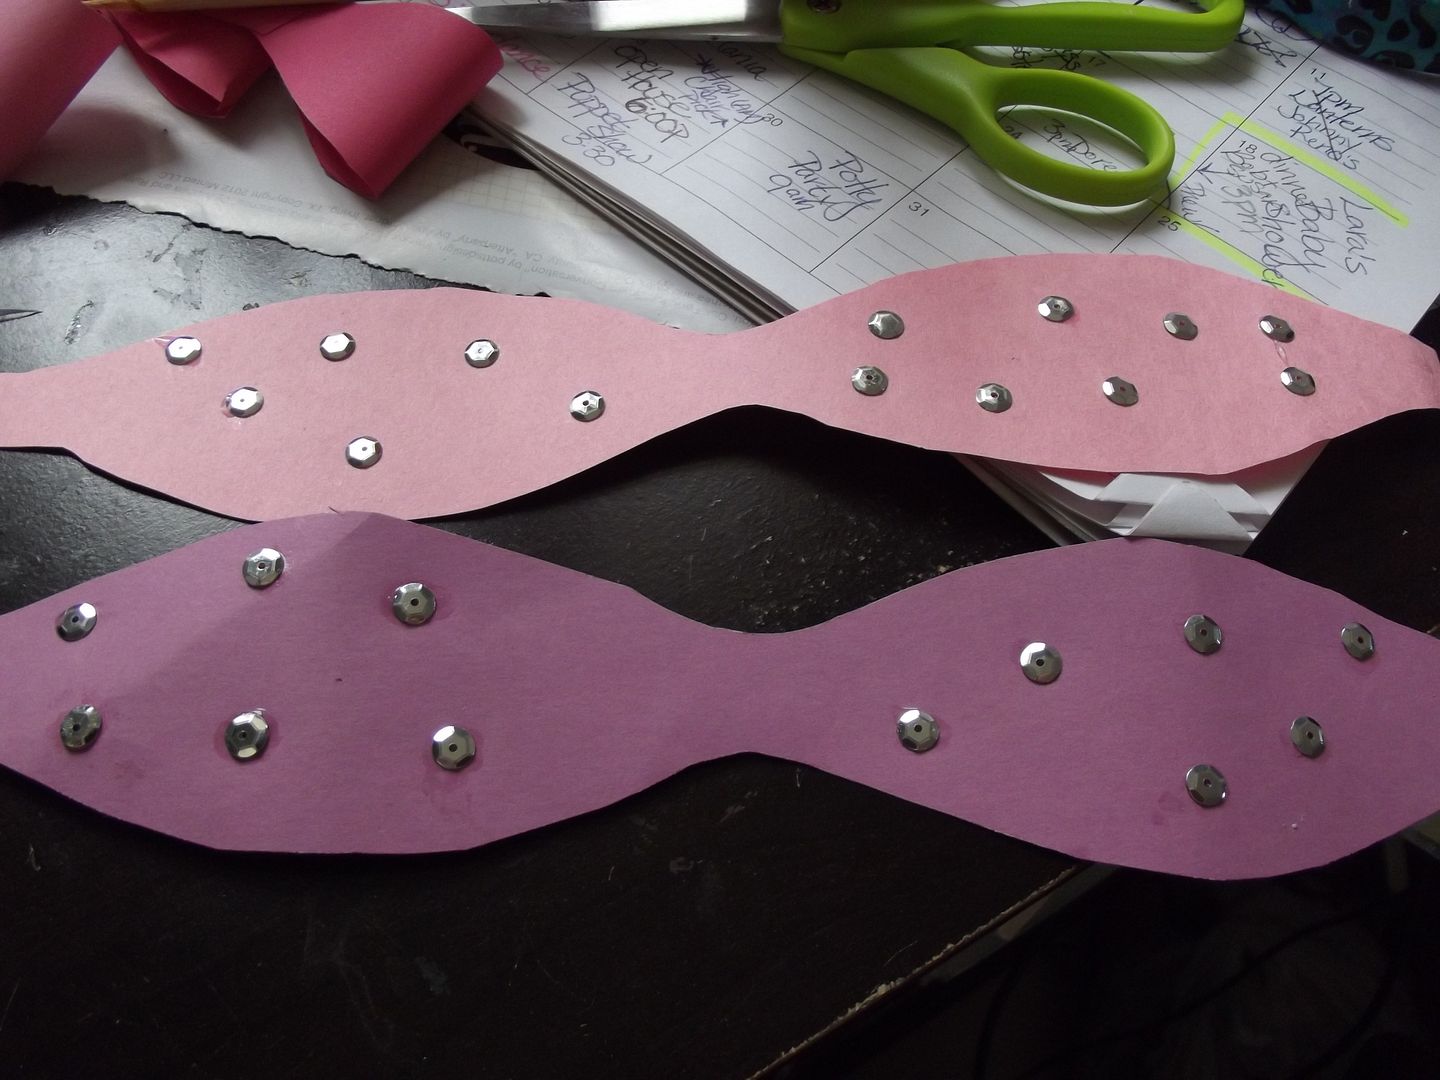
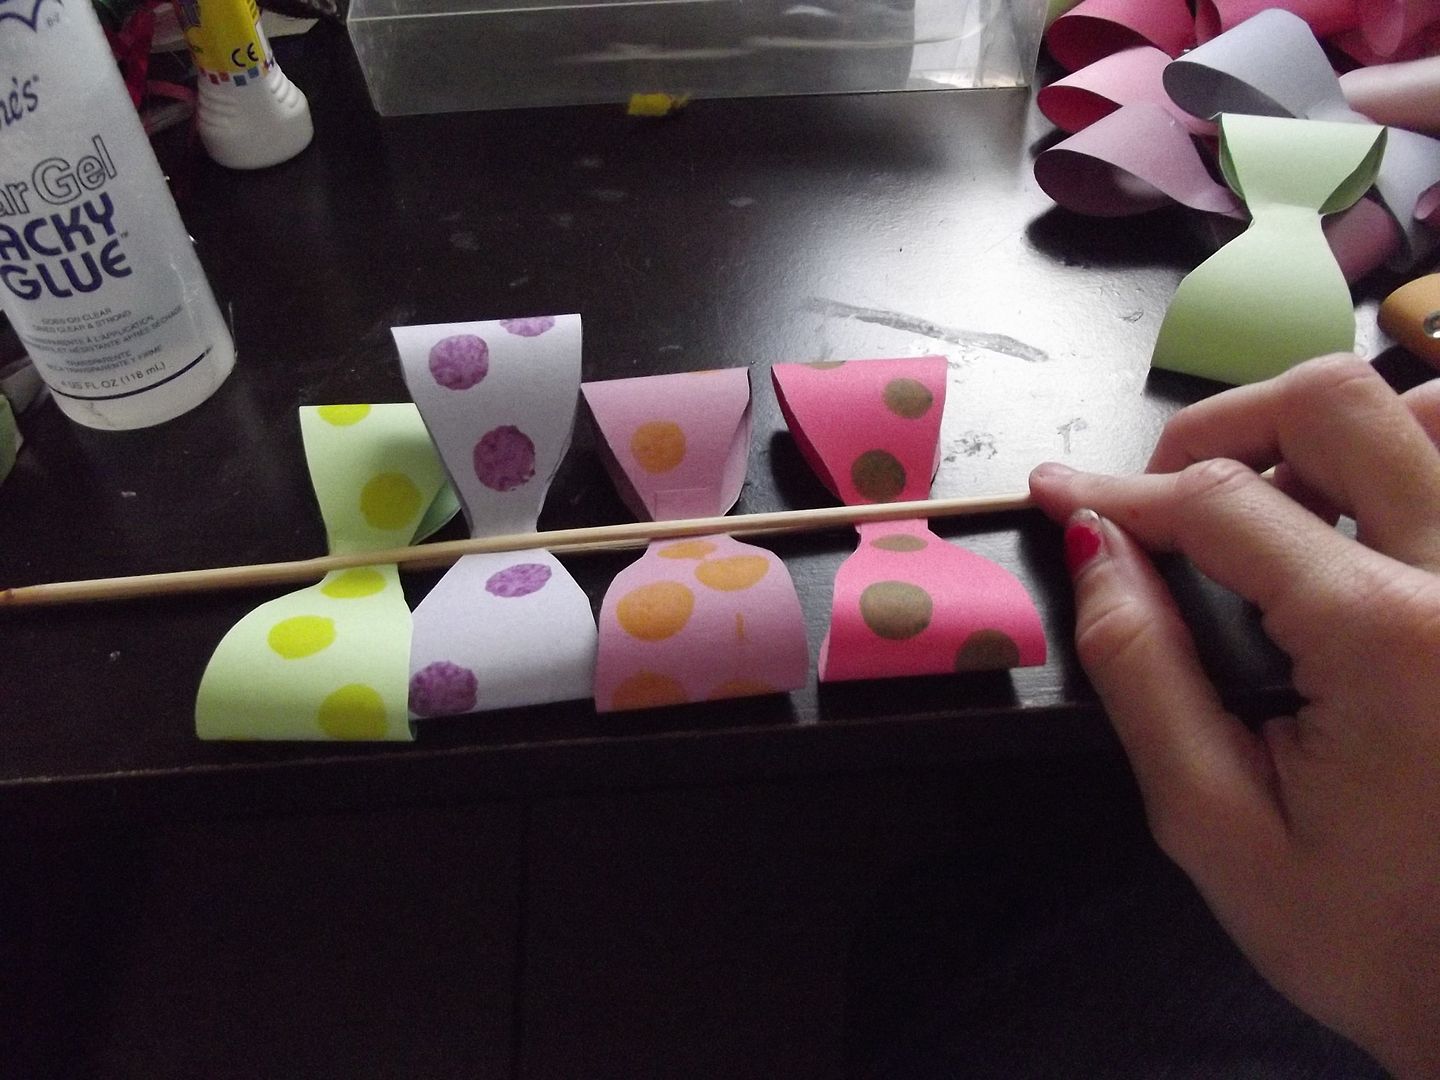
Then fold them up. Bring each end to the middle. I used tacky glue. It worked best when I used a small dot, spread it into a thin layer with my finger and the dipped the top layer into the glue puddle before pressing and holding them firmly together. Mike cut a kitchen skewer down the middle so I could hold many bows firmly in the center at once.

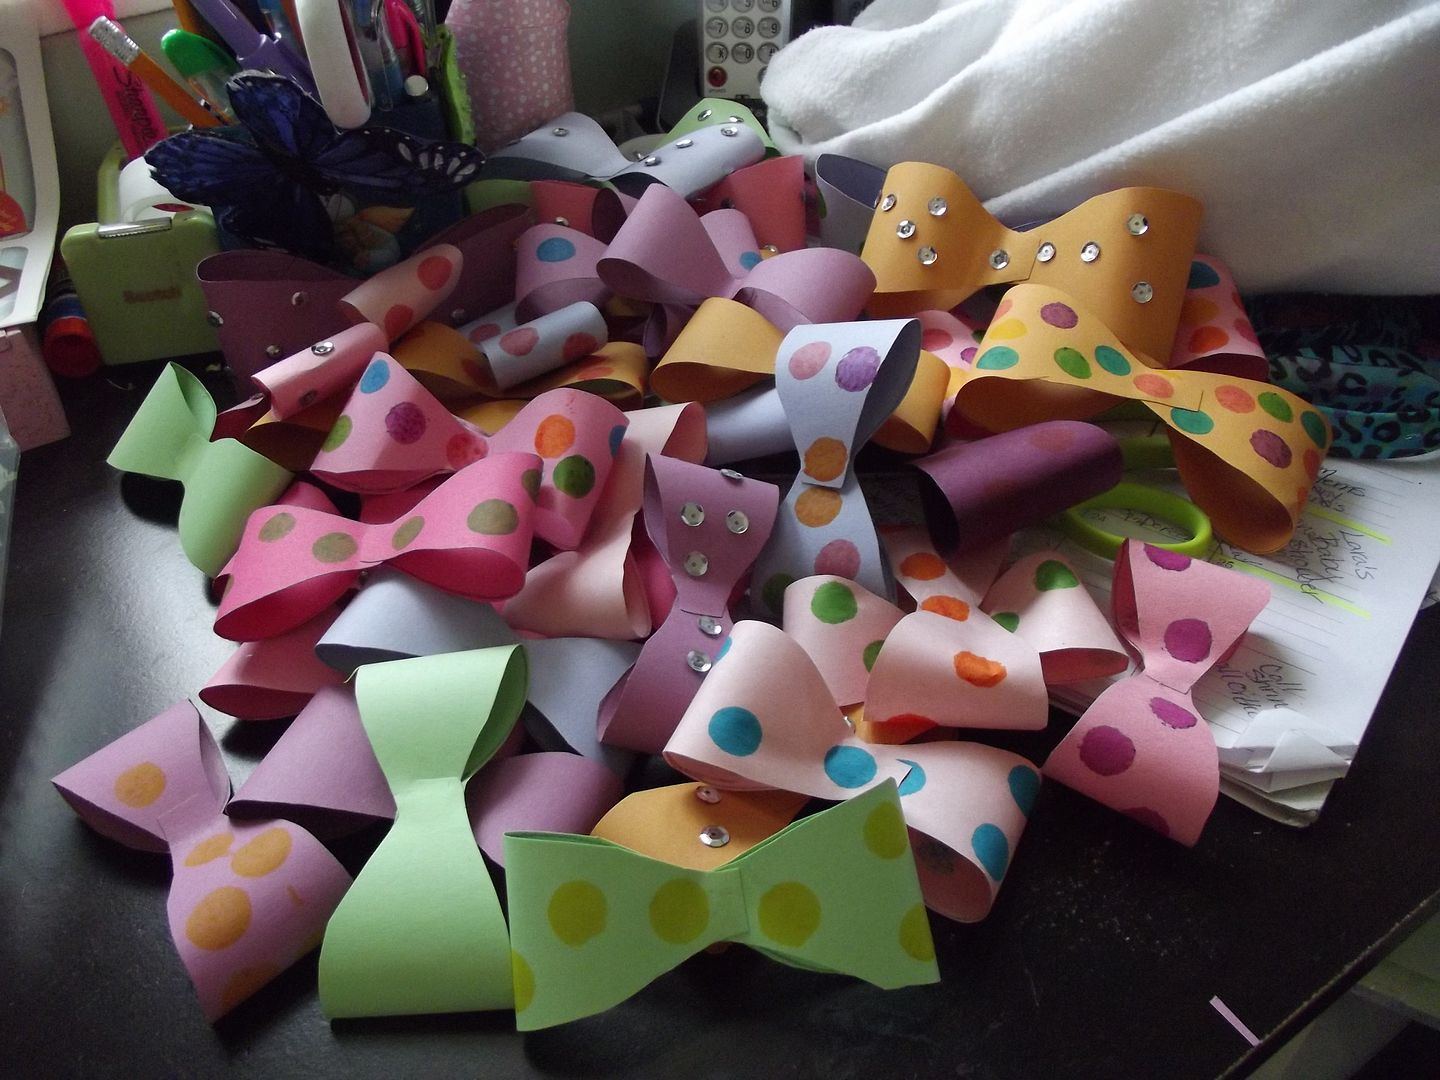
Here's the bowtique's paper inventory.
Stay Tuned: Tomorrow goody bags, signs and other miscellaneous decor.

No comments:
Post a Comment