

When Magic bands appeared on the scene I remember thinking they were pretty plain. Soon after Disney rolled out all their Magic Band accessories and I remarked to my husband "those are cute, but I could make them make them pretty without all that." Cue my first stay on Disney property ever to prompt a little Pinterest research. Miss Roo got these adorable Frozen tattoos in one of her birthdays gifts. It was super easy and they turned out great.
Materials
- Magic Bands!
- Disney Themed Temporary Tattoos
- Clear Nail Polish
- Sparkly Nail Polish
- Small Skewers/Qtips
- Scissors
- Wet Washcloth/Paper Towel
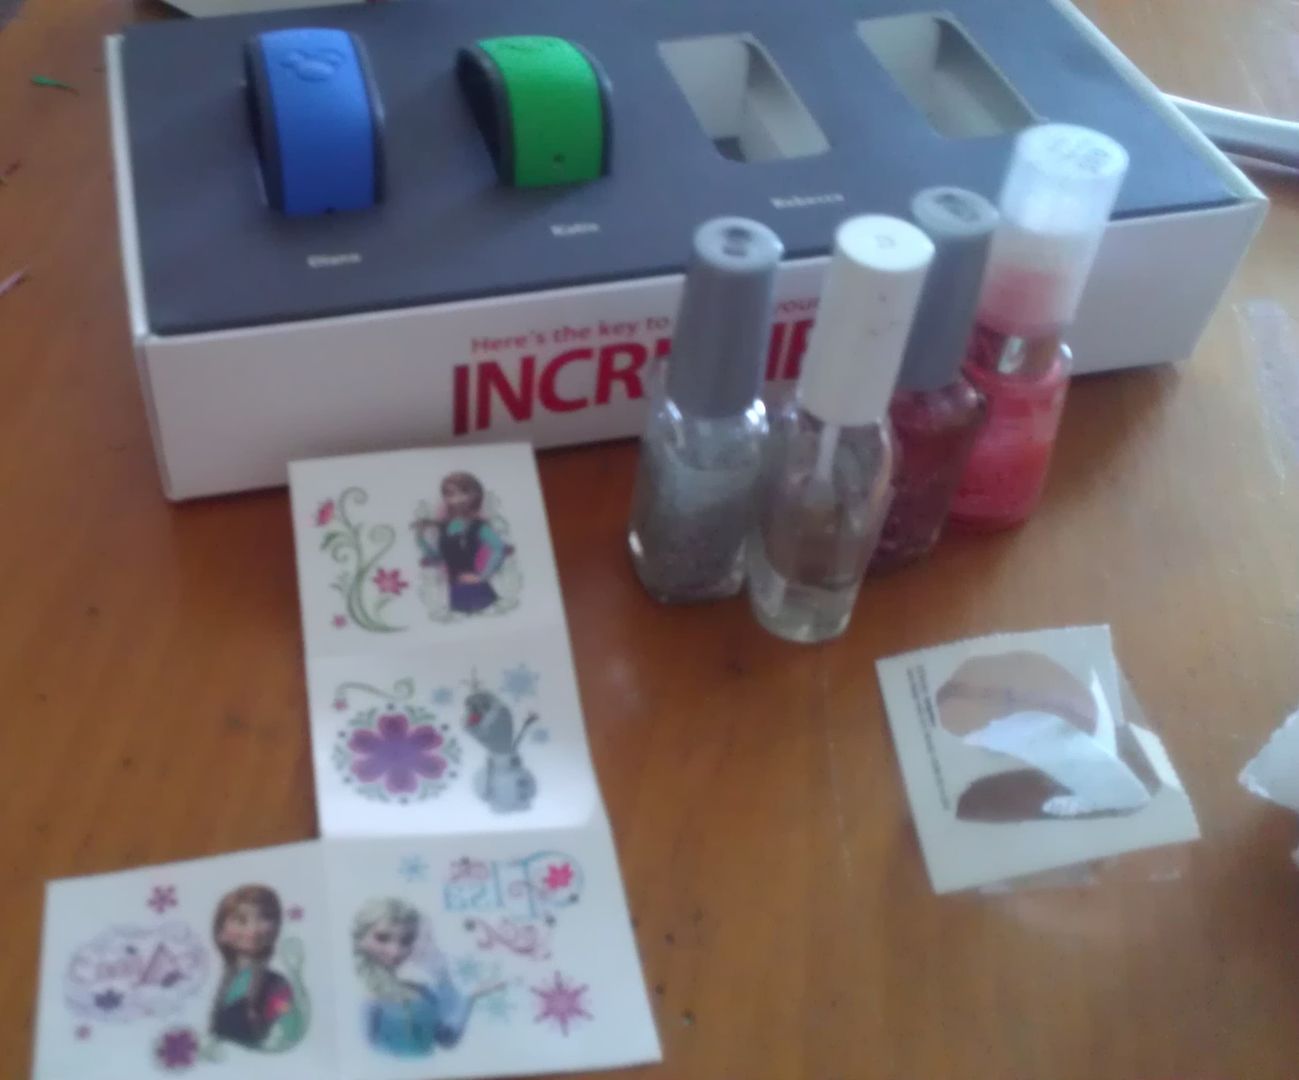

Choose your tattoo and cut it out. I found long slim-er tattoos fit best. Cut as close to the design as you can. Remove the the clear film and place it face down on your band. Cover with a wet washcloth for about 20 seconds. Make sure you don't move your tattoo around while applying it, it will cause tears. Gently peal off the backing paper. Allow your tattoo to dry. Then apply a thin coat of nail polish evenly over top of the tattoo.

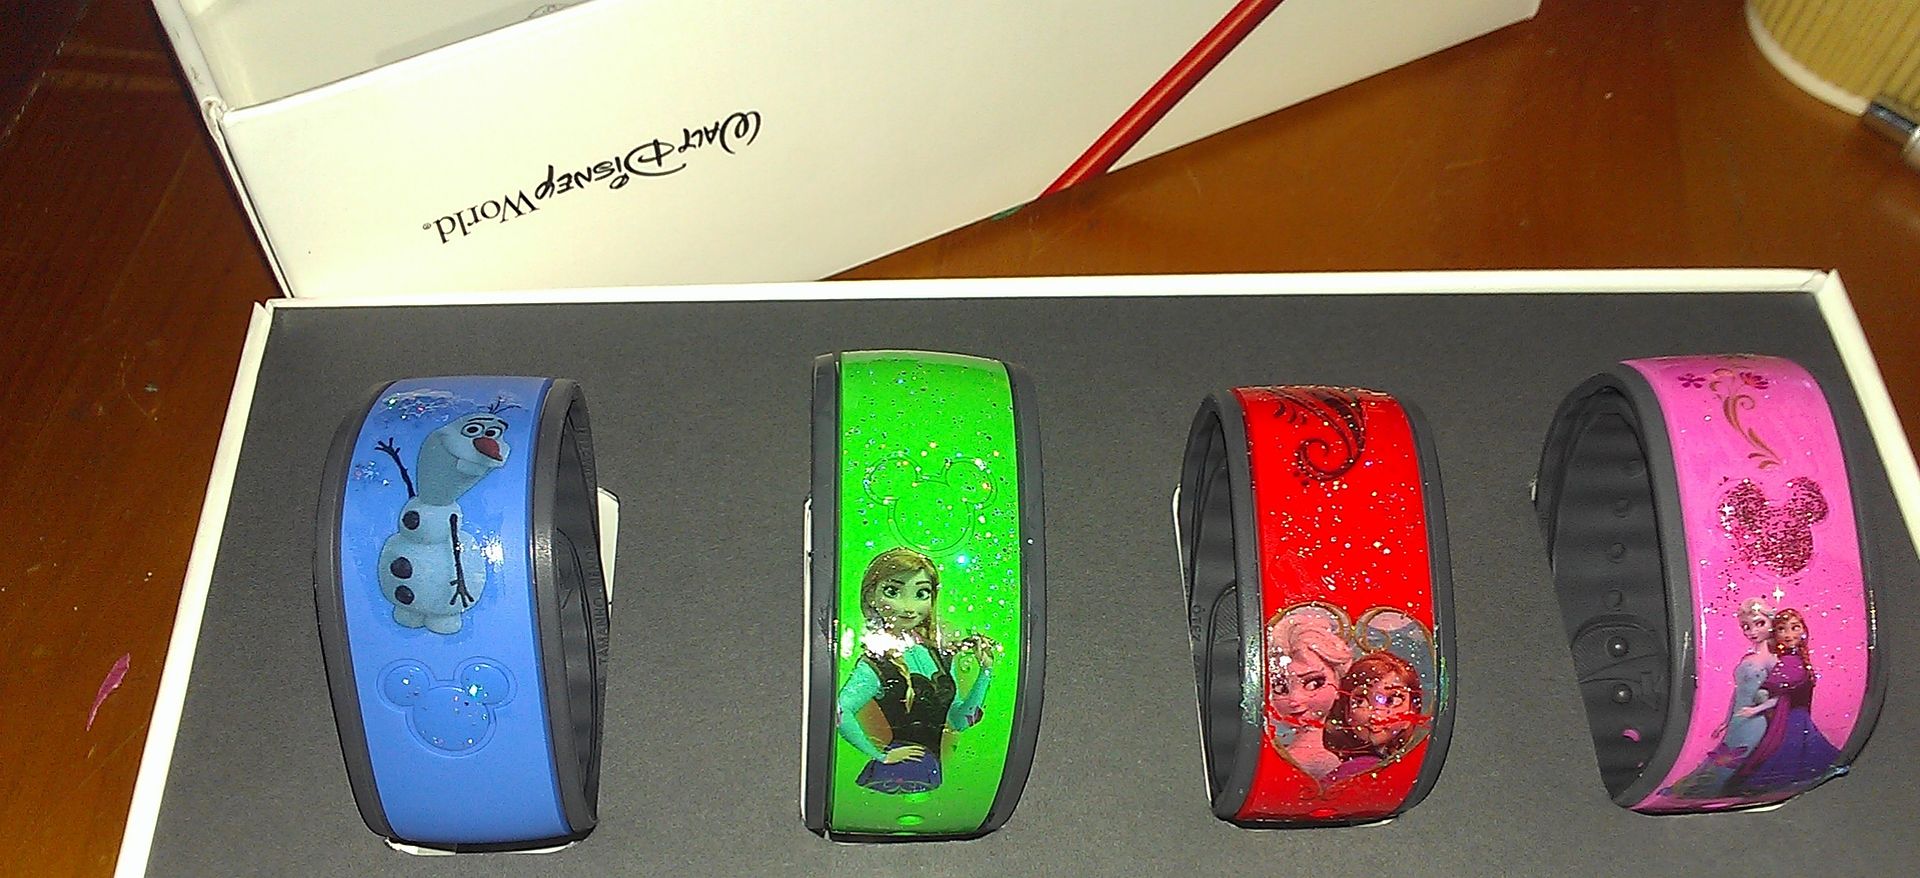
Once your clear coat is applied use a skewer to clean up any part of the tattoo that goes over the edges. Apply sparkly nail polish as desired. For Roo's pink band I used pink sparkly polish on the Mickey head and in a thin coat over the rest of the band. For another band I used silver sparkles on top of the snow flakes and Mickey head. On the last two I applied a coat of silver sparkles over the whole band. Once you're done allow to dry completely and you're all set!


Princess Roo eating a Mickey bar and sporting her sparkly magic band.
No comments:
Post a Comment