Showing posts with label diy. Show all posts

Wednesday, October 8, 2014

Decking the Hall-O-Ween

Spooky Wreath

Quoth the raven! I made this wreath two years ago, Here's how: Tutorial. It needed some minimal repairs after a year in the closet, but it's still going strong.

Jack Sign

I bought this on on Etsy, it stays up through Christmas. We love Jack!

Skeleton Pjs Hello Kitty Halloween

Halloween Riley style!

Pumpkin Donuts

Festive Treats!

Pumpkin Collar

Even the dog is ready for Halloween

Tink Pumpkin

My new decoration this year, Pumpkins and pixie dust!

Roo Winnifred Winnifred

She does a fair Winifred Sanderson impression, doesn't she? Boooooook!

Saturday, September 13, 2014

DIY Magic Band Decorating

Magic Bands

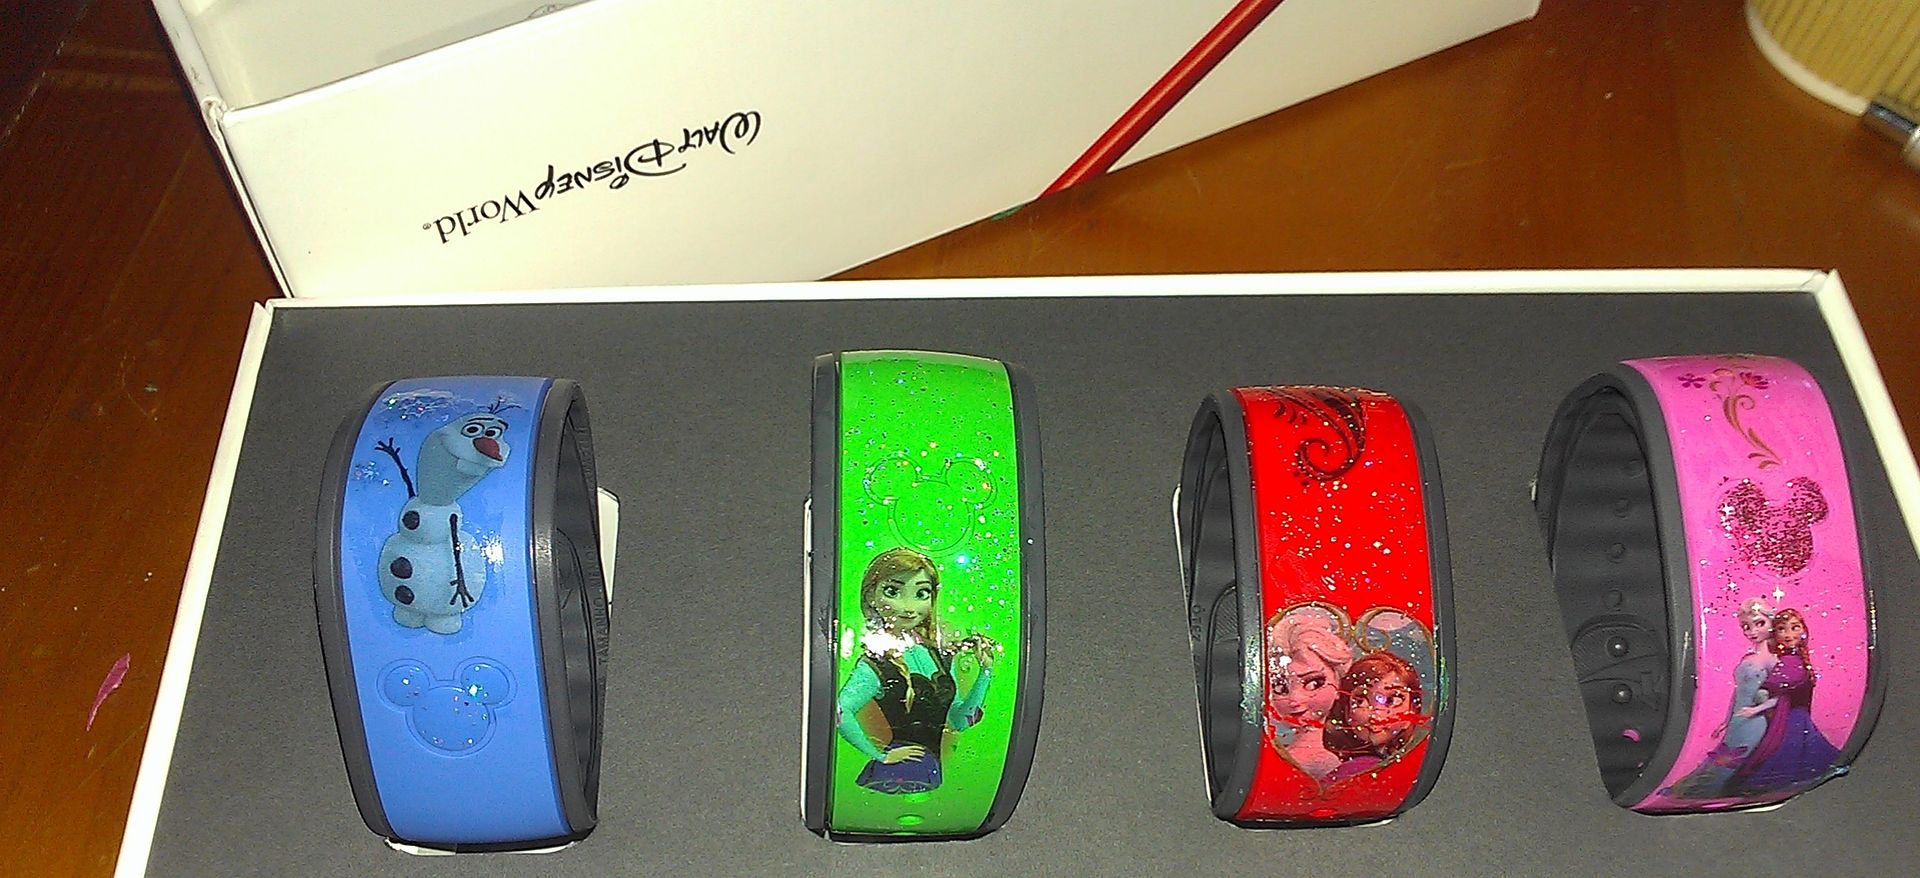
When Magic bands appeared on the scene I remember thinking they were pretty plain. Soon after Disney rolled out all their Magic Band accessories and I remarked to my husband "those are cute, but I could make them make them pretty without all that." Cue my first stay on Disney property ever to prompt a little Pinterest research. Miss Roo got these adorable Frozen tattoos in one of her birthdays gifts. It was super easy and they turned out great.

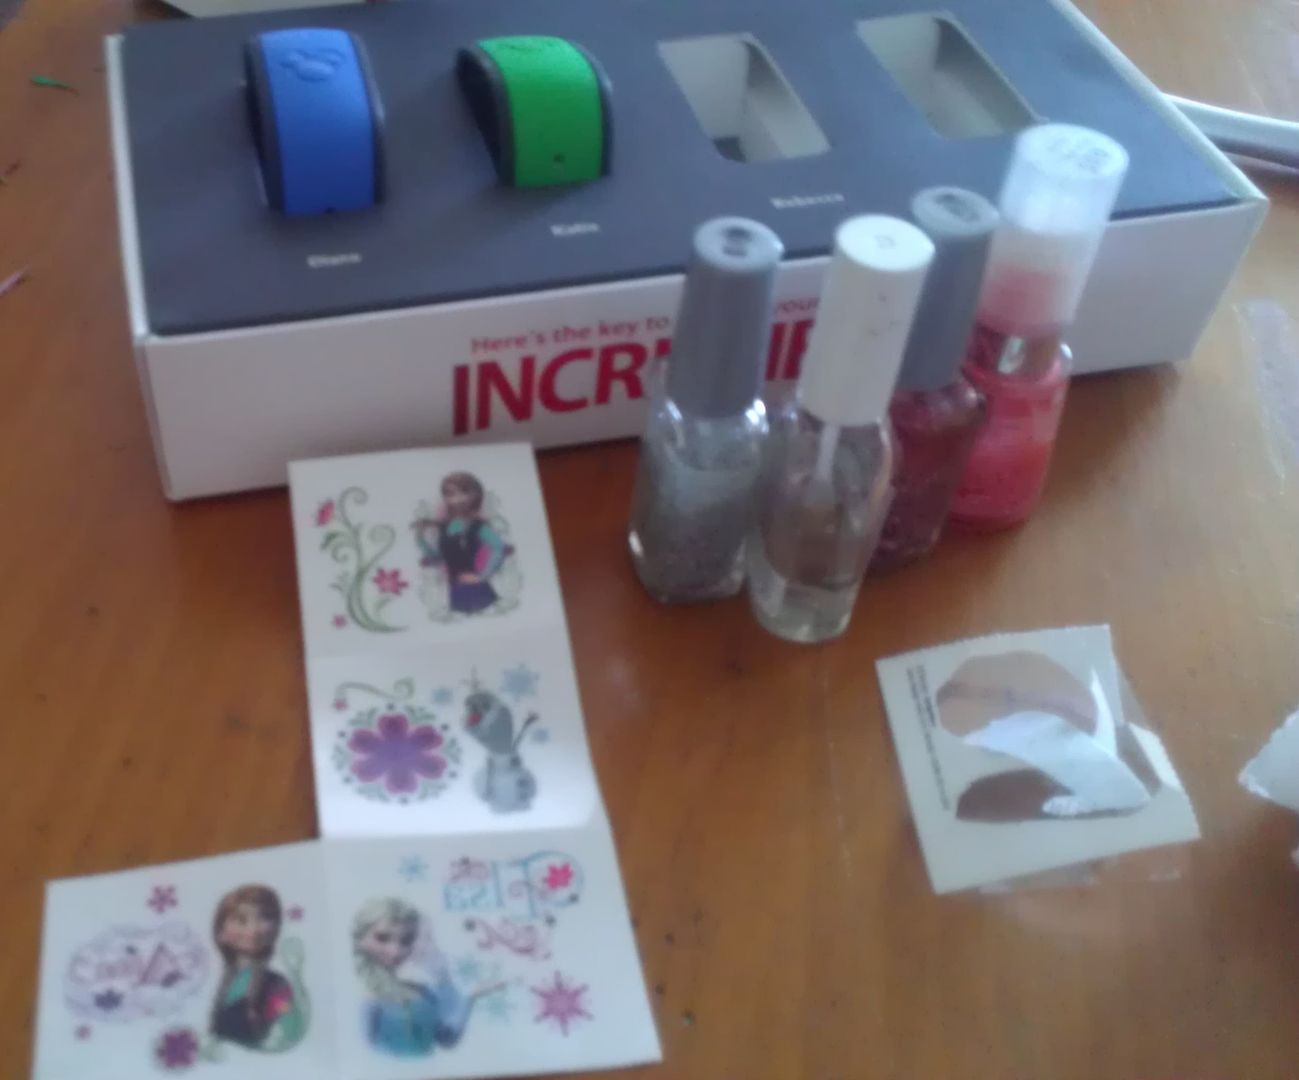
Materials

  • Magic Bands!
  • Disney Themed Temporary Tattoos
  • Clear Nail Polish
  • Sparkly Nail Polish
  • Small Skewers/Qtips
  • Scissors
  • Wet Washcloth/Paper Towel
Supplies Tattoo

Choose your tattoo and cut it out. I found long slim-er tattoos fit best. Cut as close to the design as you can. Remove the the clear film and place it face down on your band. Cover with a wet washcloth for about 20 seconds. Make sure you don't move your tattoo around while applying it, it will cause tears. Gently peal off the backing paper. Allow your tattoo to dry. Then apply a thin coat of nail polish evenly over top of the tattoo.

Clear Coat

Once your clear coat is applied use a skewer to clean up any part of the tattoo that goes over the edges. Apply sparkly nail polish as desired. For Roo's pink band I used pink sparkly polish on the Mickey head and in a thin coat over the rest of the band. For another band I used silver sparkles on top of the snow flakes and Mickey head. On the last two I applied a coat of silver sparkles over the whole band. Once you're done allow to dry completely and you're all set!

Finished Bands Roo's

In Action

Princess Roo eating a Mickey bar and sporting her sparkly magic band.

Friday, September 12, 2014

DIY Disney Autograph/Scrapbook

It's crafty time! After discussing the Disney trip with my partner in crime I was worried that Roo would feel left out because Boo has an autograph book and always has it signed. My family has never done the autograph thing, but with everything being so match-y and even for our birthday princesses I decided she should have something. I decided as long as I didn't spend any money on it it would be a nice way to de-stress.

Cardstock Supplies

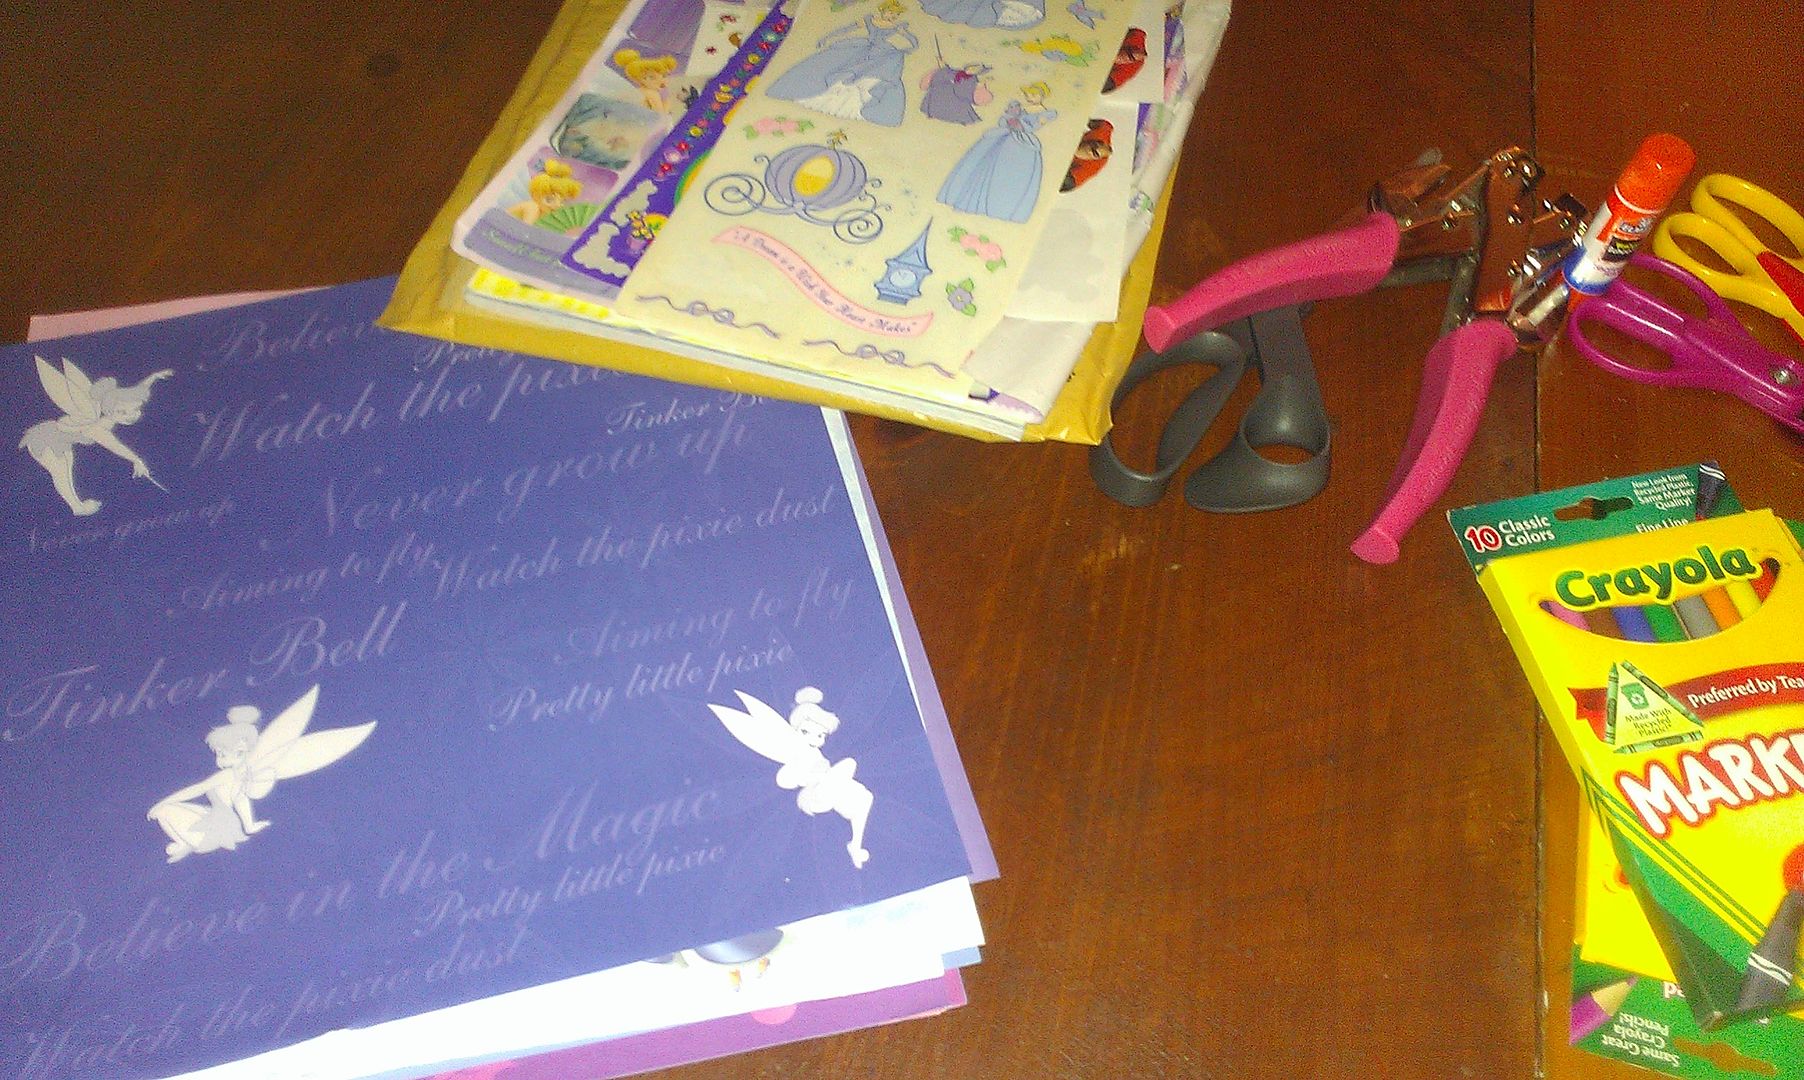
Materials

  • Thin Cardboard (ex: cereal box, shirt box, etc)
  • Card Stock in a variety of colors
  • Scrapbooking paper
  • Glue Stick
  • Crop-a-dile/hole punch
  • Disney Embellishments (Stickers, Paper, Pictures of Characters, etc)
  • Scissors
  • Glitter Pens/glitter
  • Ribbon
  • Metal Rings
Front Cover Front Cover Inside

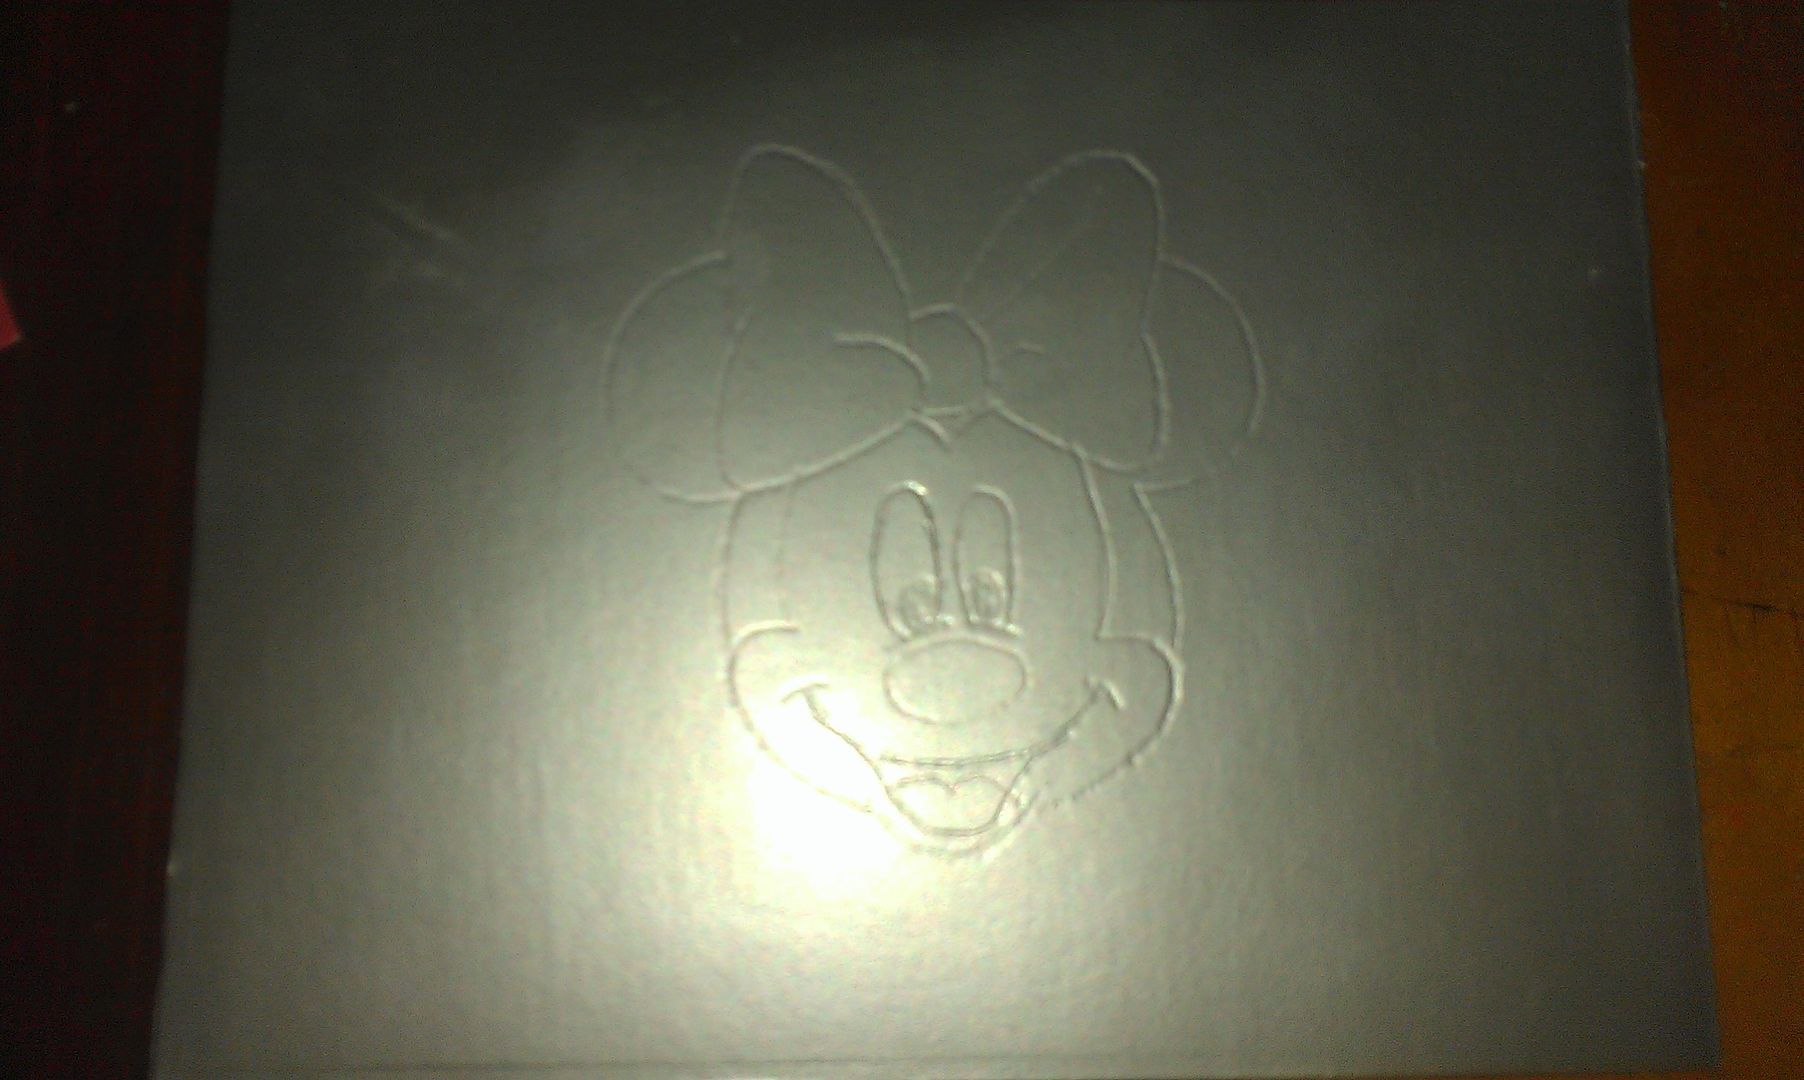
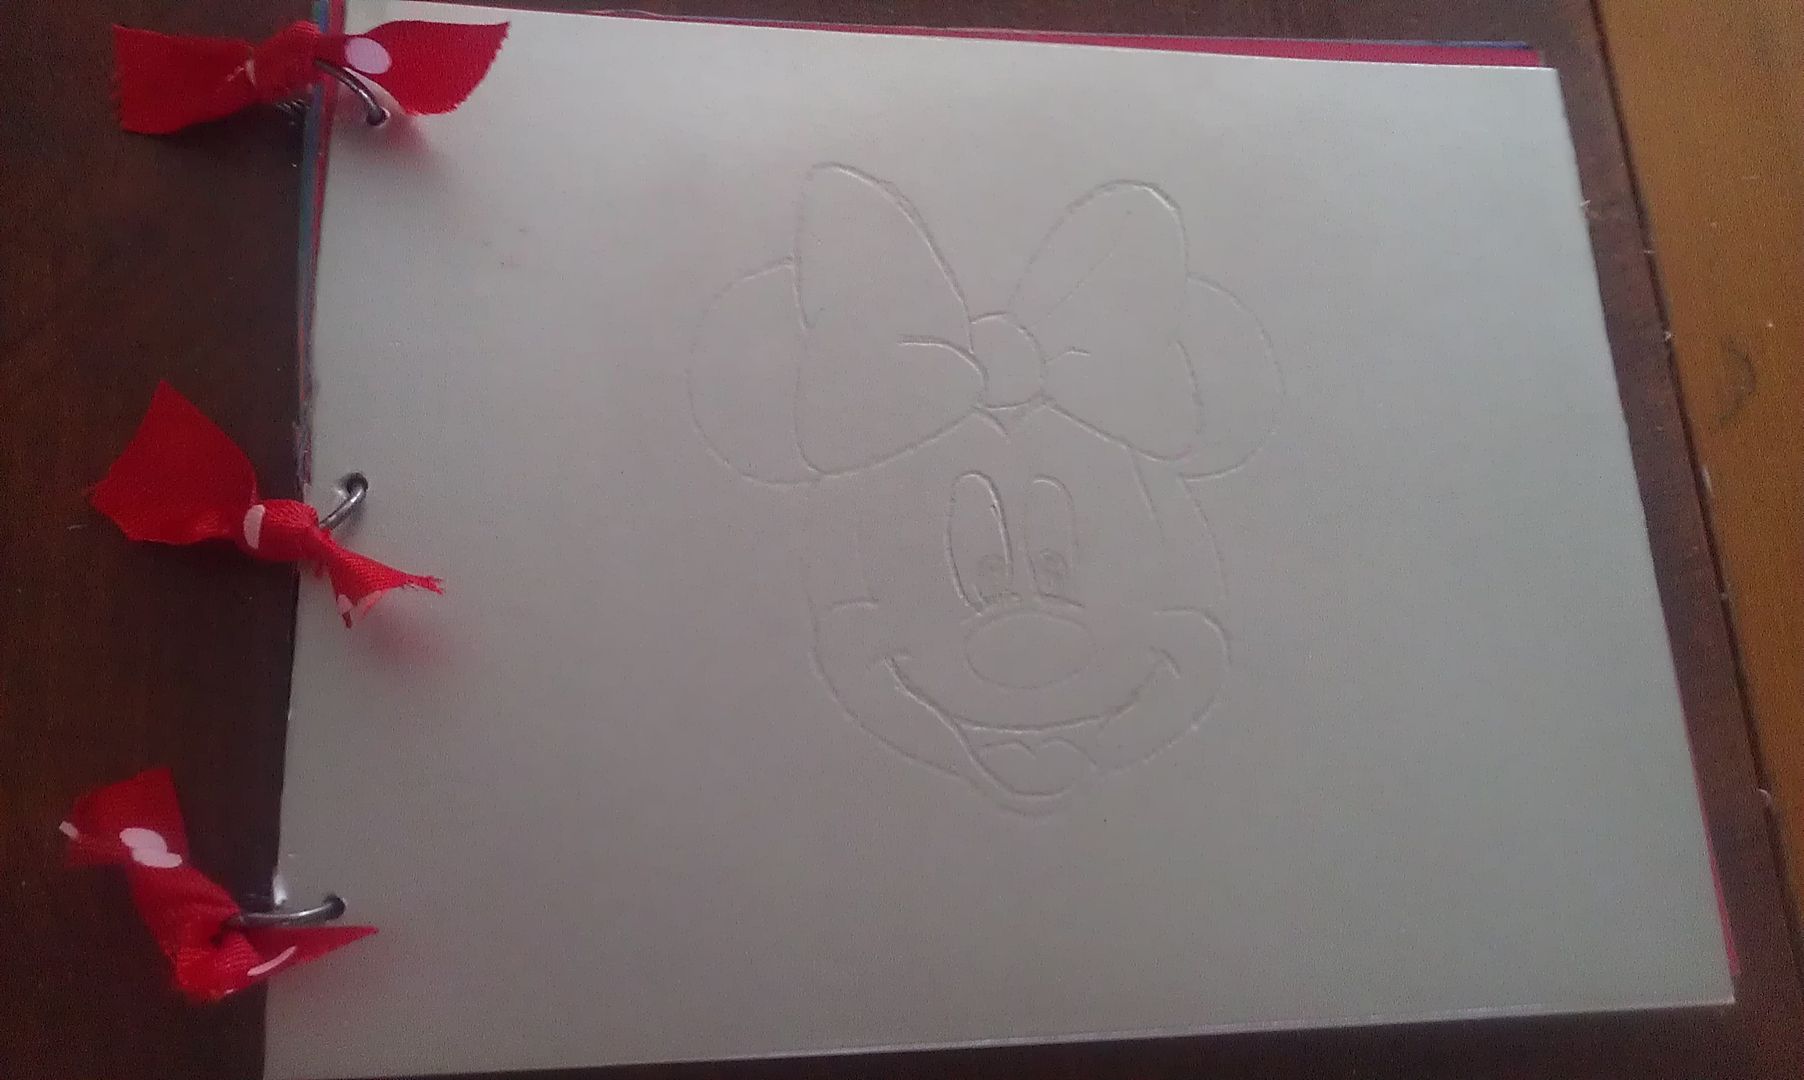
I plucked a silver shirt box from our recycle bin for the cover. Mike helped me cut two even sized rectangle pieces about 6x8in. I wanted mine a little larger than the standard autograph books because I wanted to be able to add photos, tickets, etc after the trip. Once we had these two silver rectangle cover pieces Mike suggested we emboss it. We printed an image of Minnie Mouse's head (just the outline) and then laid the paper over the silver side. Pressing down very firmly with a pencil we traced Minnie. Viola! Super simple.

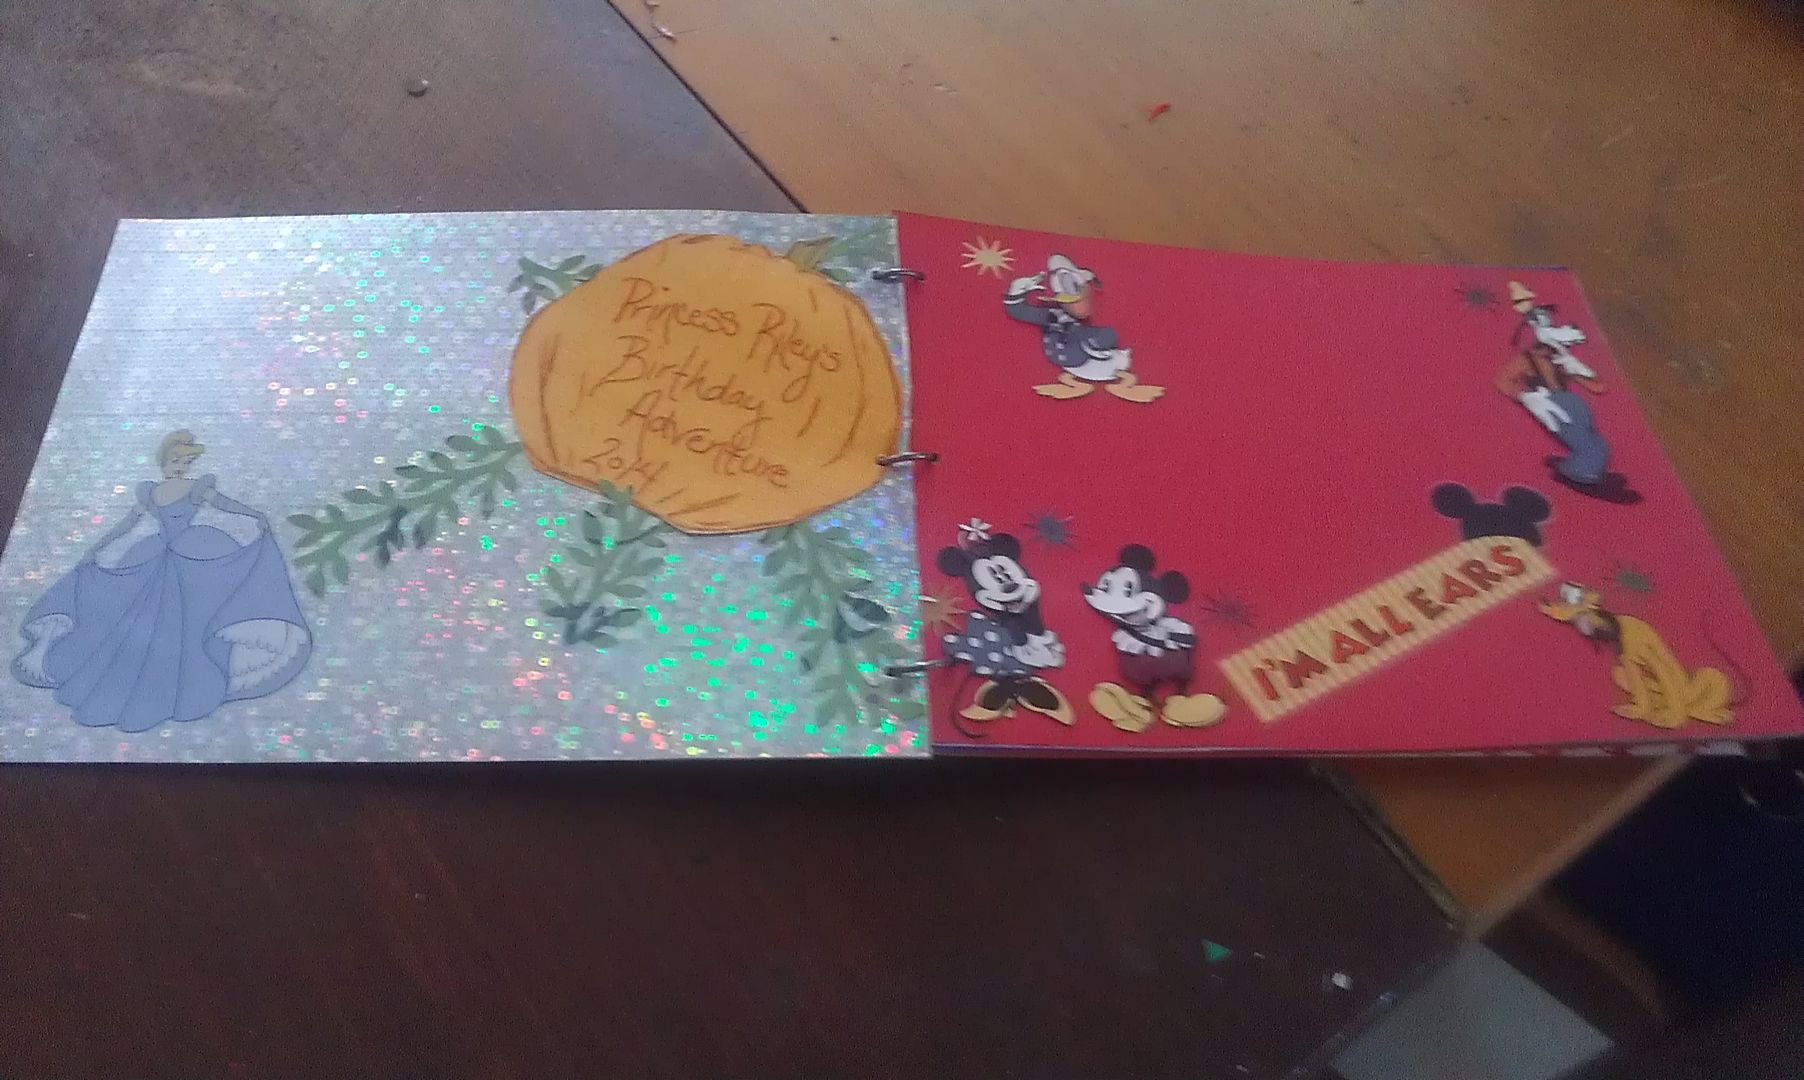
Next, I flipped the cover over and cut a piece of scrapbook paper to glue over top of the cardboard. I chose a silver sparkly piece of paper because I wanted to create the bibbidi bobbidi boo moment. After I had my magic sparkly background I added a Cinderella sticker in the corner. Next, I drew a pumpkin on orange paper. I traced a large circle and wrote "Princess Riley's Birthday Adventure 2014" then I erased some of the edges and made them more pumpkin-shaped. I used paper with a subtle texture and drew lines with colored pencils and markers. After I had my pumpkin I used my Martha Steward vine cutter and green paper to make pumpkin vines. I placed the pumpkin in the top corner and then make vines shooting out in all directions as if the pumpkin were caught in the moment right before it became the carriage.

Back Cover Back Cover Inside

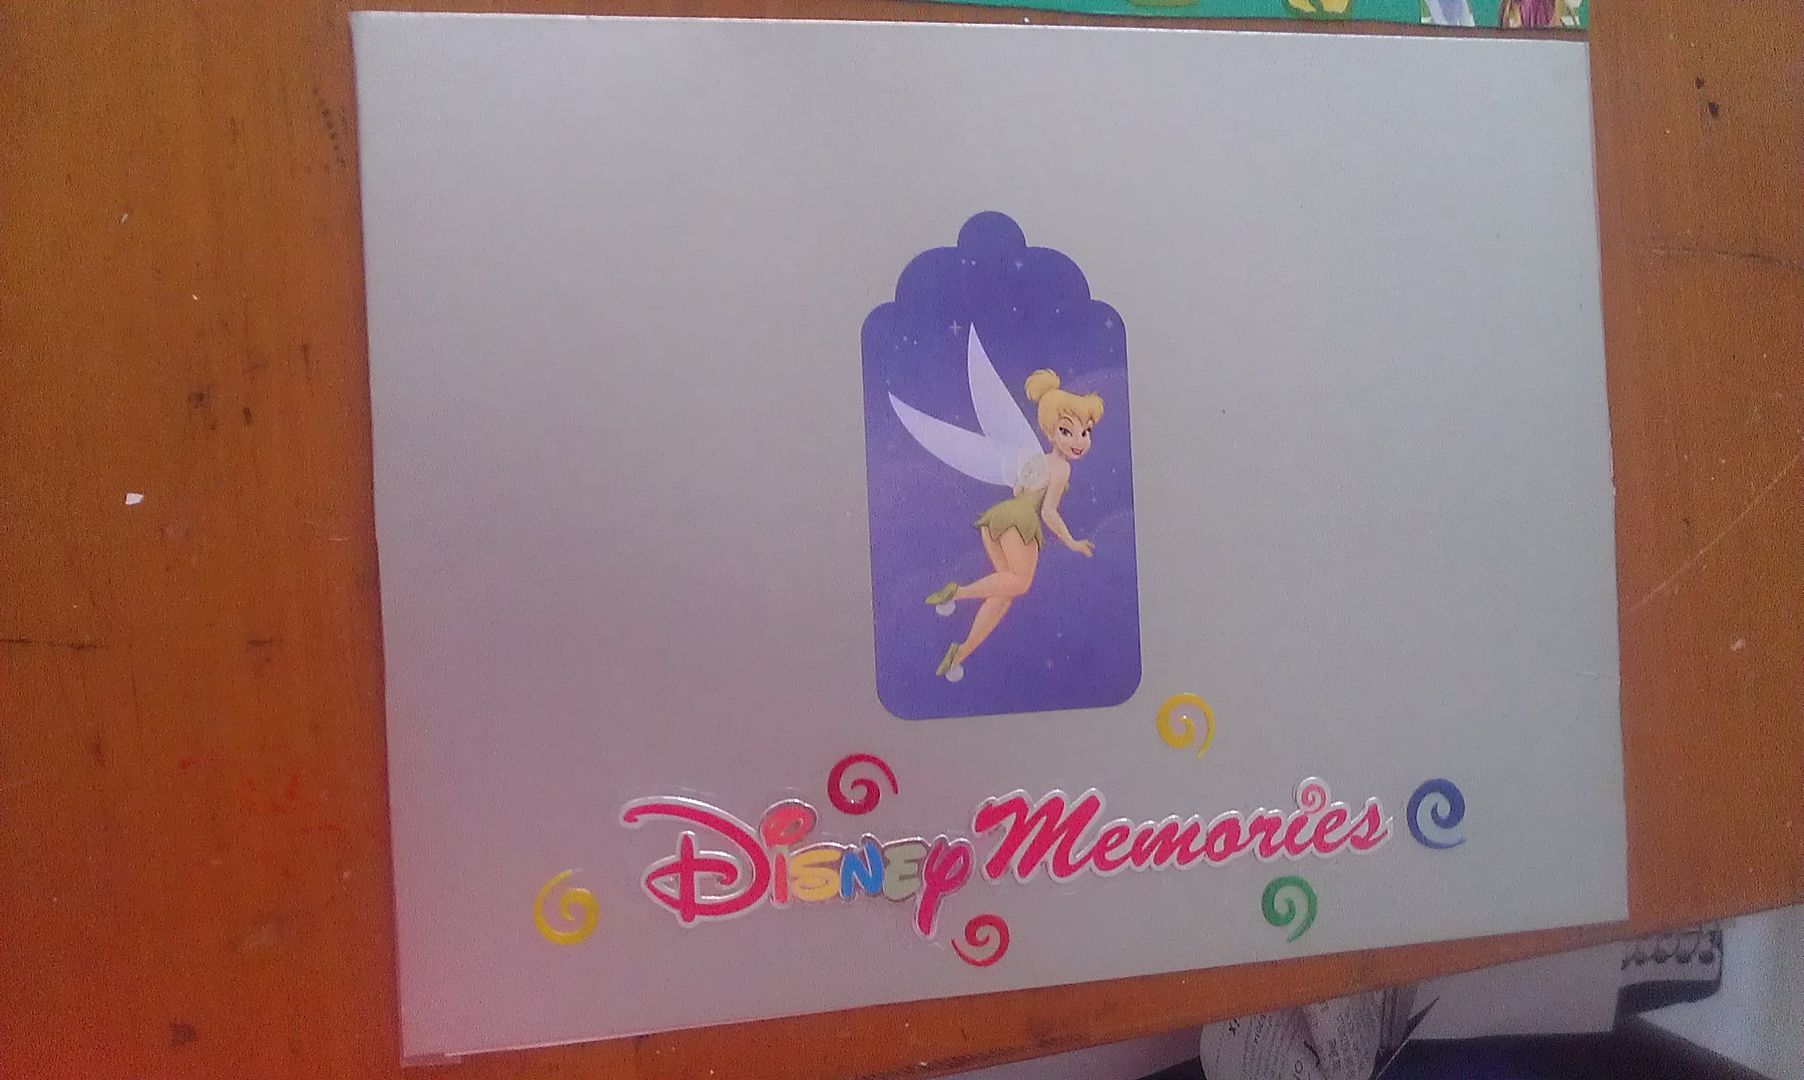
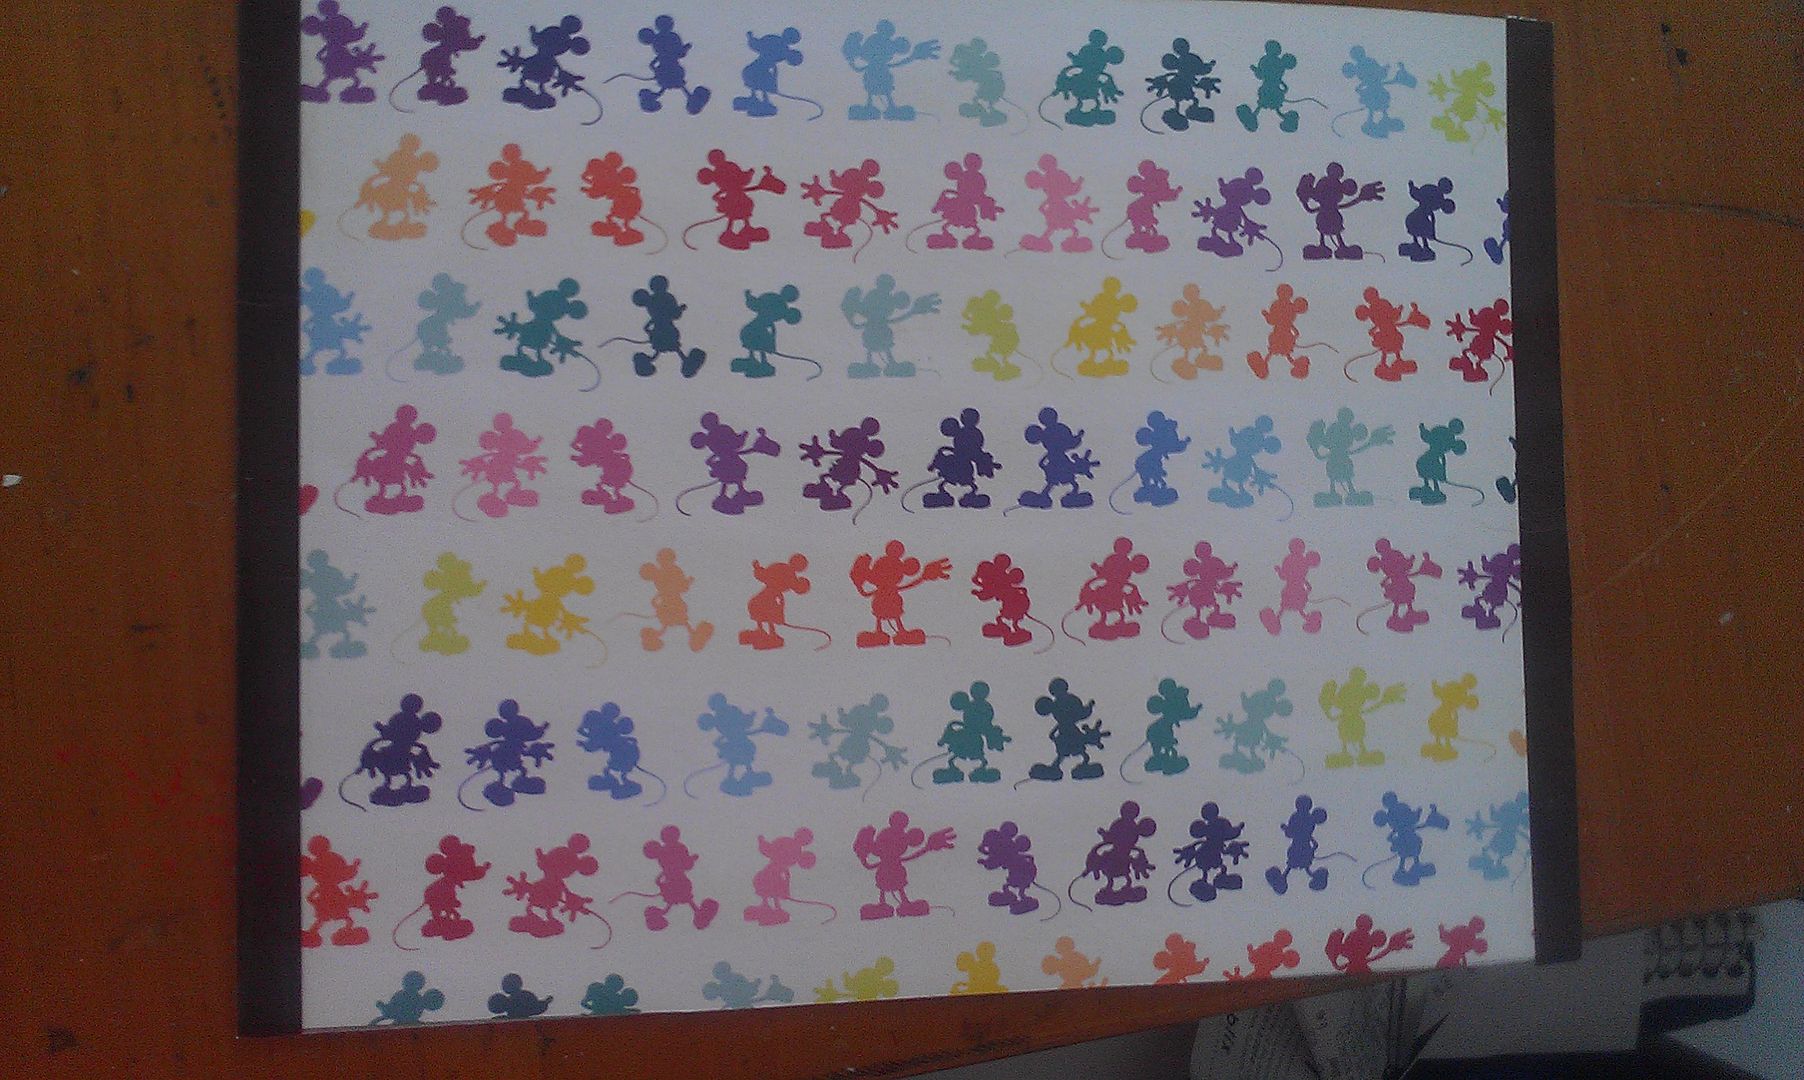
I kept the back cover super simple. I just put a Tinkerbell sticker in the center and a "Disney Memories" sticker beneath that. These are all things I had laying around, a lot of people have given me their excess craft supplies especially Disney themed (and I soooooo appreciate them). If you're not as fortunate as I am most of the background paper and stickers are available at any craft store or even Amazon. Then I flipped it over and covered the ugly cardboard inside with this adorable rainbow Mickey silhouette paper. It didn't line up exactly right so I added some chocolate brown ribbon on either side. I'm so in love with that paper!

Vintage Mickey Page Royal Ball

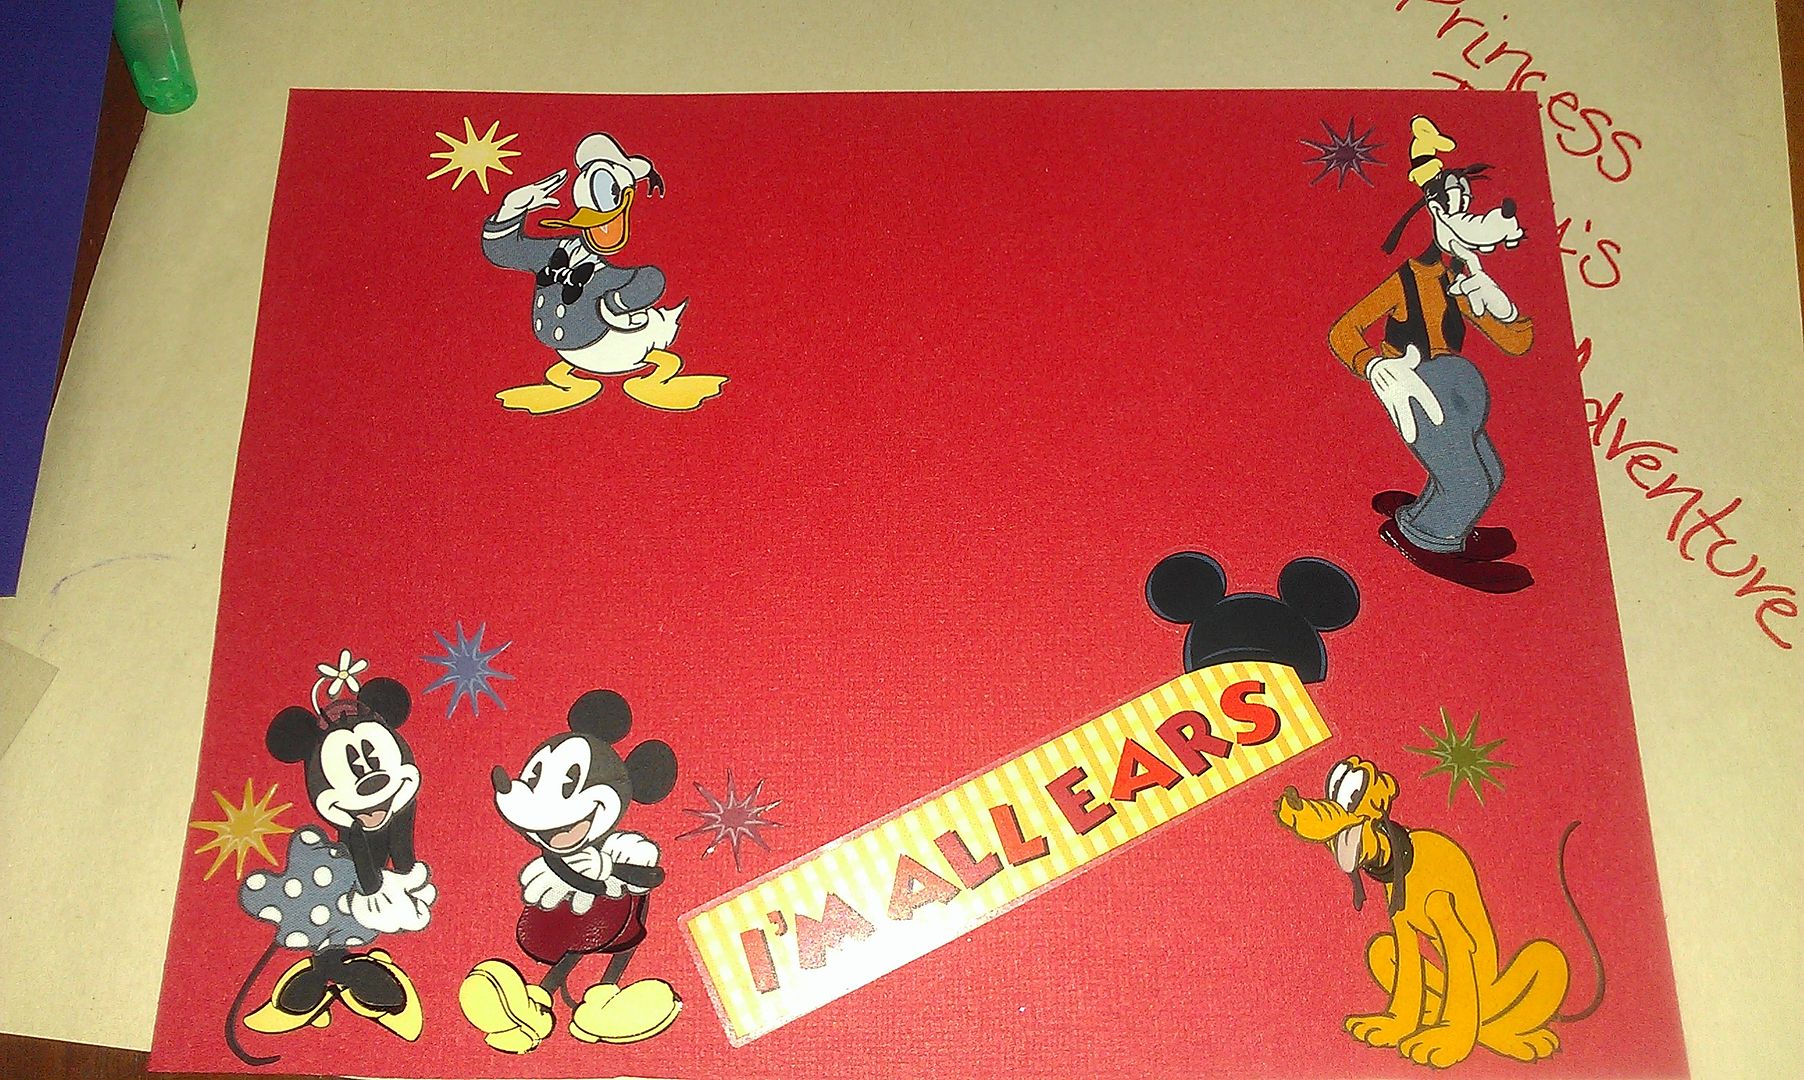
With covers down it was time to make pages. I traced the cover onto solid card stock and cut ten pages. Next I embellished each page with stickers, background paper, ribbon, glitter. I just choice themes for each page based on my craft supplies. I have a vintage fab five page, a Snow White and the seven dwarfs page, a Cinderella's castle page, a mad tea party page, and an under the sea page to name a few. When adding glitter I made sure I stuck to one area so it wouldn't cause bumps in signatures. Feel free to embellish front and back I did for a few of mine. As I finished pages I laid them under a heavy book to dry (unless they had wet glitter). When I couldn't find the exact thing I wanted a picture of/sticker for I did a Google image search and printed it out. One of my favorite pages I made has a princess group shot that I printed that includes Aurora in the now rare blue dress (my favorite!). Remember to steer clear of putting anything to close to the left edge where you need to punch your holes.

Hole Punch Template Holes

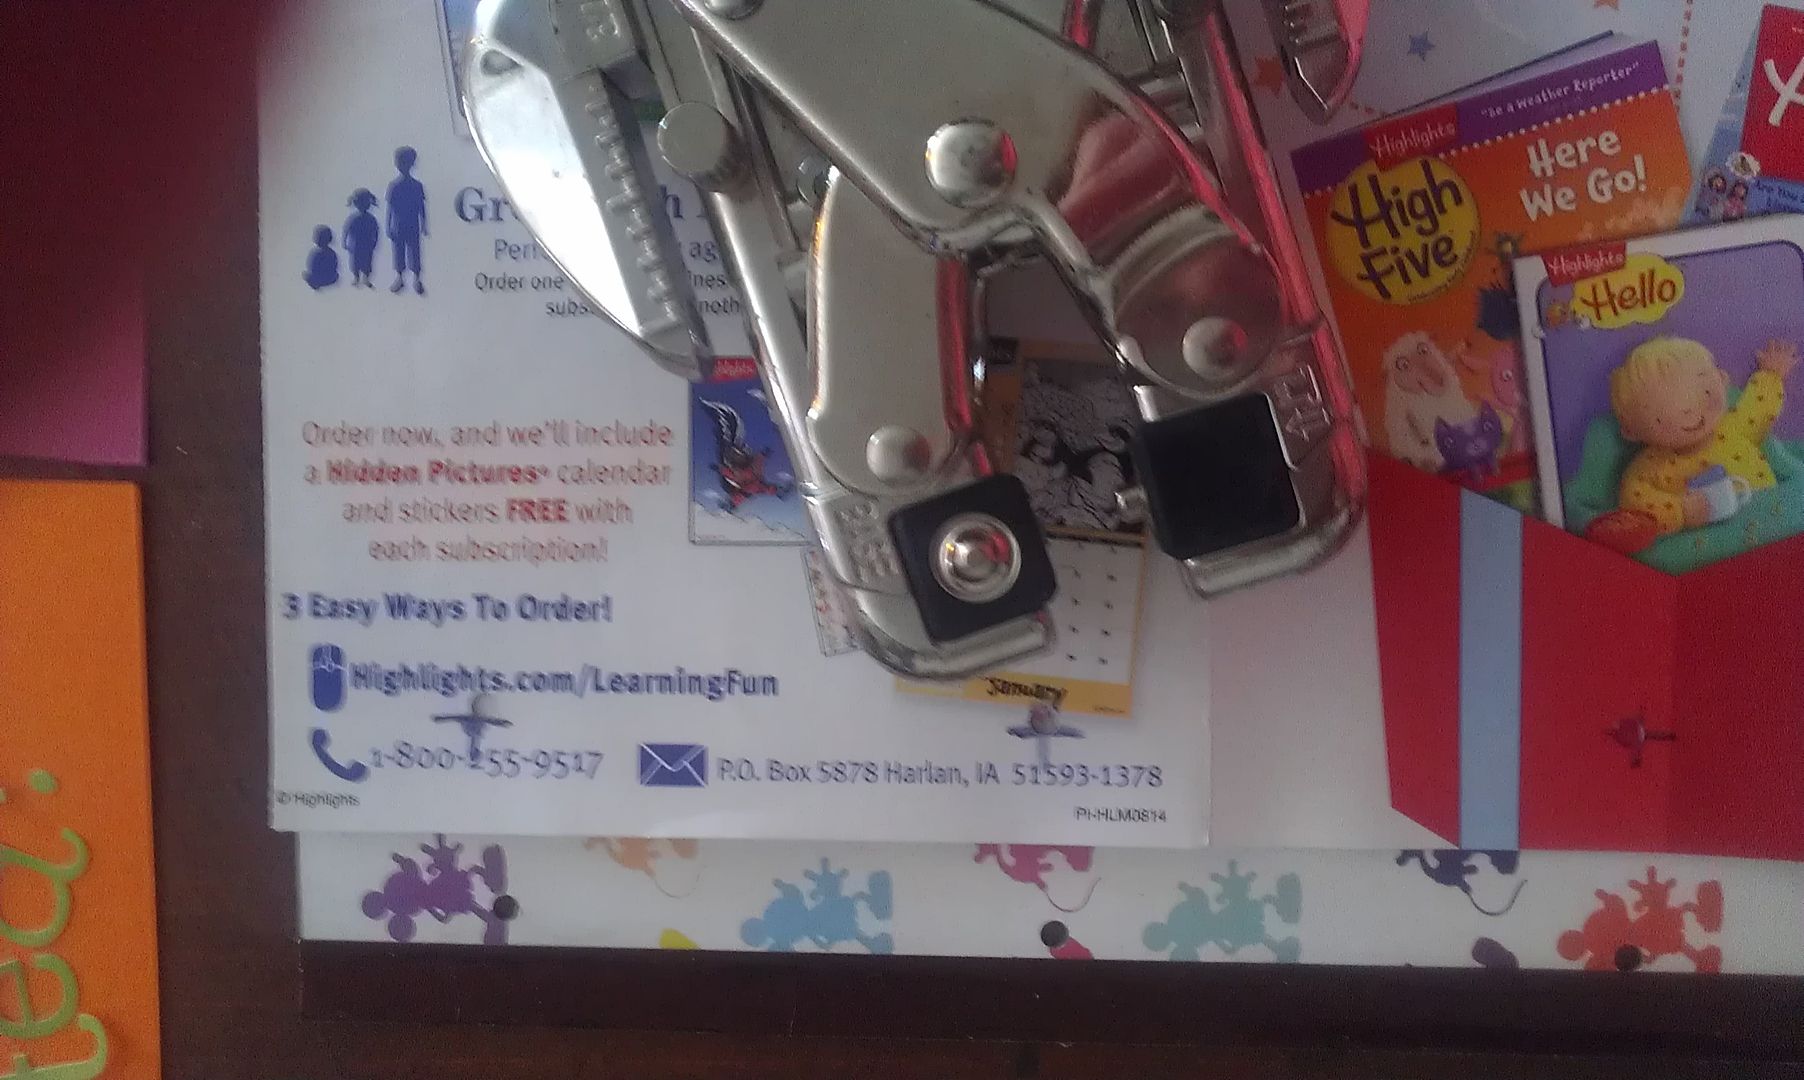
Now for me, deciding the order of the pages was tricky. When I cut my card stock I split up the colors neatly, but when embellishing the pages I'd changed the which pages should be together. I cleared my table of craft supplies and moved the pages around and around until I was happy. Next, I used a scrap piece of cardboard and measured the left side of a page against it, marking "X"s for my three holes. Then I used my template and crop-a-dile to punch holes in the covers and pages.

Once all the holes were punched I had to put each ring through one page at a time. I got the smallest size, thinking there would be less wear and tear, but if your planning to continue adding pages the larger size rings are probably faster to put on. Once each ring was closed I gently tested turning pages. My holes turned out to be a bit to far in so I trimmed the edge (again leave yourself that margin, just in case). Once the pages turned freely, I chose some red ribbon with white polka dots a la Minnie and cut three strips. You just need enough to tie little knots, they don't need to be even. I tied a ribbon around each ring. Ta-da!

Page Test Finished

Wednesday, September 10, 2014

DIY Disney Shirts

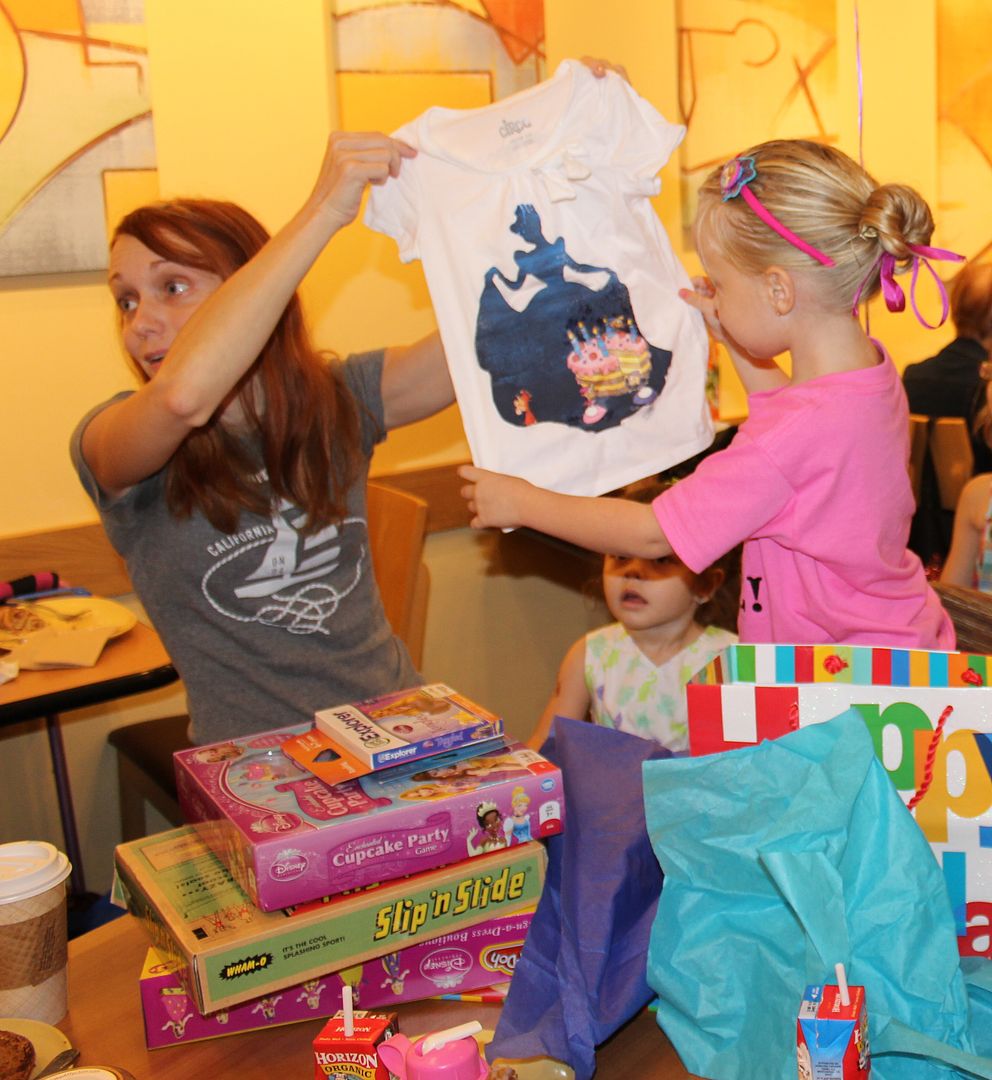
I decided the girls needed special shirts. Princess birthday trip shirts and they could be the gift they open to reveal the trip. Mike decided I needed to learn how to silk screen my own shirts and bought the supplies which gave us some fun options. After a brief tutorial on how screen printing works, I knew we needed Cinderella's silhouette. I wanted it to be clear it was their birthdays and we already had their names in fun princess font too. Ready, set, shirts...

Materials

  • White Shirts (I got mine at Target for $4 they had little bows on one shoulder)
  • Silk Screening Kit or alternately this technique with freezer paper
  • Screen Printing Ink
  • Transparency Film
  • T-shirt Transfer Paper
  • Images you want to use & Photo editing software (we used Paintshop Pro)
  • A Birthday Girl or Two!

Design

Film & Transfer Front Design

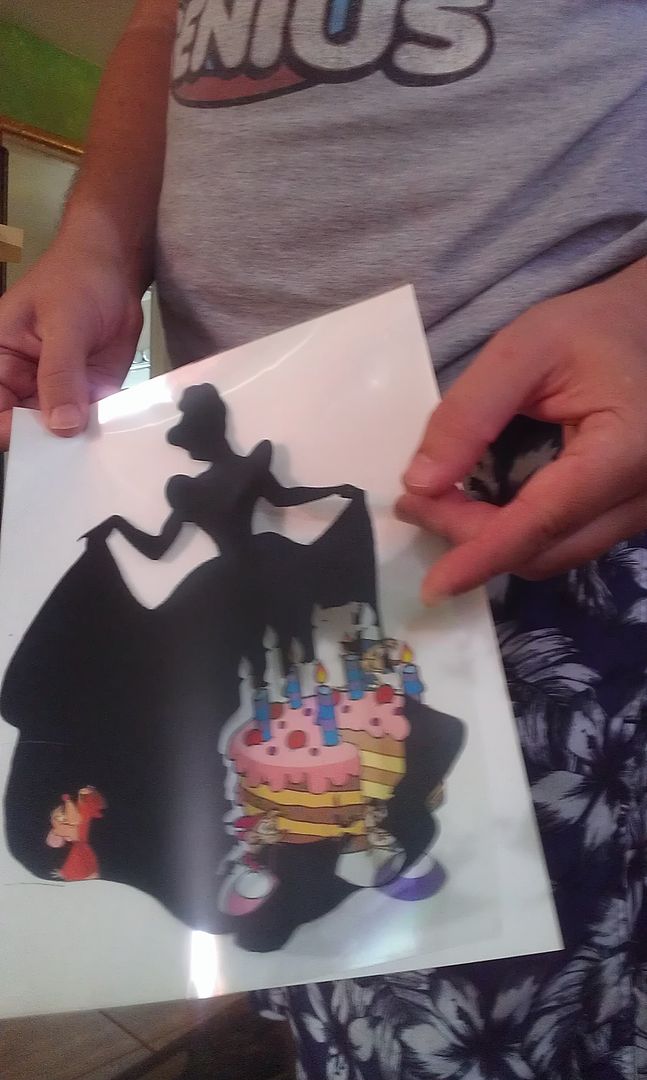
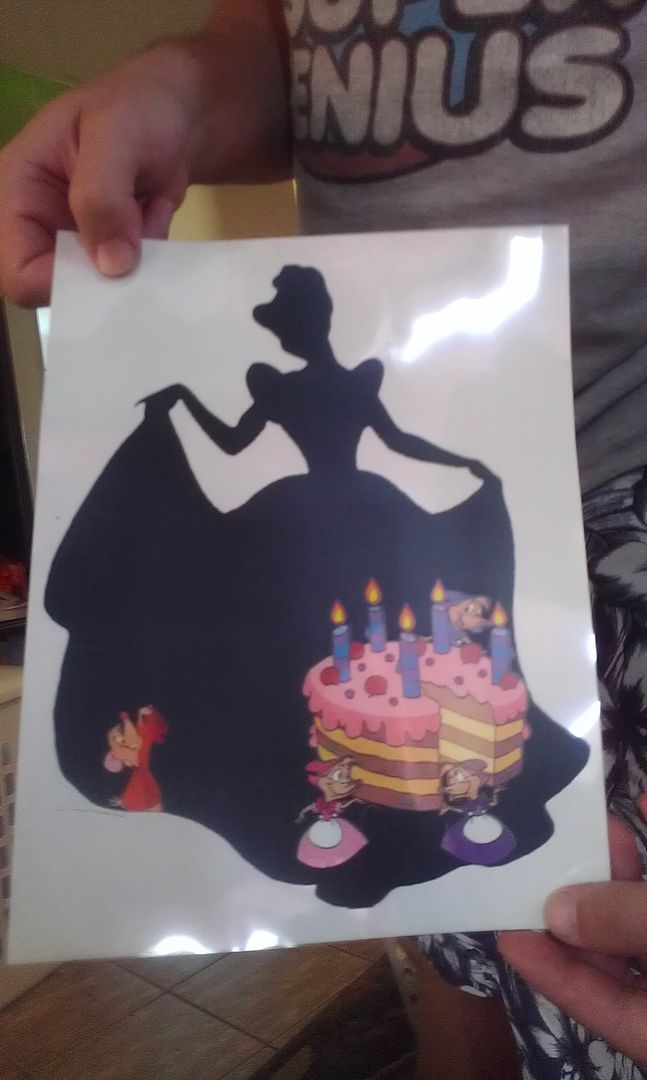
I chose the silhouette of Cinderella holding up her gown on either side to admire it. It's a great shape and totally appropriate for some little girls getting princess make-overs via fairy godmothers. I used Paintshop to make a transparent background for the silhouette. We decided to add Cinderella's mice carrying a birthday cake across the bottom. After lots of image searches I gave Mike a few good images of Cinderella's little friends and a birthday cake. He edited out the mice in appropriate positions for cake carrying and pieced together the images for the front and back of the shirt. After all that editing, Mike cut the shape of the mice running by out of the silhouette. First, he made a layer that was just the mice with contrast adjusted all the way to white with the silhouette behind them (for the transparency). Then he made a second image with just the mice in regular color for the t-shirt transfer paper.

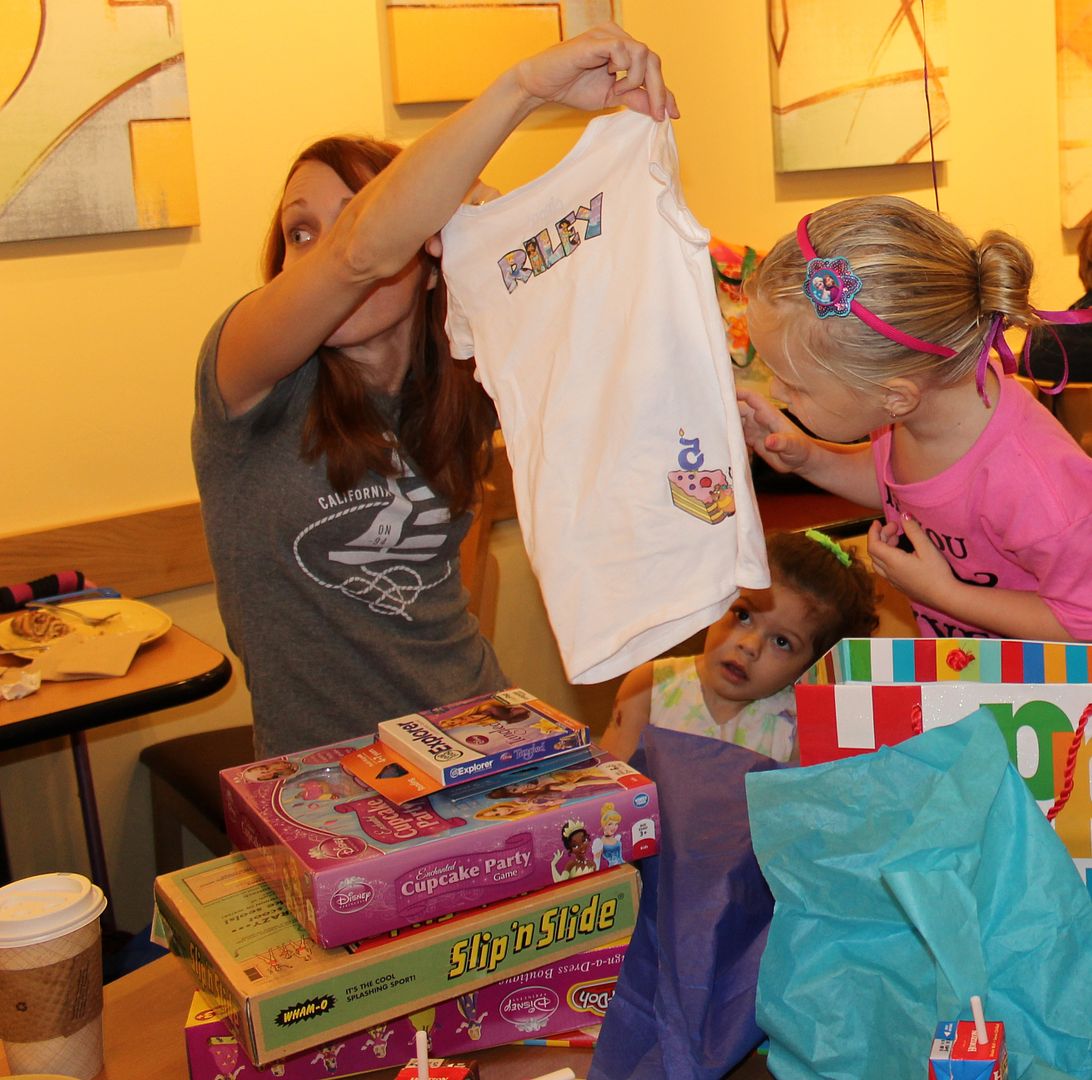
On the back of the shirt we had each girl's name in princess font on the top and then Gus Gus holding a match next to a piece of cake with a "5" candle (that he put in backwards, oh Gus Gus). Everything except Cinderella is going to be an iron on transfer. We wanted to avoid doing the whole shirt as an iron on because they don't allow the cotton to breathe and it gets hot. Plus, silk screening, Yay! We decided to do Cinderella in a blue gradient, but I've seen lots of folks choose hot pink and it's adorable.

Print your silhouette on your transparency film. Don't forget to take the film out before you do any day to day printing. Then make a page of all your iron-on elements in Paintshop. Don't forget to reverse them so they will face the right way on the shirt! Print them out on your t-shirt transfer paper.

Gus Gus Cake Princess Font

Making Them

First, paint a thin layer of photo emulsion on both sides of the silk screen. Allow that to dry in complete darkness overnight.

Next, cut out you're iron-on elements with as little white around them as possible. I recommend tiny sewing scissors for small details. Do not cut them apart. Leave them connected so that they are all in the same positions relative to each other. Iron on following the t-shirt transfer paper instructions. You can look at your Cinderella on the transparency as a guide to show you where to put the mice on the front of the shirt.

Then lay the transparency film on top so that the mice match their outlines and leave in strong direct light (sunlight, strong incandescent lamp, etc). The brighter the light source the shorter the time it takes. We used my Ott lamp and it took about an hour, direct mid day sunlight would have taken 25min or so. During this process the photo emulsion exposed to light is bonded together into a plastic-y substance and the emulsion shaded by the transparency film remains more chalk-like. Wash everything you can off the screen this creates your negative space. Prepare your shirt by putting something flat and smooth (not bumpy like cardboard) in between the layers of your shirt. Use something that will wipe clean if it gets inky. Mike recommends particle board.

I got four shirts, just in case and I recommend doing a test run if this is your first time. Next, place your shirt underneath the screen. Arrange your paint along one edge and then squeegee across your stencil. We used Speedball screen printing ink. We did had the paint so it went from lighter blue into darker blue towards the bottom of the gown. We mixed and marbled the inks ourselves into two cups. One with more of the darker color, the other with more of the lighter and poured them out into two blobs on paper plates. That way the paint would marble itself. Allow the shirt to dry completely.

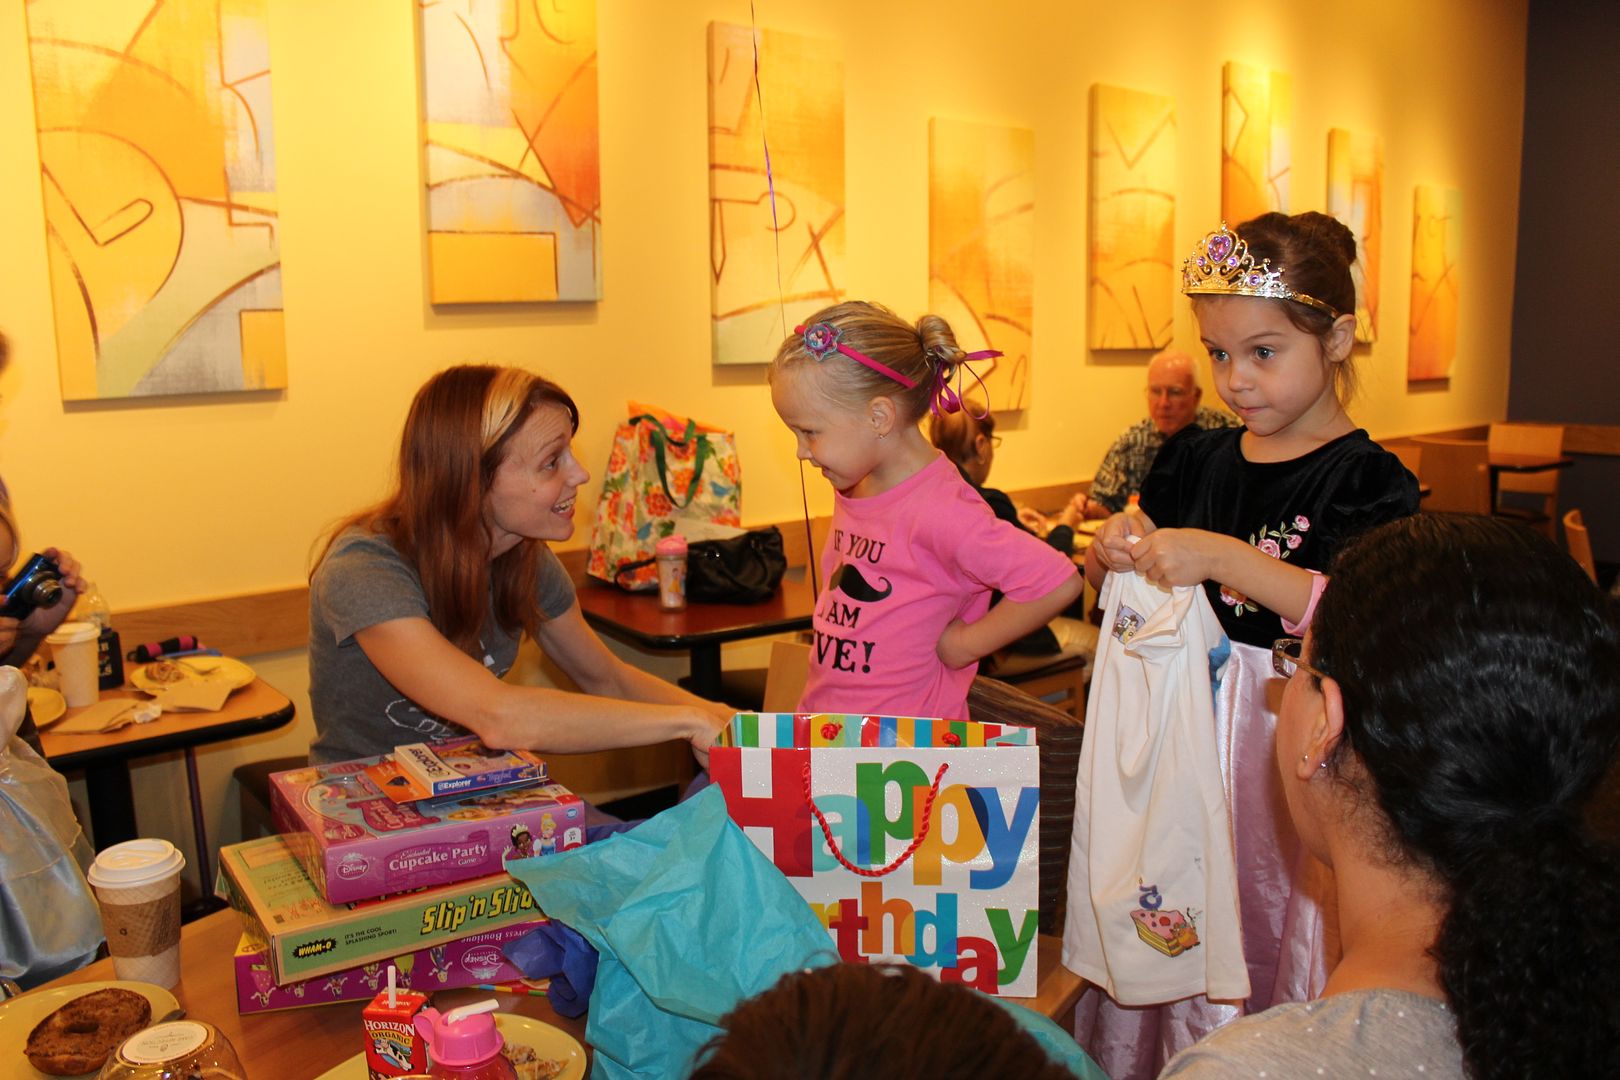
Give them to the Birthday Princesses

Finished Front Princess Font

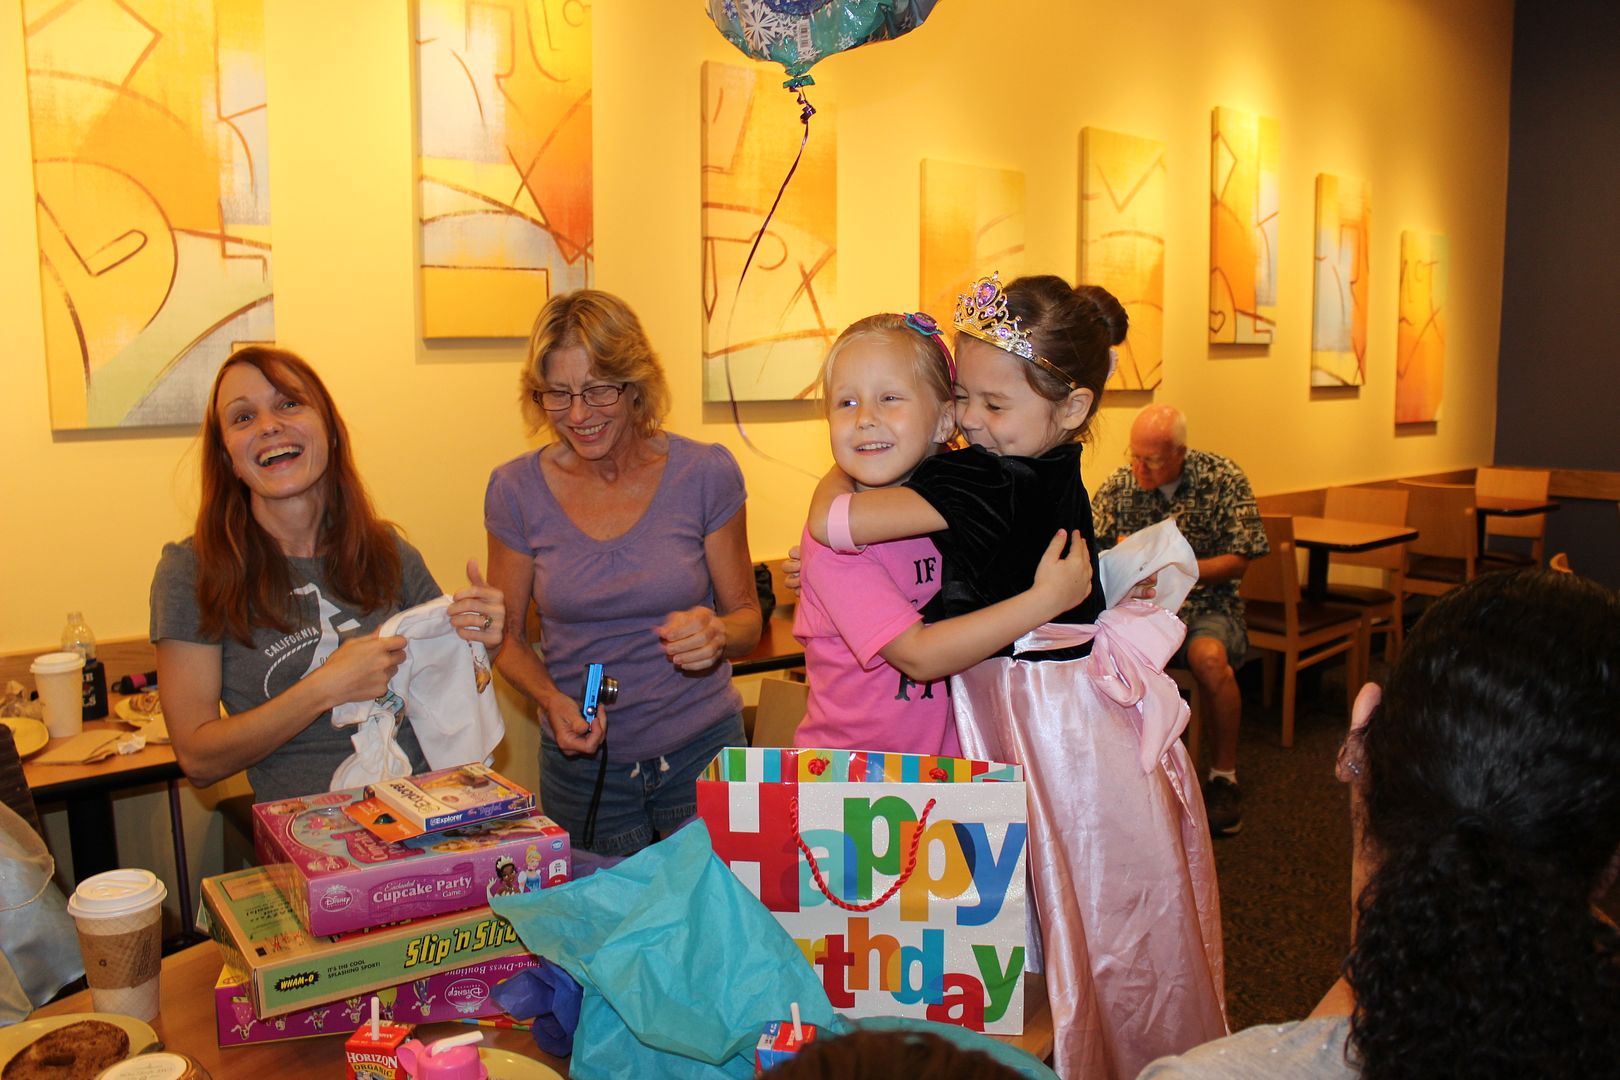
Reactions!

Smiles & Shock Hugs

The moms are excited too!!

Woohoo!
Thursday, October 17, 2013

Not So Creepy Crafts (& Snacks) Part 2

Pumpkin Bracelets

Materials

  • Orange craft beads
  • Green pipe cleaners
  • Scissors
Supplies Beading

The example I found of this project actually used orange fruit loops. So, if those are handy they work too. I bought Riley a bead kit at Target with multicolored pipe cleaners and wooden beads a while back. We also had various plastic beads on hand between Riley and I. The plastic ones with large center holes are the easiest to get on the pipe cleaner, but I love our eclectic look.

Measure the green pipe cleaner against wrist size. My bracelet was two pipe cleaners put together. Then make a loop on one end so the beads won't fall off. Add orange beads to the center area leaving a little excess on the end for the stem. Then twist the ends together and curl the stem around your finger.

Roo Bracelet Side Roo Bracelet Other Side
My Bracelet
Roo Models Bracelet Rar!

Spider Buns

Spider Bun
Roo's Spider
Mother Daughter

Materials

  • Black Puff Balls
  • Googley eyes
  • Fabric glue
  • Black Pipe Cleaners
  • The wire center of a bread tie
  • Elastic hair band
  • Bobby pins
  • Optionally a sock (close to hair color)

Gather a ponytail in the middle of the head. Twist pony tail and pin down in a circle with bobby pins the color of the hair. You can also make a sock bun if you prefer. Spray with a generous amount of hairspray.

Glue two eyes on the puff ball to make your spider's head. Then cut 8 pieces of pipe cleaner to your desired length. As you can see I made the legs on our spiders much shorter than the example. Bend the ends of each leg to make little feet.

Please wait until the glue is completely dry before you complete the next step or someone may loose an eye (: Poke your bread tie wire through the back of your puff ball so that it goes in and back out again making a U shape. Now decide whether you want the head in the center of your bun (mine and the example) or on top (Riley's). I think putting it on top is cuter with a smaller bun. Poke both sides of the wire through your bun. Next, feed the pipe cleaners between the bun and your head to secure them. Putting four on each side. This worked great for me but for an active child extra bobby pins to secure the legs may be a good idea.

Festive Snacks

Fruit CupTangerines

Materials

  • A Black Sharpie
  • A fruit cup with orange fruit (these are mandarin oranges) or Any round orange fruit (these are tangerines)

They really aren't directions except find your orange snack item and draw on it. Make sure whatever surface your drawing on is completely dry before you begin. Have fun!

Tuesday, October 15, 2013

Not So Creepy Crafts

This weekend Mike was up to eyeballs in yard work and what I hope is the final dryer repair. I decided it was craft time. Nobody escaped this time, mwah ha ha! Anyway, I just pulled out my Halloween craft supplies and grabbed some paper, plates and a toilet paper tube. I just winged it with Roo, but I set Isaac to work on this guy.

Pumpkin Plate

Painting a Pumpkin Adding the Face
All Done

I said this last year when Riley and I made spider webs, but I can't get over how much she's grown up in a year! She painted her pumpkin all by herself. I alternated projects while paint dried in between steps and she hung in there. I helped cut the face out, but she glued and arranged it on her own. It came out cute, don't you think?

Ghost Feet

Footprints Decorating Ghost and a Bone

When I hung up one of her footprint ghost pictures from last year Riley insisted we do a new one. I painted her foot with white washable paint and had her step down on black paper. One footprint came out wonky so we decided it was a big bone. I gave her googly eyes to glue on. She drew a smile on the ghost and the bone and added Halloween stickers.

Frankenstein Toilet Paper Tube

Frankenstein Drying Drawing a Face
All Done

I let her paint half the tube green and then helped her glue a strip of black for the hair. Once it was all dry she drew a very happy face and stitches.

Paper Skeleton

Cutting Bones Oh My! All Done Hung Up

He used the template I linked to above, but I didn't have the right kind of plates so I gave him white card stock. He traced his own hands and feet. Check out how big his feet are?!? Then I had him trace the outline of a plate on each piece of card stock so that he could match the images easier. I think he did an amazing job drawing and cutting them out. Once he had all the bones I gave him my Crop-a-dile and a quick lesson in it's use. Then we discovered we didn't have any black pipe cleaners so he chose yellow. Did you notice he drew spiderwebs in his eyes?