Showing posts with label paint. Show all posts

Sunday, May 5, 2013

Handy Riley

Painting Planter

Riley and I went to a building workshop at Home Depot, just us girls. The last time we attempted to participate in a workshop it was at a competing hardware store and I was outnumbered 2:1. It took place in December so the kids weren't following their normal schedules. I shouldn't have been surprised that a newly 10yr old Isaac had a meltdown when the nails didn't just jump into place themselves. It doesn't rank among my favorite parenting moments. The experience led me to two conclusions: 1) Home Depot Kids Workshops are better and 2) Isaac was not invited to anymore building workshops.

I'm often amazed at the tiny human I produced. She loves tools, craft projects, gardening and having her independence recognized. She is such a great mix of her father and I. She's my partner in adventure. This little trip was no different. We went to build a wooden herb planter. Home Depot even provided a packet of seeds to plant in it. Miss Roo and I arrived right on time and got a space right up front. It was bit of a balancing act with Roo, my purse, my crutches, and tools/materials. Everyone was extremely helpful. It was a very straight forward project. Riley was thrilled to wield the tiny screwdriver they provided.

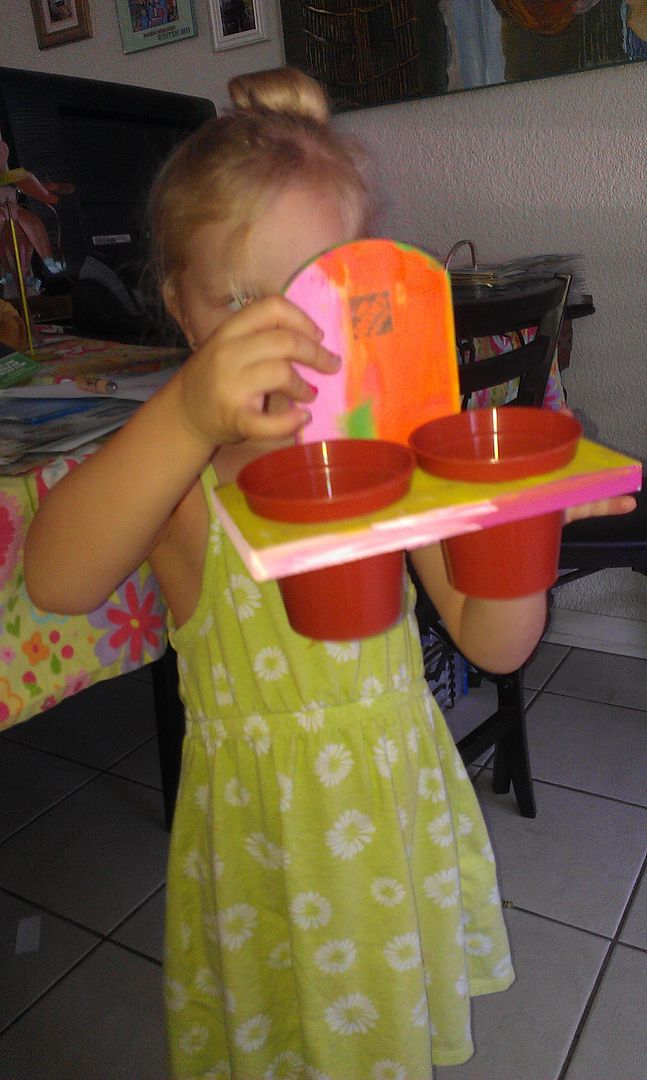
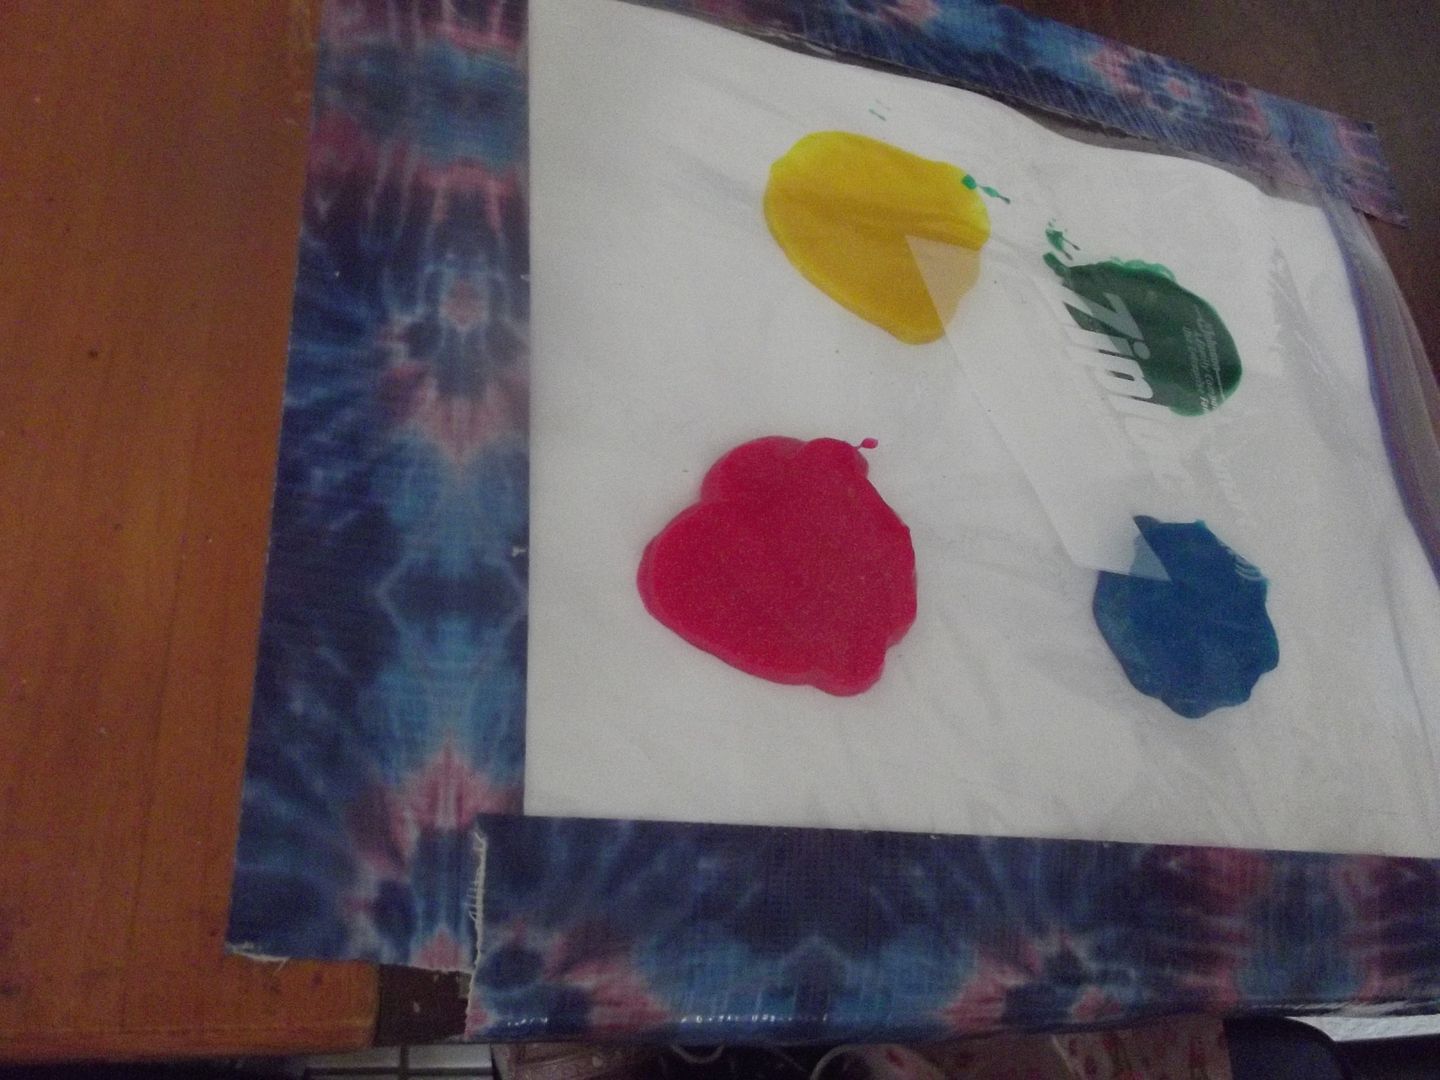
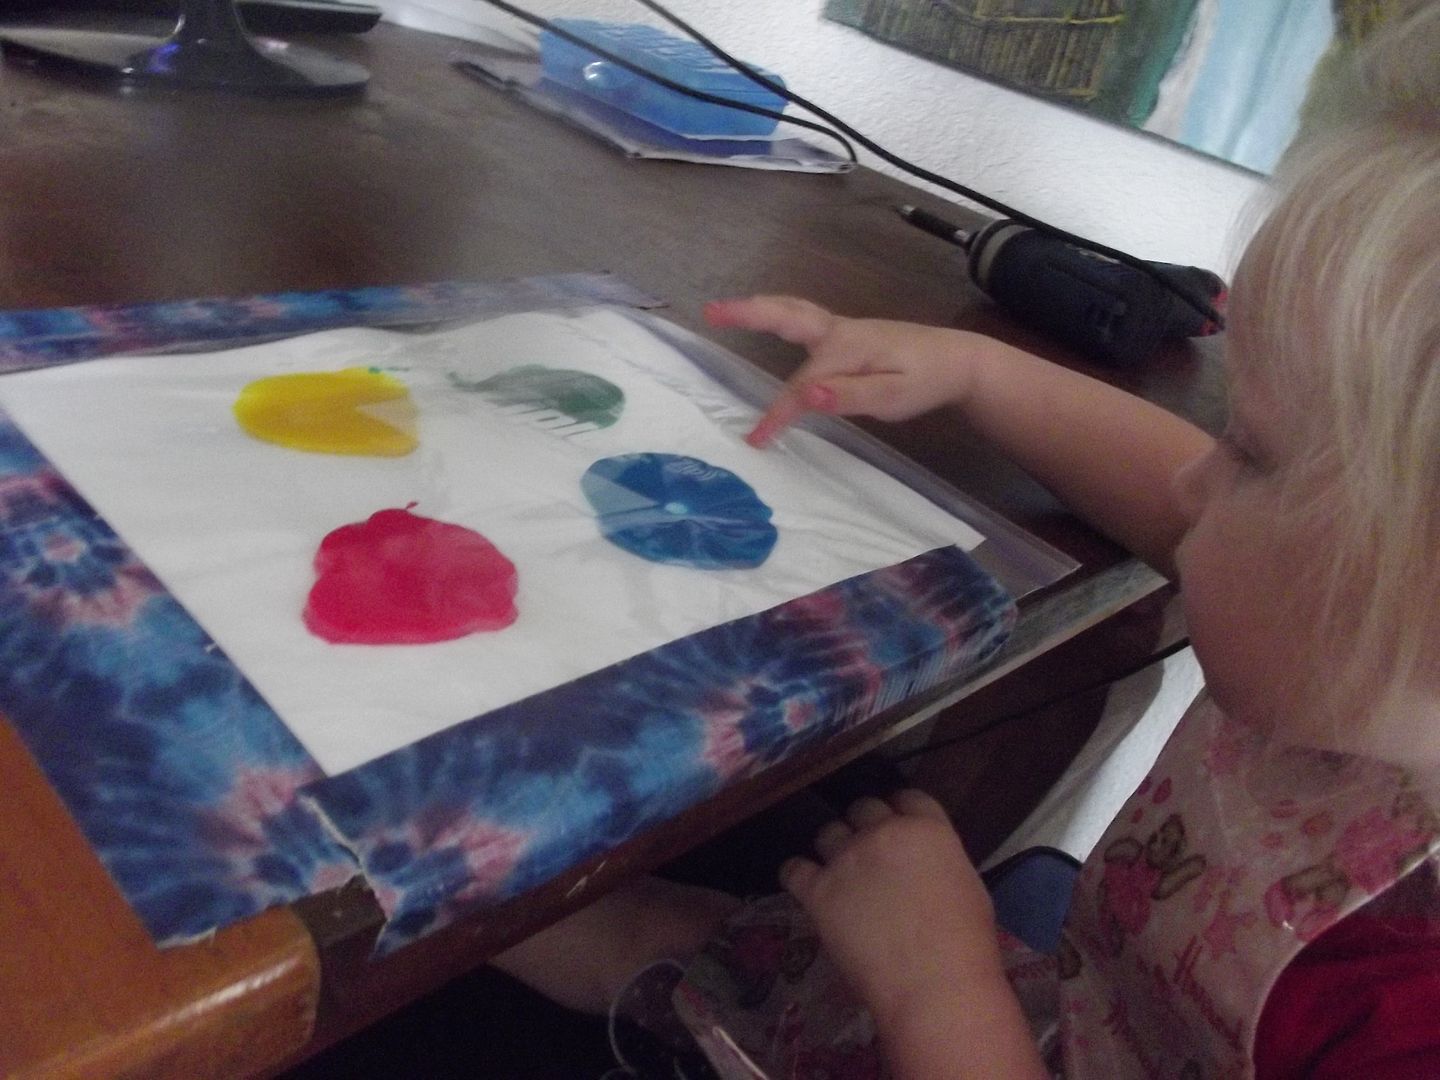
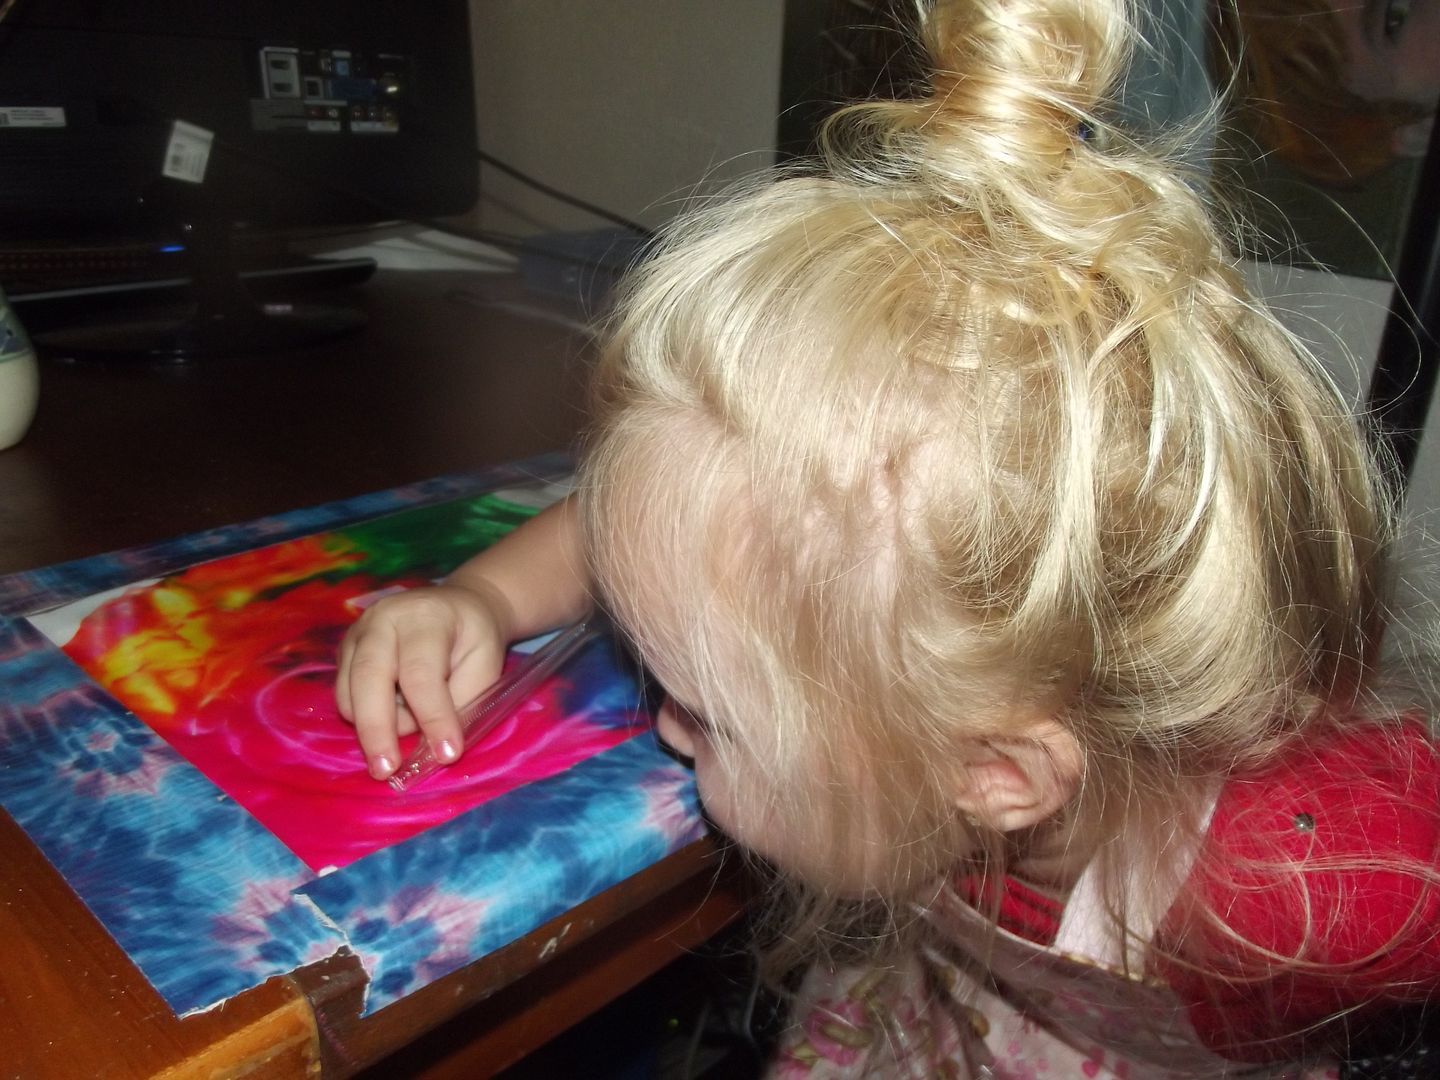
Once it was together it was time to paint! You better believe Little Miss was excited. She used a whole rainbow of colors (mostly pinks) and did her best to cover every inch of her planter. While her masterpiece dried we tossed rings and bean bags. It was incredibly pleasant morning. Riley earned a certificate and a pin for completing the workshop. She chose a packet of rosemary seeds. My little builder was as pleased as she could be with the finished product.

Pretty Planter Finished Project

Monday, September 3, 2012

Finger Painting 2.0

I saw the idea for Mess Free Finger Painting (where else?) on Pinterest. I wanted to test out this activity because it seemed like a perfect activity to add to the "Art Table" I'm setting up for Riley's party. We made a special trip to the craft store for glitter paints.

It's just washable glitter paint from Joann's. Not that it mattered greatly for the experiment, but I knew glitter paint will find other messier uses quick enough. She chose pink, green, blue and yellow so we still got some color mixing action.

The set-up is simple put paint in a gallon size Ziploc bag. Then tape it down. My only question was about paper. I put a piece in the bag, but the blogger I linked to put hers underneath the bag. If you're intending to liberate the final product then paper in, if you're going for multiple uses then paper out. I used tie dyed duct tape because it's fancier, but ran out on the final edge.

Fingers Ready!

Testing the waters...

We used our fingers and then a plastic fork.

Art!

In a situation like today it was a bit of a hard sell. She kept waiting to add more paint. I explained that all the paint was already in there, but with paint and paper right there on the table she wanted to do it the old fashioned way.

She painted two pictures and then I gave her the white canvas bag from the potty party. It came out gorgeous. Between the paint and the sparkles we had an early bath. I think in a situation where the baggie painting was set up ahead of time (during nap or for a party) it'll be a big hit.

Thursday, July 12, 2012

DIY Scratch & Sniff Watercolors

Today was doubly artsy. We made get well cards for Grandma because she had dental surgery yesterday. Riley wore fairy wings for card decorating, of course. I decided she was a big enough girl for real glitter.

Riley's card came out spectacular. Isaac is sitting at the computer in the background writing book summaries for the two reading list book he finished this week. He joined the card making later. My mom was very pleased with their efforts.

While cards were drying we did our "Go Dog Go!" day thing and went. After nap though, we finally got to the scratch and sniff watercolors I'd been dying to try. They were super duper simple and reasonably easy to clean-up.

Materials
  • An Assortment of powder drink mix
  • Warm water
  • Small Bowls or Muffin tins
  • Spoon

The grocery store had a limited number of Kool Aid flavors so Mike got some more from a different store once we were underway. I mistaking thought the blue package was blue, but alas it was another red. At least there'll be a variety of fruity aromas if not a rainbow's worth of hues. Bare in mind it's the color of the tiny pitcher on the front of the package not the color of the package itself. Also, grape Kool Aid paint looks black (shrug).

Next you add two packages of Kool Aid (1 Tbsp) and 1 Tbsp of warm water to a container and mix. Although, I just happen to have acidently grabbed three packages of orange and that one came out super vivid. Either use separate spoons to mix each color or wipe your spoon in between so you don't contaminate the lighter colors. Our yellow was tainted right off the bat.

Then it's ready, set...paint! I put a hug stack of scrap paper on the table and we painted every single piece. Riley wore an apron, but throughly coated her hands and managed to get some in hair. It all washed off in a prompt bath. It smells pretty good while your painting but you don't get the scratch and sniff effect until it's dry.

We have quite the fruit scented art collection now. I painted that Minnie Mouse with the grape color, see what I mean? Maybe it'll dry more purple. I'm going to hang them all up tomorrow. We're going to have our own gallery for the week. Fun and so simple. This one is an A+ for sure.