Showing posts with label wreath. Show all posts

Saturday, March 16, 2013

Spring Wreath!

Last night I ran out to the craft store armed with some decent coupons and a gift card I got for my birthday. I had two projects in mind, but ended up only finding the supplies for one. Not to worry though it came out beautifully! Here's my Pinterest inspiration:Spring Baby Grass Wreath from Capture the Details. Adorable, isn't it? Generally, I like to pick projects that I already have most of the supplies for, but when the stars align for a guilt free trip to the craft store I don't pass it up. I came home and got cozy in bed for this one. A little less than an hour later, it was done!

Materials

  • Foam Wreath Circle (floral aisle)
  • Bright Green Fun Fir (yarn aisle)
  • Simplicity daisy trim (ribbon aisle)
  • Pealized Pins (that match your flower middles)
  • Spring Embellishments
  • Ribbon
Pins and Petals

A quick word about the supplies, I chose the medium sized foam ring and it took the whole skein of fuzzy yarn to fill. I recommend two skeins of yarn if you go bigger. Joann's only had white flowers with pink centers, white flowers with yellow center, yellow with brown centers (sunflowers) or hot pink and neon green alternating petals and centers. I bet there is a vast selection online though. Also, the butterfly I used for mine literally fell apart in my hands coming out of the package. I bet you could make a sturdier one than they sell.
Wrapping Wrapping 2

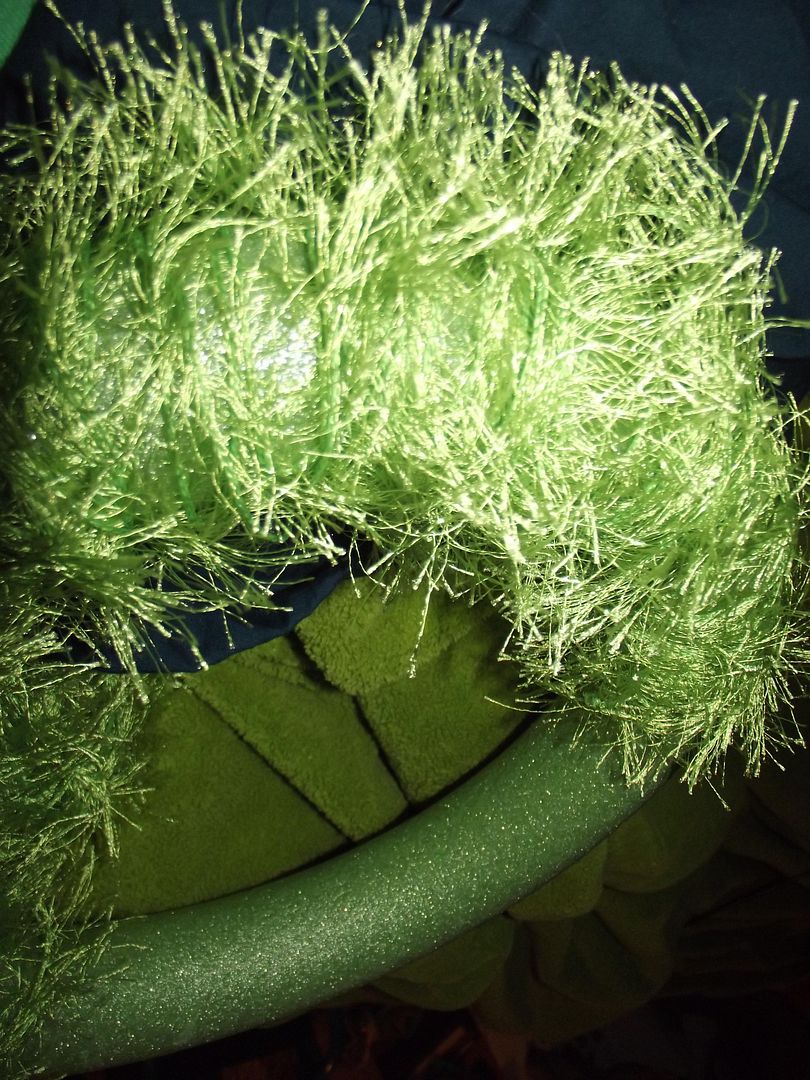
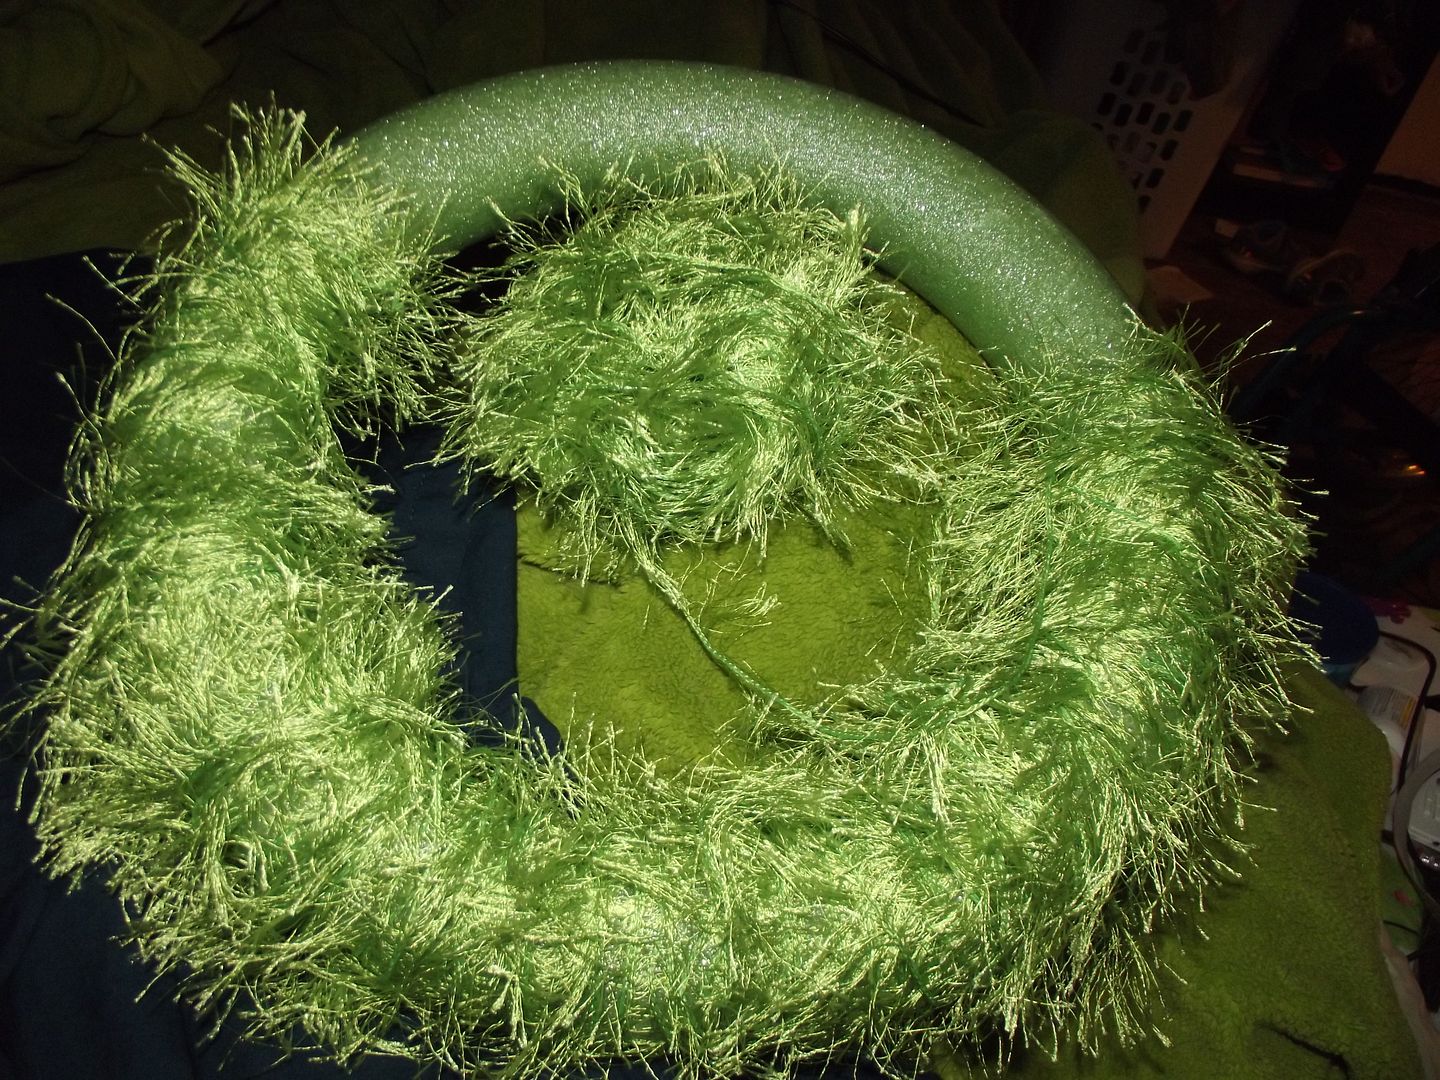
Tie a knot around the foam and then start wrapping. I would pull a length of yarn loose and then double it and wrap that way. It makes the grass thicker. When I got to the end I wrapped a single piece so there would be a slightly flatter area for my butterfly. I HATE repetitive tasks in my day to day life, but I love crafty repetitiveness. I didn't have think about anything, but wrapping yarn for a while and when I was done the cuteness was overwhelming.
First Flower Lone Flower
Field of Flowers

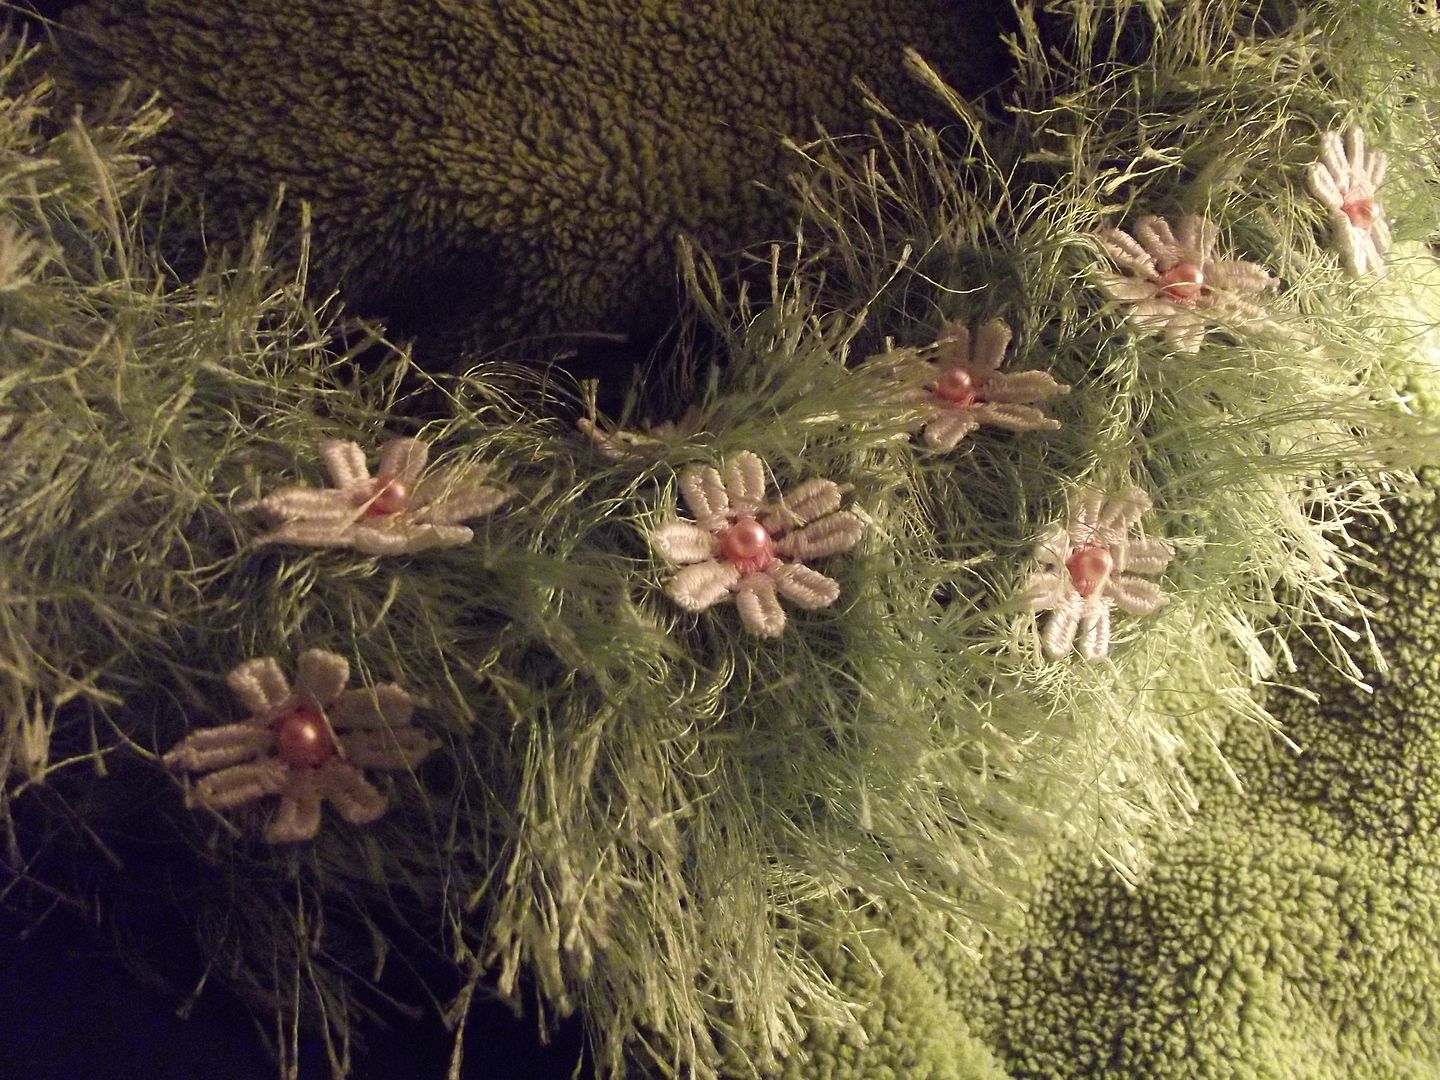
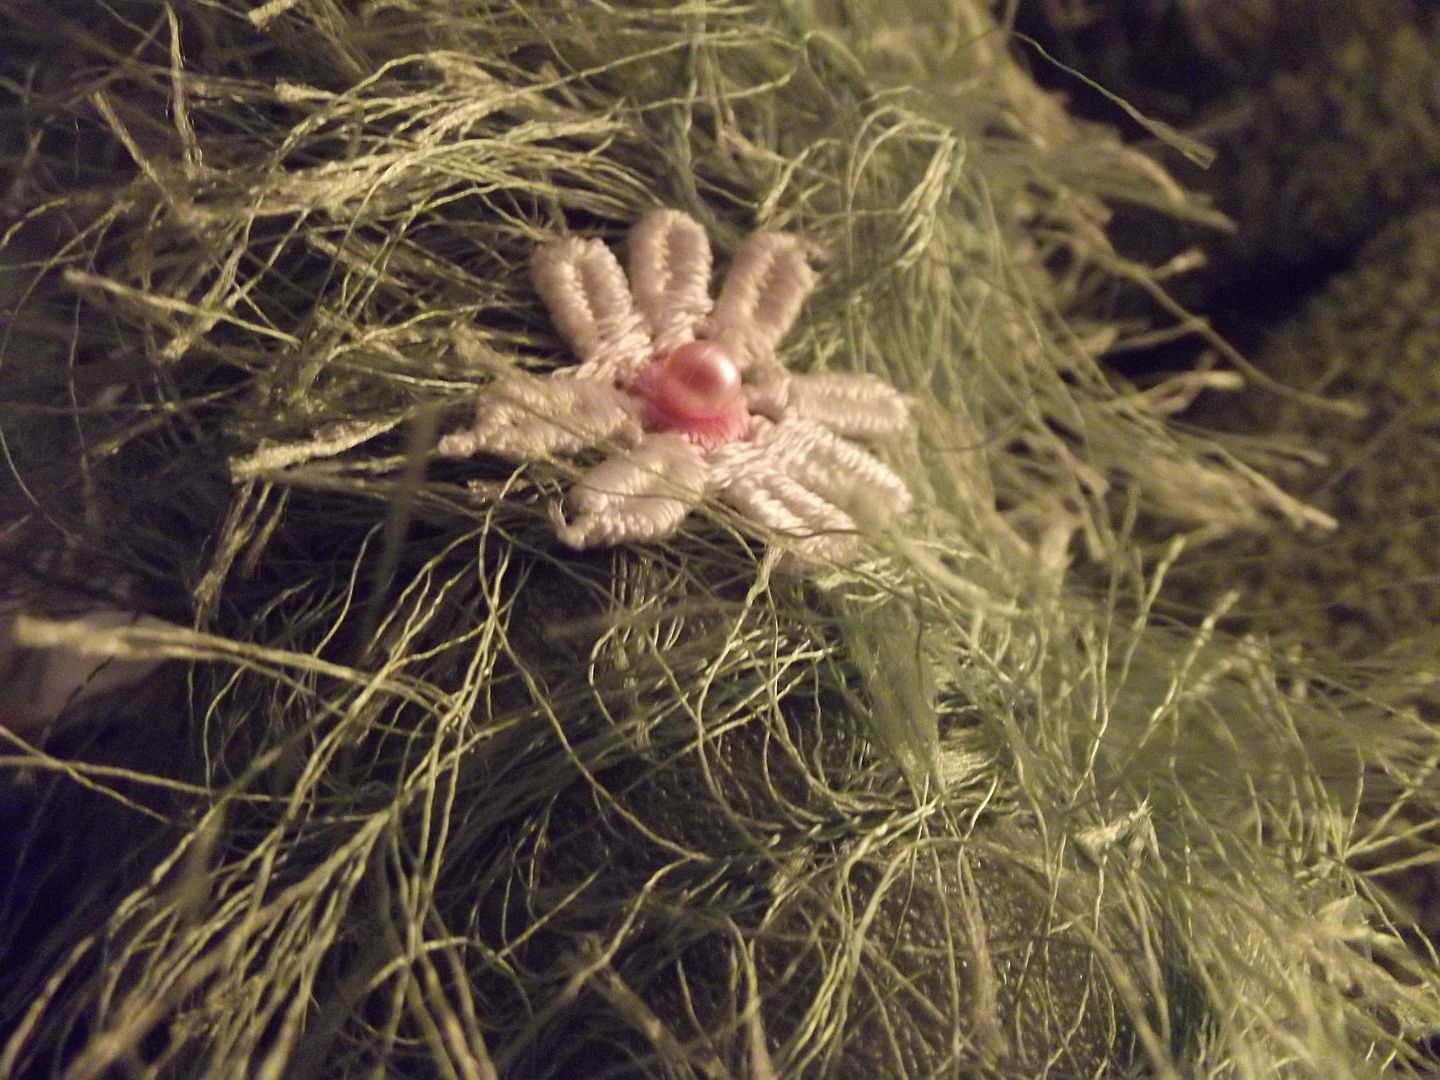
Next, you unroll your flower trim and cut them apart. I used the whole roll for my wreath. Just arrange them and pin through the centers. I pulled any loose bits of yarn up and pinned flowers over them to keep it tidy. Watch out for the seam in the foam, it'll bent your pins. Other than that go nuts!
Butterfly

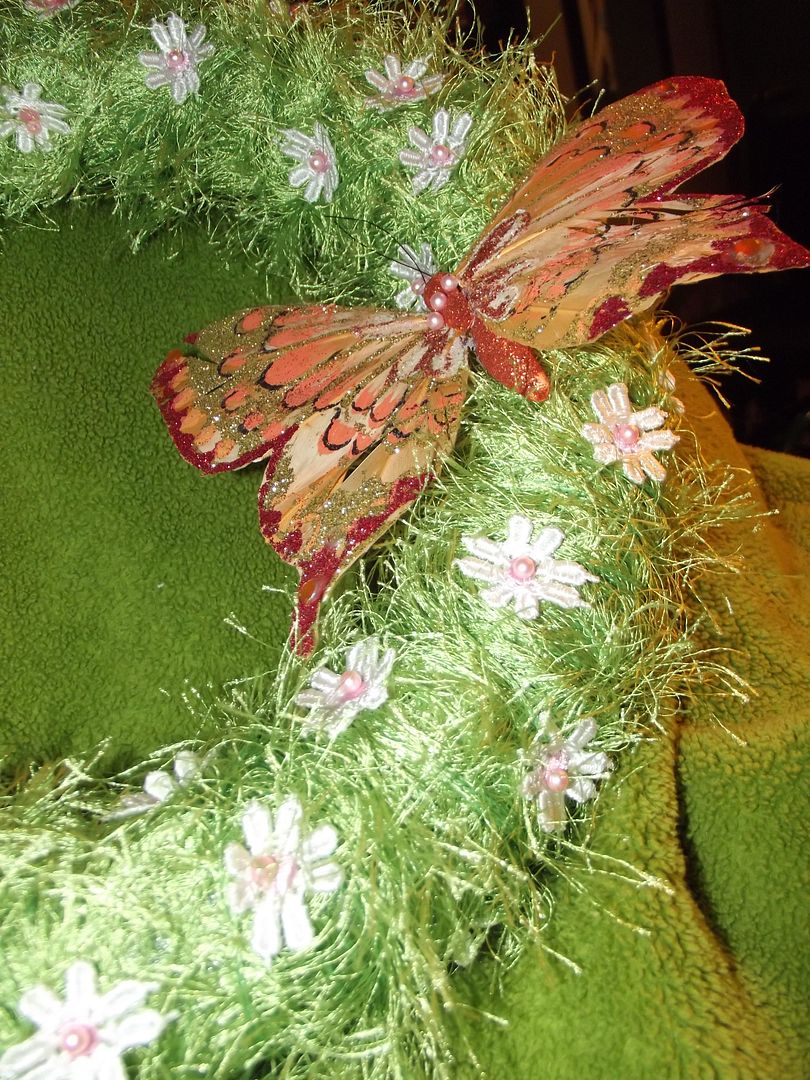
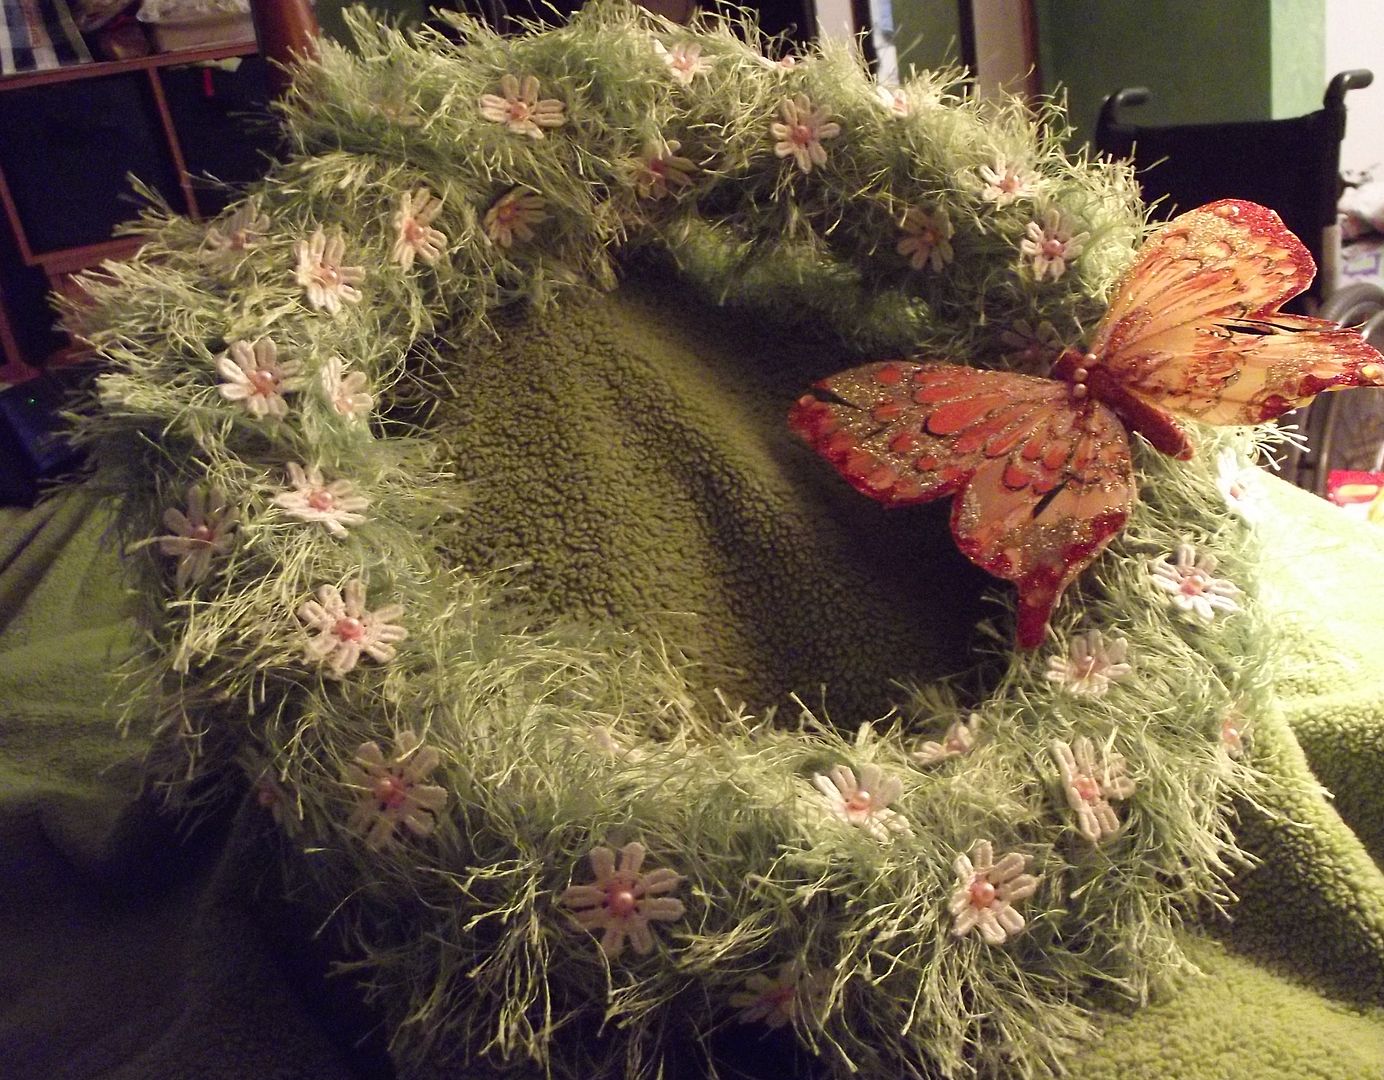
The blogger from Capture the Details embellished her wreath with a tiny "barefeet welcome" sign. I wasn't a fan for two reasons: One, I didn't actually want kids running barefoot in the yard looking for eggs. Two, little pieces of paper sticking off wreaths don't stand up to my 10yr olds' door slams very well. I bought a butterfly made out of feathers from the craft store instead. I removed the alligator clip on the back and put 3 pins through it to secure it on. I absolutely love it!
Butterfly

Here's my finished wreath. Just tie a thick spring colored ribbon to hang it or use it as a table centerpiece. Happy Easter!

Friday, October 12, 2012

Raven Wreath

The Inspiration

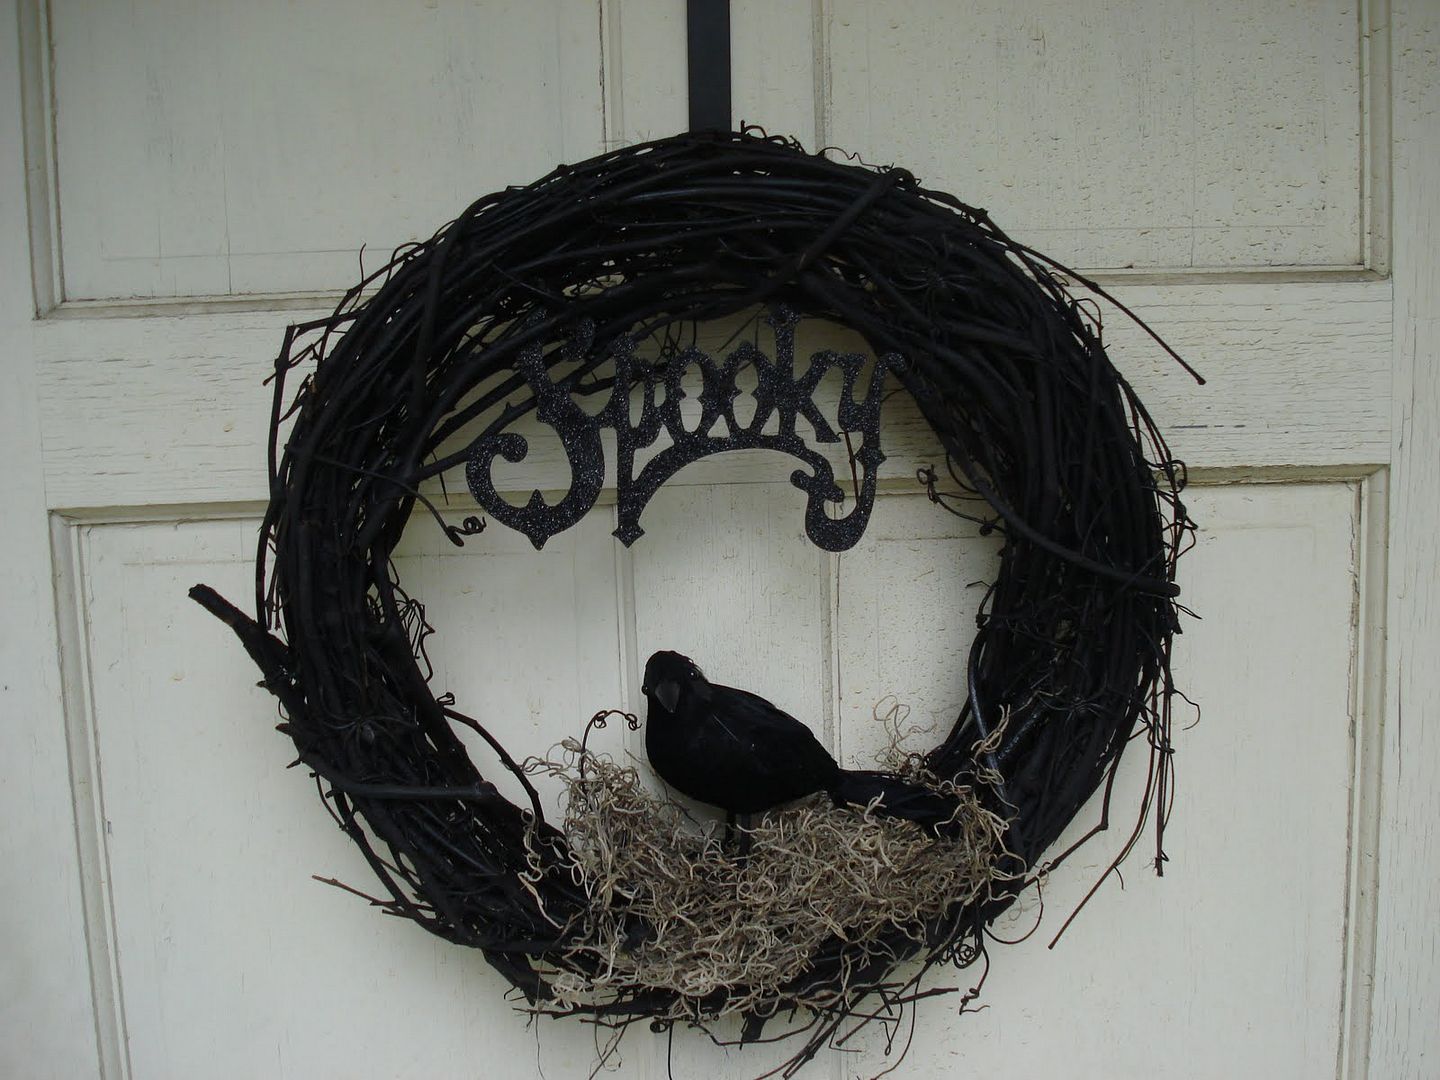
I have a left over wreath, from my birdnest cardbox wedding project. Since I already have a wreath that I always hang at Christmas I wanted to re-purpose it into a Halloween decoration. I wanted something on the classy side. Maybe it was the Martha Stewart Halloween Handbook that inspired this need to class it up or perhaps the plethora of seasonal kid art that's already up in my house did it. Whatever the case, I searched "Halloween wreath" until I found this one. It's from Crafty Loo. Perfect.

I already had the wreath (from the wedding), black spray paint (Riley's Minnie party) and moss (also from the wedding). All I needed was a raven and some letters.

Materials

  • Wreath
  • Black Spray Paint (I used glossy)
  • Moss
  • Raven
  • Wooden (or foam) letters (or pre-made word sign)
  • Paint for your letters (if you choose wood)
  • Hot glue gun
  • Ribbon
  • Wire
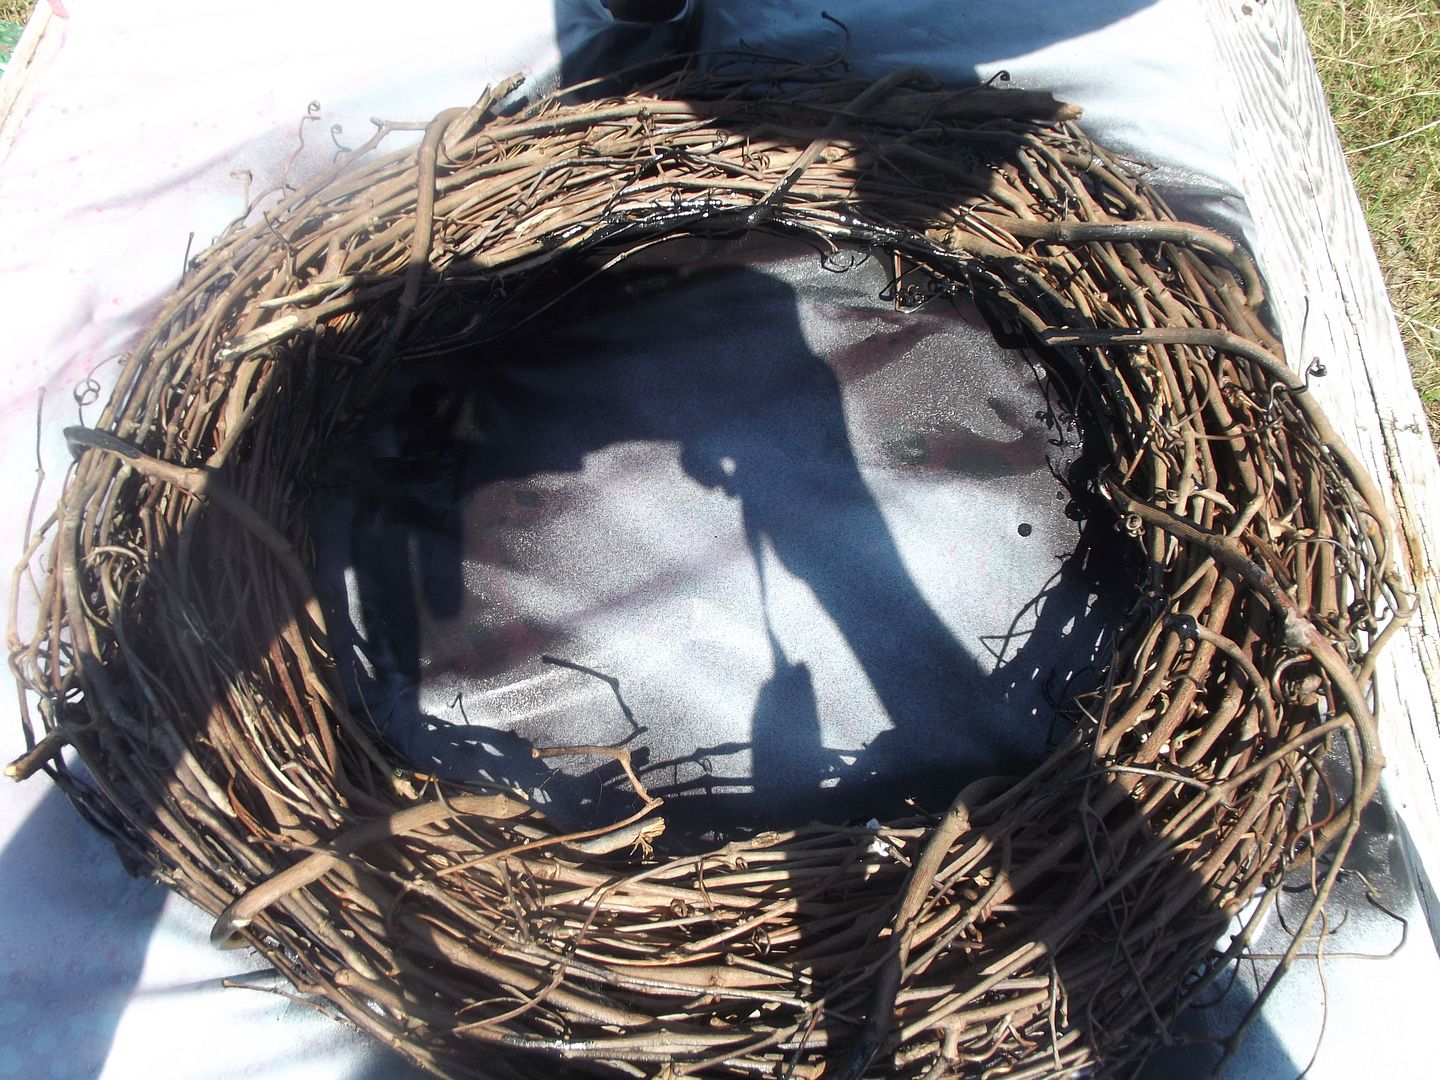
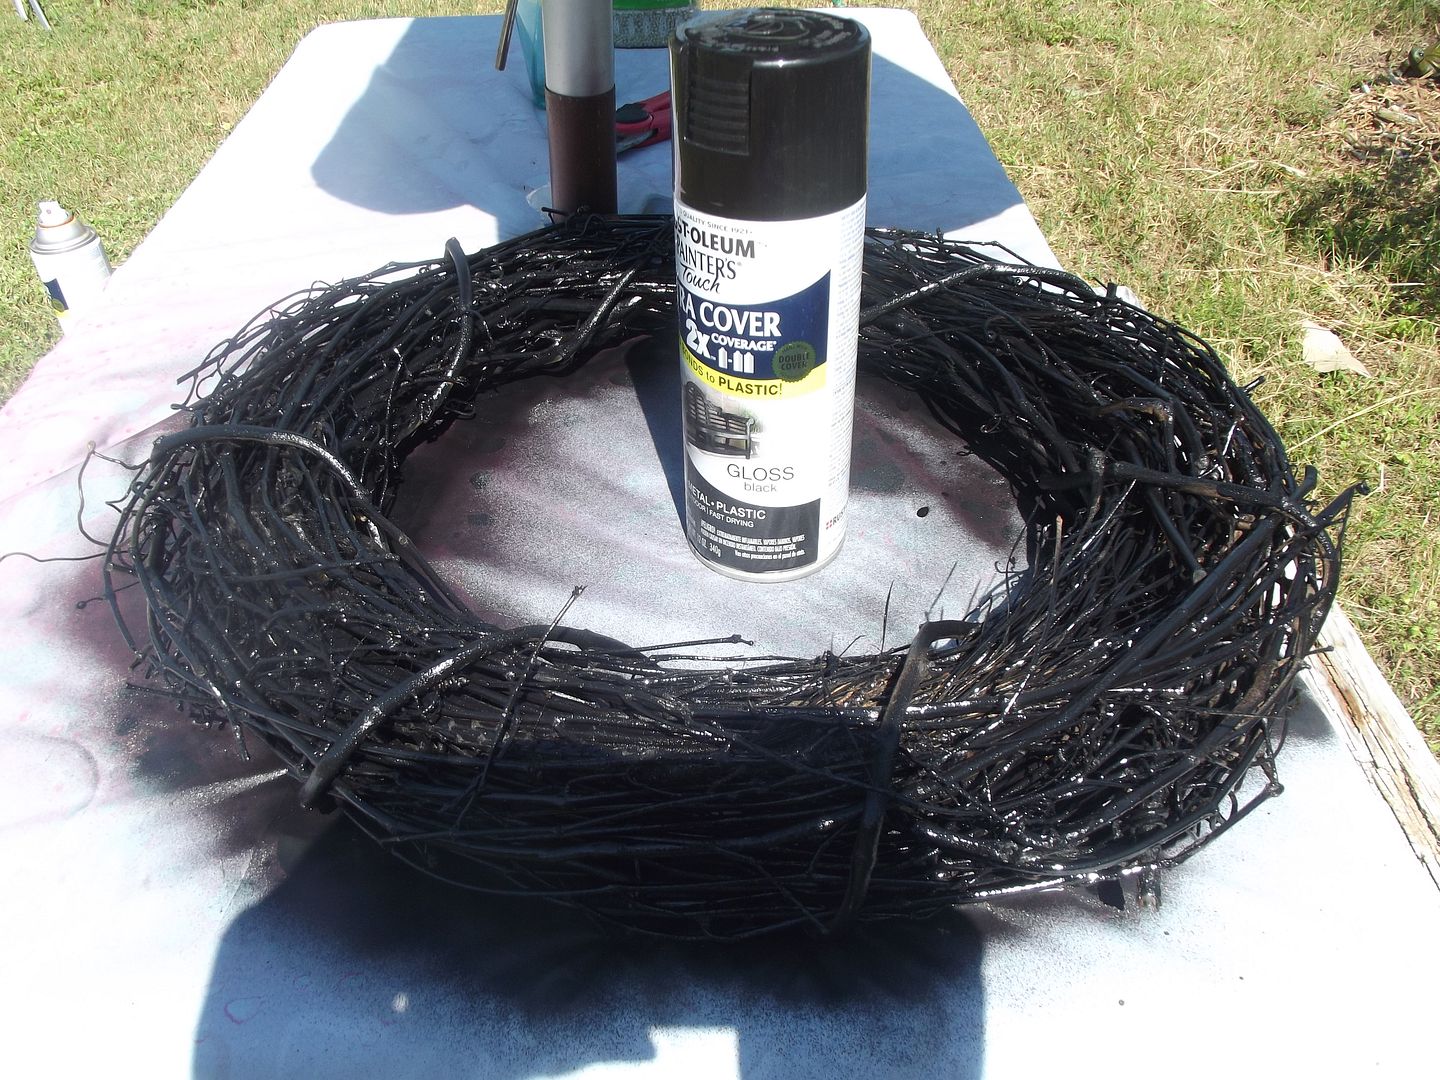
Naked Wreath Painted Wreath

Step One: Paint your wreath. I left mine in the sun to dry in between coats and it went pretty quickly. Each side got a full spray and then two rounds of touch up. Remember to apply your paint in the thinnest layers possible.

Nest Nest 2

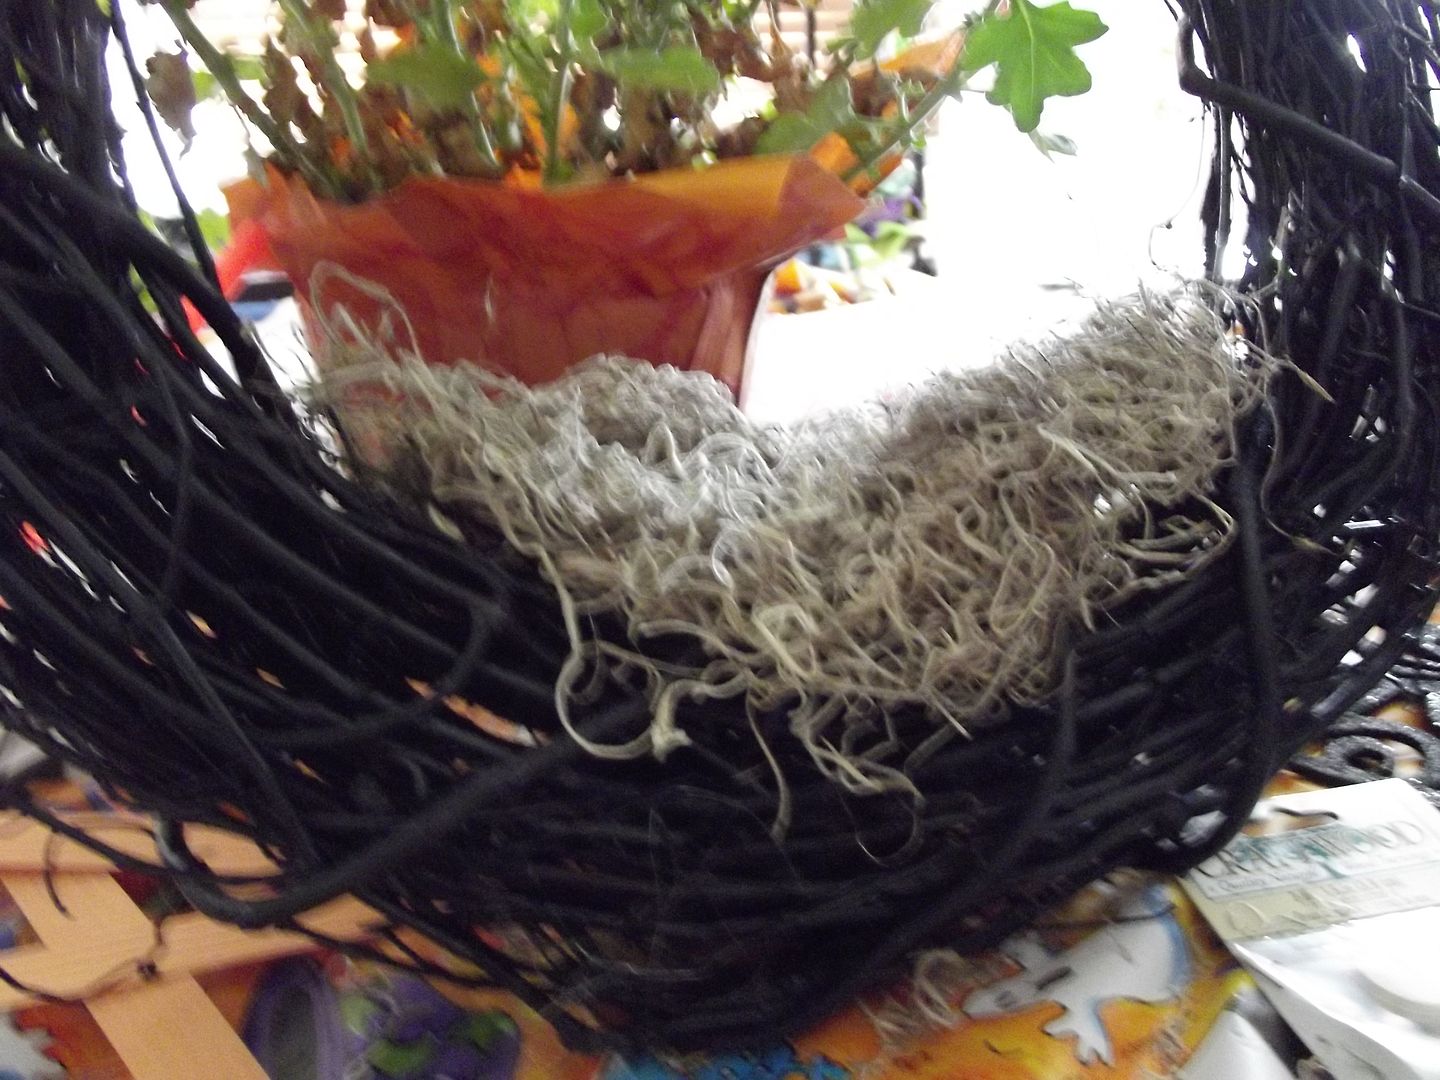
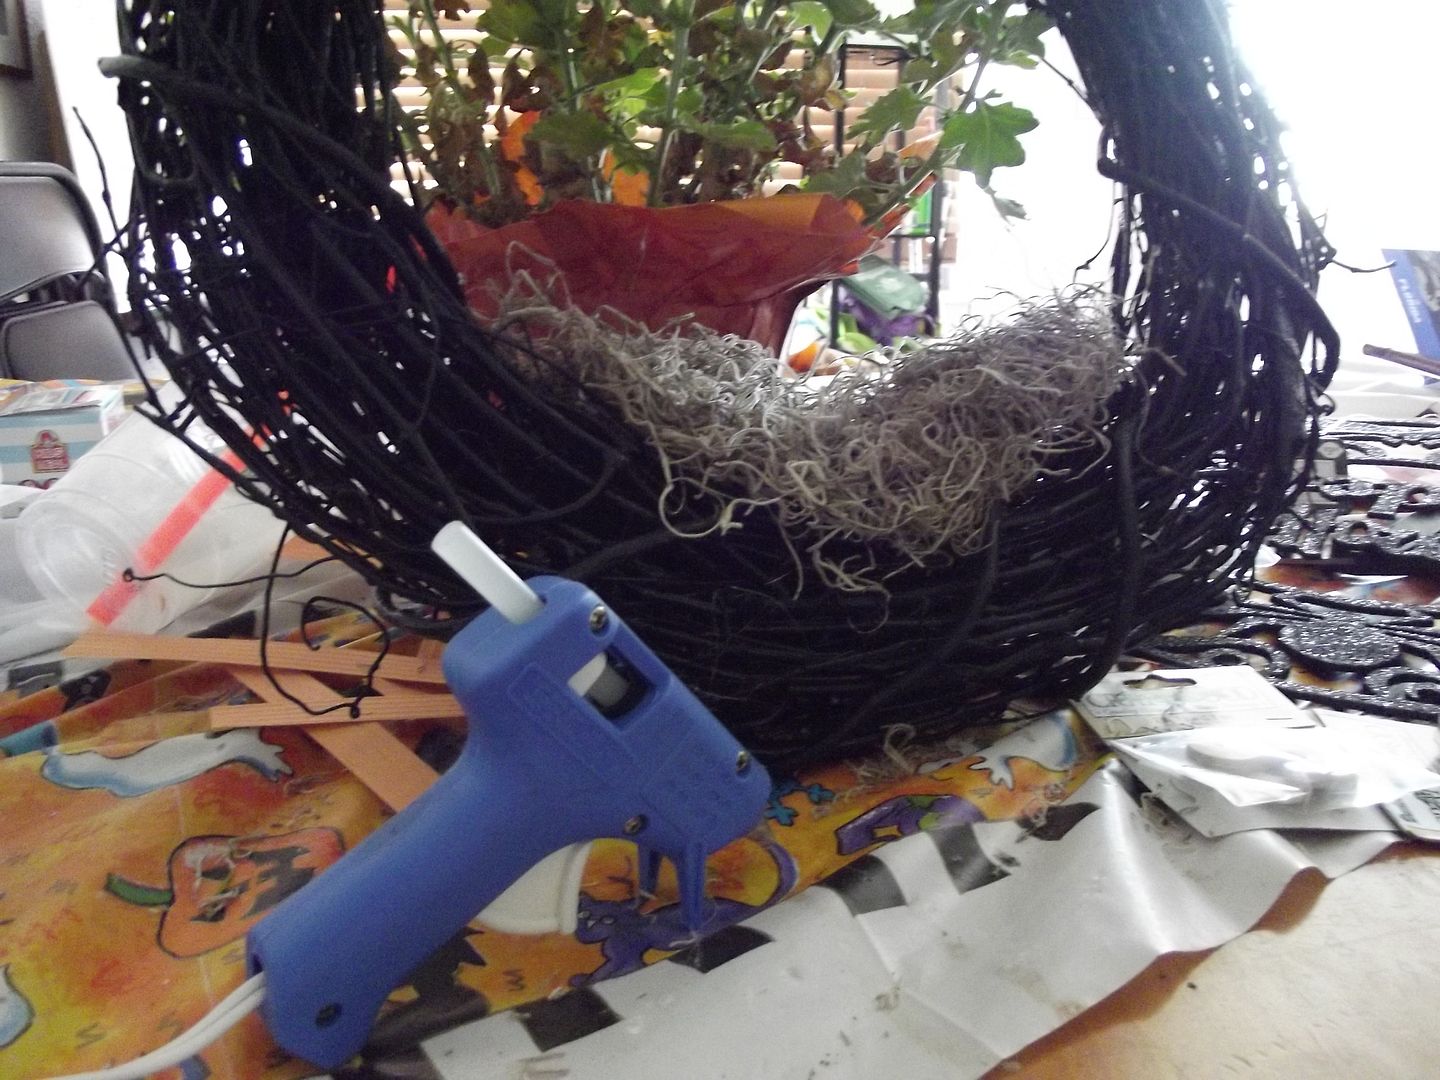
Step Two: Add your nest. I got this bag of Spanish Moss from the fake flower section of the craft store for wedding projects last summer. I used the hot glue gun to attach a nice thick moss nest in the bottom of my wreath. I liked a more nestled look, but feel free to glue it over the wreath in front and back like the other blogger did.

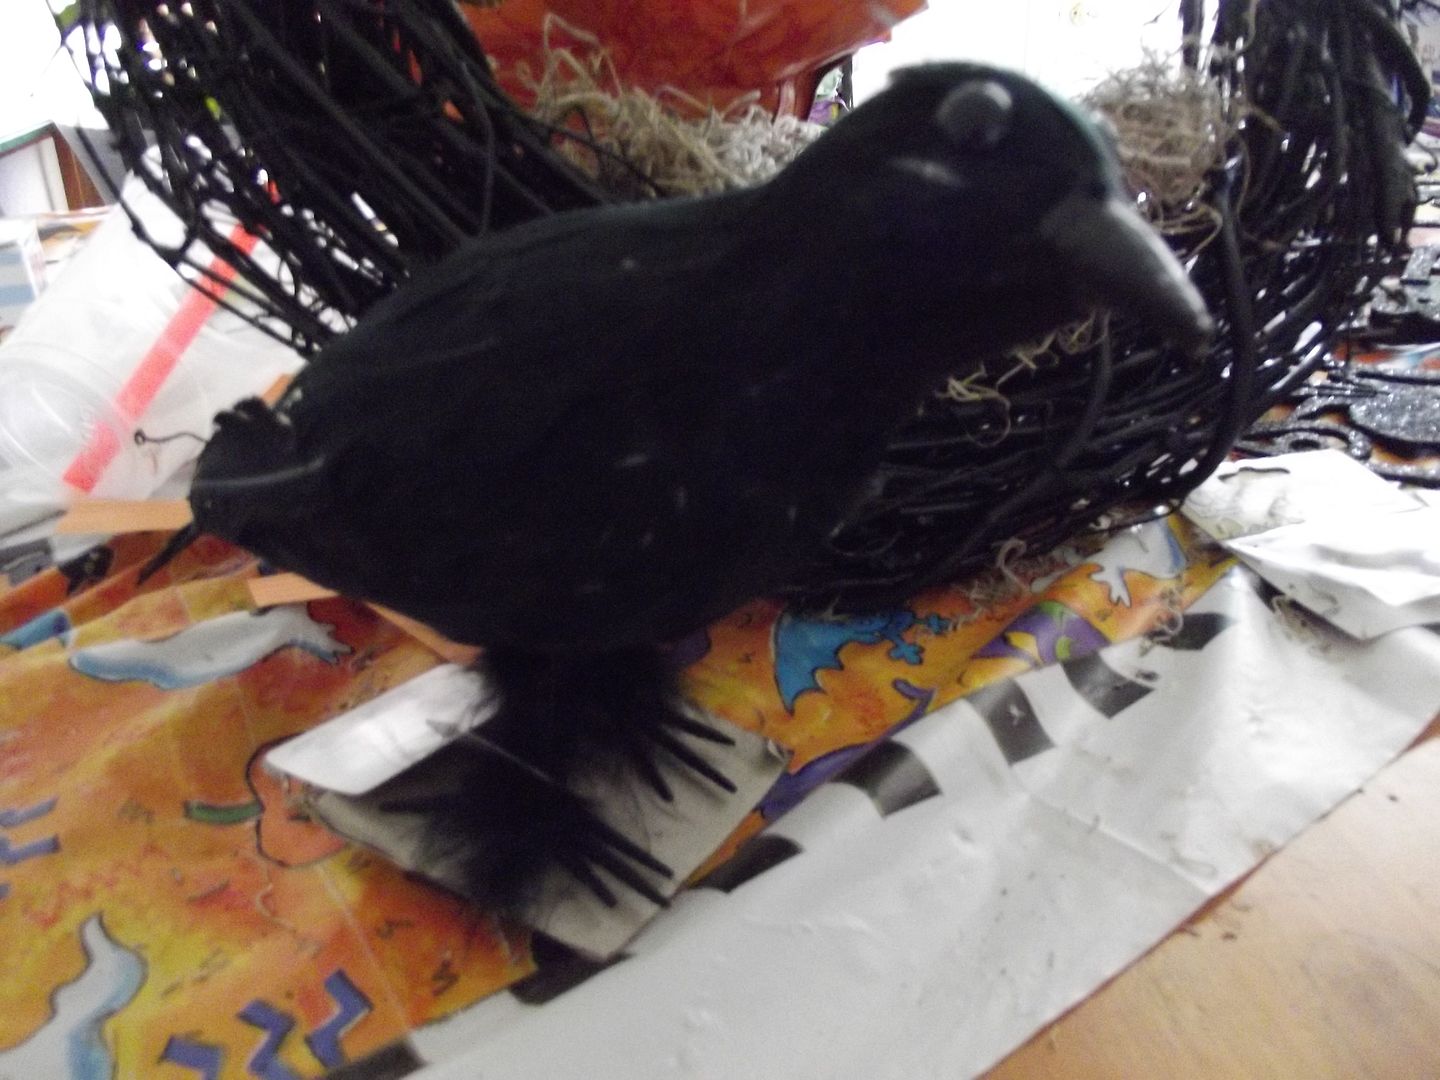
Crow Before Makeover Finished Raven

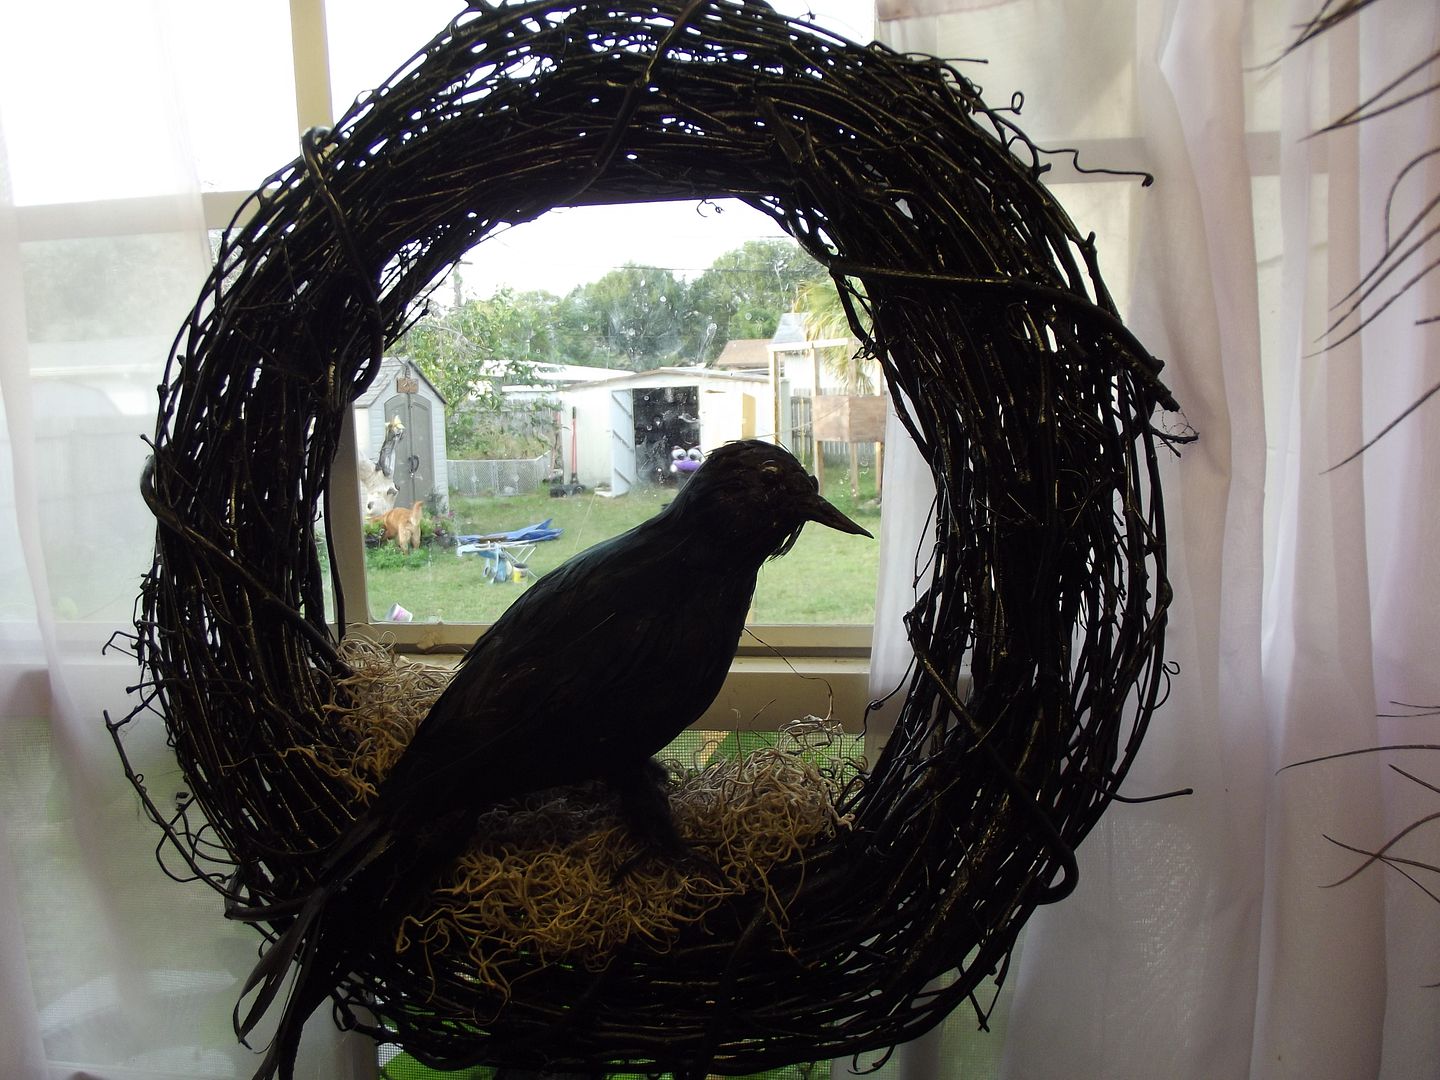
Step Three: Add your raven. These birds are also in the fake flower section of the craft store. They have foam bodies covered in feathers. Not too complicated if you had the time and wanted to just make it yourself. I think this guy is actually a crow. He's a little chubby and his beak is a little stubby for a raven (photo on left). That's why Mike and I altered him (photo on right). We extended his beak by breaking the foam one off and attaching a spray painted piece of gnarly orange tree branch. We also turned his head and added spray painted willow tree leaves to extend his tail. Much better, eh Mr. Poe?

He already has wire attached by his feet. I poked them through the moss and bent them around the wreath itself. Then I used a little hot glue for extra security. I also bent his claws to point down, like he's perched.

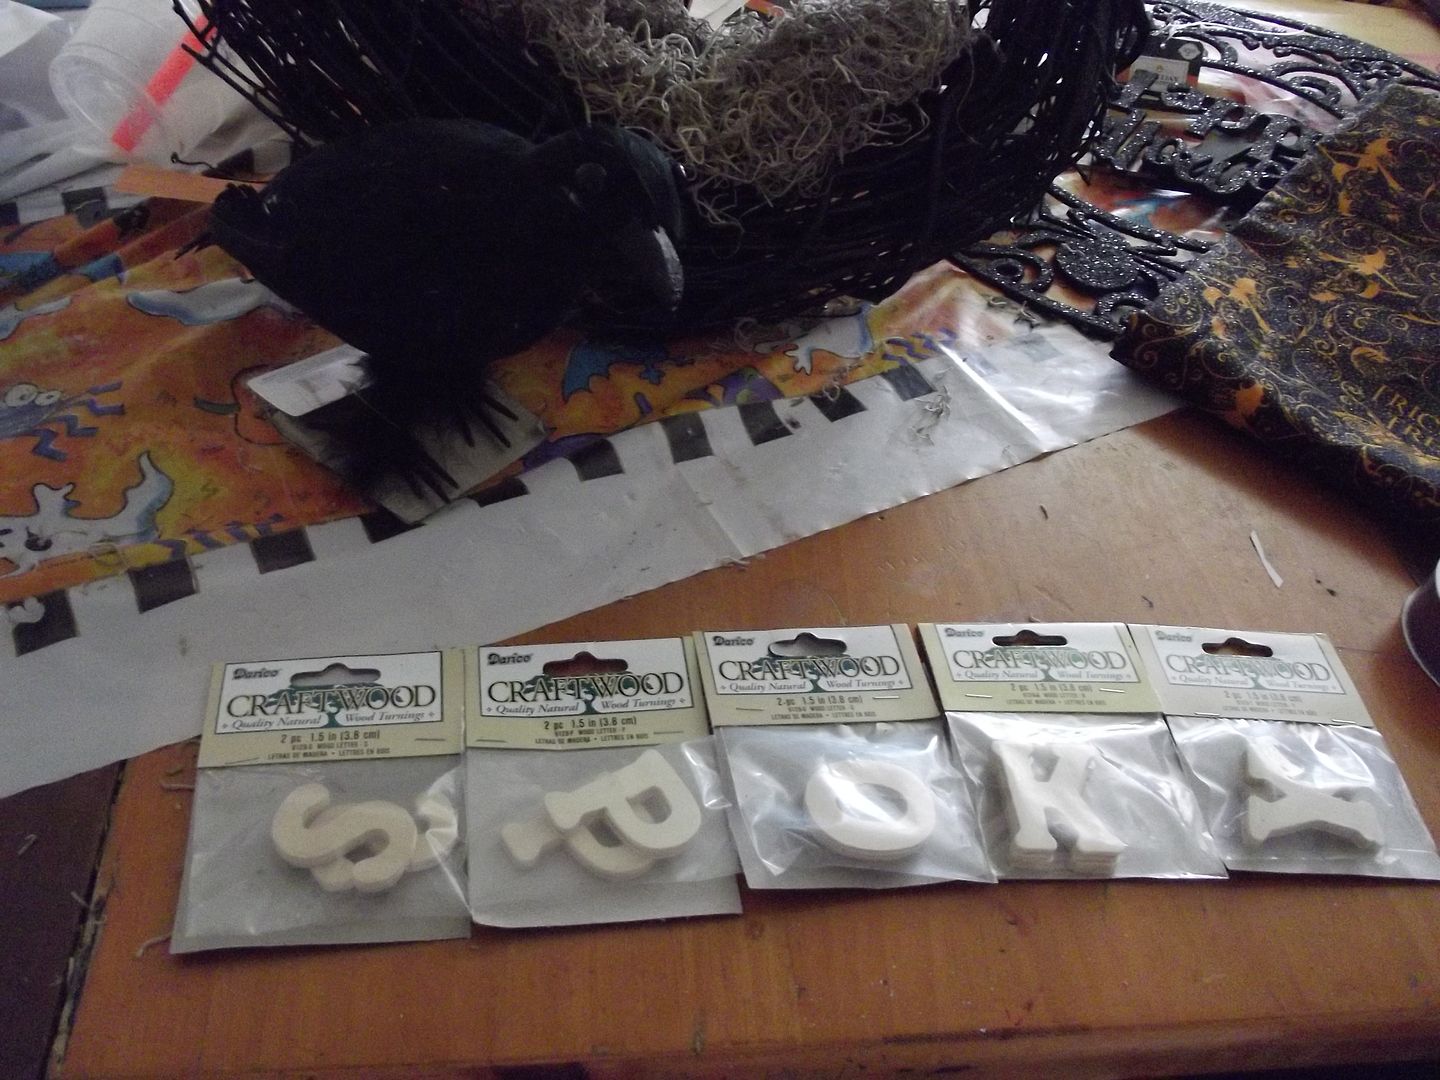
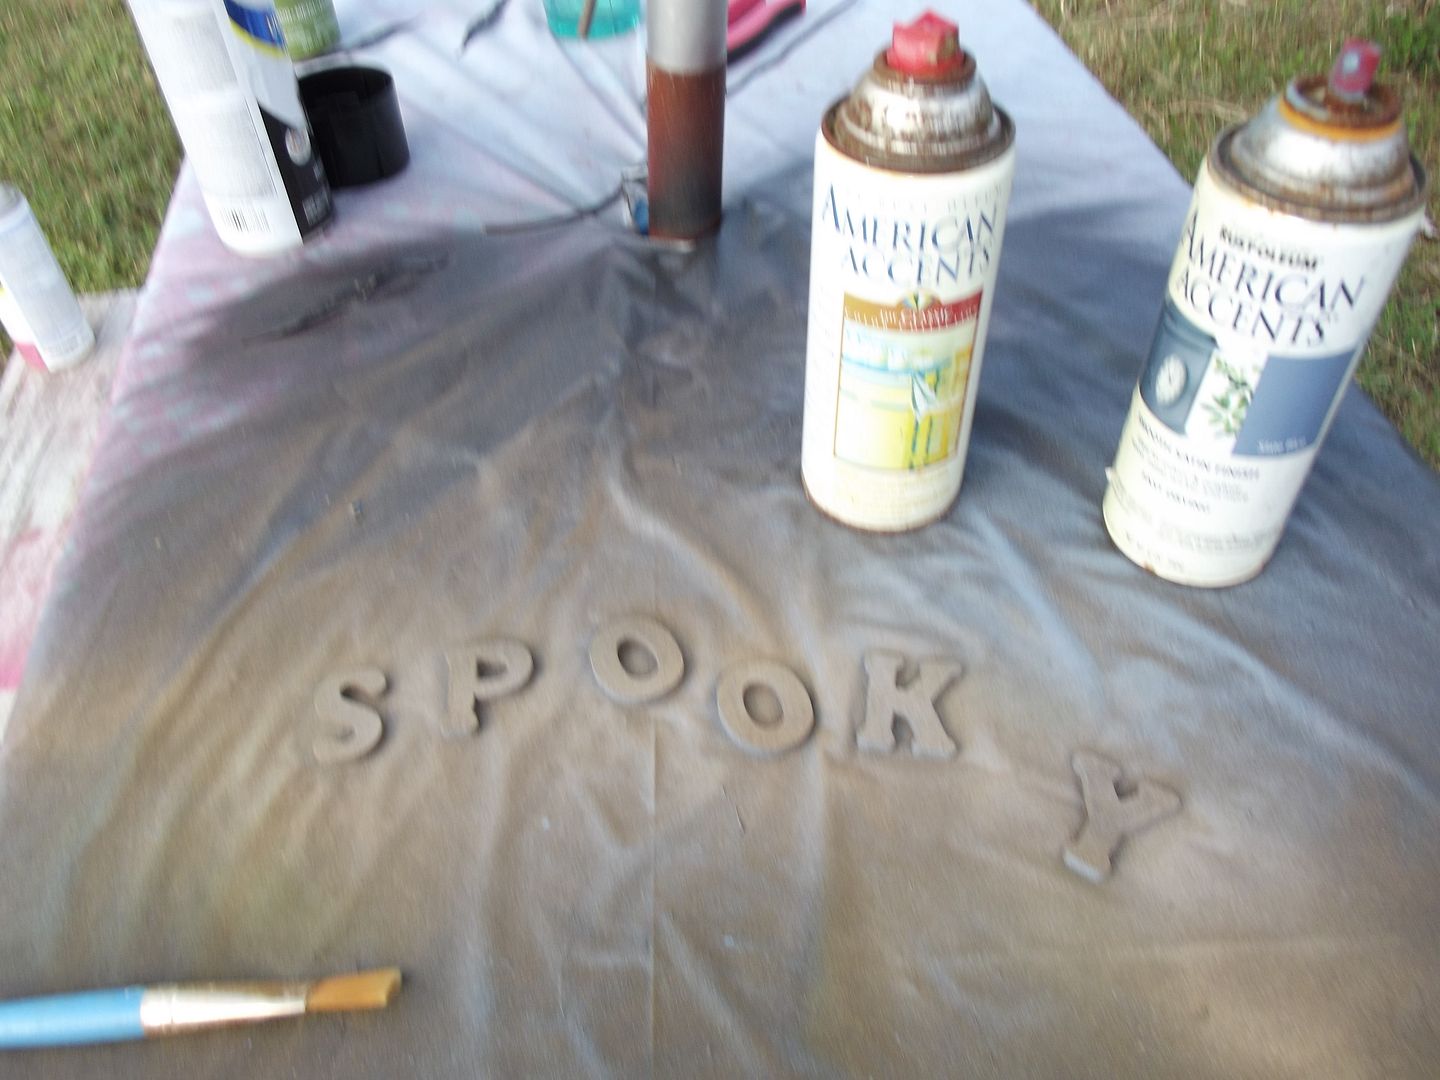
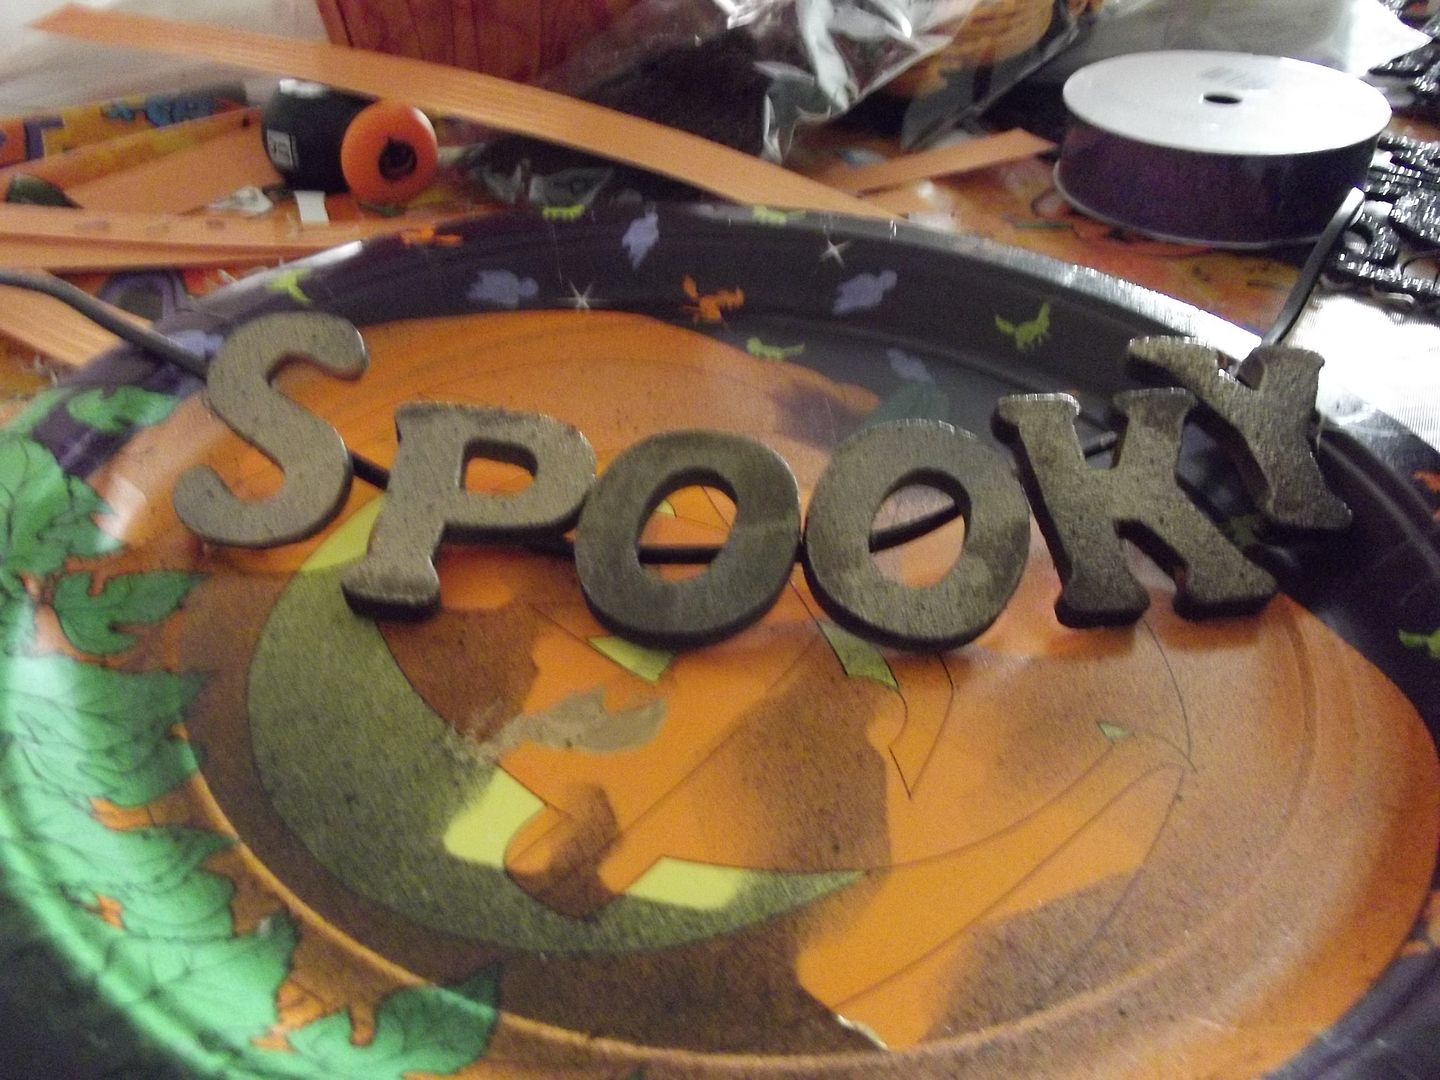
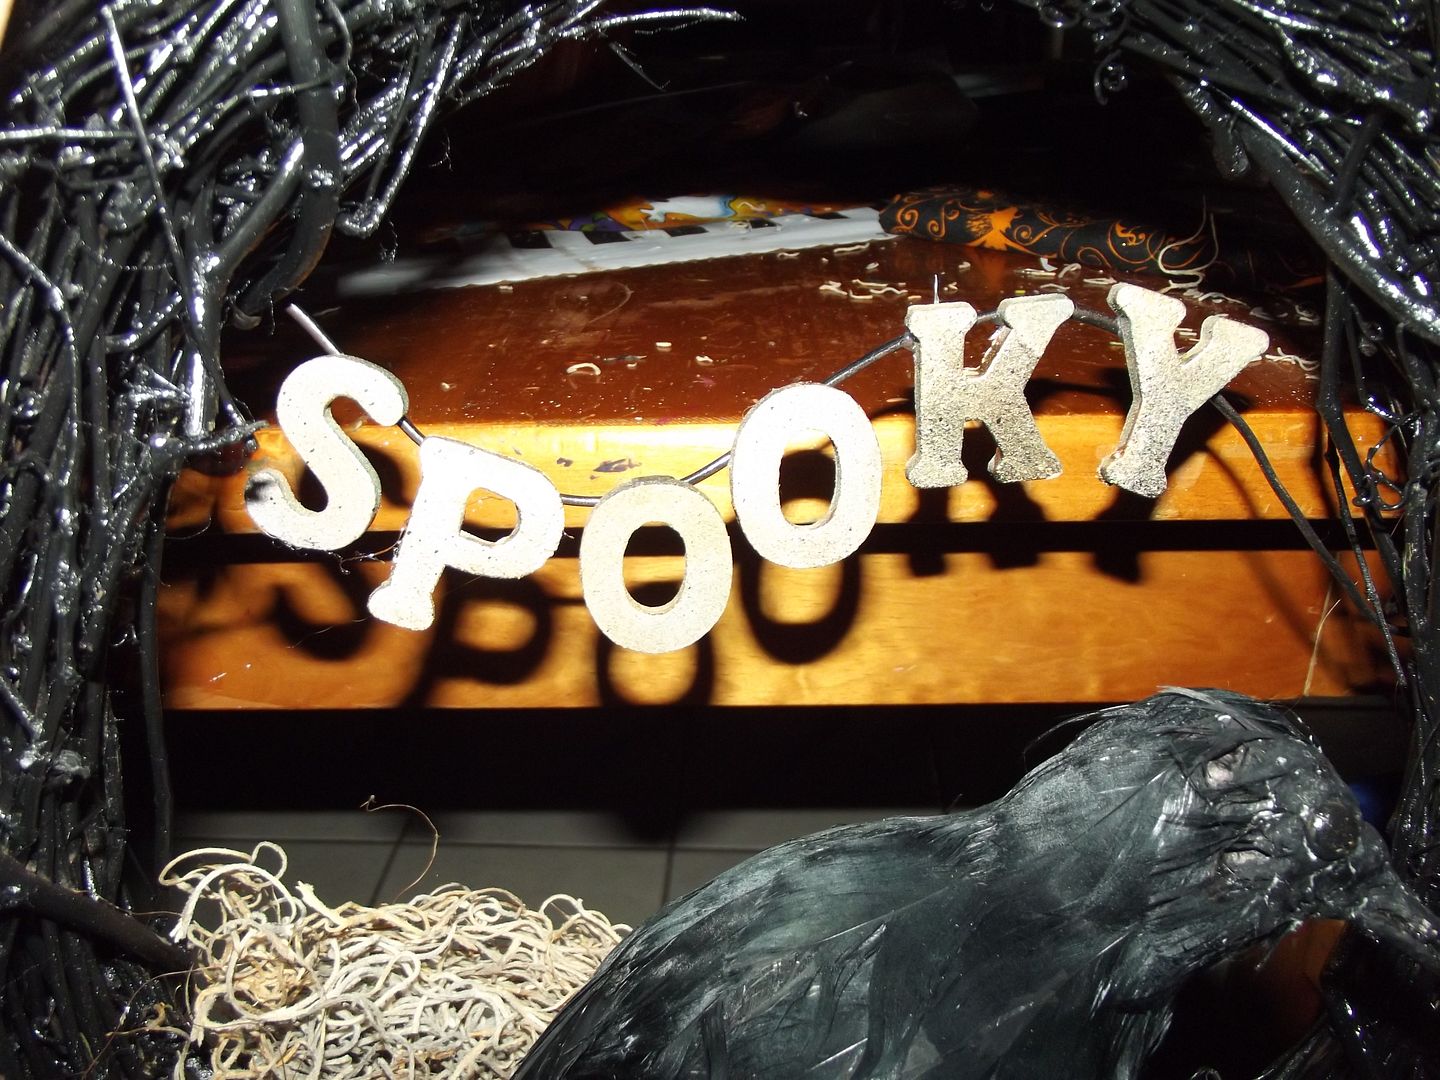
Unpainted Letters Letters Drying Letters on Wire Final Letters

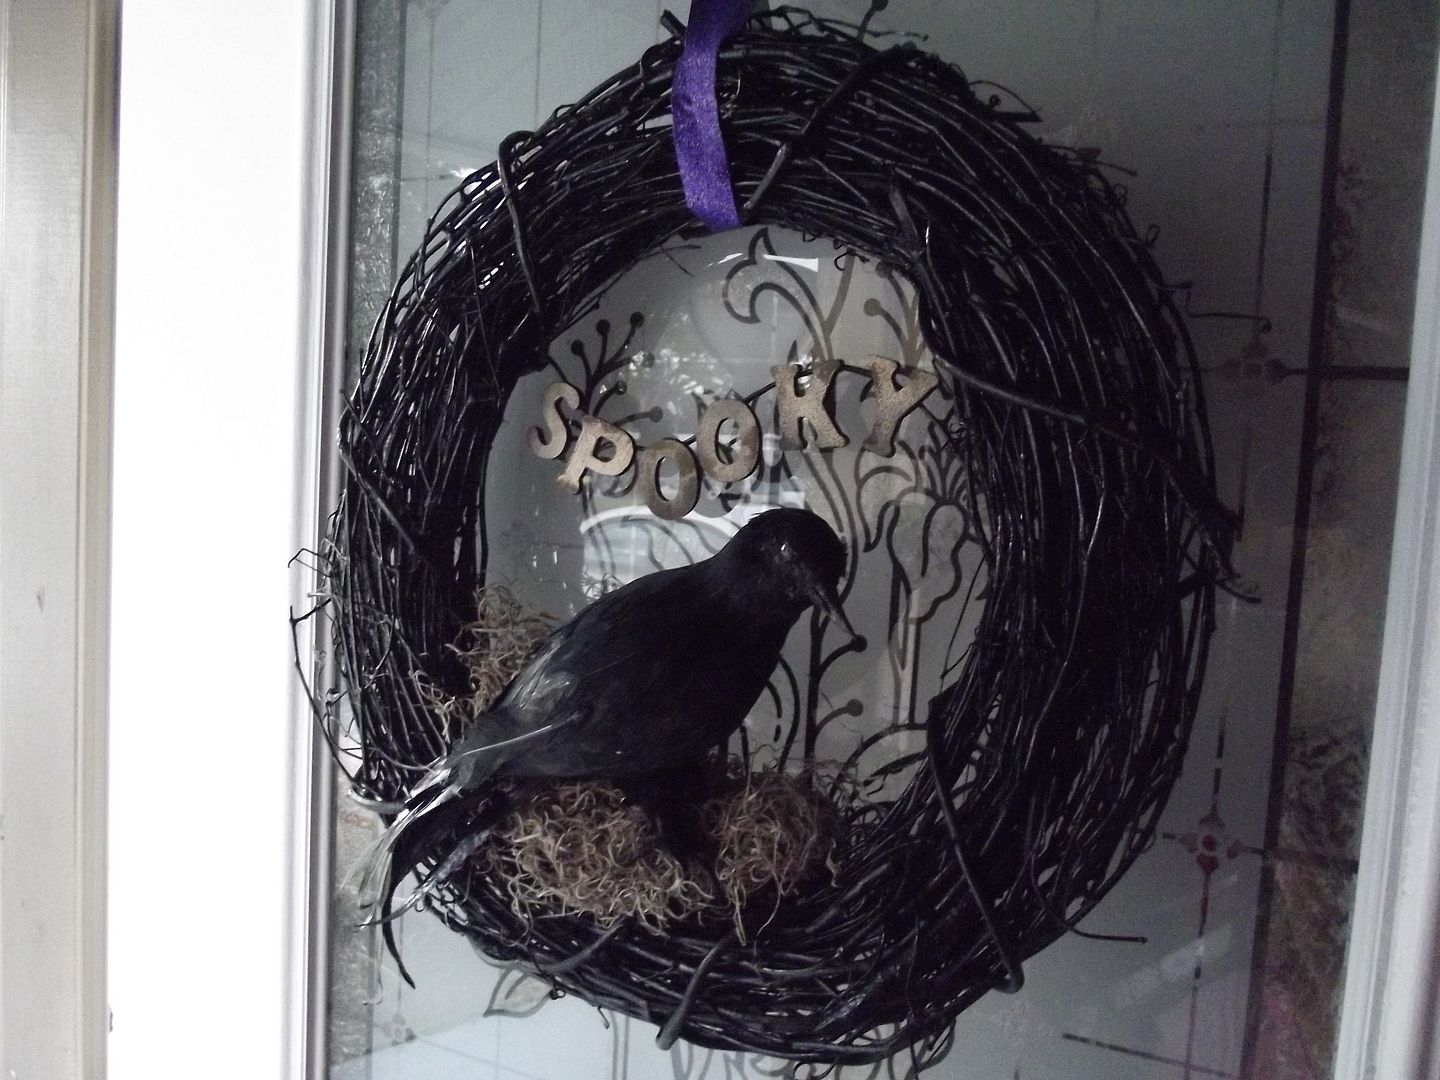
Step Four: After your bird is in the nest add your Halloween word. I was very tempted to write nevermore on mine, but I was afraid there wasn't enough space. It's a lot of letters. I went with "spooky", like the inspiration photo. I bought little wooden letters and painted them. I mixed colors we had laying around (gray, green and gold) until they looked antique-y. Then I attached the letters to black wire with hot glue. Then I twisted the wire around either side of the wreath.

Ribbon Loop

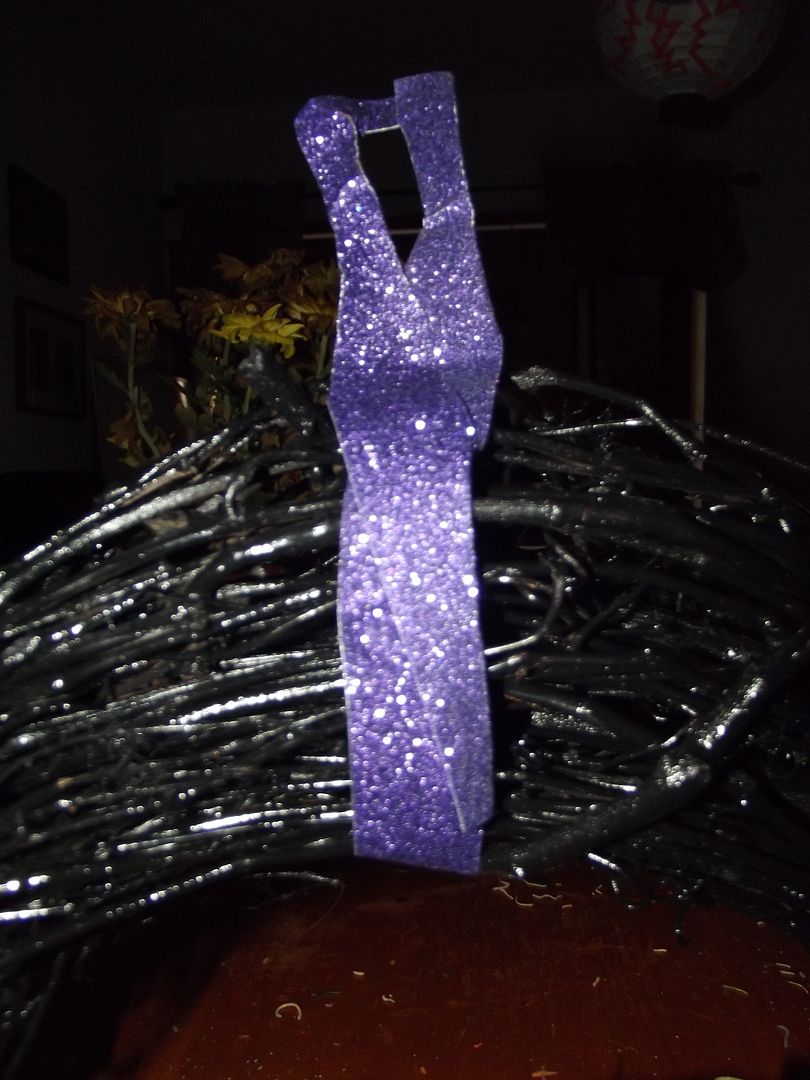
Step Five: Next you add ribbon. A loop around the top to hang it in your desired color and an embellishment pieces you'd like. This was my final step, but feel free to add webs, spiders, bats, twinkle lights, a motion activated player that recites The Raven when anyone comes to the door or whatever you can dream up.

Raven Wreath