Friday, October 19, 2012

Pumpkin Picking 2012

You never have to ask my kids twice to come to the pumpkin patch. It is quite the tradition for us. We always go to the same one. This year was slightly different because we went at night, but the kids had as much fun as ever.

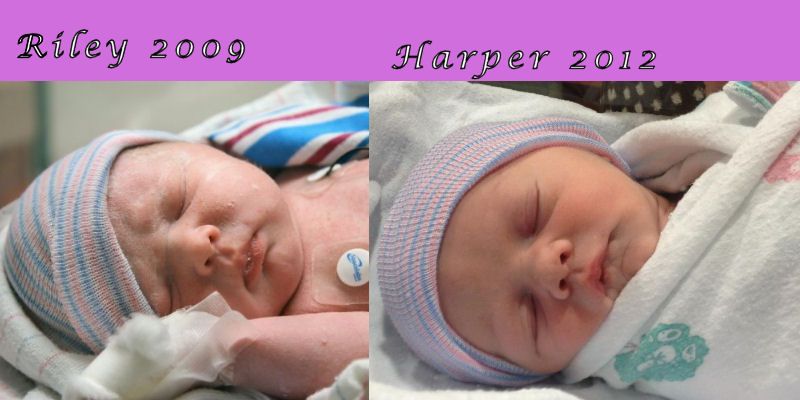
It was surreal to remember Isaac too little to lift the pumpkin or Riley at the pumpkin patch a few weeks old weighing less than the pumpkin we took home that year. They're so grown up; in fact, they were a bit hard to handle. Nothing terrible just getting over excited, wandering away, piling my lap with unwanted pumpkins.

Deciding Mike Pumpkin Katie Pumpkin Isaac Pumpkins
Kids Pumpkins

It's these yearly traditions that become the benchmarks for me. "Oh, it's our second Halloween in this house." or "Time for the annual trip to the pumpkin patch." That's what it is to raise a child everyday: they grow imperceptibly before your eyes. Then you look at a picture from a few weeks earlier or the Halloween before and you see it all at once.

I was quite pleased with our pumpkin choice this year. The kids were quite pleased with their coloring books and orange lollypops the sweet people at the pumpkin patch always provide. Everyone went home happy.

Roo Wagon

Thursday, October 18, 2012

Paper Spider Webs

I pinned a great tutorial last year, but never got around to these. Now that Miss Roo is a year older and completely facsinated with scissors it seemed an appropriate time.

Materials
  • White Printer Paper
  • Scissors
  • Instructions
  • Embellishments (felt spiders, crayons, markers, etc)
  • Little Helper

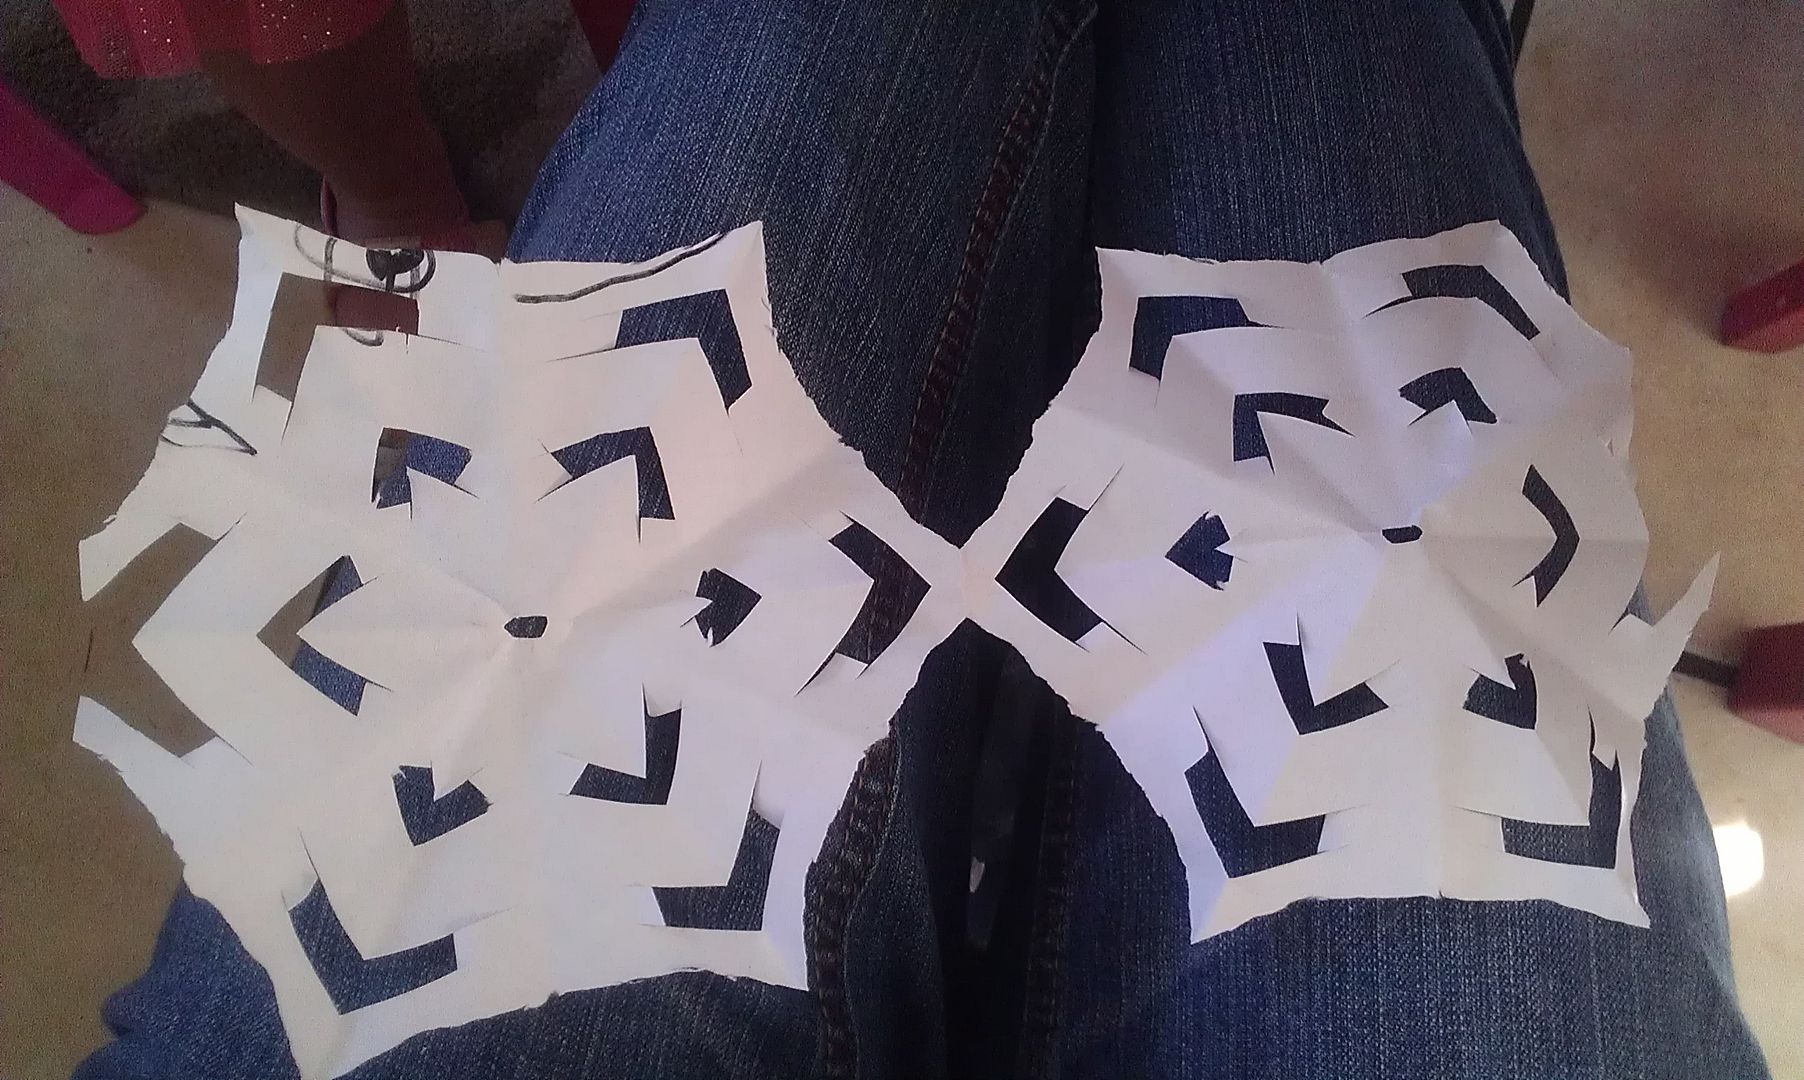
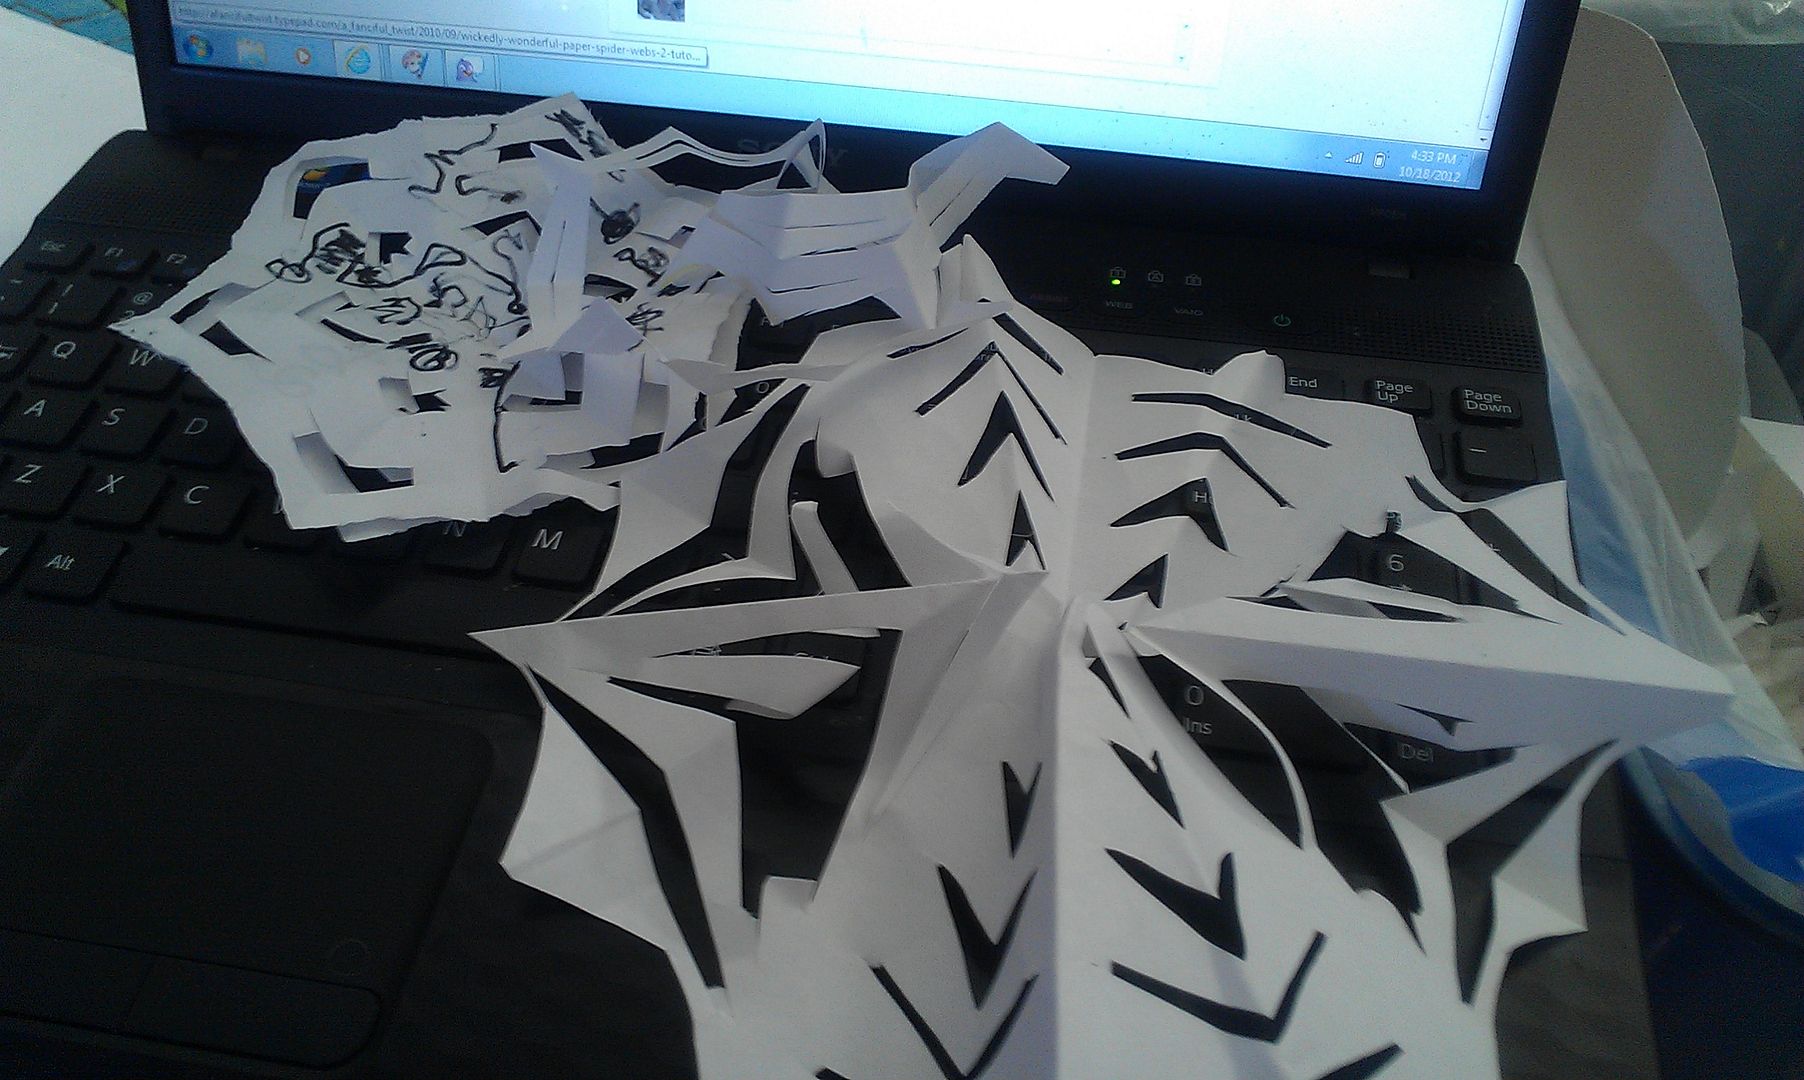
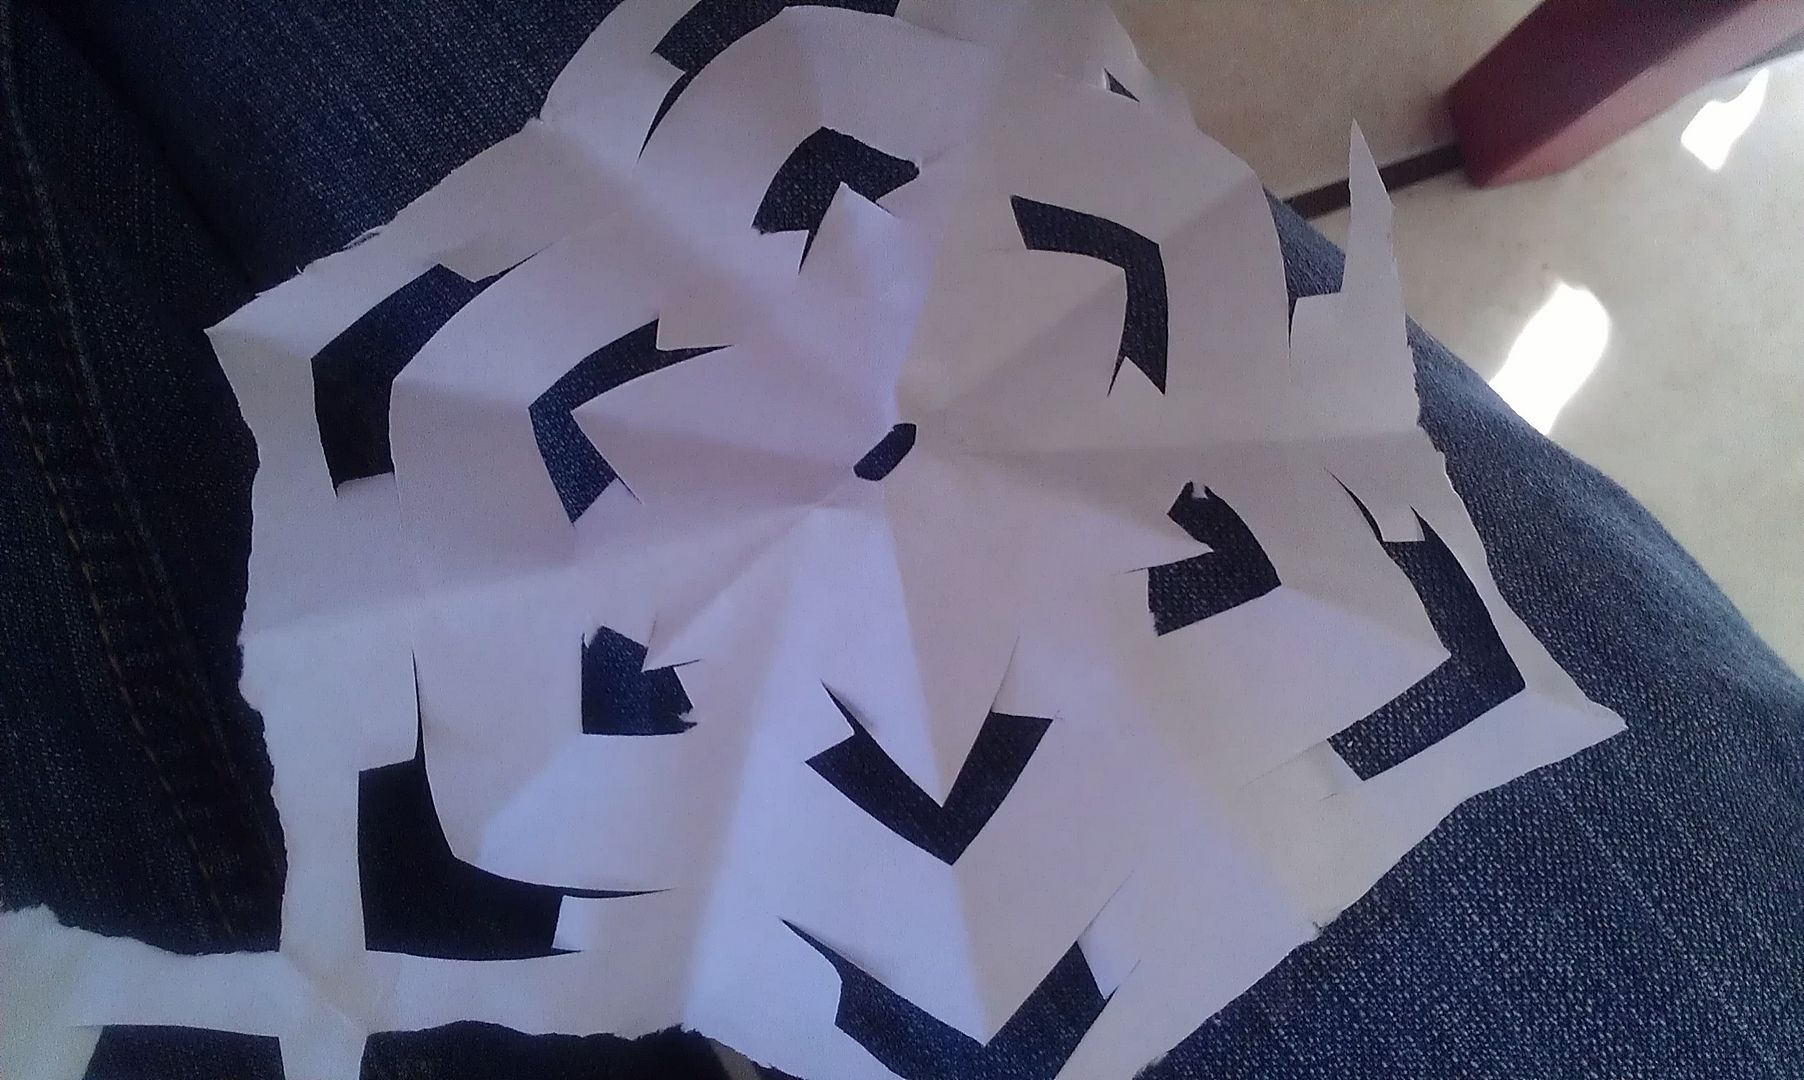
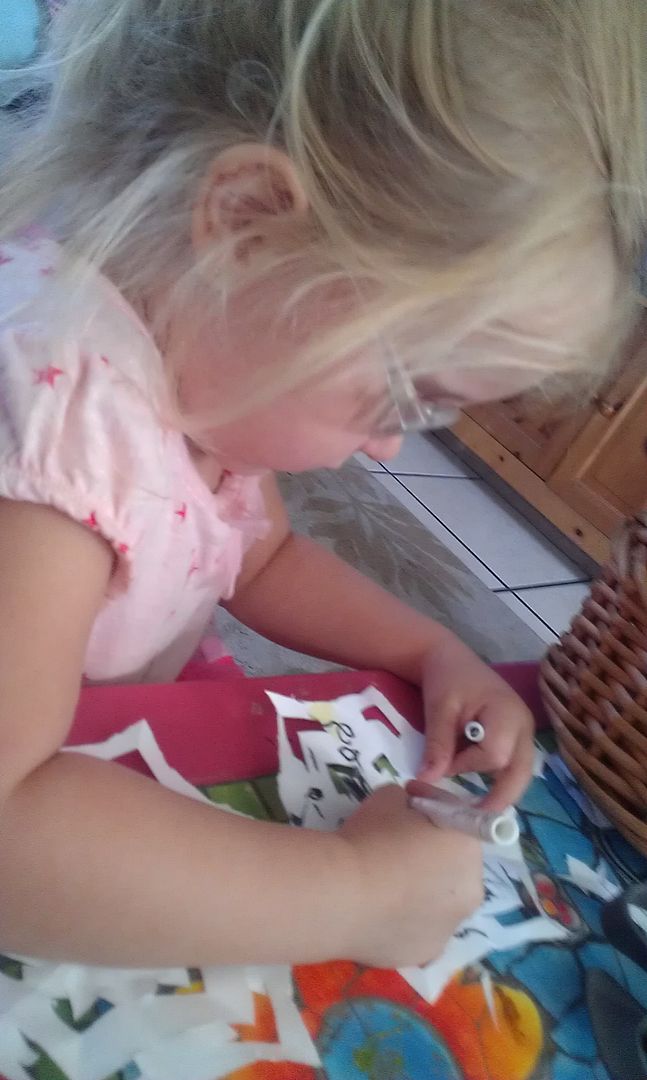
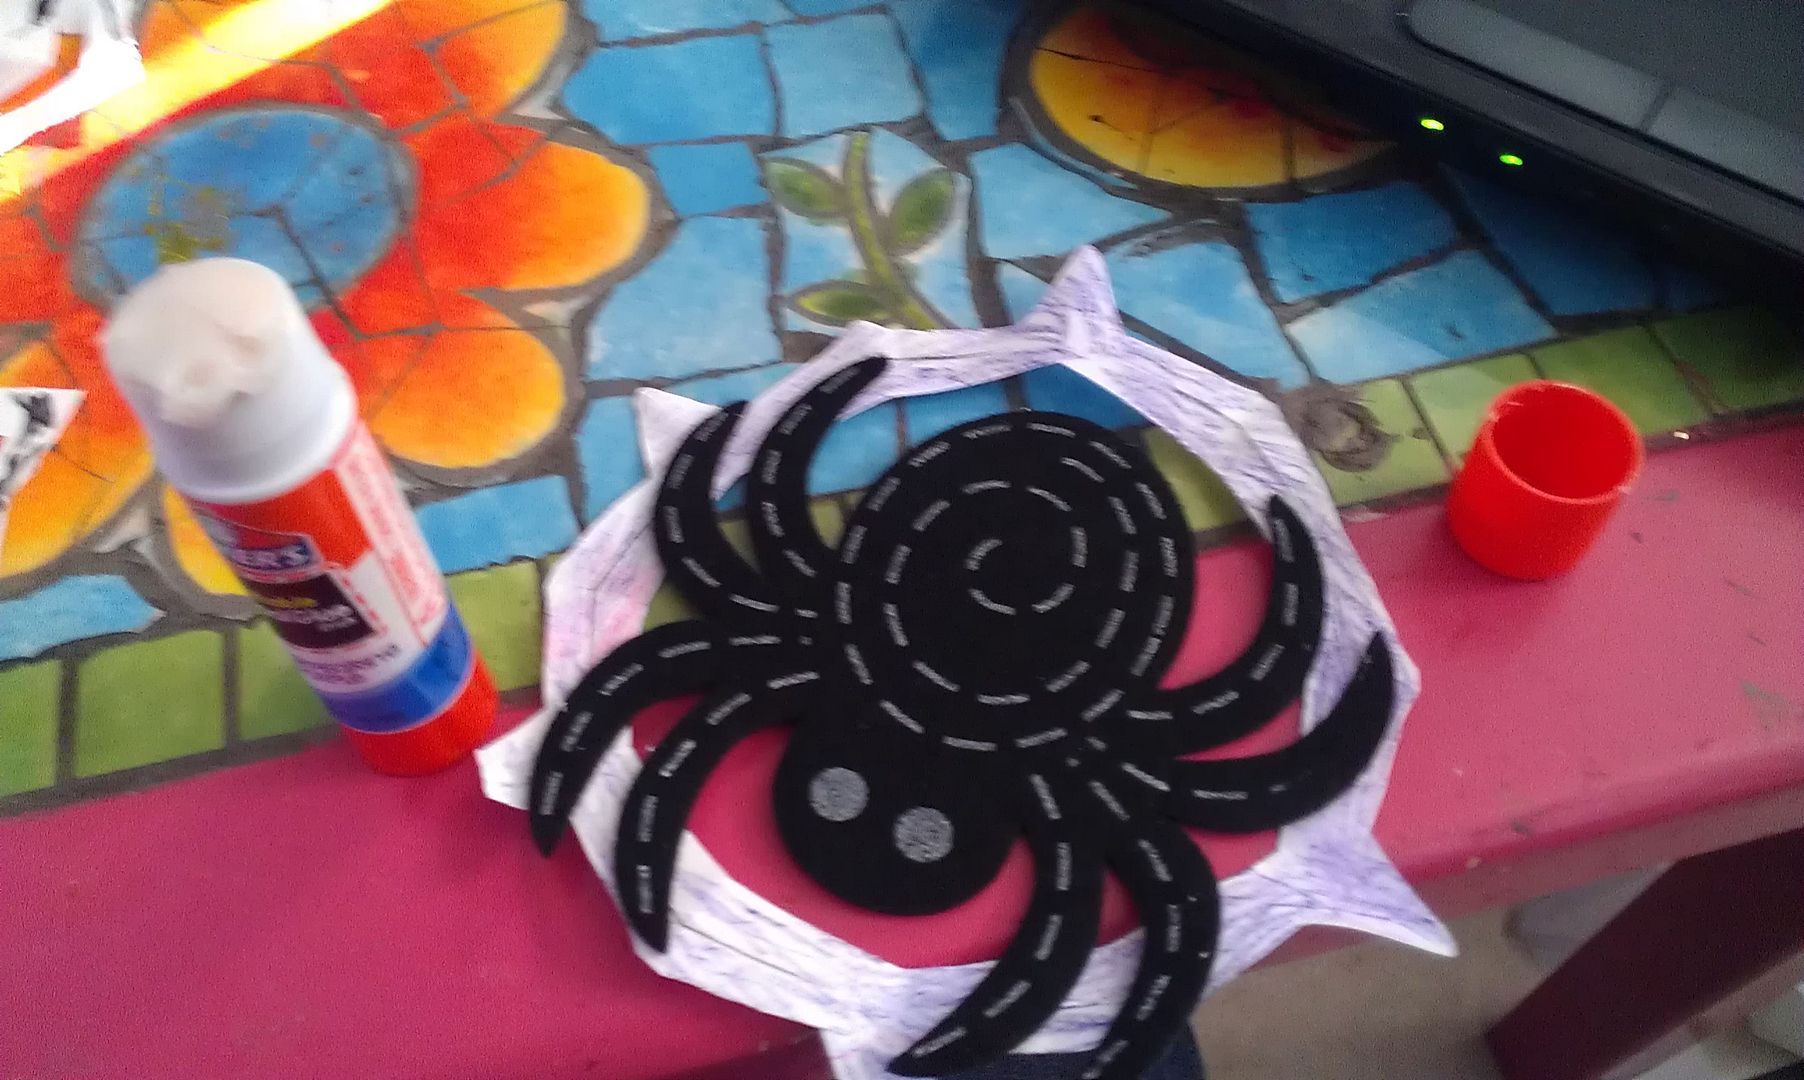
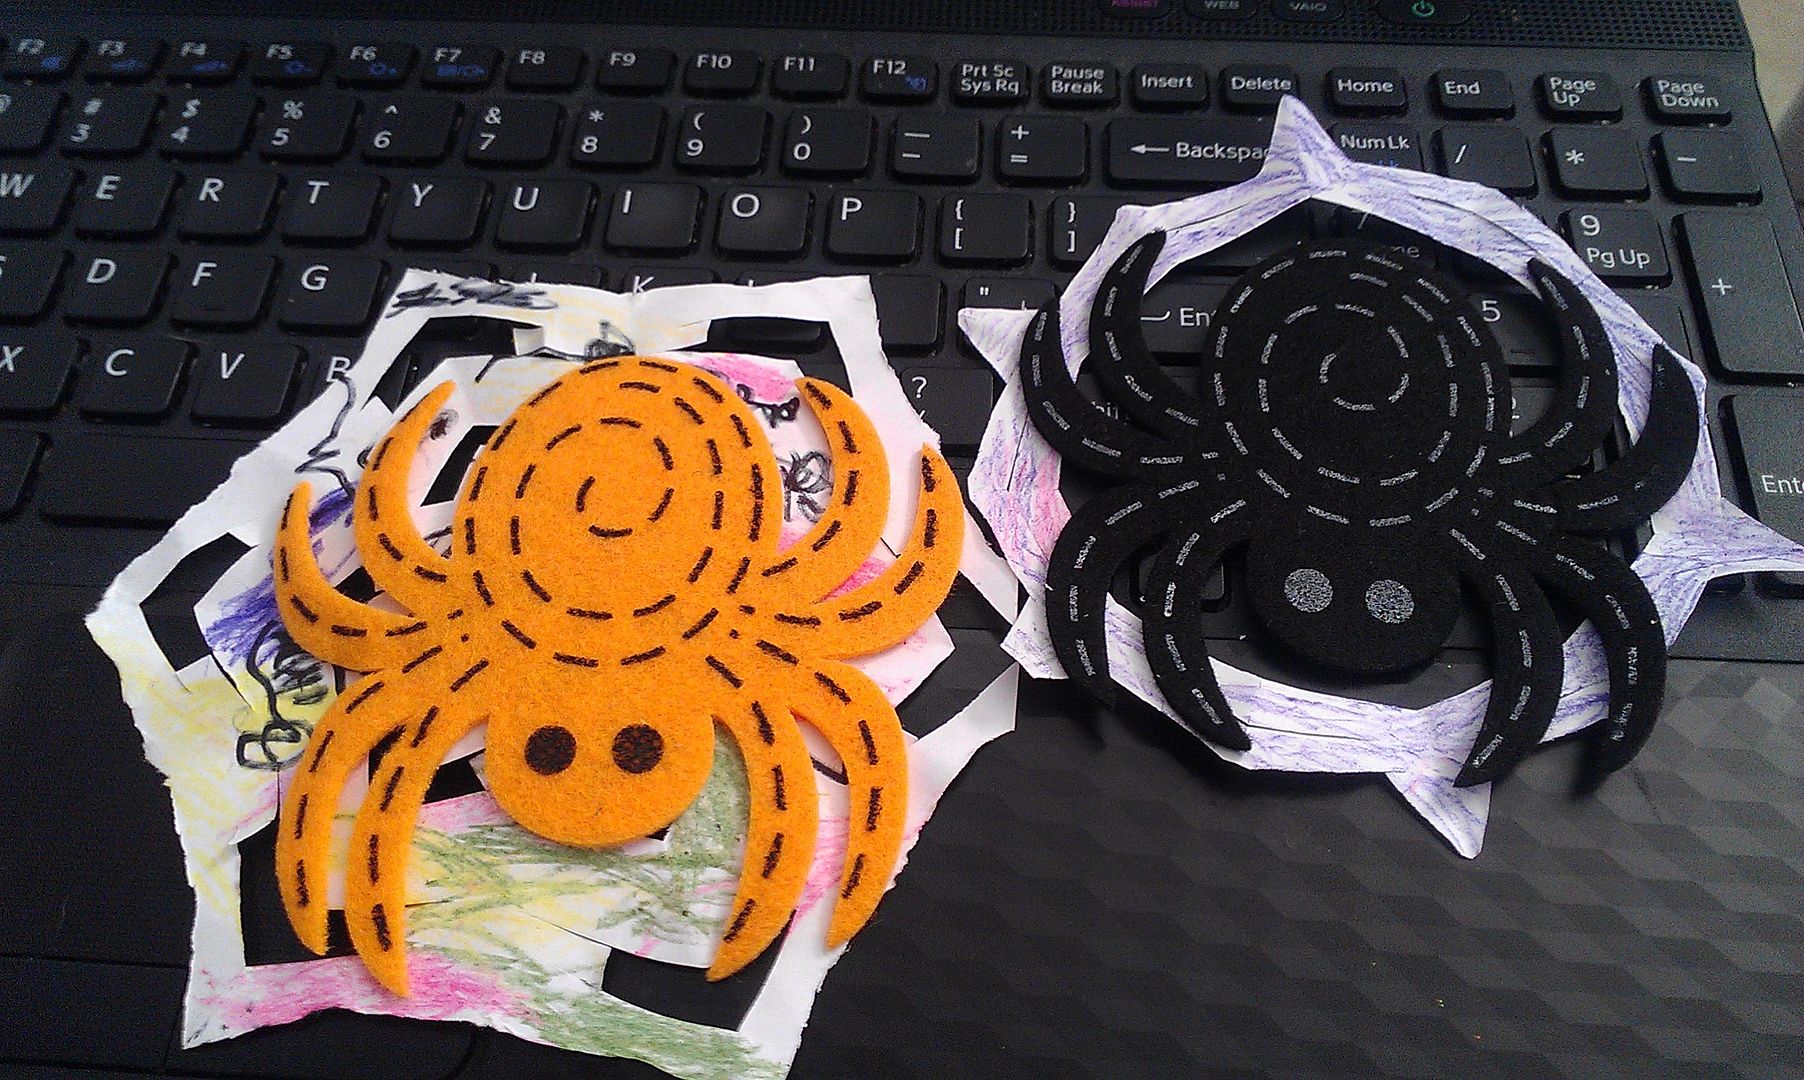
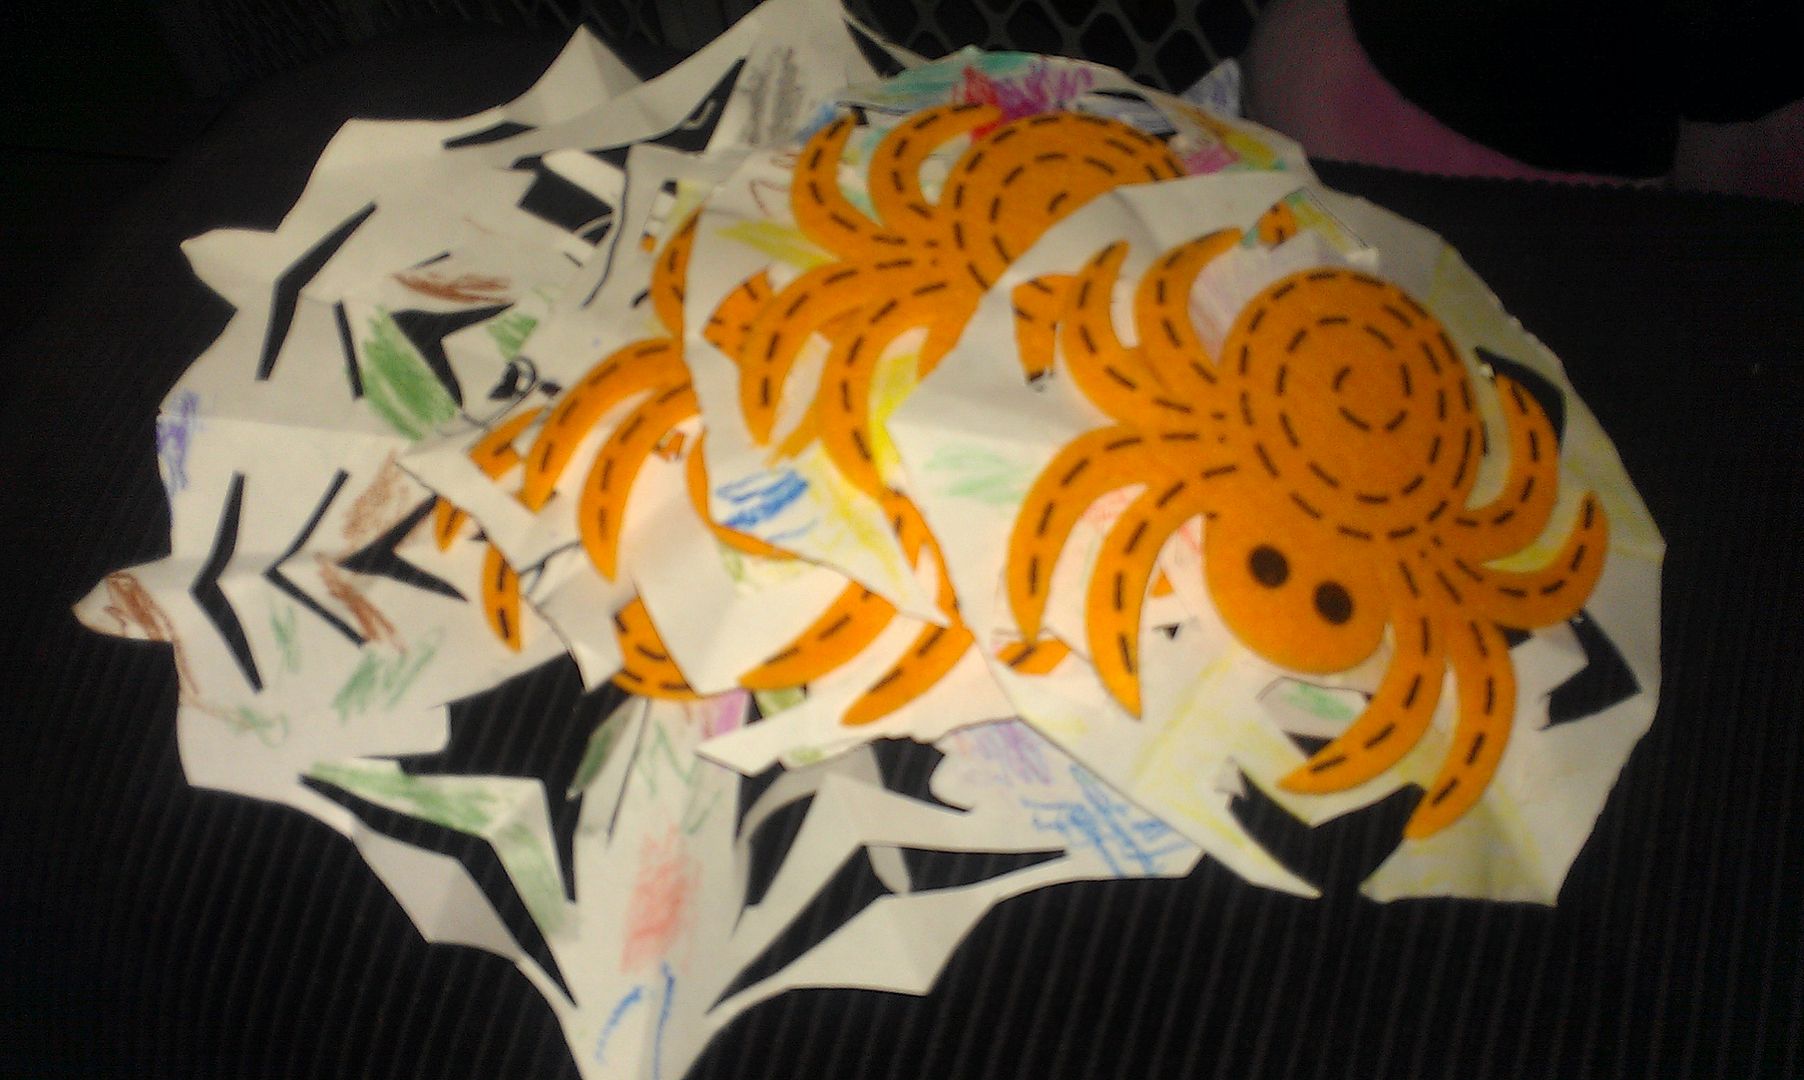
Cut, Cut, Cut First Attempt Pile of Webs Close-up of Web

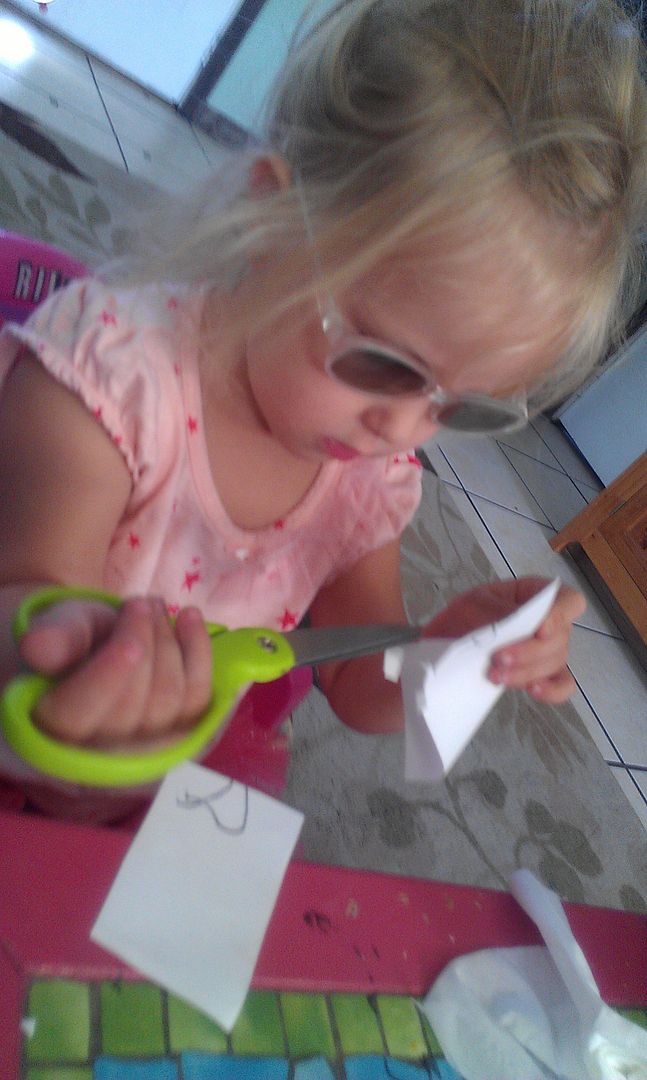
I started with a few sheets of printer paper. I followed the steps in the tutorial for folding them. I liked the first way better because when I tried the second way, it looked too much like a snowflake for my taste. Each time I cut a section of paper off I passed it to Riley. Armed with her safety scissors she happily made mounds of confetti on my floor.

We were watching Nightmare Before Christmas in 3D, hence her stylish eyewear. The basic idea is to end up with your paper folded into a triangle shape with an even number of layers. Be very careful not to cut through the edge. Run with your mistakes. It's Halloween and there is no "perfect web", people will get the idea.

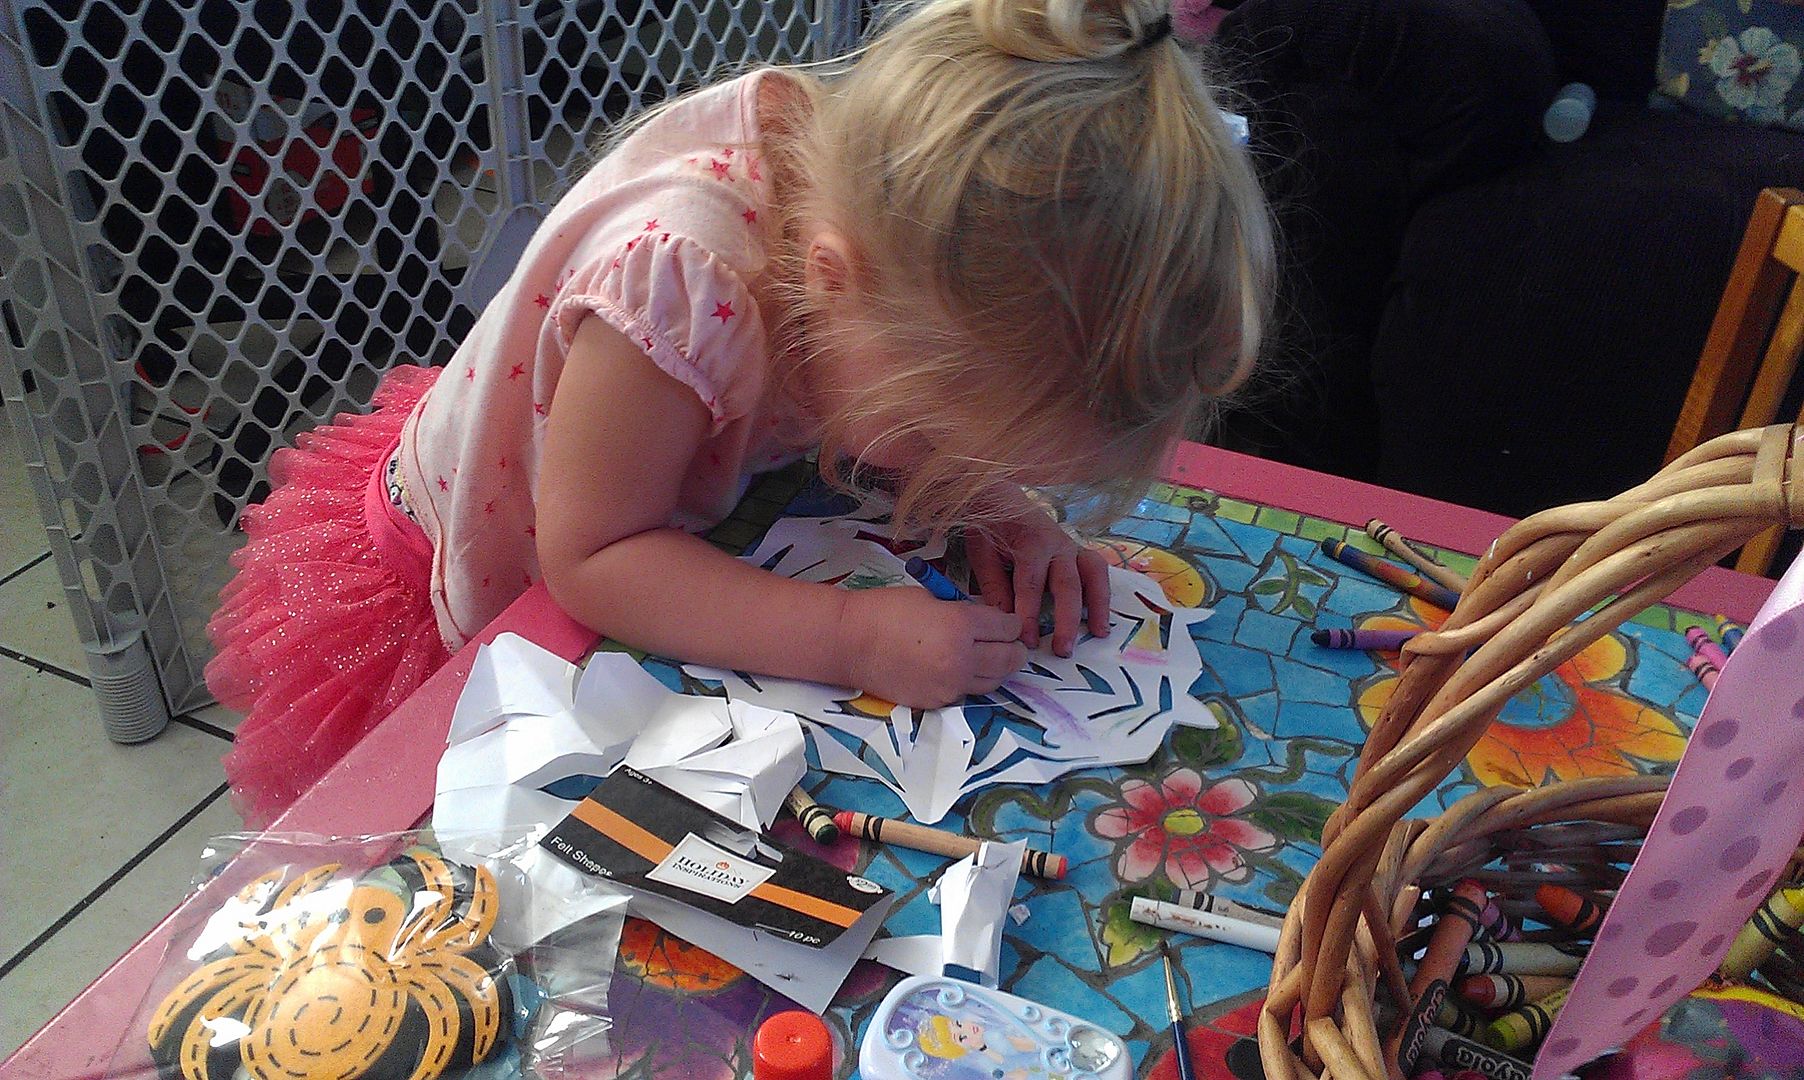
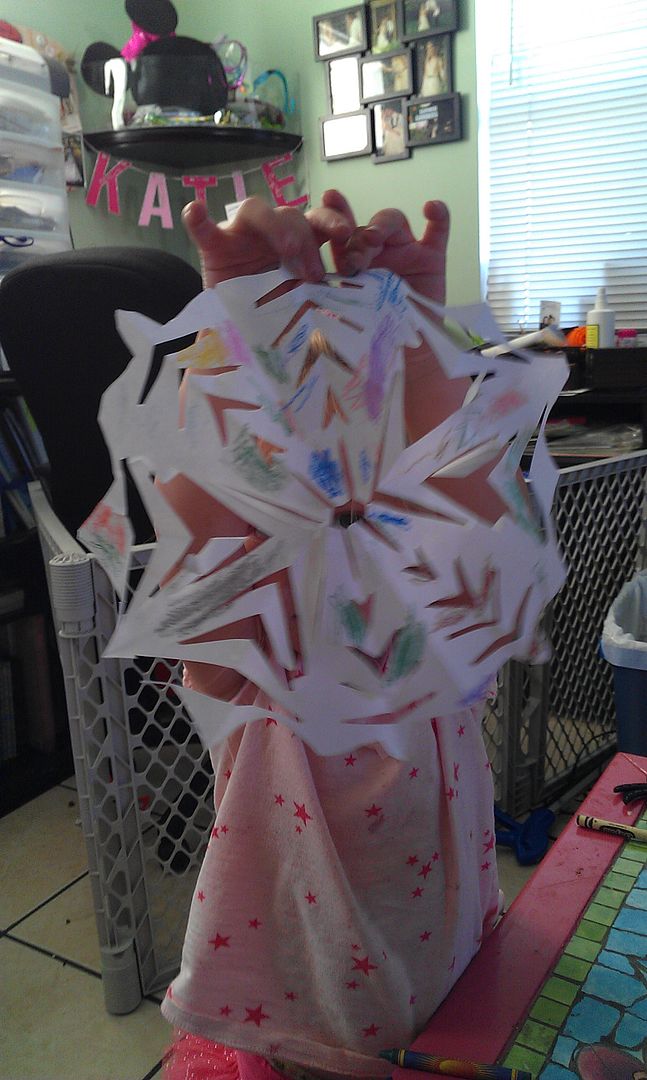
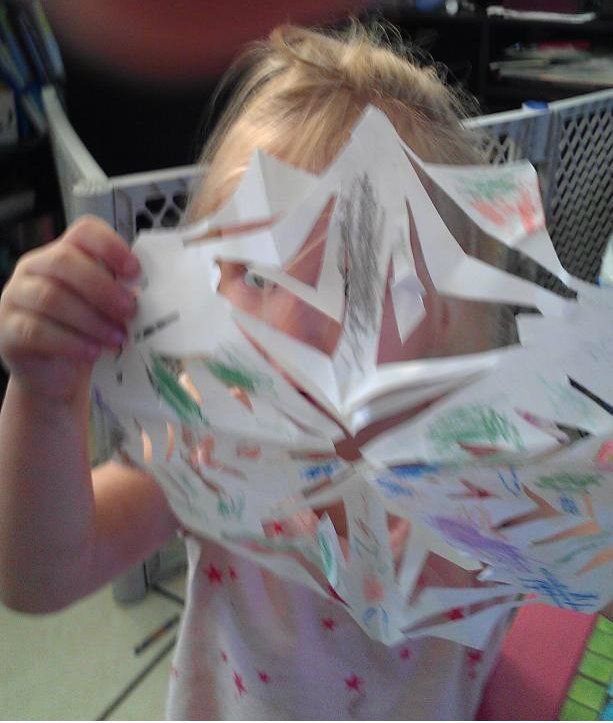
Decorating With a Marker Riley and the Blue Crayon How Does it Yook? Peek-a-Boo

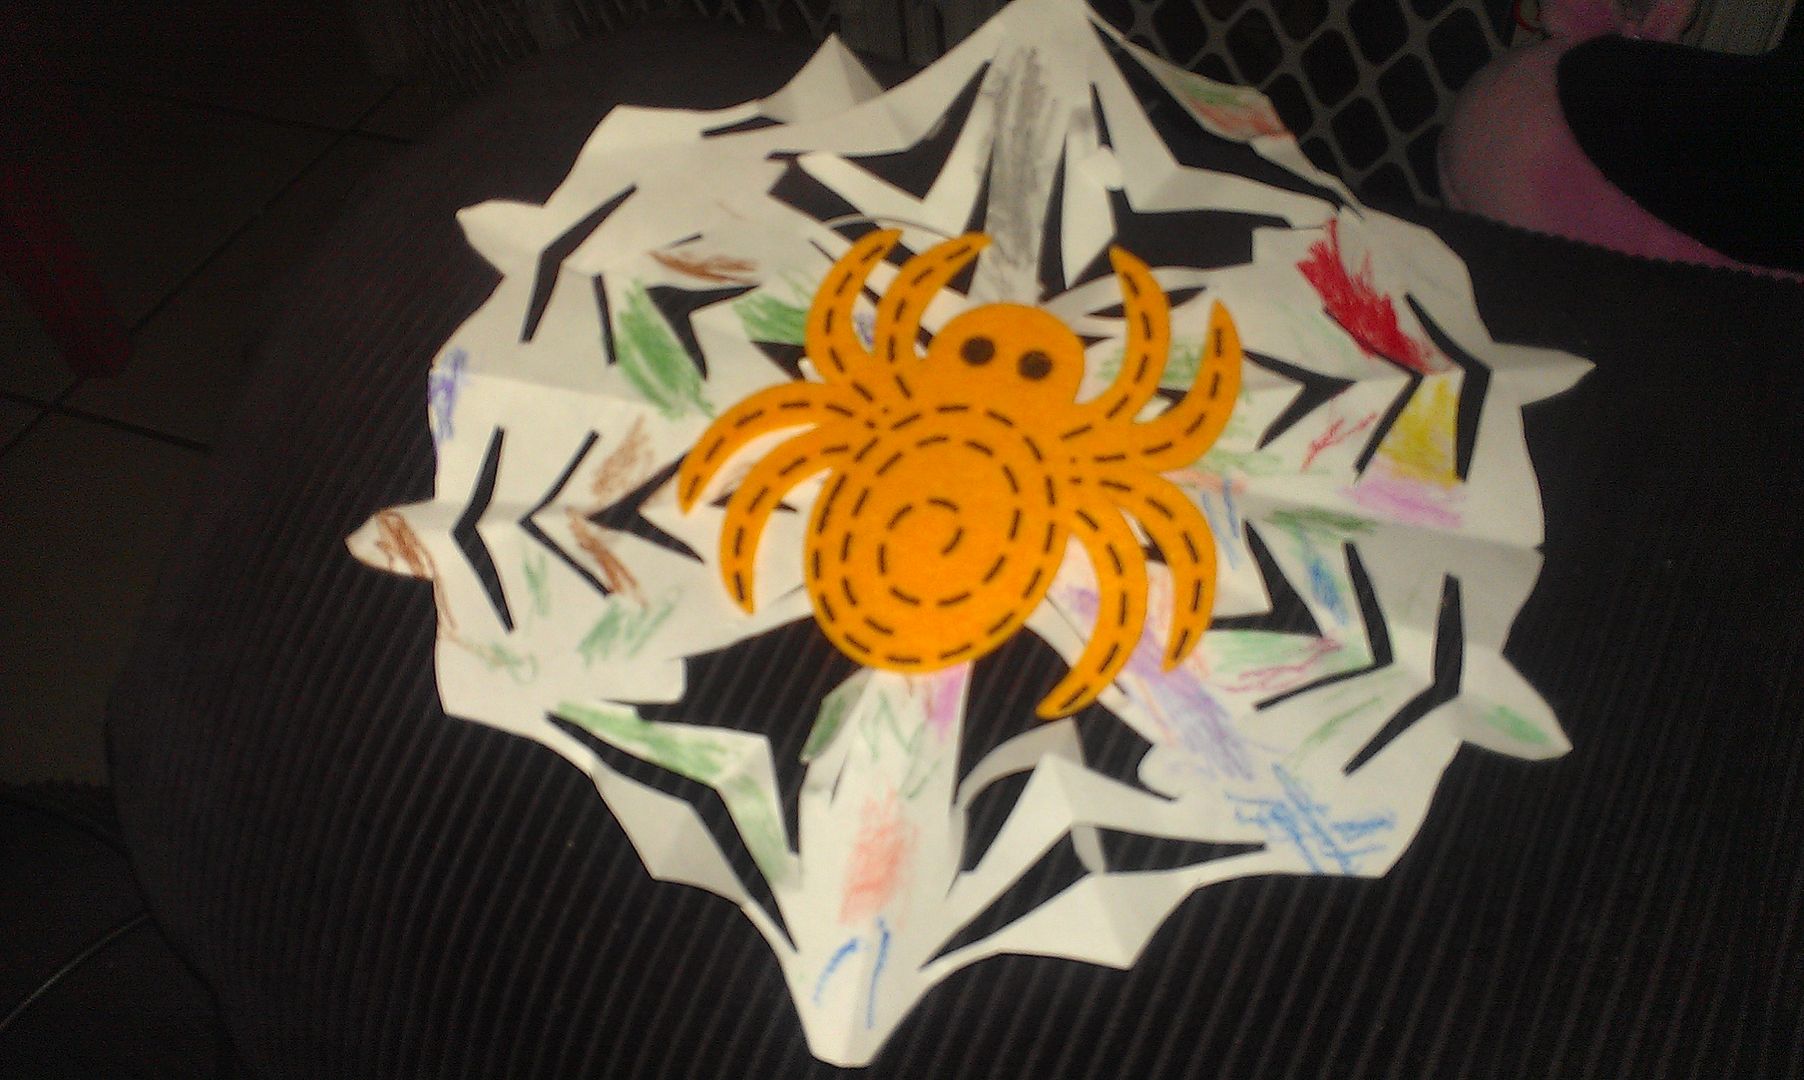
I handed off each web to my assistant who happily drew on/colored each one. She was all about making them colorful. She's becoming quite the little crafter.

Then I cracked open my package of orange and black felt spiders. I picked up those while gathering my raven wreath materials. I tested one to make sure a glue stick would do the job. It worked fine. So, I supervised as Riley glued a felt spider on to each of her colorful webs. Sniff, using a glue stick by herself. So big. She was very partial to the orange ones which was fine with me since I hadn't a clue what I was going to do with orange arachnids. I think they turned out great.

Tuesday, October 16, 2012

The Aunt-hood

Knighted

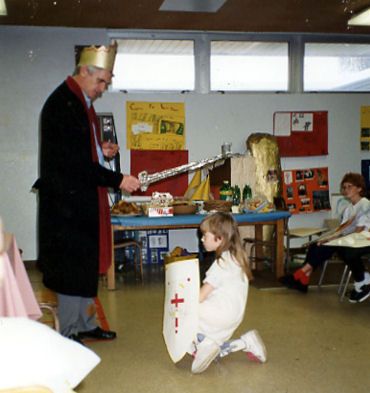
In my 4th grade gifted class I was knighted. It was a big to-do. I designed a family crest for my shield (posterboard). We held a feast and the king came to knight us. Quite an honor to be sure. We didn't sit at a round table, but we were all above the salt. Since knighthood, I've done very little damsel rescuing or dragon slaying, but statistically most people don't use their medieval title, do they? Recently though, a similarly auspicious title was bestowed upon me. This time I intend to make the most of it.

For the first time in my life, I am an aunt. My sweet little neice was born Sunday night. I was struck by how different it felt to be a "real aunt". Mike and I have lots of cousins with kids, which is similar. I'm also honorary aunt to several kids in my life, but this was something slightly different. My siter-in-law is a mother. She's a pretty little girl. She looks like her parents for sure, but in some ways she reminds me of Riley.

Cousins

Other than her size (she's only a pound and change bigger than Riley was at birth) and pretty little feminine features her personality is similiar. She hardly cries, as she's too busy observing everything just like Miss Roo. I'm certain they will be best friends. No matter their differences or similarities, I'm head over heels already.

I think I'm really going to like this aunt gig.

Aunt Katie

Welcome to the world and our crazy family, little Miss.

Monday, October 15, 2012

Sunday, October 14, 2012

The Stages of Life: Via Theme Park

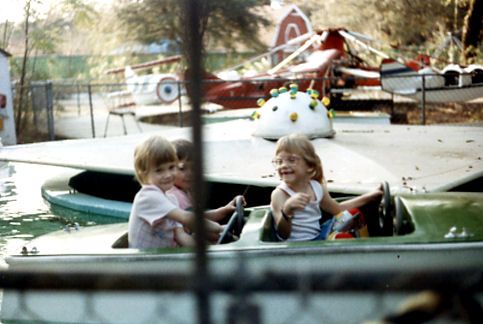
When you're small you don't so much go to theme parks with your parents, as get whisked away to another universe. Everything's magic, enchanting, and larger than life. At this stage of course you still believe magic is everywhere and your parents are heros for knowing where to find some.

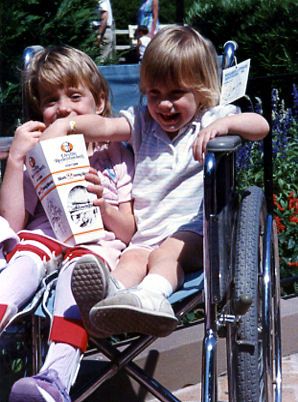
That's me hogging the popcorn at Disney World at about 6 yrs old. Even the rental wheelchair was larger than life. Big enough to share with my sister for sure. The picture on the right is of me "driving" the boat after I got glasses, so I was maybe 7yrs old. I only had to wear those for a year, unlike those clunky full leg braces. Not that any of that slowed me down. So much magic, so little time.

Disney 6yrs Boat Ride

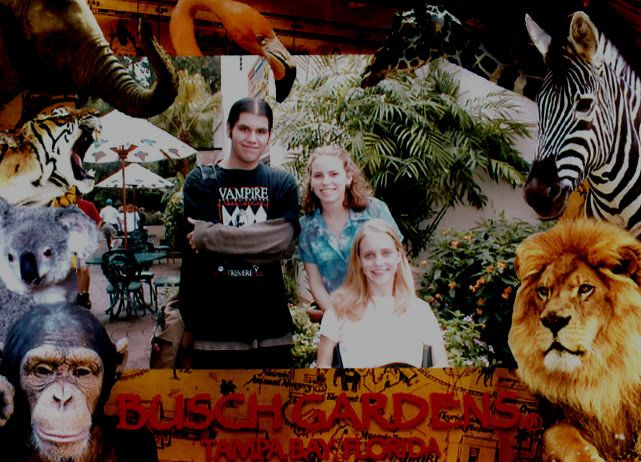
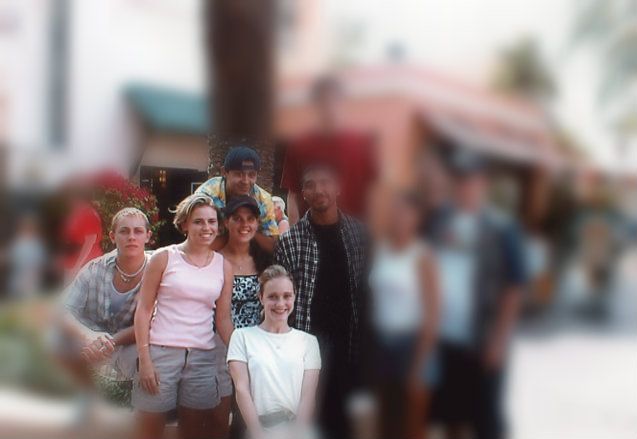
The next phase of life is when you start going to theme parks with your friends as a teenager. It's something to do. It's all about thrill rides and cramming as much as you can in before someone's mom picks you all up. The magic is now the few hours of freedom and your temporary feeling of independence. It's also all the adrenaline from the crazy roller coasters. Who wants a group photo?

BG 2 BG 1

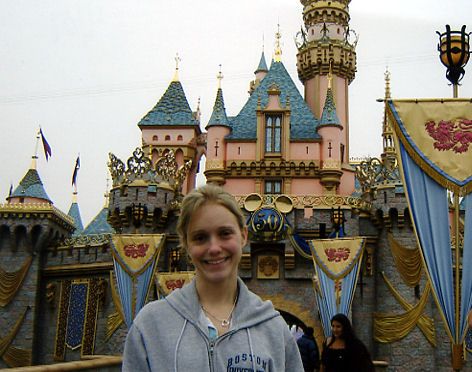
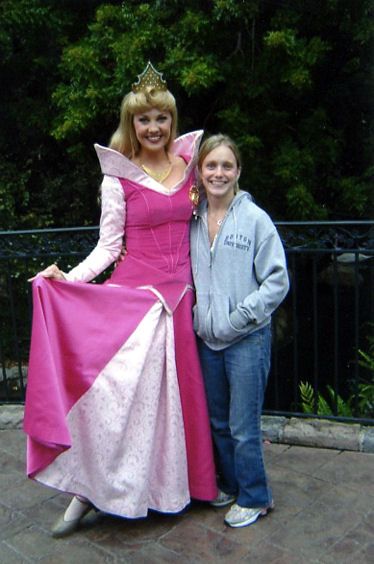
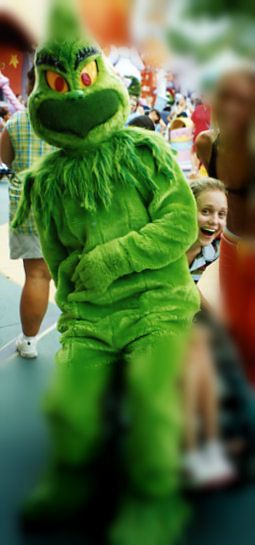
My personal favorite came next, being an adult in a wonderland. Unfettered to anyone, but completely self-reliant. The magic is now a warm fuzzy shower of childhood memories. The kind that make you laugh out loud at the Grinch's antics or tear up standing next to your favorite princess. There is still a wonderful freedom, but it's from the mundane or repetitious, the day to day grind.

Look at all those happy smiling pictures of me in my 20's. It was a whole other ball game back then. Walking without mobility devices, only using my wheelchair long distance and never once worrying whether it was safe to ride anything in the park. It was fun, I guess each phase was fun for its own reasons.

Sleeping Beauty's Castle Sleeping Beauty
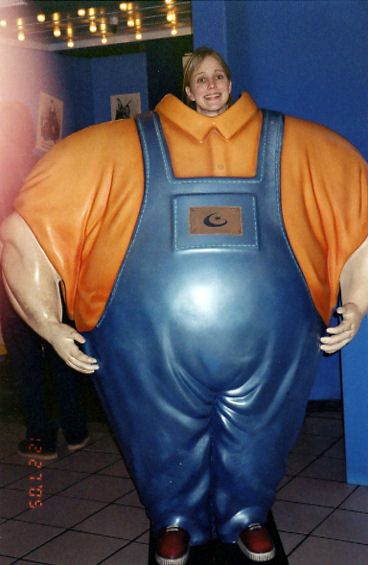
Fat Lady Grinch

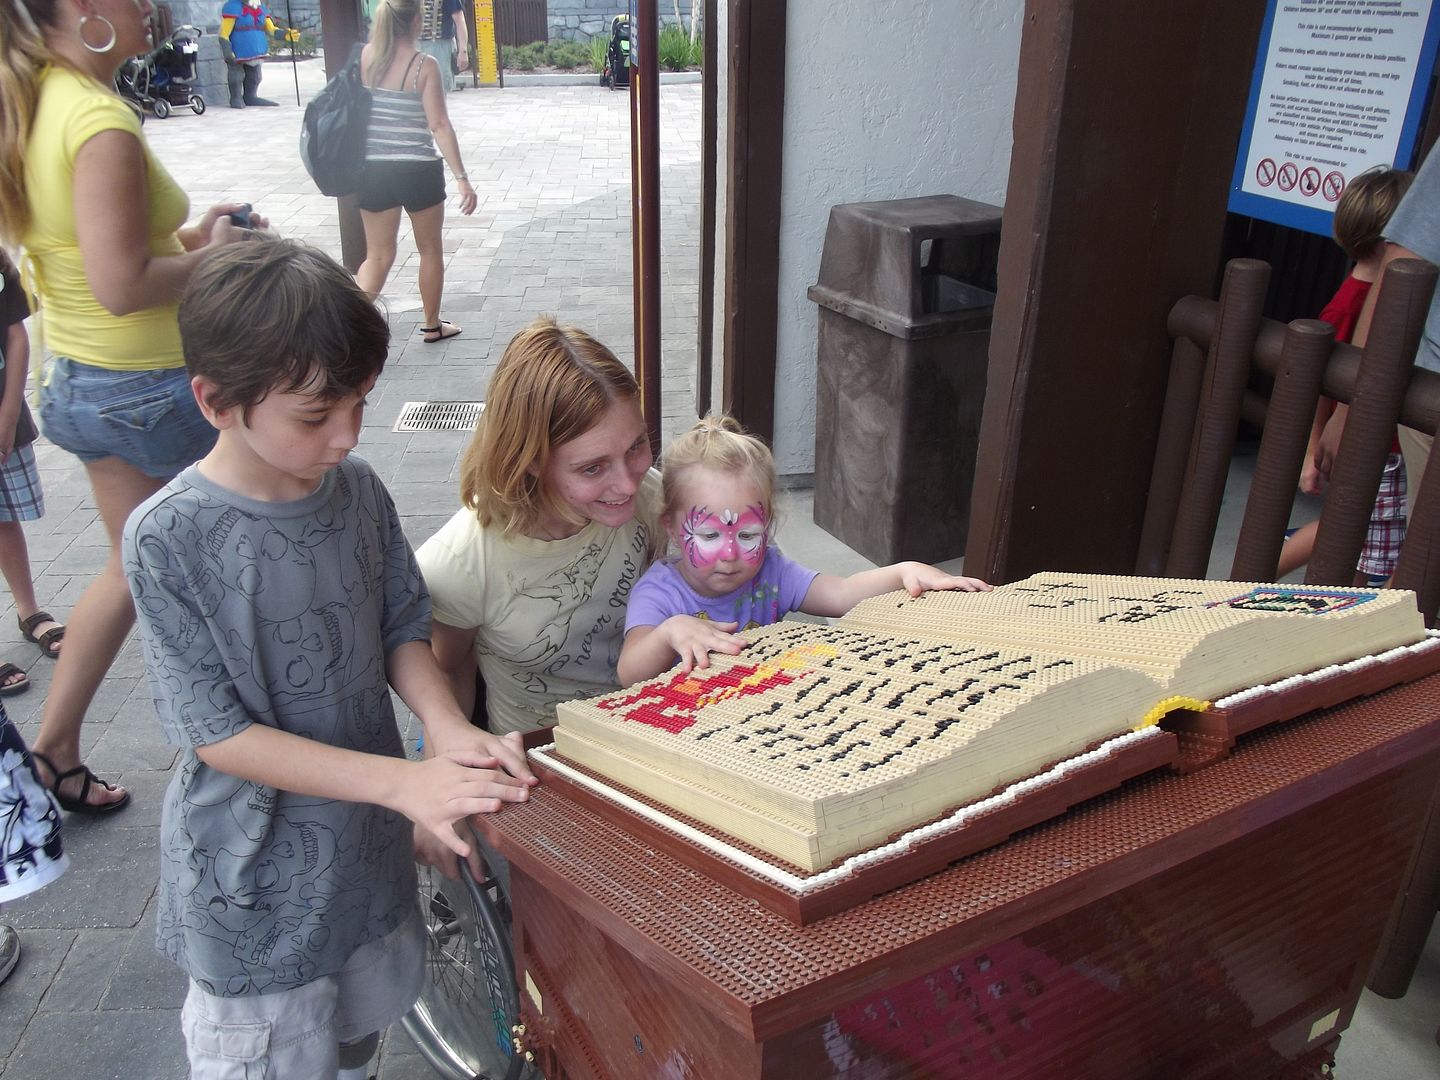
Suddenly, I find myself in the "parent-bringing-kids-to-a-theme-park" phase. Holy, when-did-I-get-old, Batman?!? Now it's about watching them be amazed, conquer fears and literally jump with excitement. I understand my childhood memories from a different perspective now. I'm the one sitting out and taking pictures on the sidelines. I'm the one who wants a break in a shady spot or leave before the park closes. Wow.

It was enlightening to be on the other side of the experience. It also made me so grateful for the teamwork and childlike enthuiasium my husband and I managed so easily. I was grateful that there was a parent who had no problem taking the 9yr old on the scary roller coasters and one happy to join little Miss on the kiddie rides. It was nice to play as a family. It was nice to go somewhere new and just be away for a few hours.

lEGO Land Ride Lego Land Book

I'm also super excited for the future bringing-my-grandkids-to-theme-parks phase. It's going to be awesome.

Friday, October 12, 2012

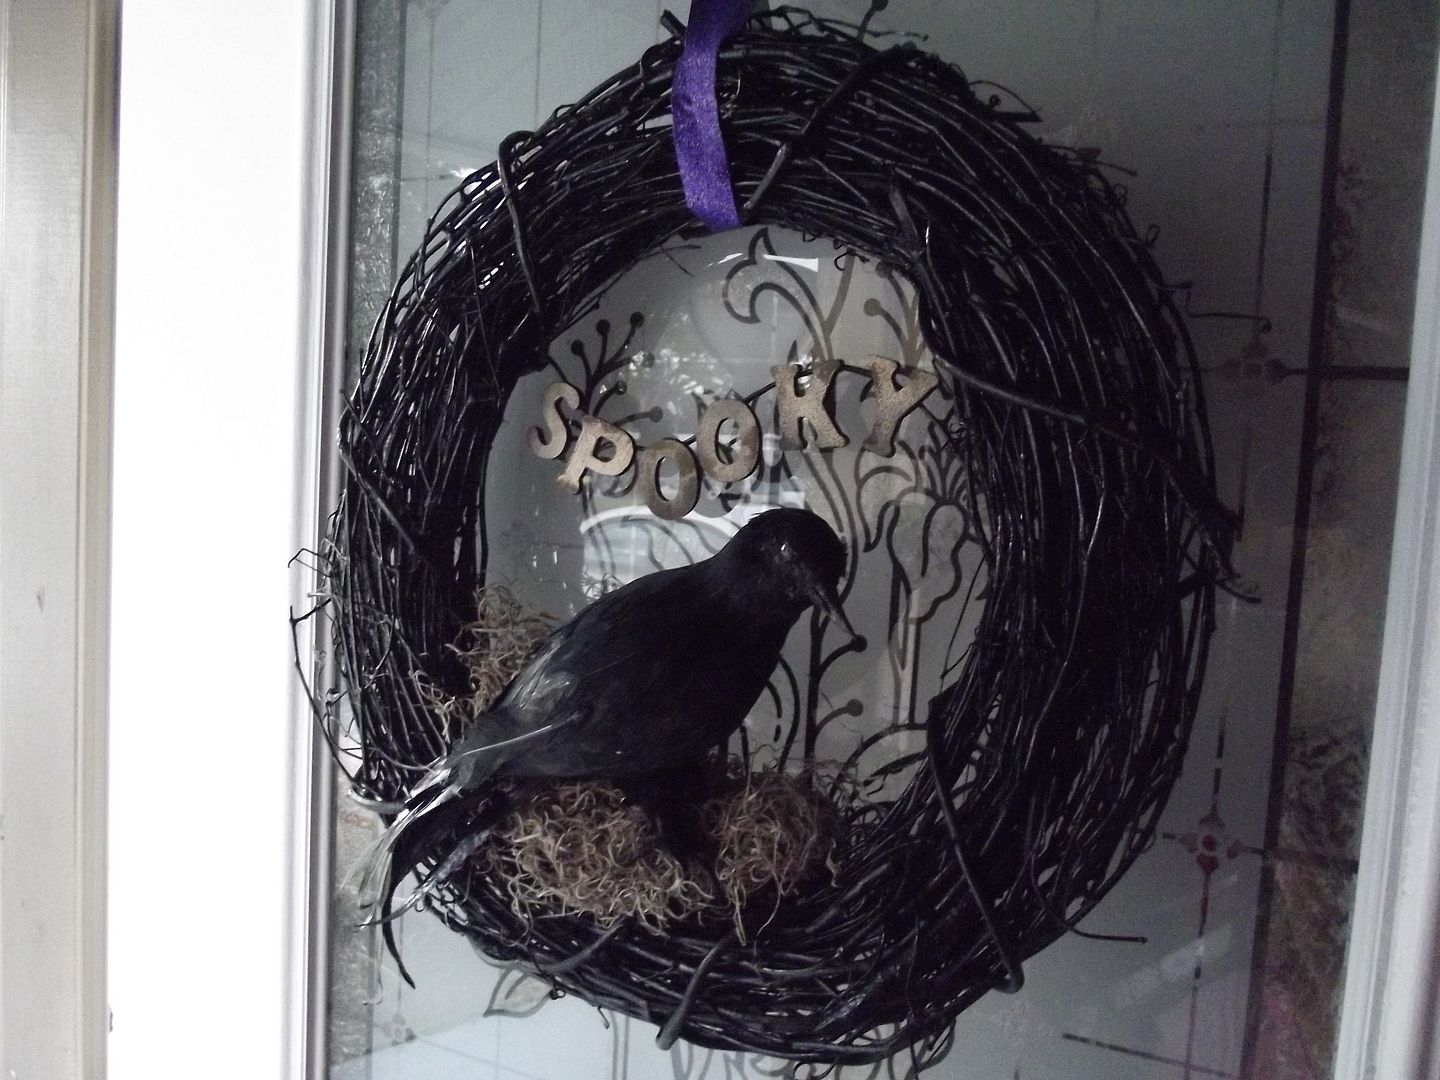
Raven Wreath

The Inspiration

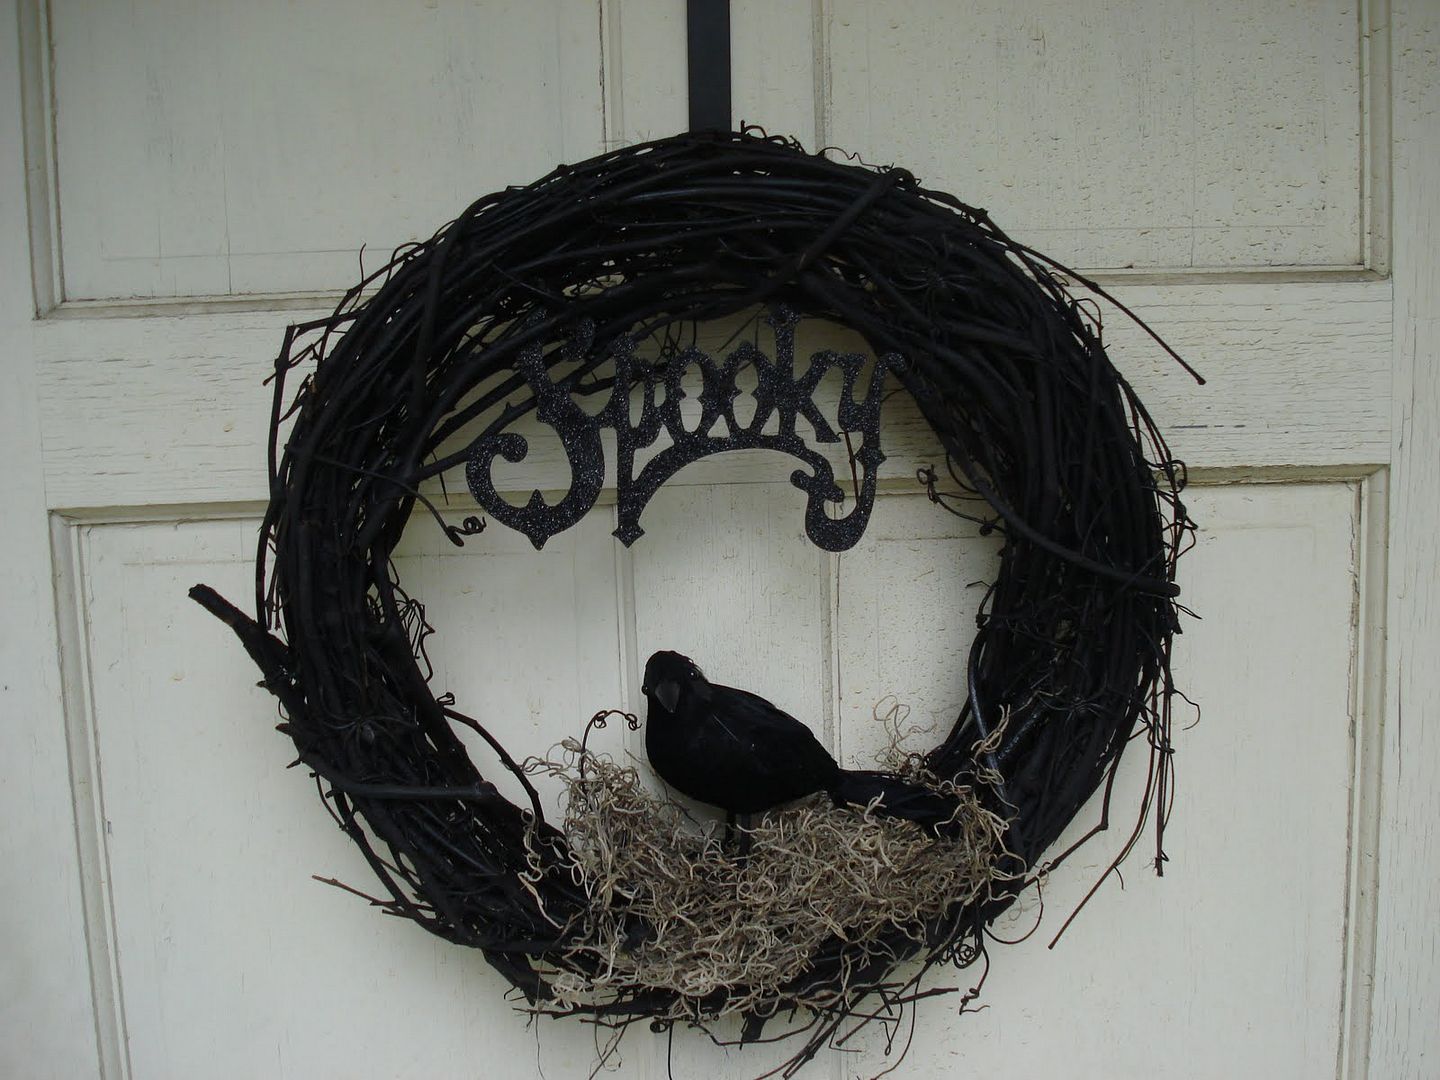
I have a left over wreath, from my birdnest cardbox wedding project. Since I already have a wreath that I always hang at Christmas I wanted to re-purpose it into a Halloween decoration. I wanted something on the classy side. Maybe it was the Martha Stewart Halloween Handbook that inspired this need to class it up or perhaps the plethora of seasonal kid art that's already up in my house did it. Whatever the case, I searched "Halloween wreath" until I found this one. It's from Crafty Loo. Perfect.
I already had the wreath (from the wedding), black spray paint (Riley's Minnie party) and moss (also from the wedding). All I needed was a raven and some letters.

Materials

  • Wreath
  • Black Spray Paint (I used glossy)
  • Moss
  • Raven
  • Wooden (or foam) letters (or pre-made word sign)
  • Paint for your letters (if you choose wood)
  • Hot glue gun
  • Ribbon
  • Wire
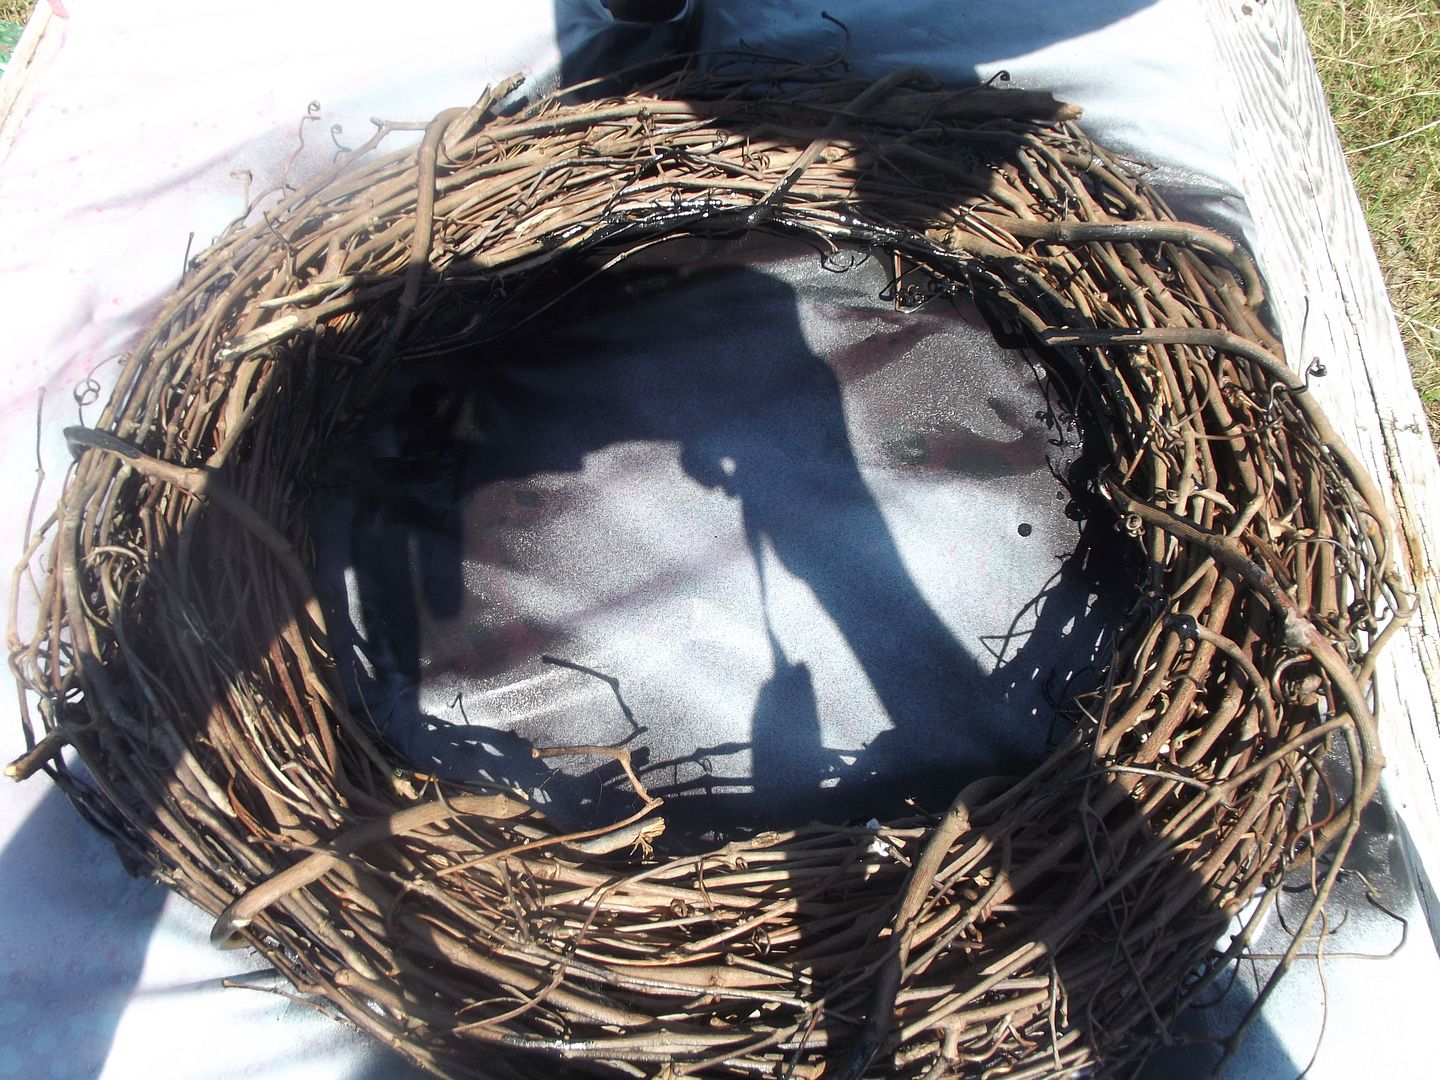
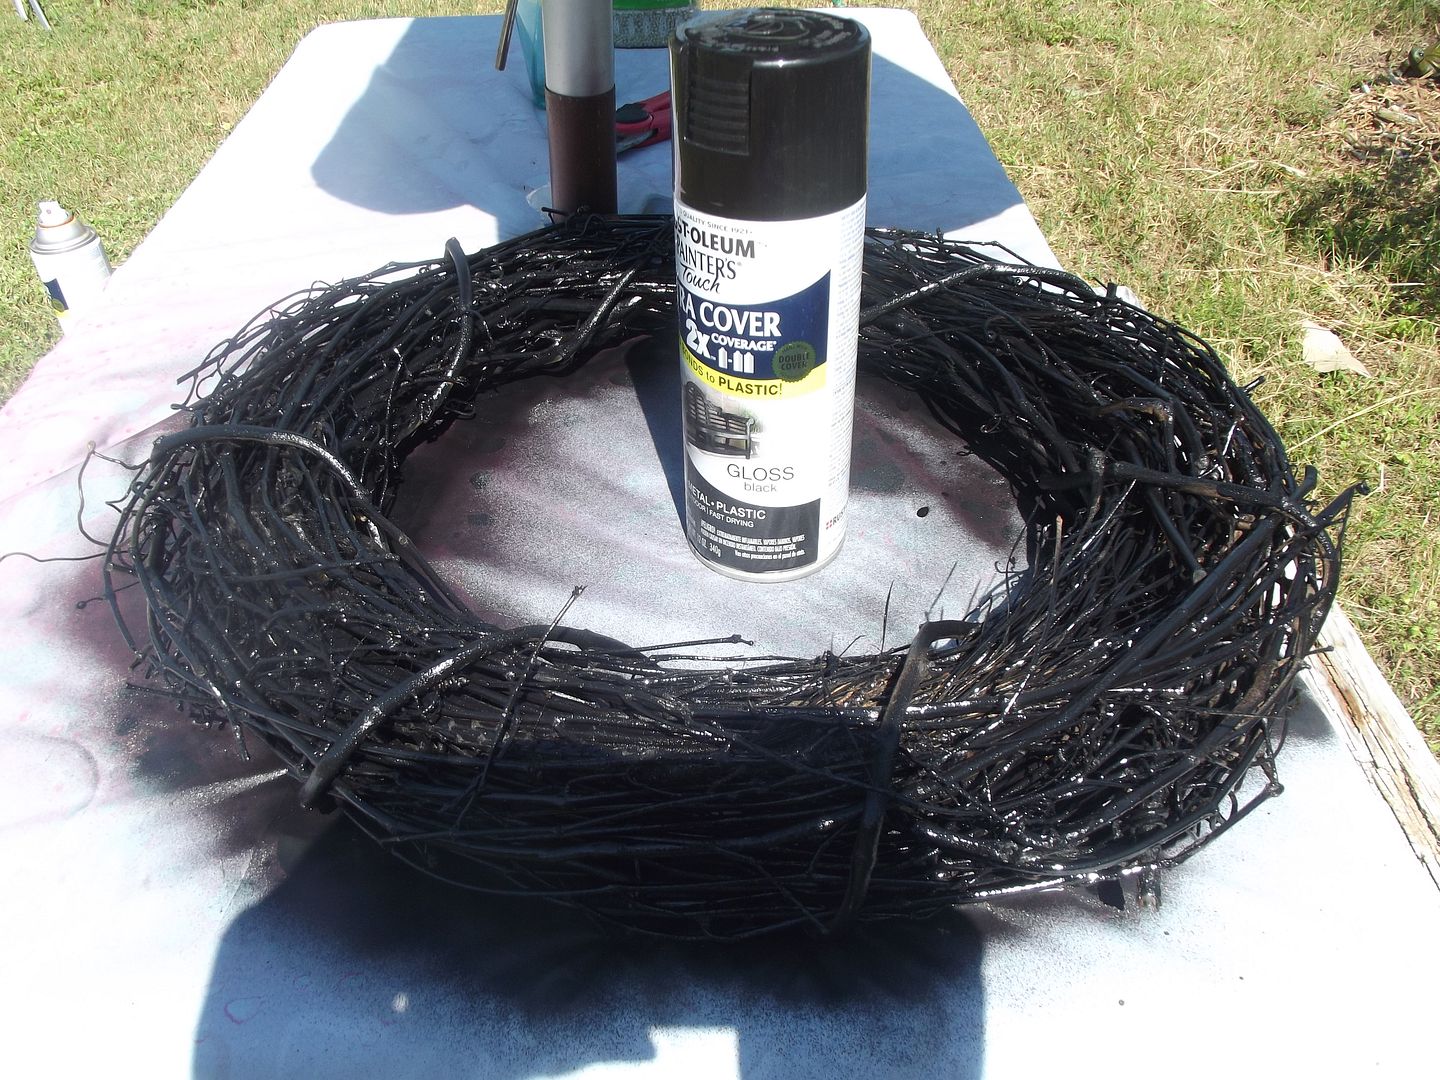
Naked Wreath Painted Wreath

Step One: Paint your wreath. I left mine in the sun to dry in between coats and it went pretty quickly. Each side got a full spray and then two rounds of touch up. Remember to apply your paint in the thinnest layers possible.

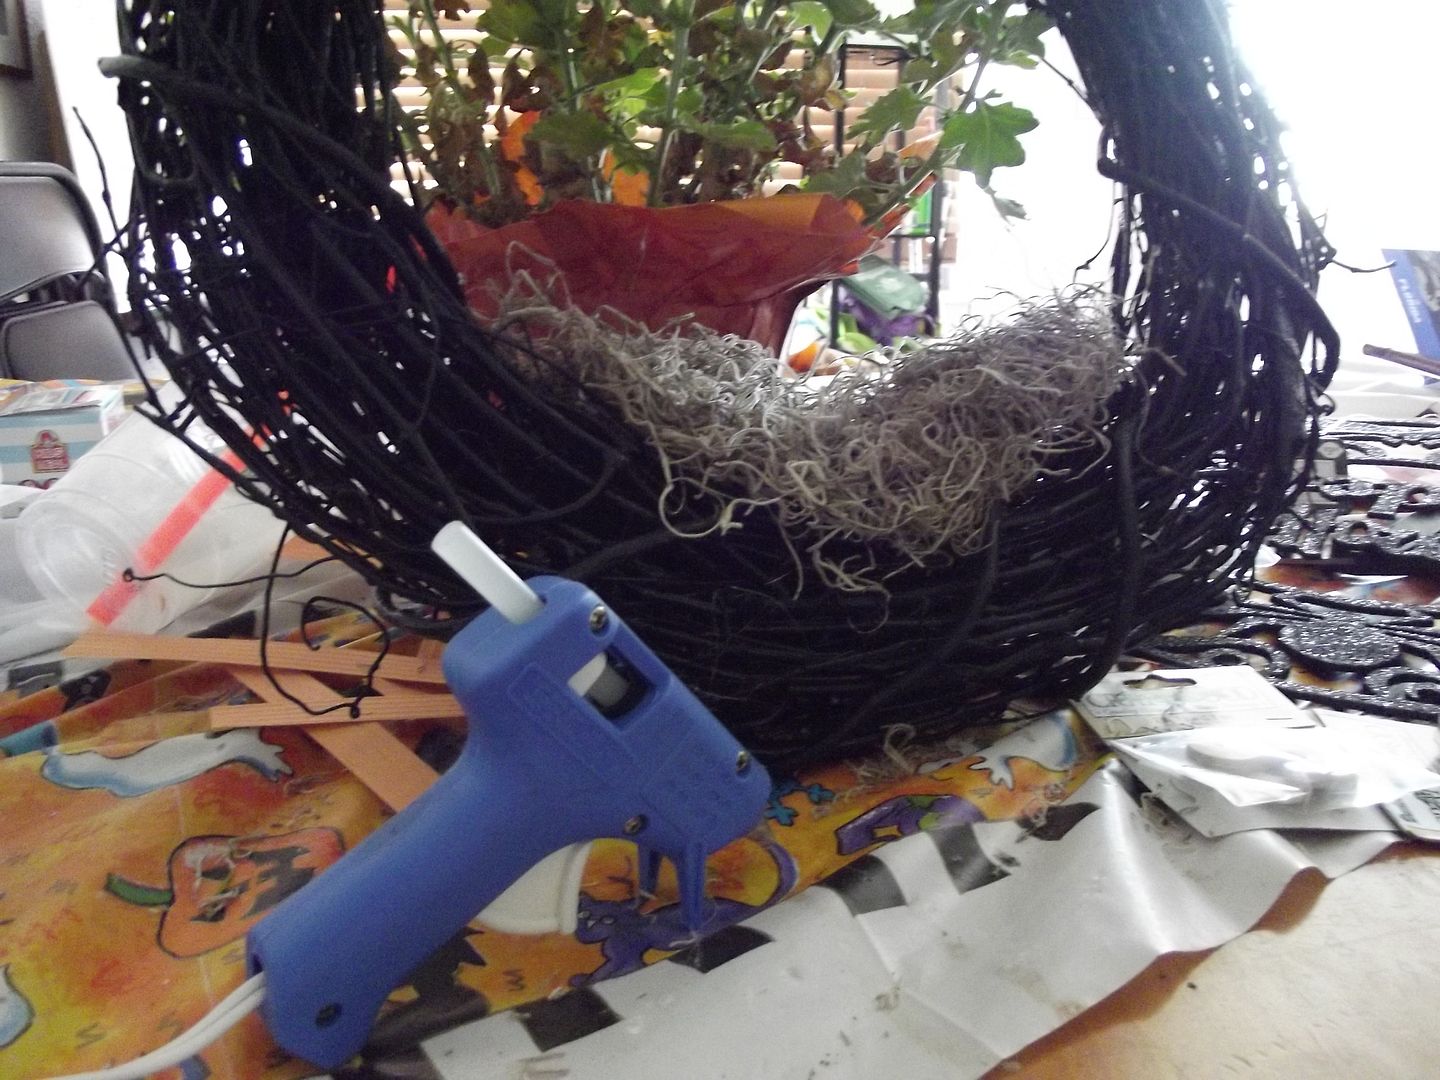
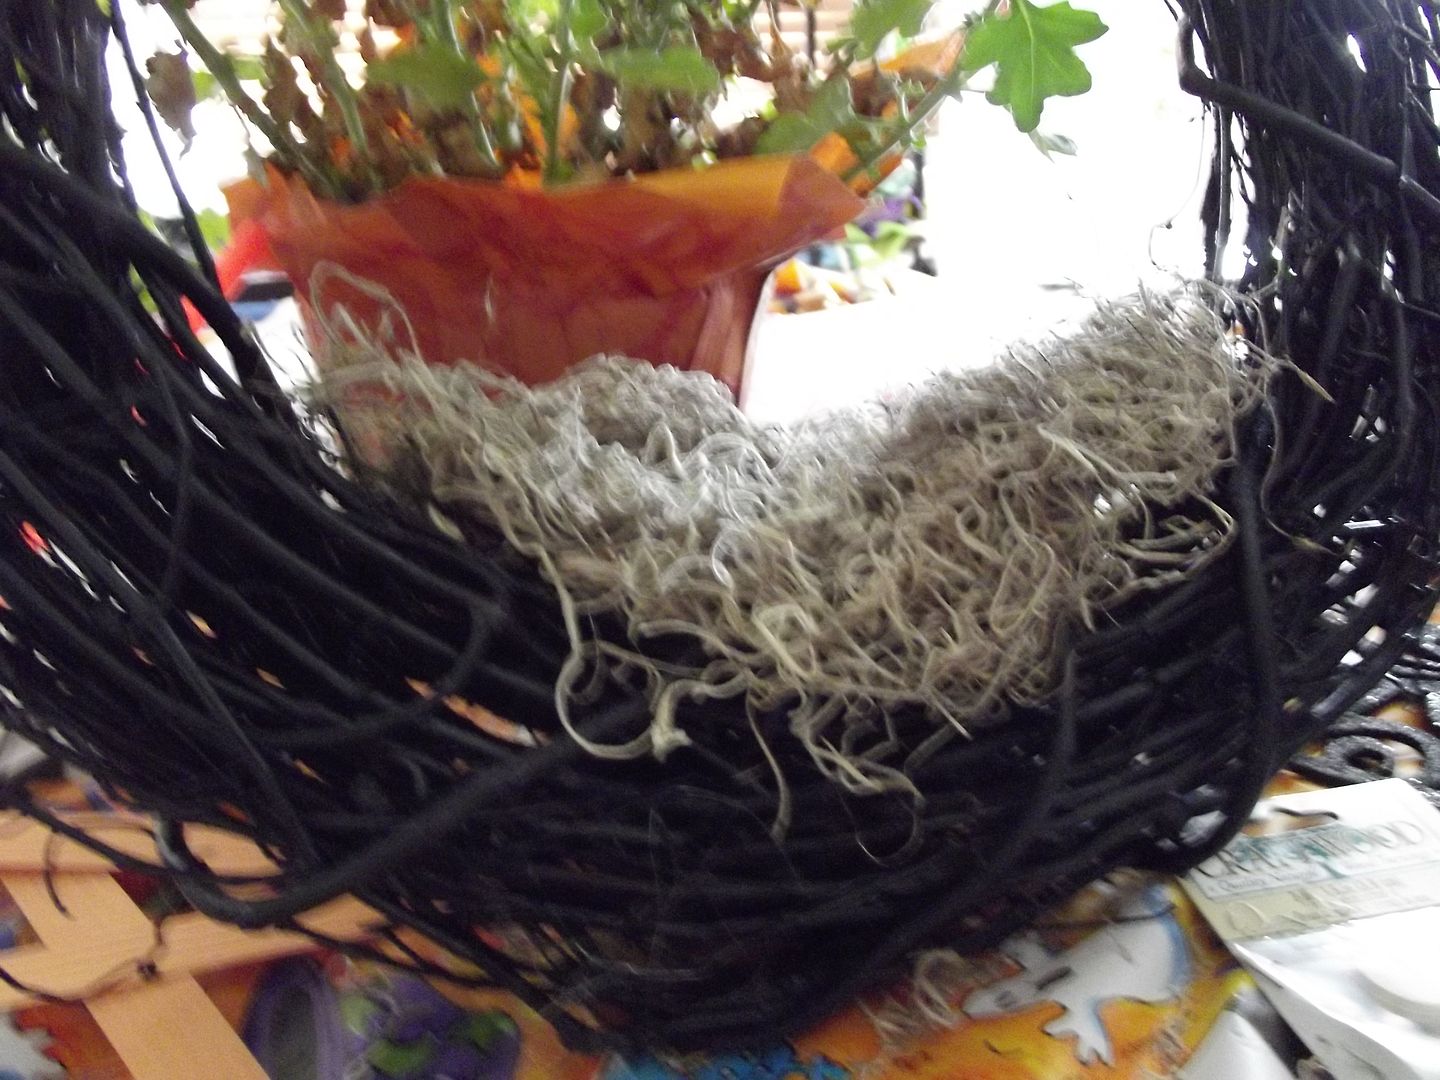
Nest Nest 2

Step Two: Add your nest. I got this bag of Spanish Moss from the fake flower section of the craft store for wedding projects last summer. I used the hot glue gun to attach a nice thick moss nest in the bottom of my wreath. I liked a more nestled look, but feel free to glue it over the wreath in front and back like the other blogger did.

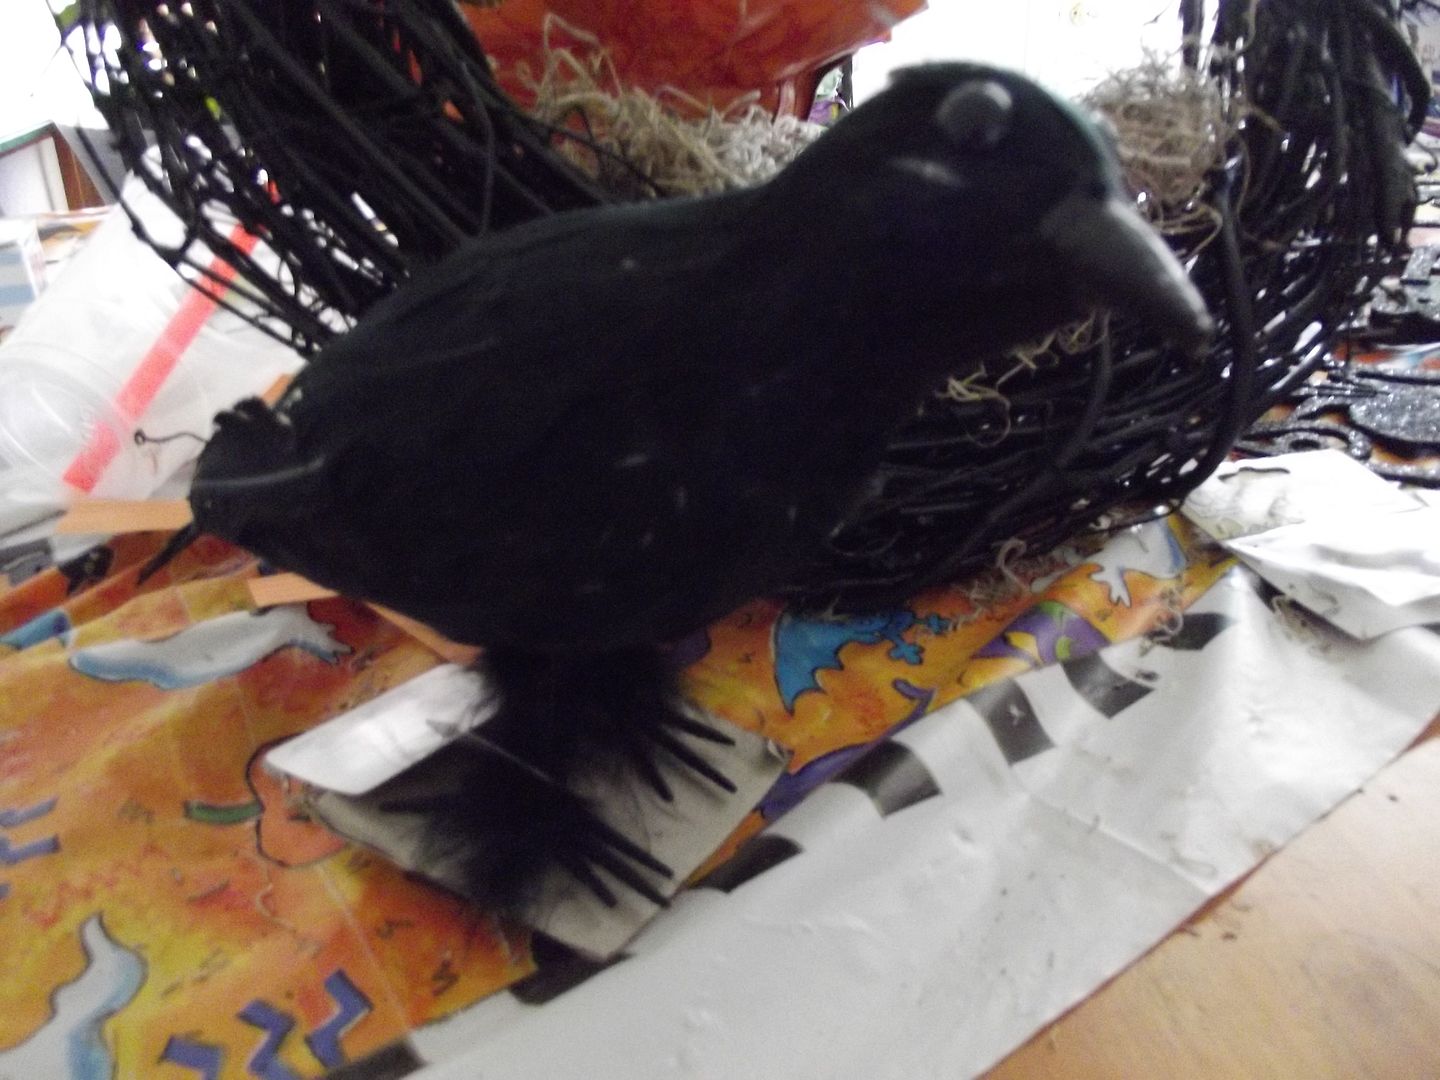
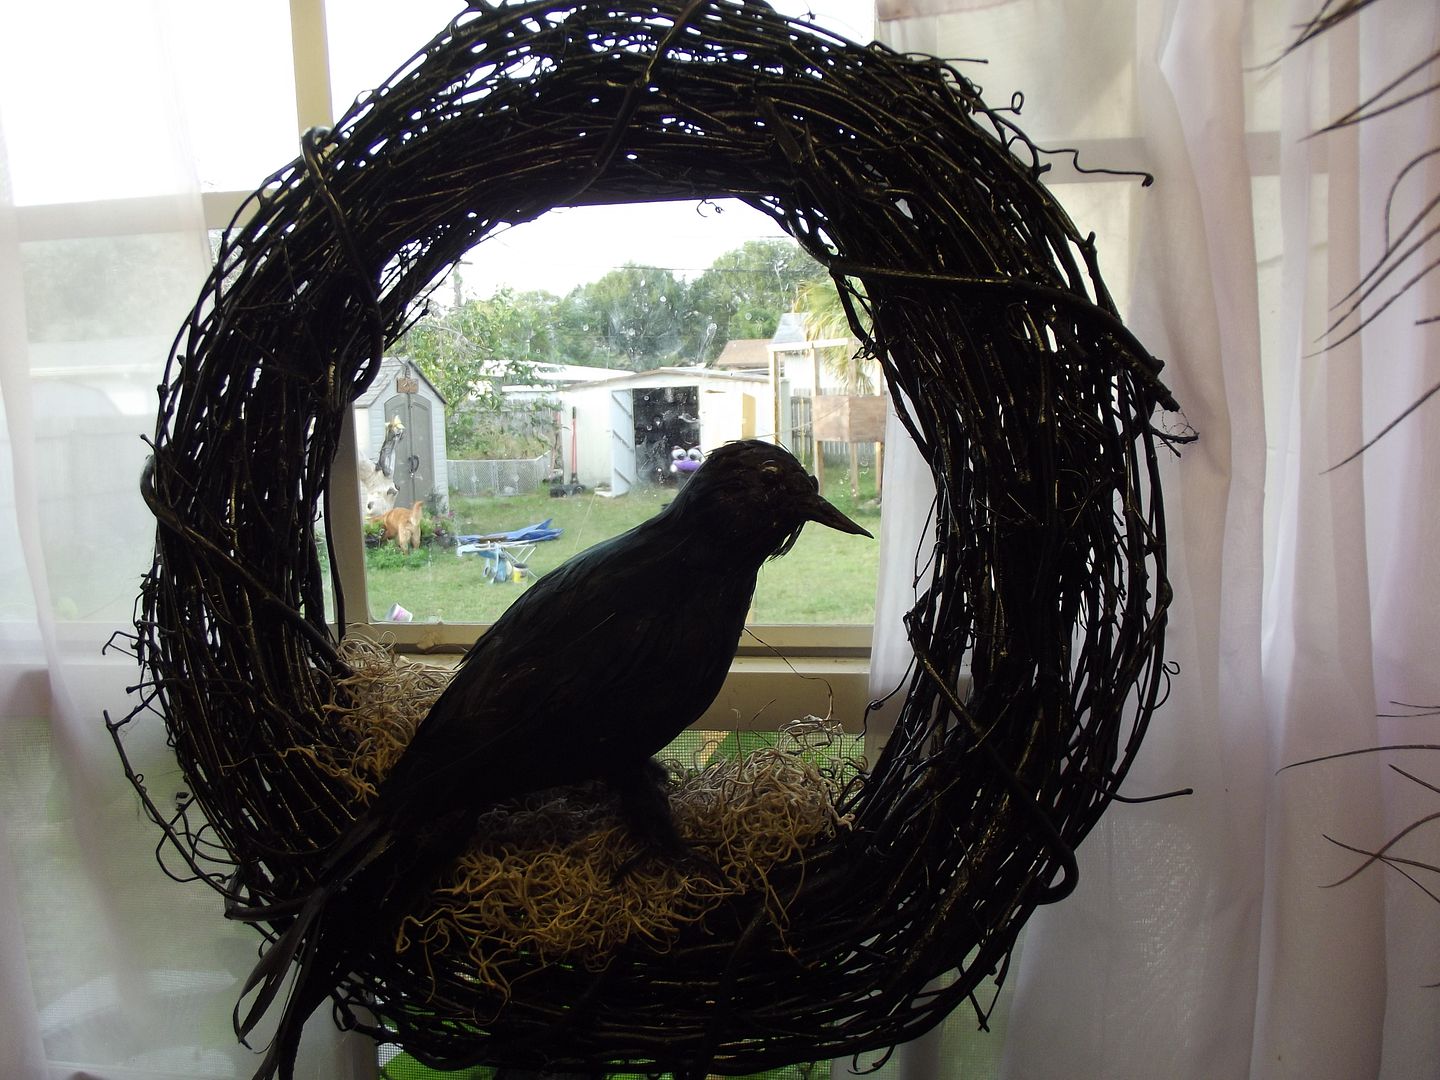
Crow Before Makeover Finished Raven

Step Three: Add your raven. These birds are also in the fake flower section of the craft store. They have foam bodies covered in feathers. Not too complicated if you had the time and wanted to just make it yourself. I think this guy is actually a crow. He's a little chubby and his beak is a little stubby for a raven (photo on left). That's why Mike and I altered him (photo on right). We extended his beak by breaking the foam one off and attaching a spray painted piece of gnarly orange tree branch. We also turned his head and added spray painted willow tree leaves to extend his tail. Much better, eh Mr. Poe?

He already has wire attached by his feet. I poked them through the moss and bent them around the wreath itself. Then I used a little hot glue for extra security. I also bent his claws to point down, like he's perched.

Unpainted Letters Letters Drying Letters on Wire Final Letters

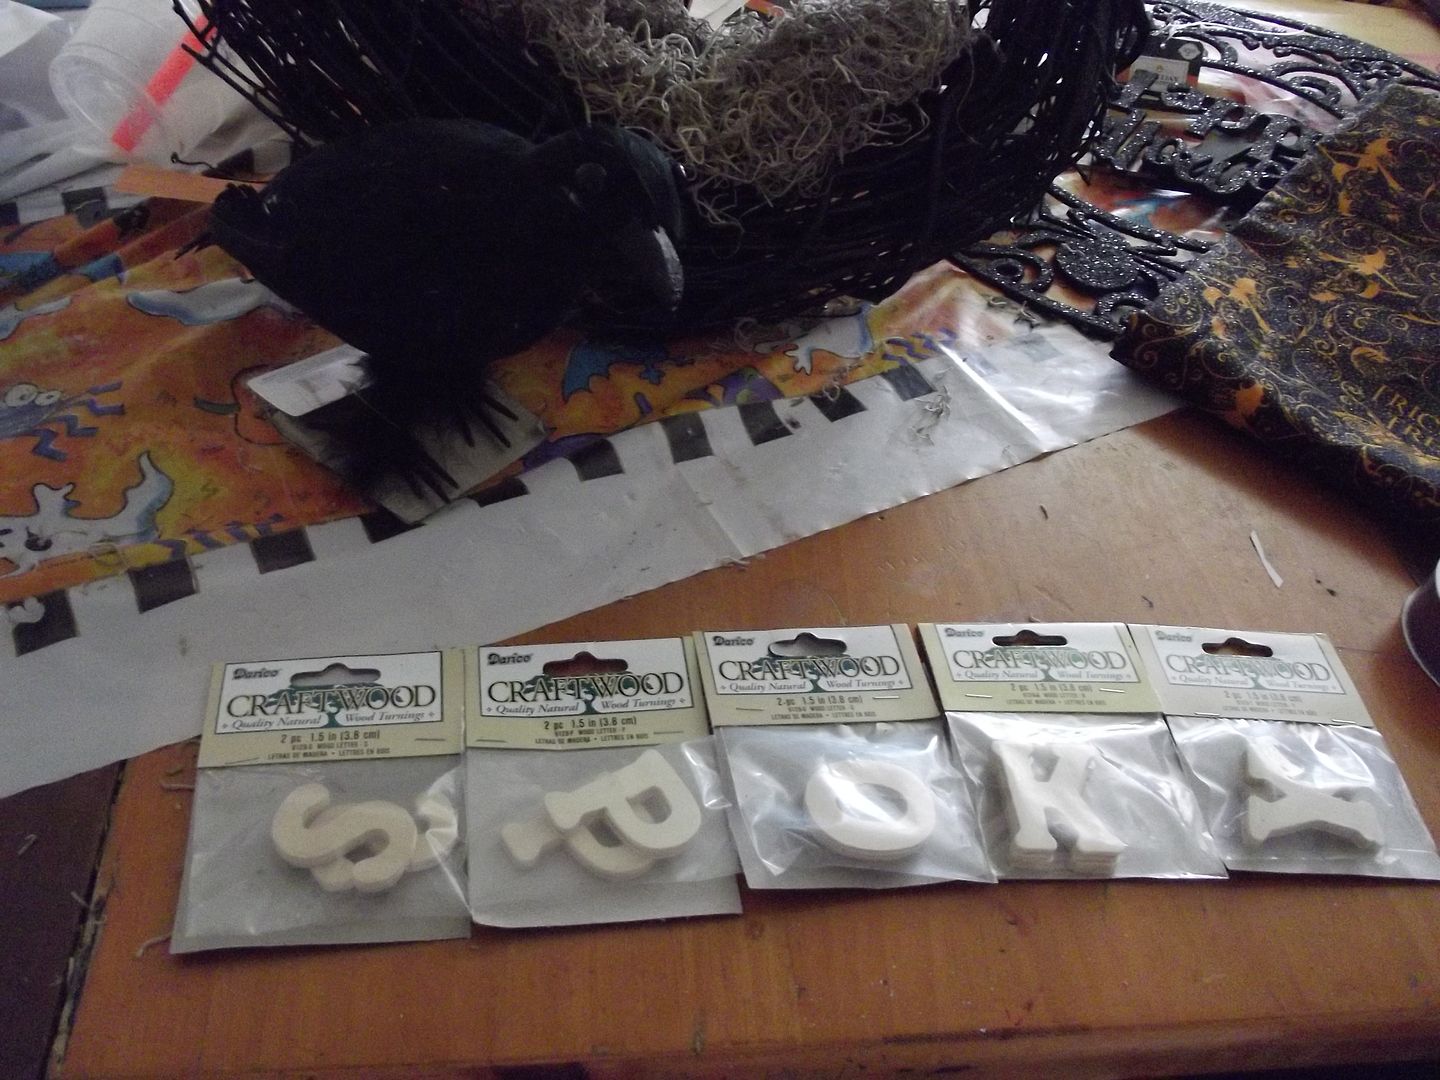
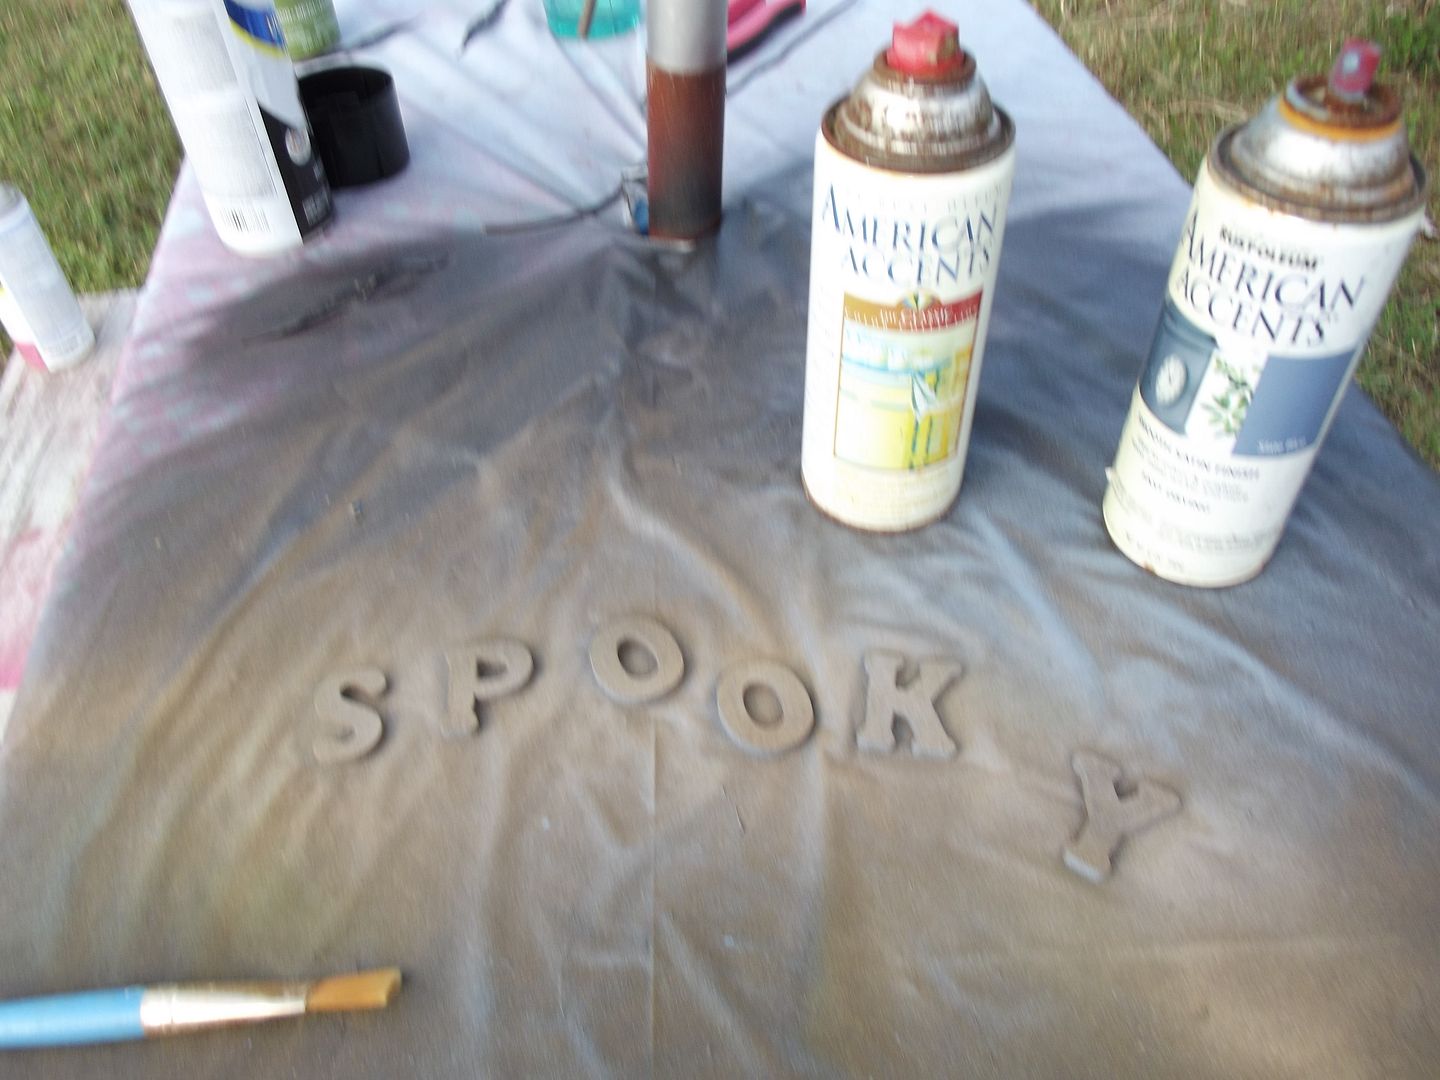
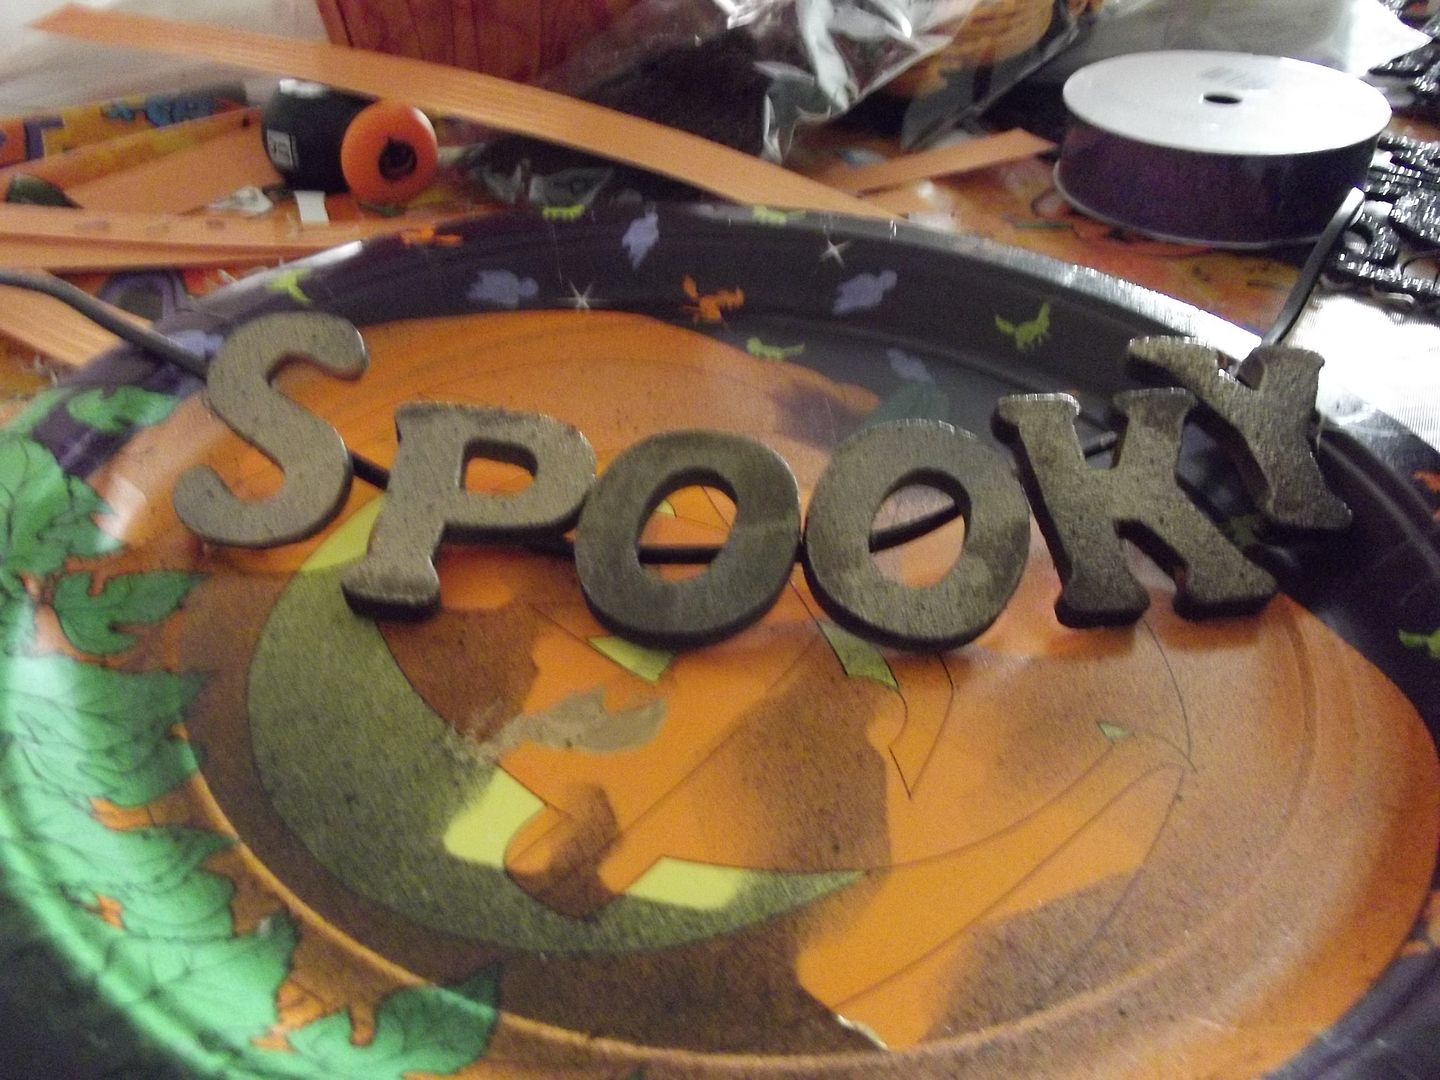
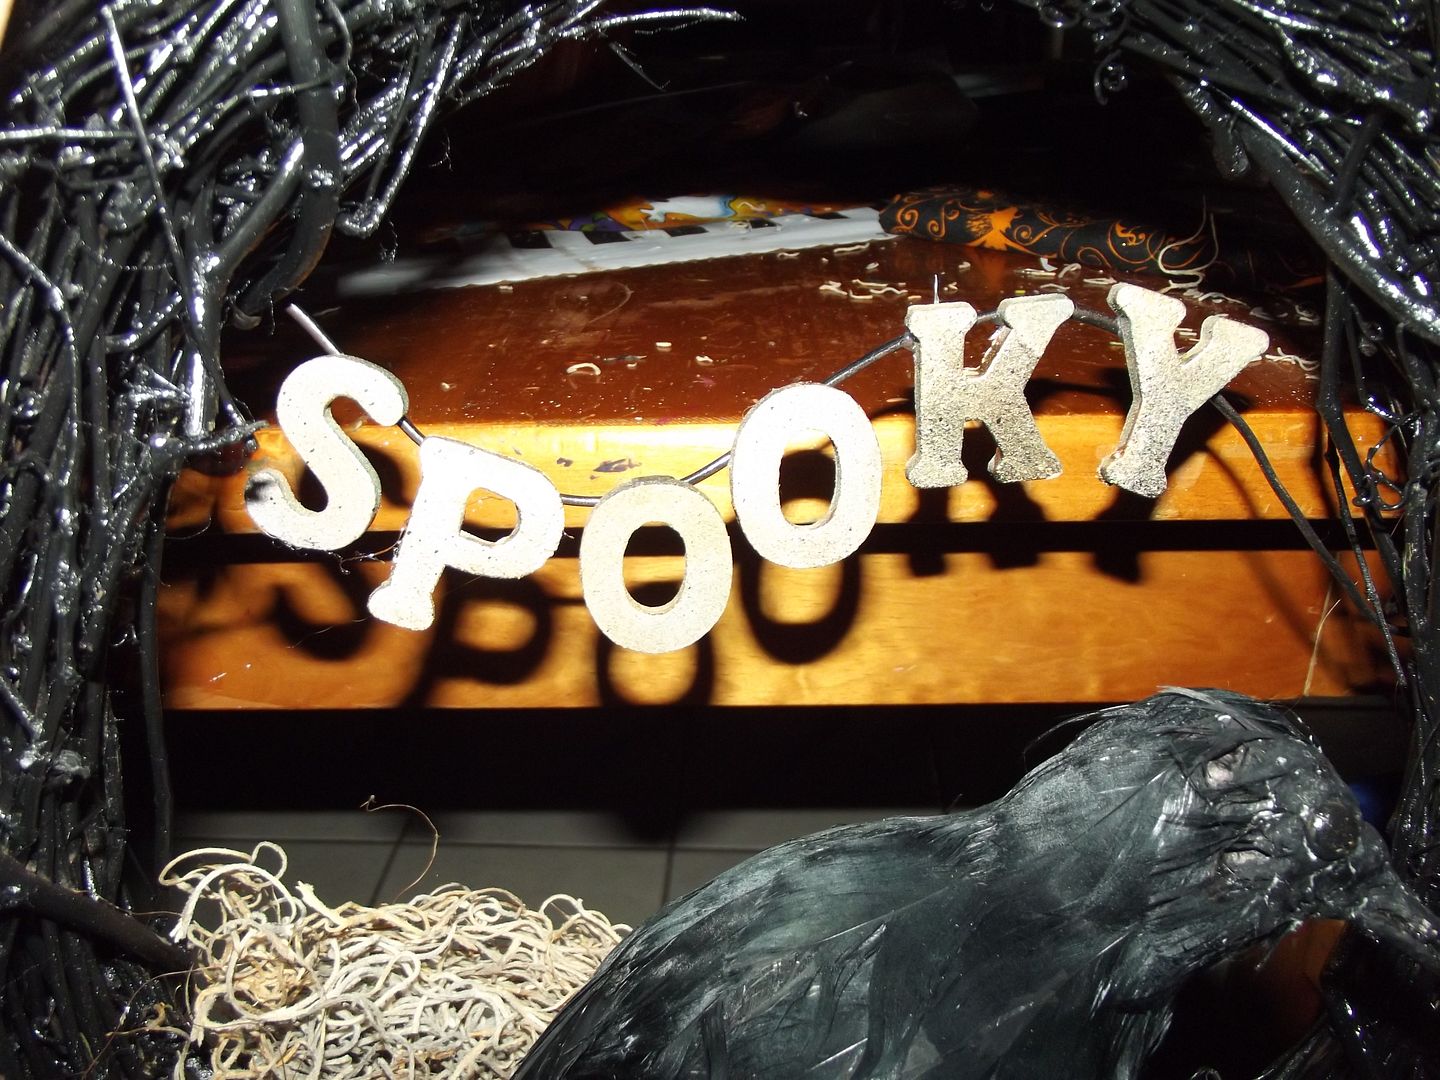
Step Four: After your bird is in the nest add your Halloween word. I was very tempted to write nevermore on mine, but I was afraid there wasn't enough space. It's a lot of letters. I went with "spooky", like the inspiration photo. I bought little wooden letters and painted them. I mixed colors we had laying around (gray, green and gold) until they looked antique-y. Then I attached the letters to black wire with hot glue. Then I twisted the wire around either side of the wreath.

Ribbon Loop

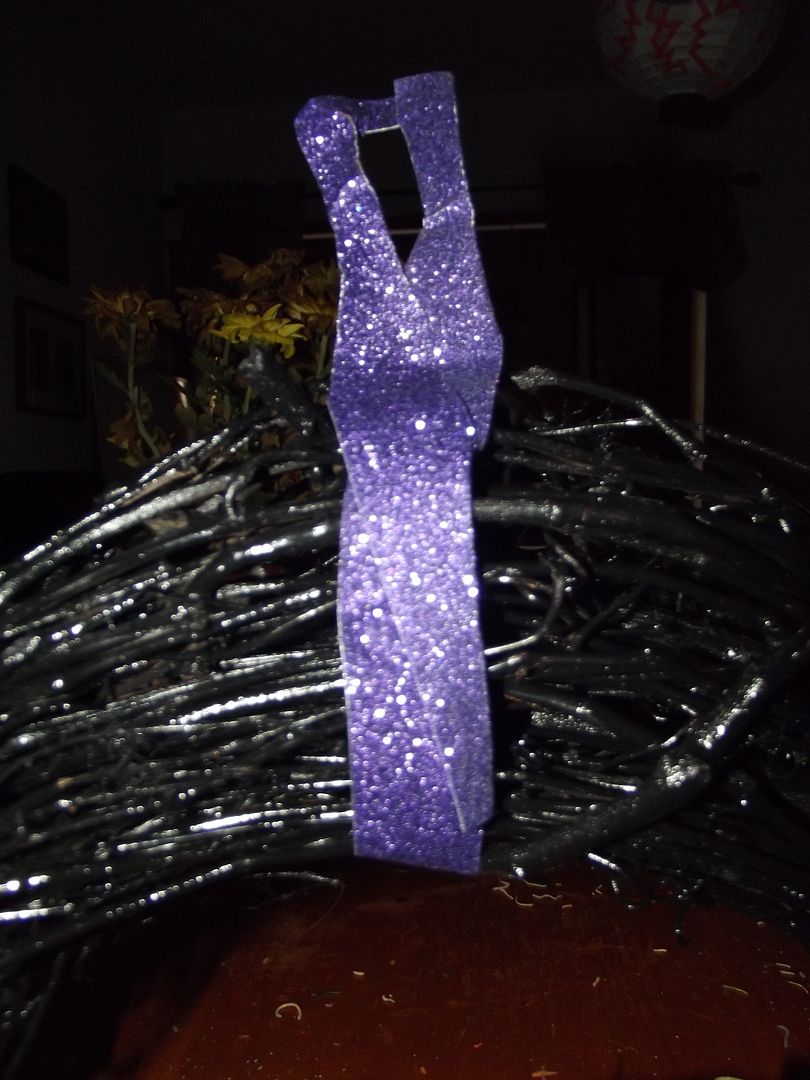
Step Five: Next you add ribbon. A loop around the top to hang it in your desired color and an embellishment pieces you'd like. This was my final step, but feel free to add webs, spiders, bats, twinkle lights, a motion activated player that recites The Raven when anyone comes to the door or whatever you can dream up.

Raven Wreath

Wednesday, October 10, 2012

Paper Weaving Pumpkin

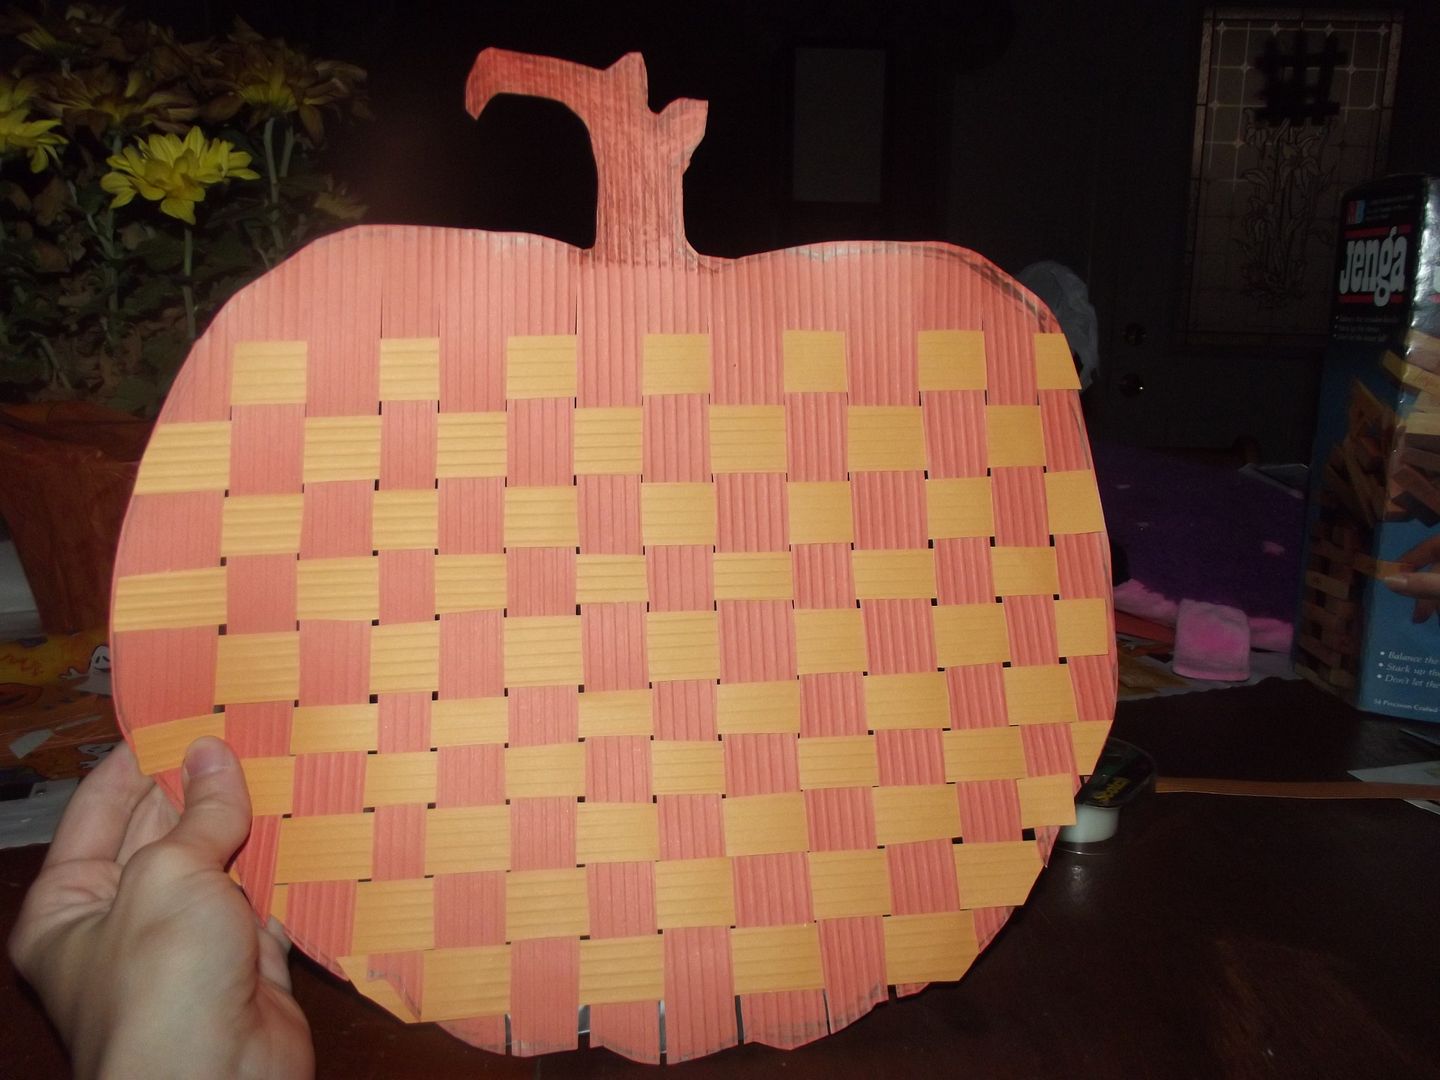
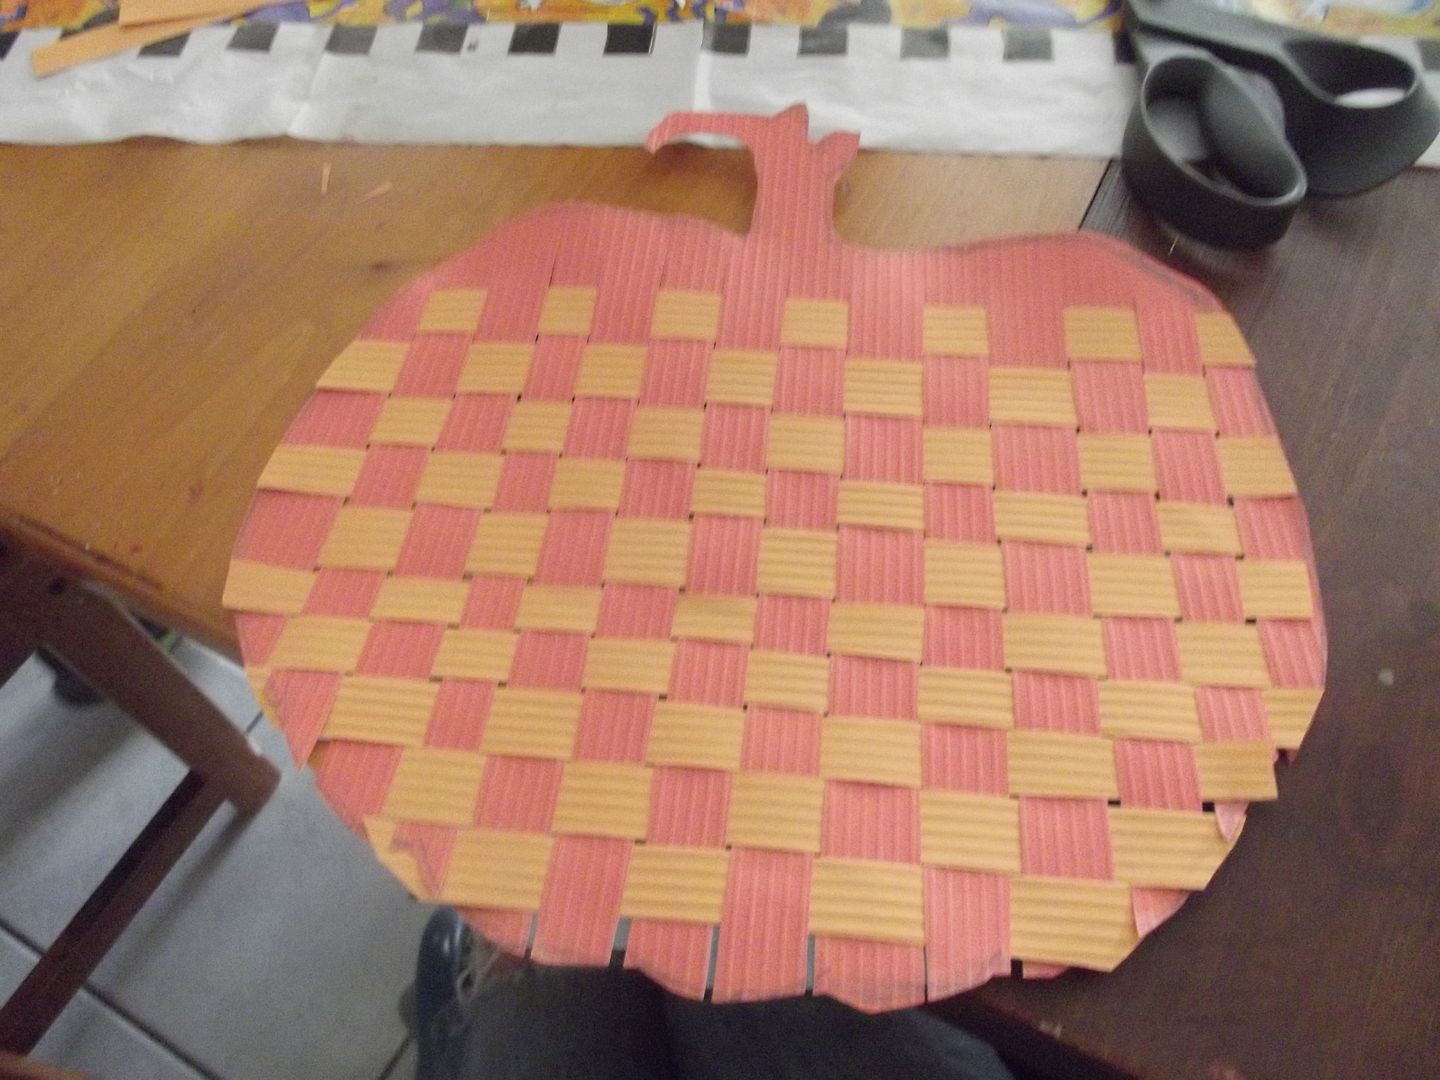
Paper Weaving Pumpkin Finished Pumpkin

Matterials

  • Two colors of orange construction paper or card stock
  • Pencil
  • Scissors
  • Scotch Tape
  • Brown crayon

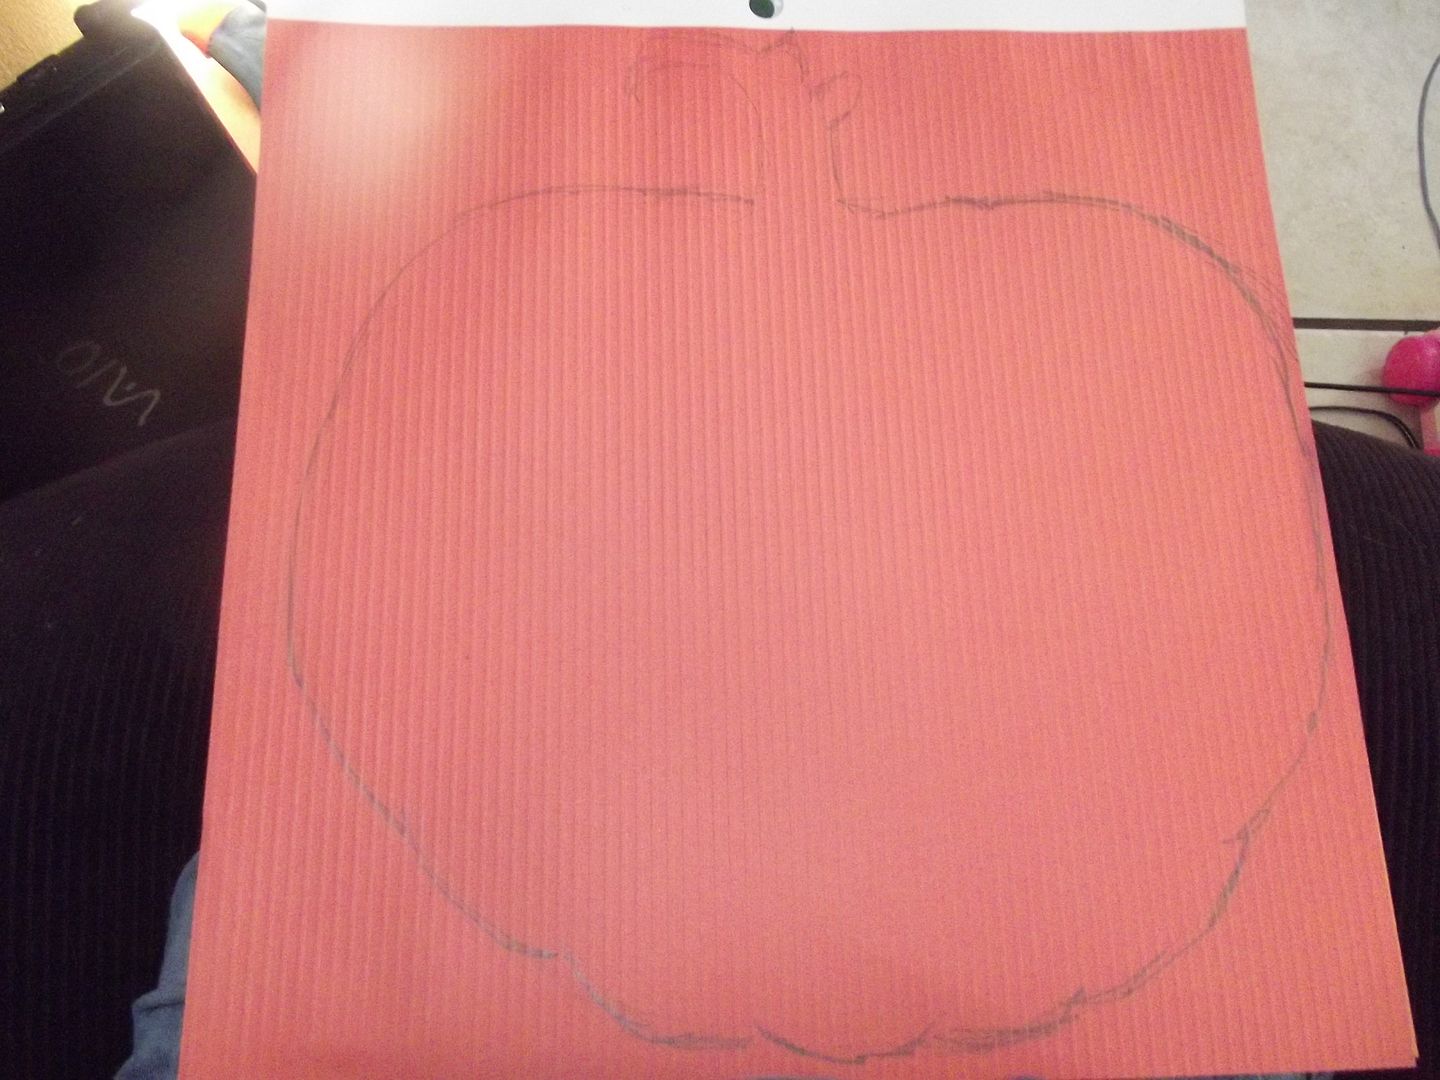
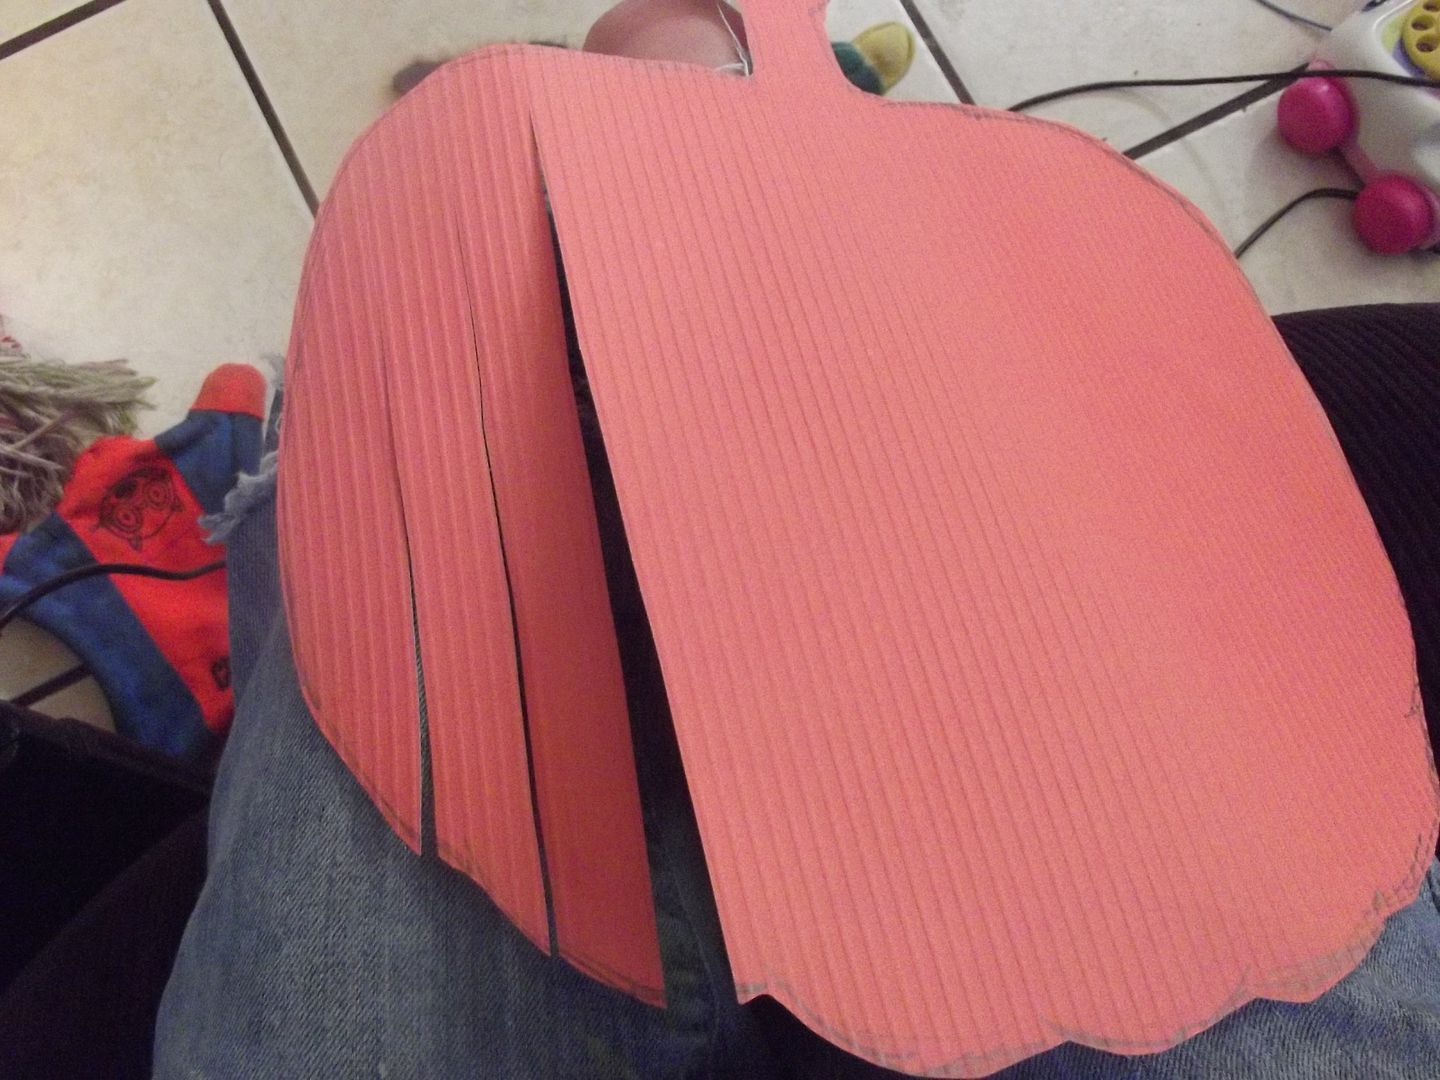
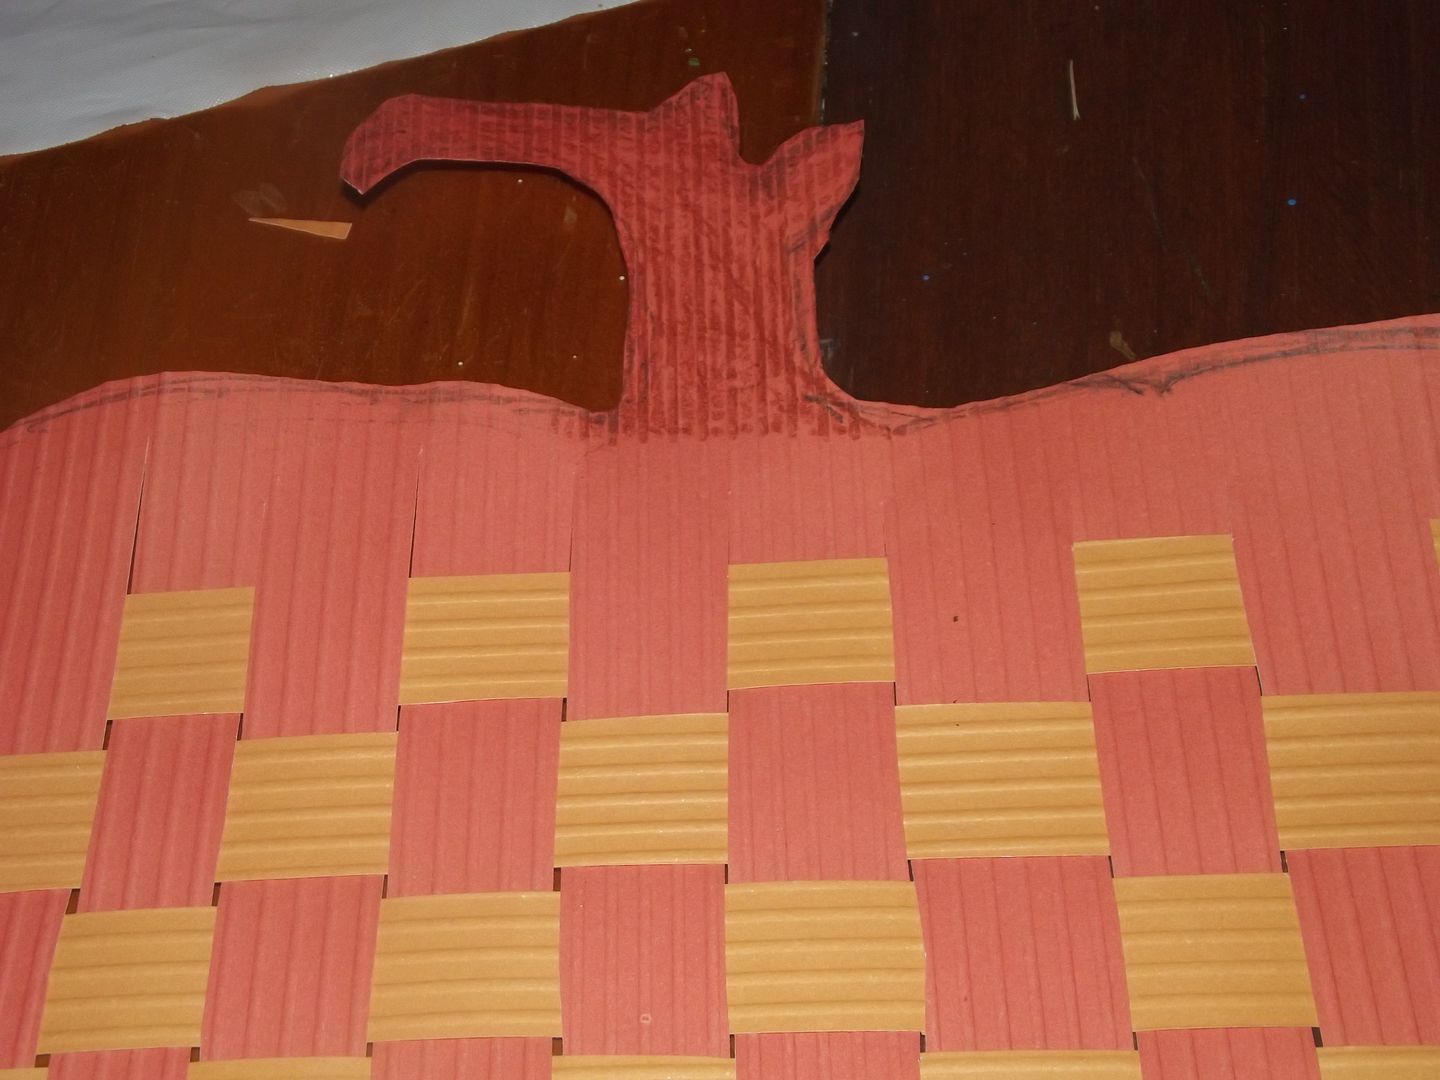
I picked out orange and yellow orange patterned paper for my pumpkin. I used the darker paper for the pumpkin. Then I cut it into strips. Make sure you leave an inch or so intact at the top.

Pumpkin Outline Cut Pumpkin

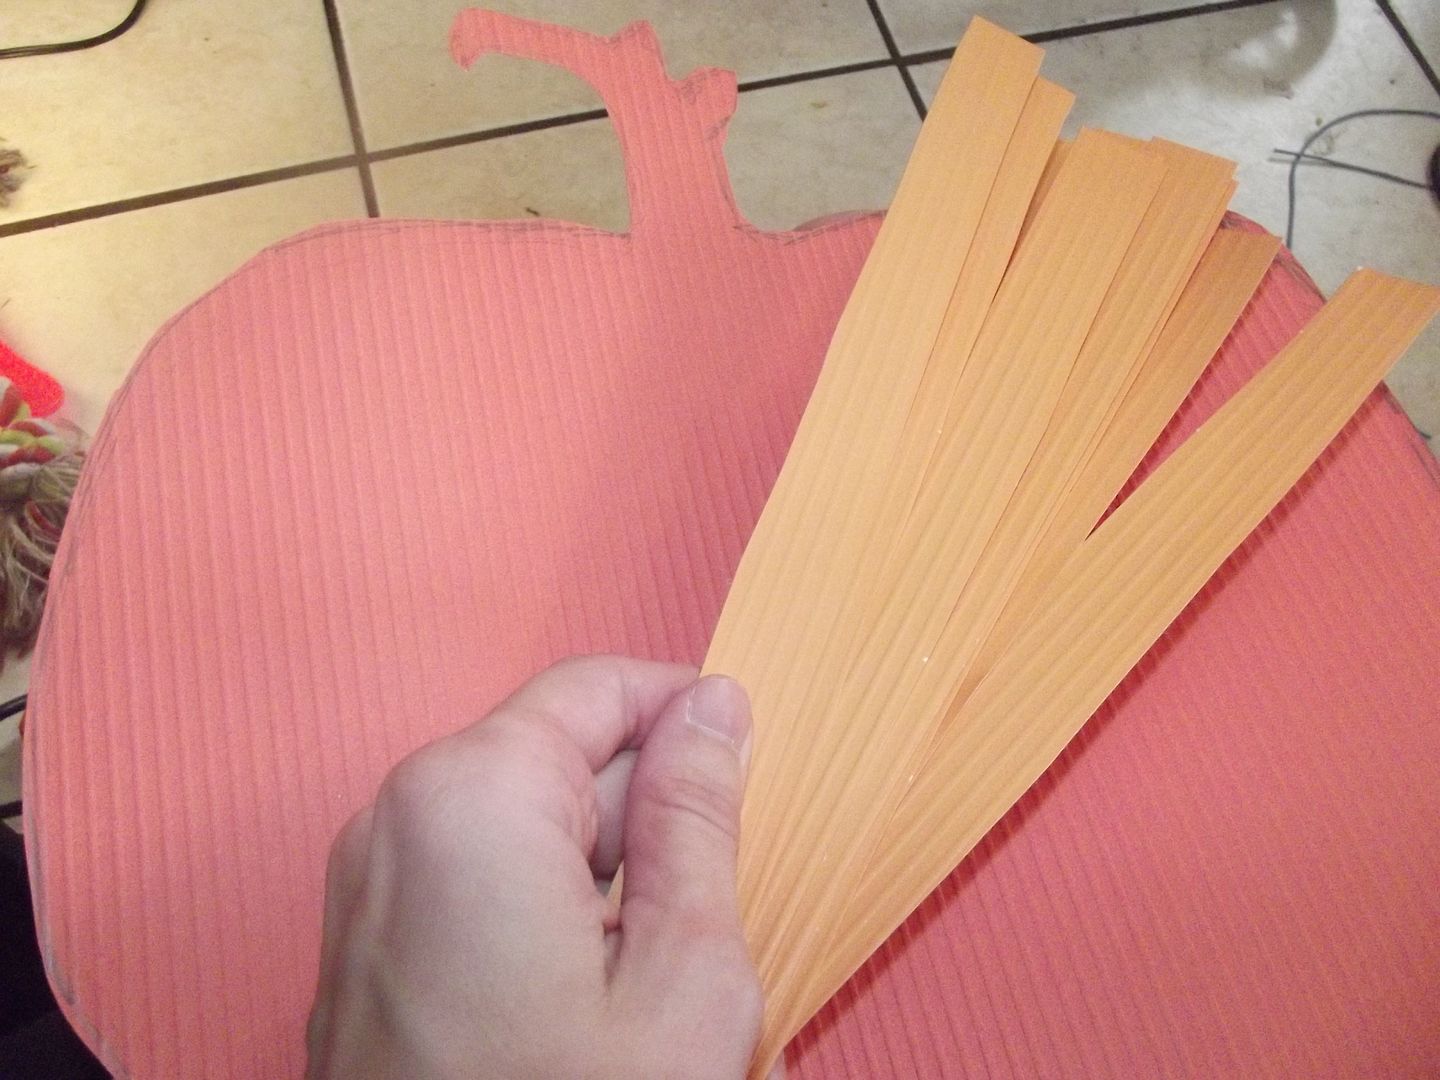
Then I cut the lighter color into strips.

Strips

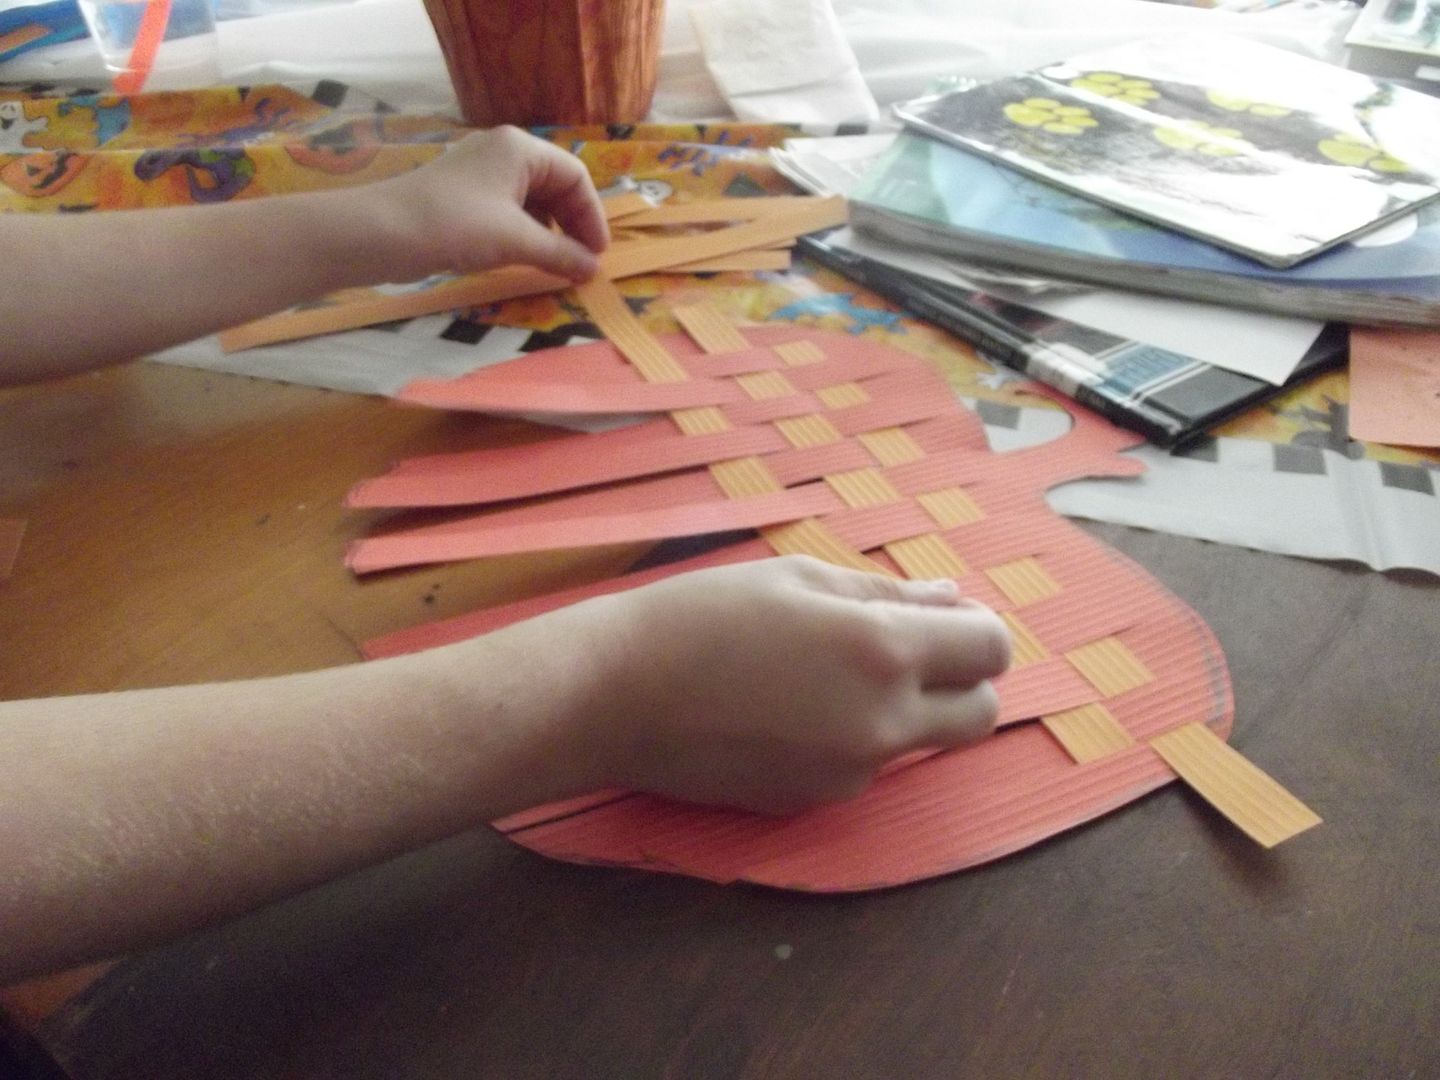
Weave them together.

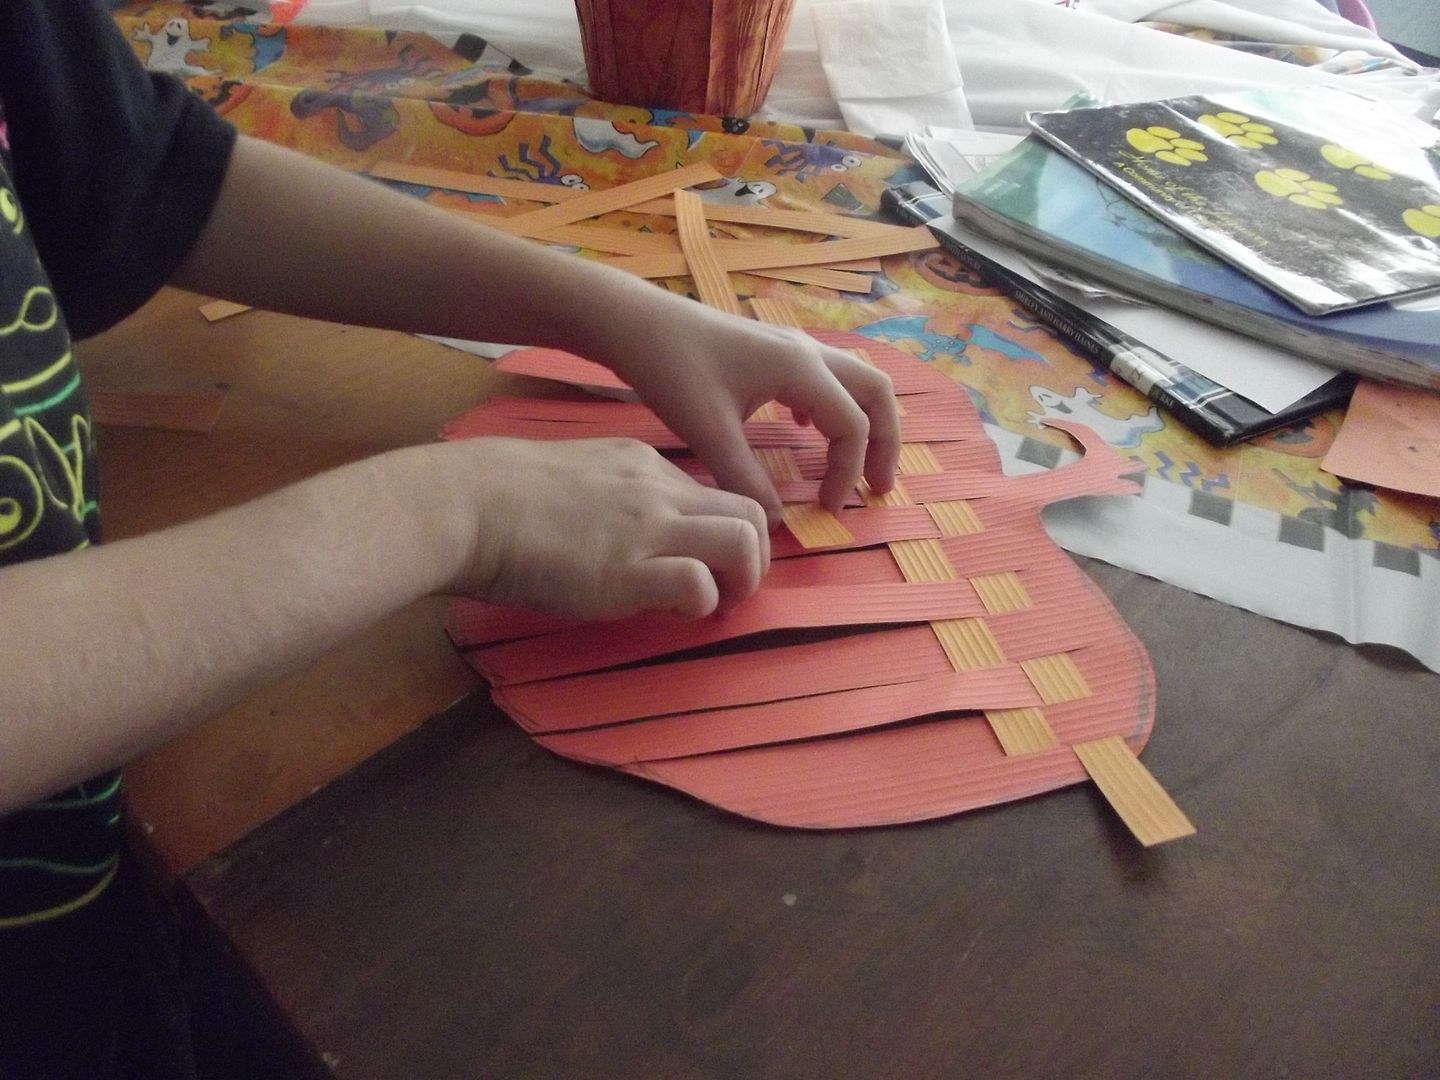
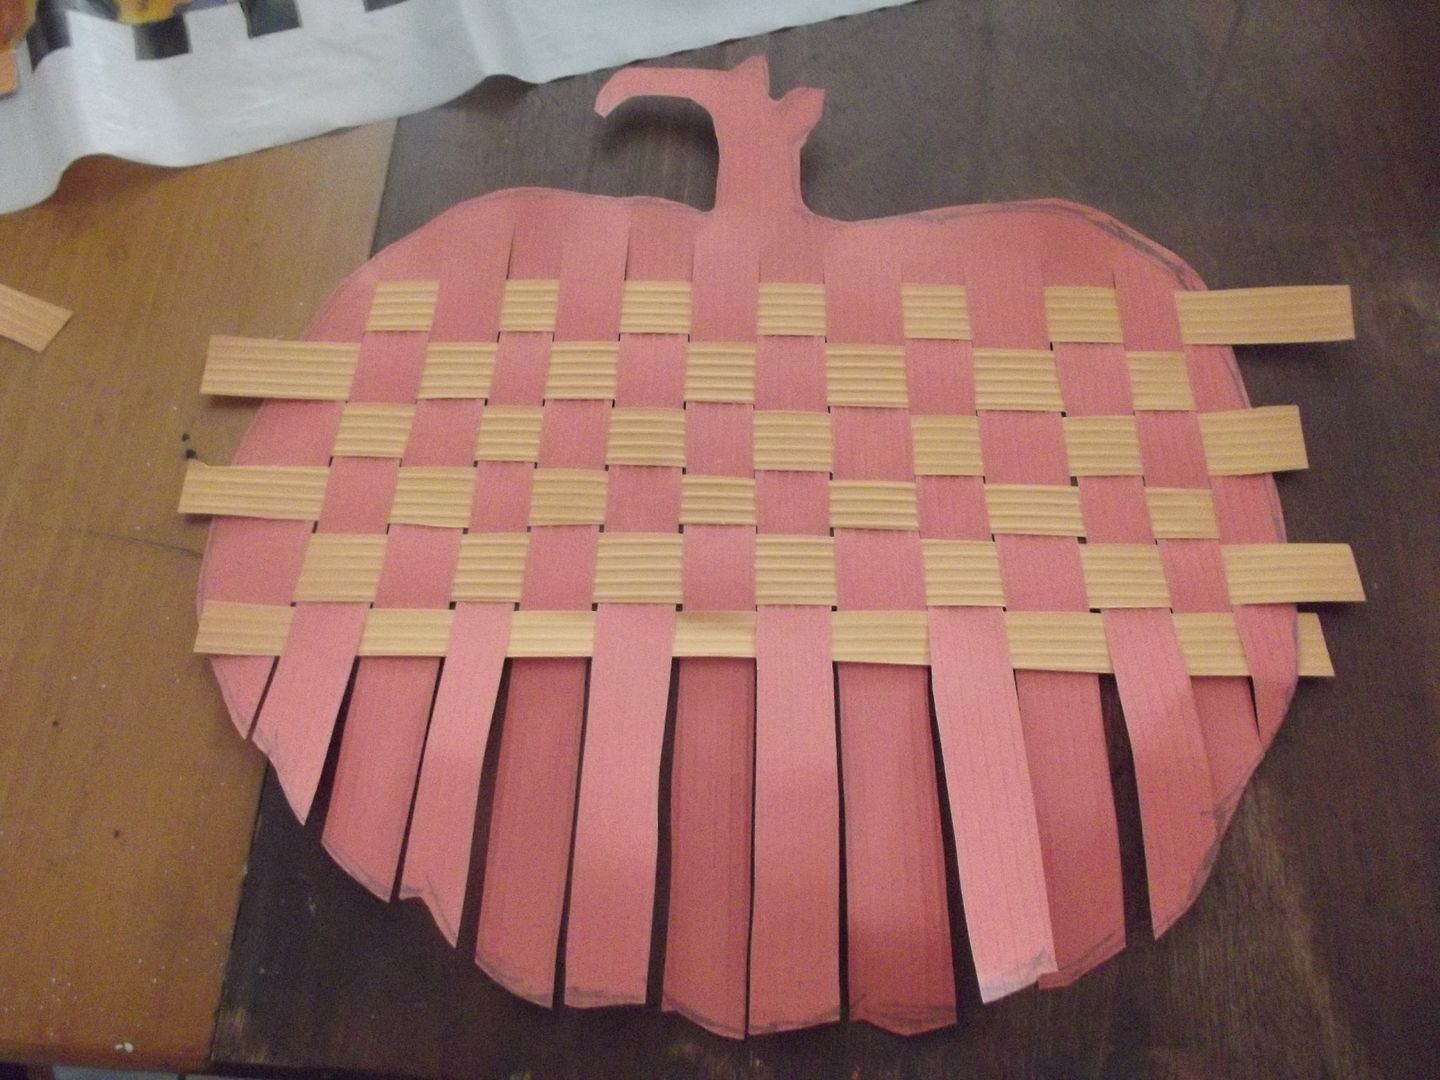
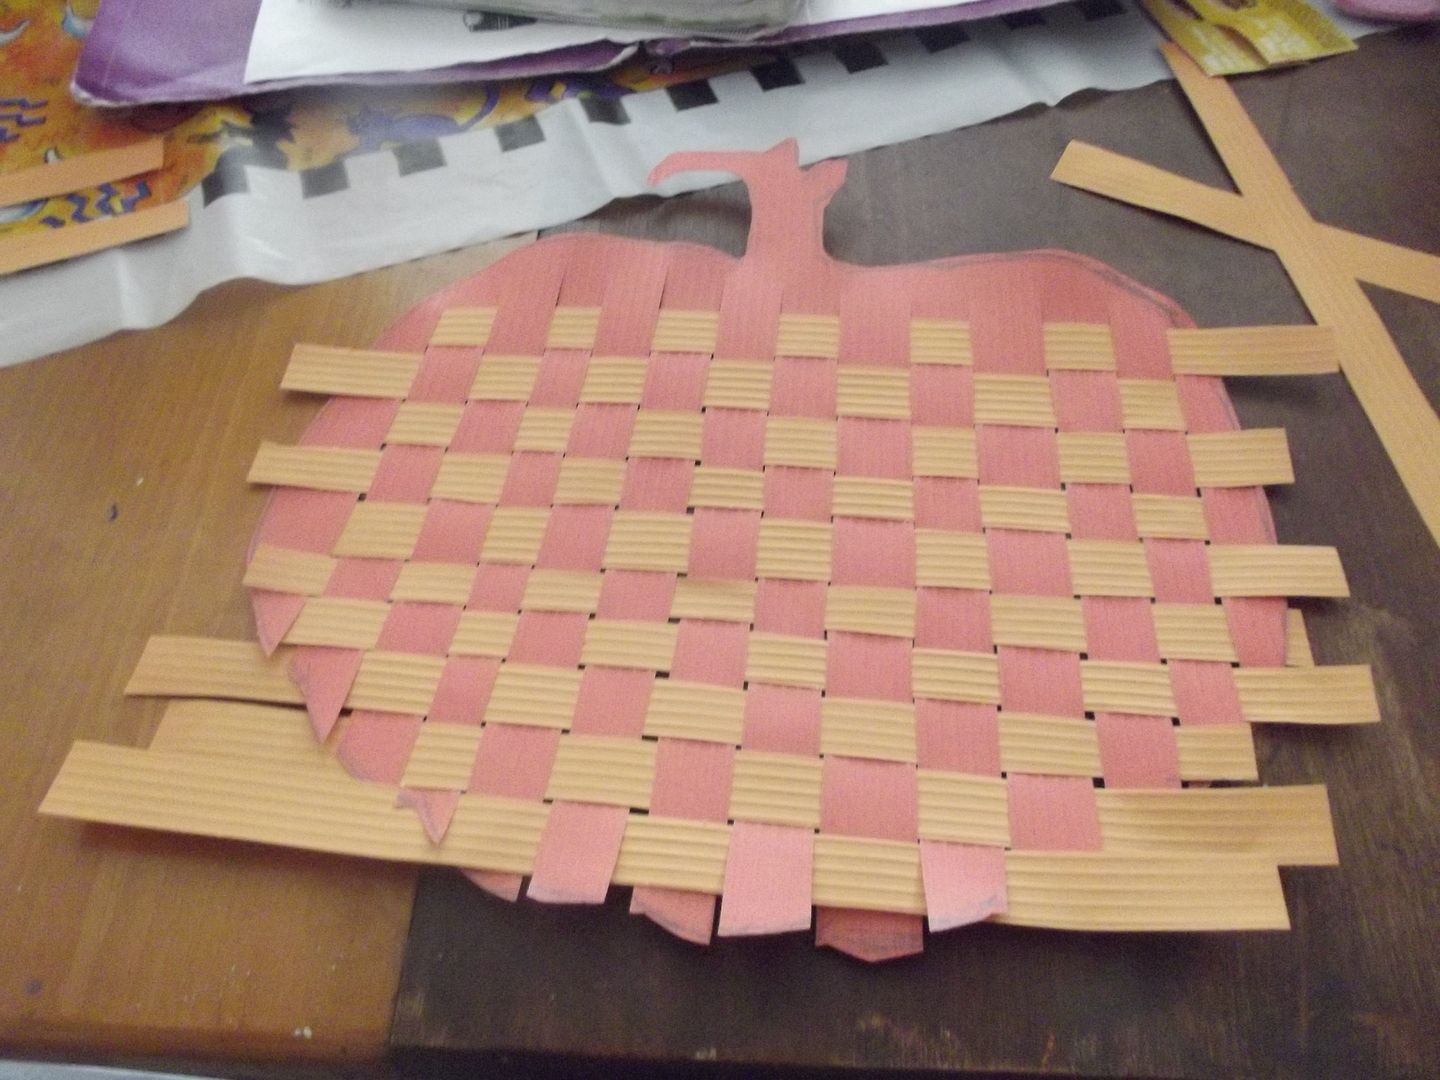
Isaac Weaving Isaac Weaving 2 Almost Done Weavung Done

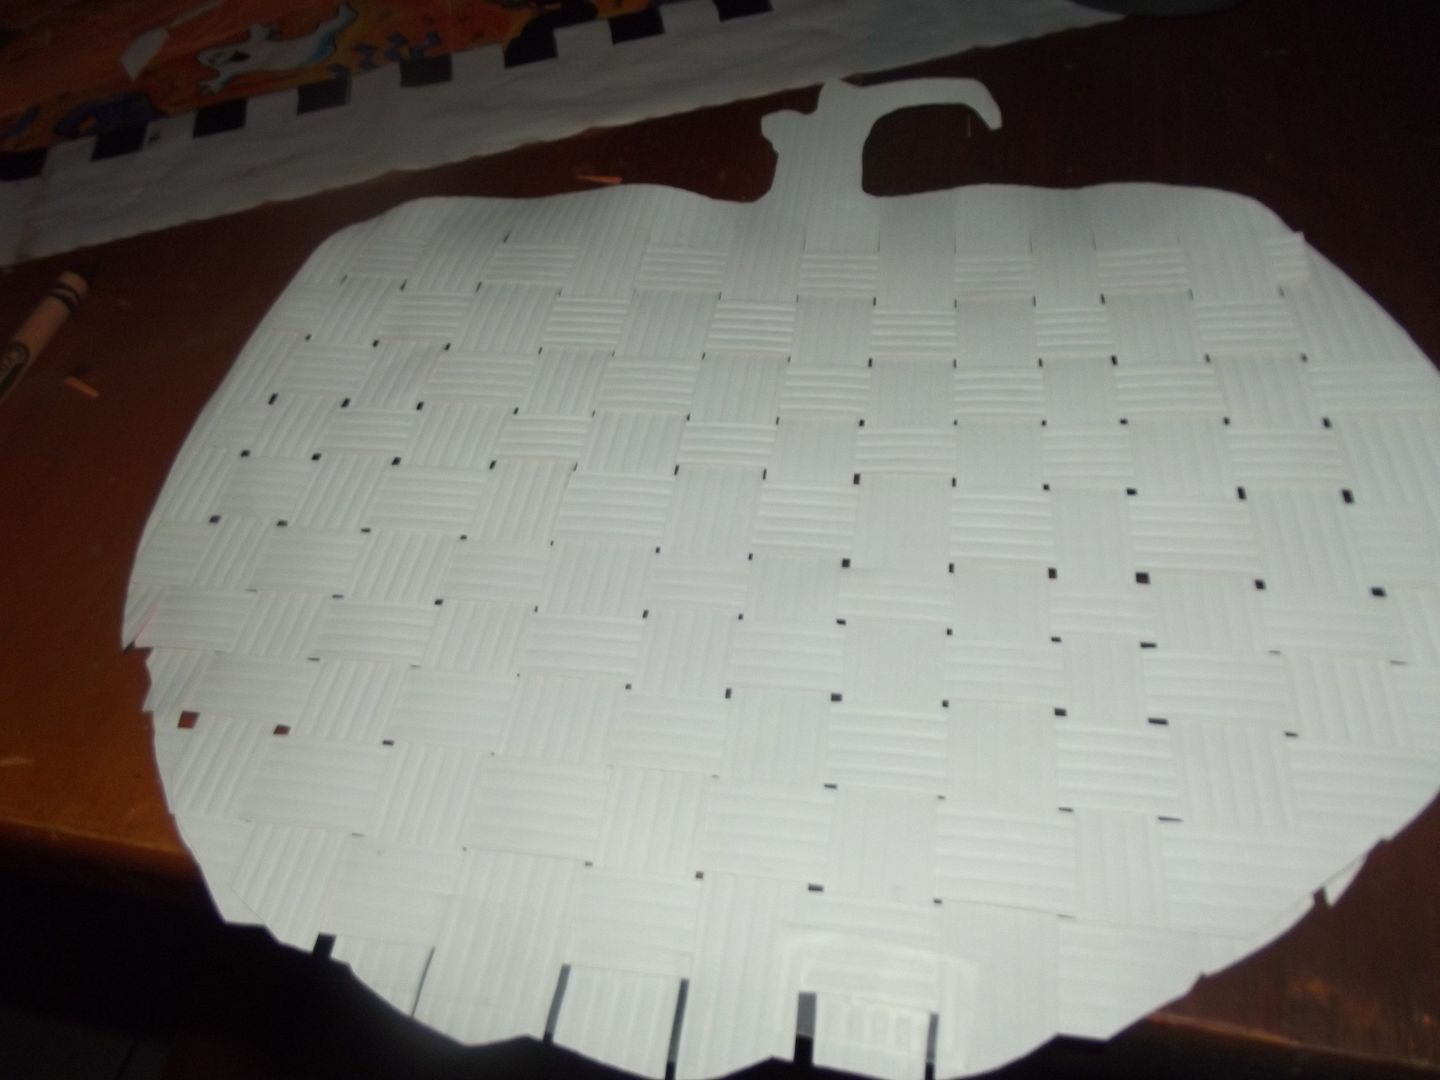
Once the paper had been woven together done to the bottom I trimmed the edges back into pumpkin shape. After the edges were cleaned up I flipped it over and tapped the bottom of the pumpkin together to keep the last strip from slipping out. Once all the paper was secure I borrowed a brown crayon from Riley to color the stem.

Rounded Edges Flipped and Tapped
Stem

I think these would make super-cute placemats. Maybe for Thanksgiving. Yay, pumpkin!

Finished Pumpkin