Showing posts with label Valentines. Show all posts

Tuesday, April 1, 2014

February Recap

I was debating which post to publish next and feeling completely unsettled about there only being one post in February. This morning I woke up with a painful swollen ankle. It's been bothering me off and on, but I'm starting to think it's tendinitis. Anyway, it seemed like my cue to stay in bed and write a recap!

Pedicure
I got this pedicure at the end of January, but I wanted it to be the first image. A little bit of pretty to start me off (Never mind my spastic toes). I went to a boring but necessary appointment and then before I went home I decided to have a pedicure. It felt so self-indulgent. They were having a 20% off all services special so I got a great price and they had amazing new message chairs. These were the first massage chairs I've ever encountered that slide forward. Short people there's hope! You can put your feet in the water and your back against the rollers! I had to get used to having my feet touched without jumping, but before I moved in with my husband I had pedicures twice a month. Since we're been together (almost 7yrs) I think I've had six pedicures. I treasure them a lot more now. Mike even joked about my "yearly pedicure." I love pretty toes.

Library Card
Nerding it up! My kids are booth big readers and we have always made regular visits to the library. I always made regular visits as a kid and when I was single. I will never forget how grown up I felt when I got my very own library card. It was Isaac's turn! He was so proud.

Valentine Girls Slippers

Card Signing the Cards
Valentines day festivities! Riley signed all of her valentines this year!

Cake Time Princesses Parties & Dress-up

puppy
Housework interrupted by cuteness

Birthday Girl
I had a birthday. It wasn't a huge significant birthday. I had a good time celebrating, but birthdays aren't as fun as they used to be. I'm not worried about aging in the typical "never ask a woman her age" way. I've always looked (and acted) younger than my age. It's about my body in a different way. Most people are born young and healthy and their bodies gradually react to wear and tear as they get older, but not me.

I started out tight, spastic and limited by my body from the moment I was born. It was always something I dealt with. I can't remember (aside from being hit by the bus) ever being laid up or having to skip something in my 20's. Since having baby I feel broken down more often. I hate that I'm sitting in bed right now because I woke up with a messed up ankle. This never would have happened five years ago. It's frustrating because I'm broken down and bemoaning the cleaning I can't do. When I was twenty I walked large cities and worked jobs on my feet for 8hrs and still managed to wash the dishes at the end of the day. Now, I take care of the kids and the house and then I break down. I'm not saying it's not a physically demanding job I just think when I was having adventures that would have been worth a day in bed I didn't need them.

Wednesday, January 23, 2013

Heart Banner

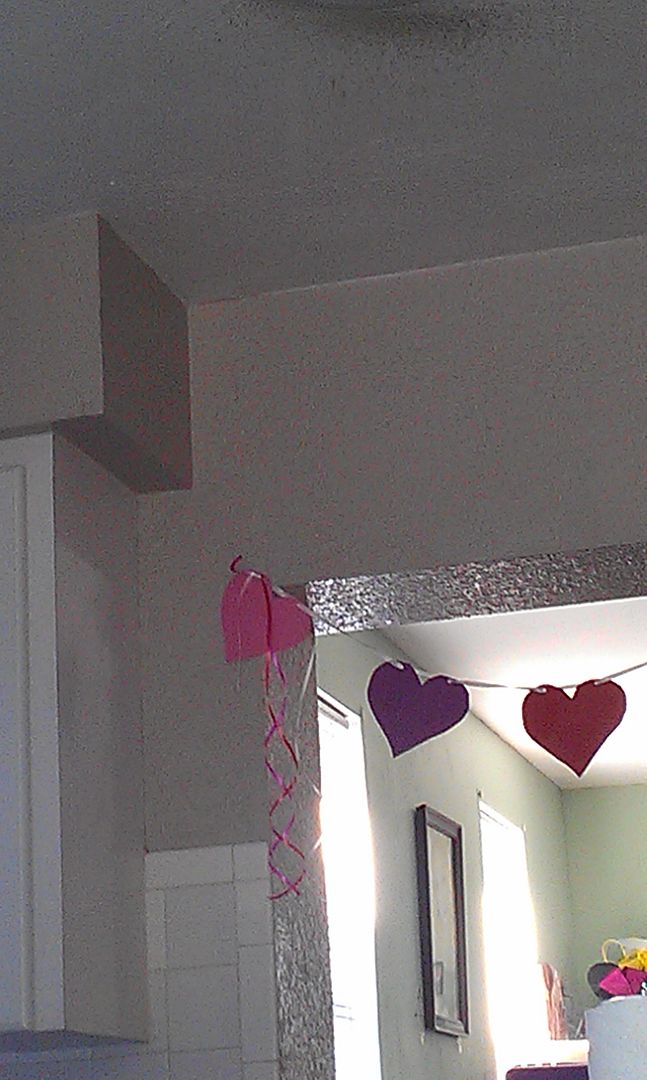
I have an archway between my kitchen and living room. For most holidays I have a pretty sign or festive garland of some sort for that spot. I like to display things there because you see them as soon as you walk in the door. As it turns out when Riley and I put up my Valentines decorations this year we had nothing for the archway. It also happens (sniff) that this is the first year Miss Roo opted for store bought cards for her friends. Here are some of my past creations: Valentines Shirts & Pillows, Heart Cards, and Punny Raisins with Cards. I'm a little relieved to have the pressure off, but I'm a little sad that she's growing up and Mom's homemade cards won't be cool much longer.

All that long winded back story to tell you, I decided to make a banner!

Materials

  • Patterned Card Stock
  • Scissors (or a craft cutter)
  • Cardboard Heart Template (or craft cutter template)
  • Crop-a-dile
  • Assorted Ribbons
  • Grommets, Glitter, Glue
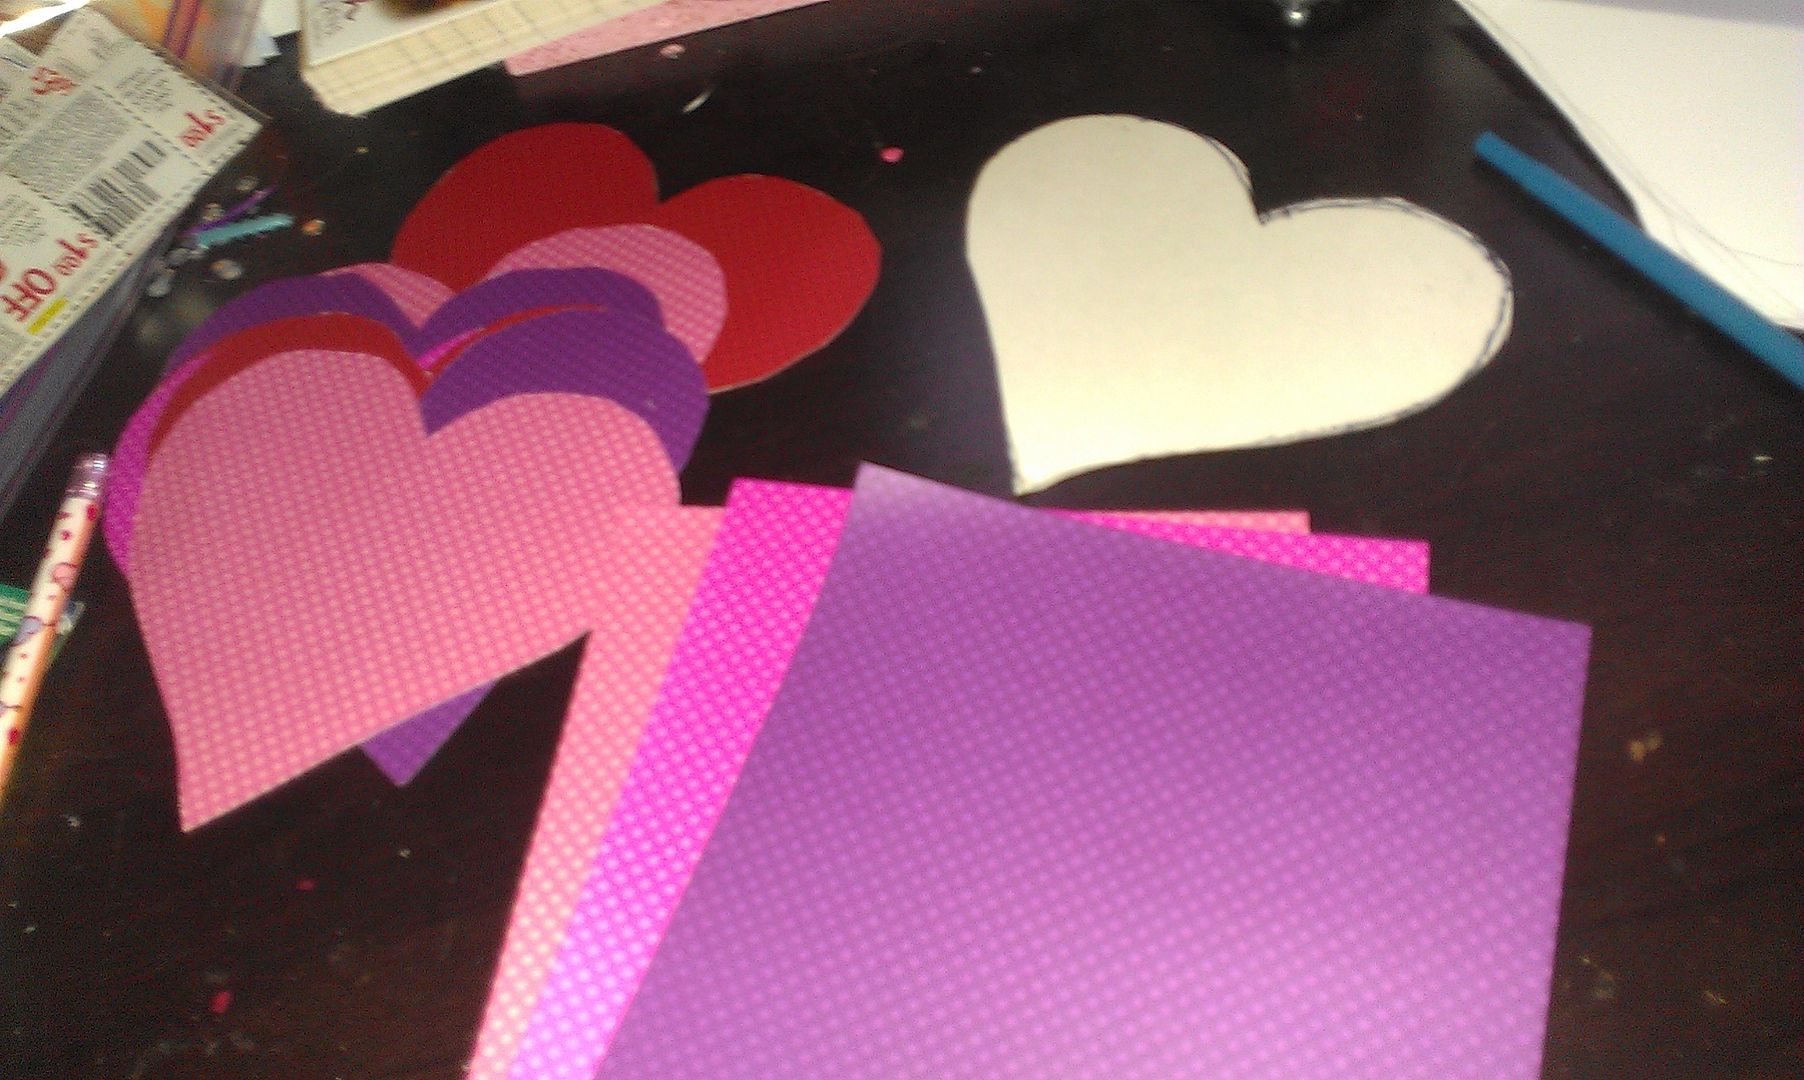
Tracing Template Cut Out
Heart Stack

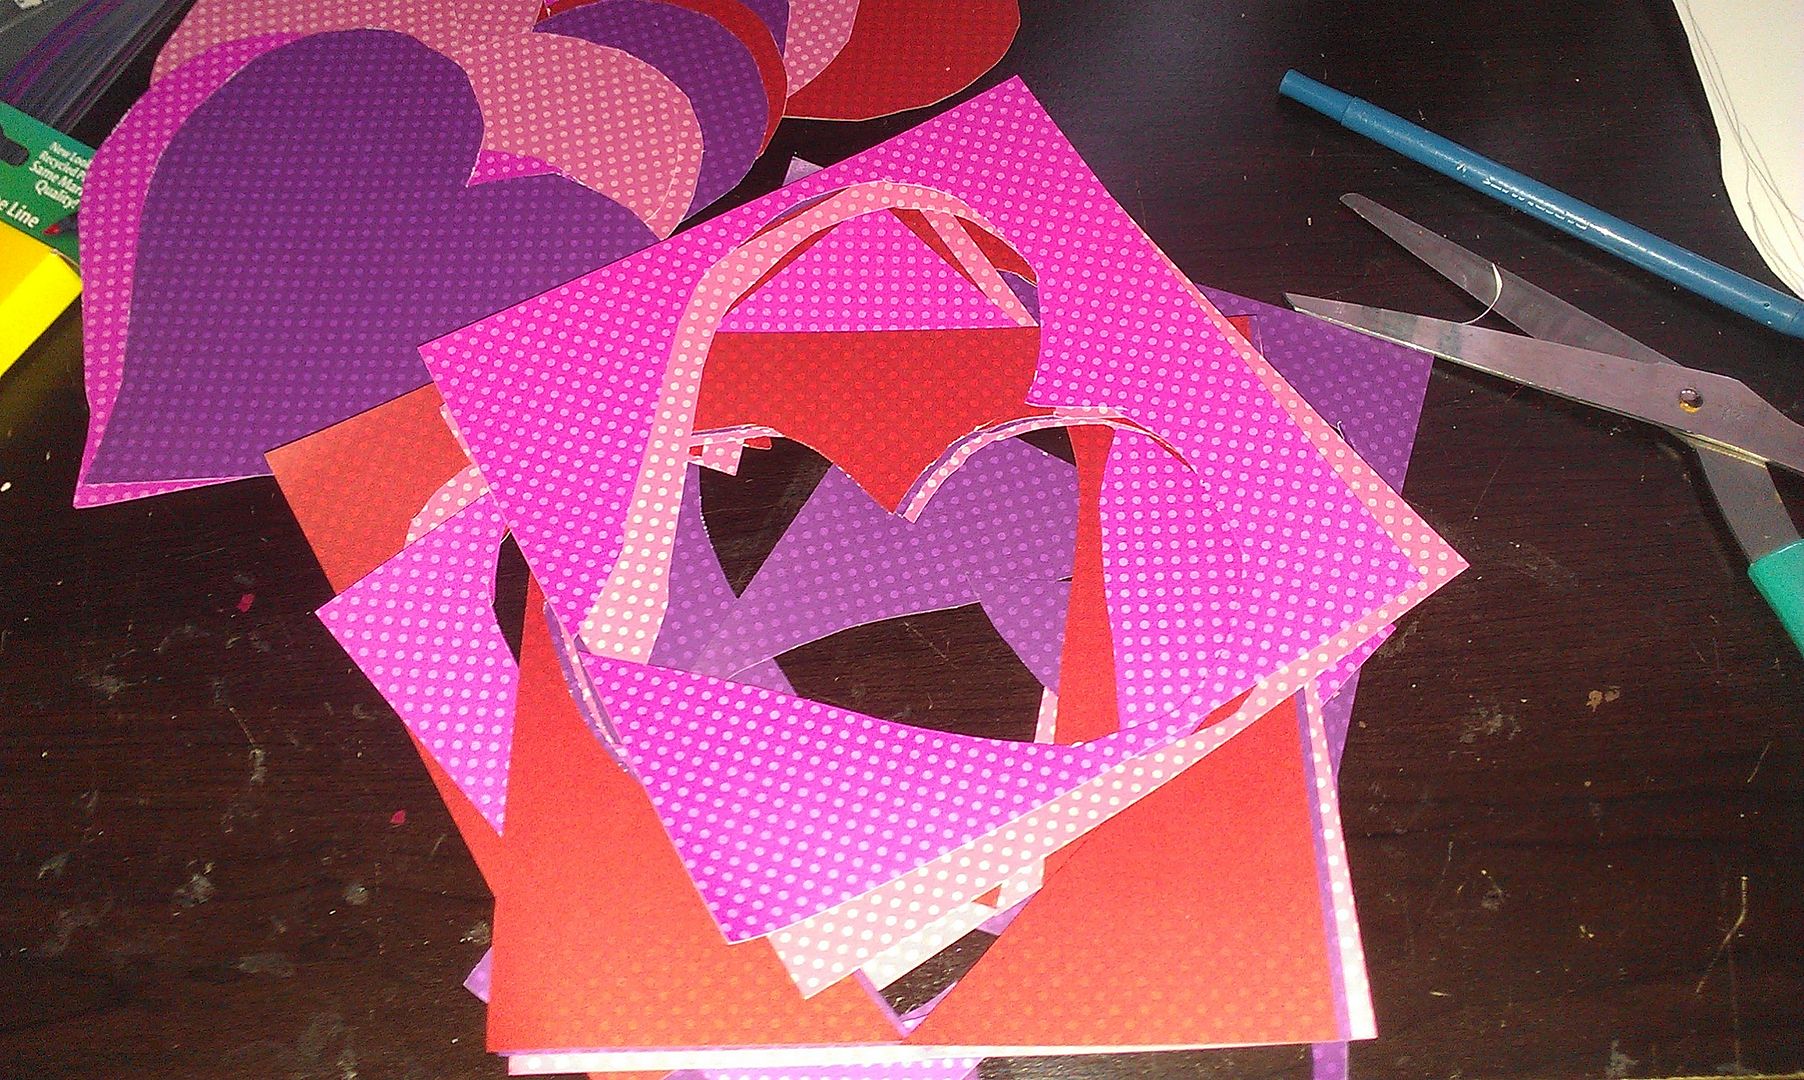
By all means fire up a set of hearts on your Silhouette or Cricut or what have you. I happen to have received a small square pad of polka dot card stock for Christmas. I was afraid to send such small paper through my cutter, but I loved the look. I also already had a heart template I saved from an old project. I printed a heart from an image search, cut it out and then traced it onto cardboard. Remember if your paper is one sided like mine trace on the blank side. Do you like my festive nails? Glitter and hearts!

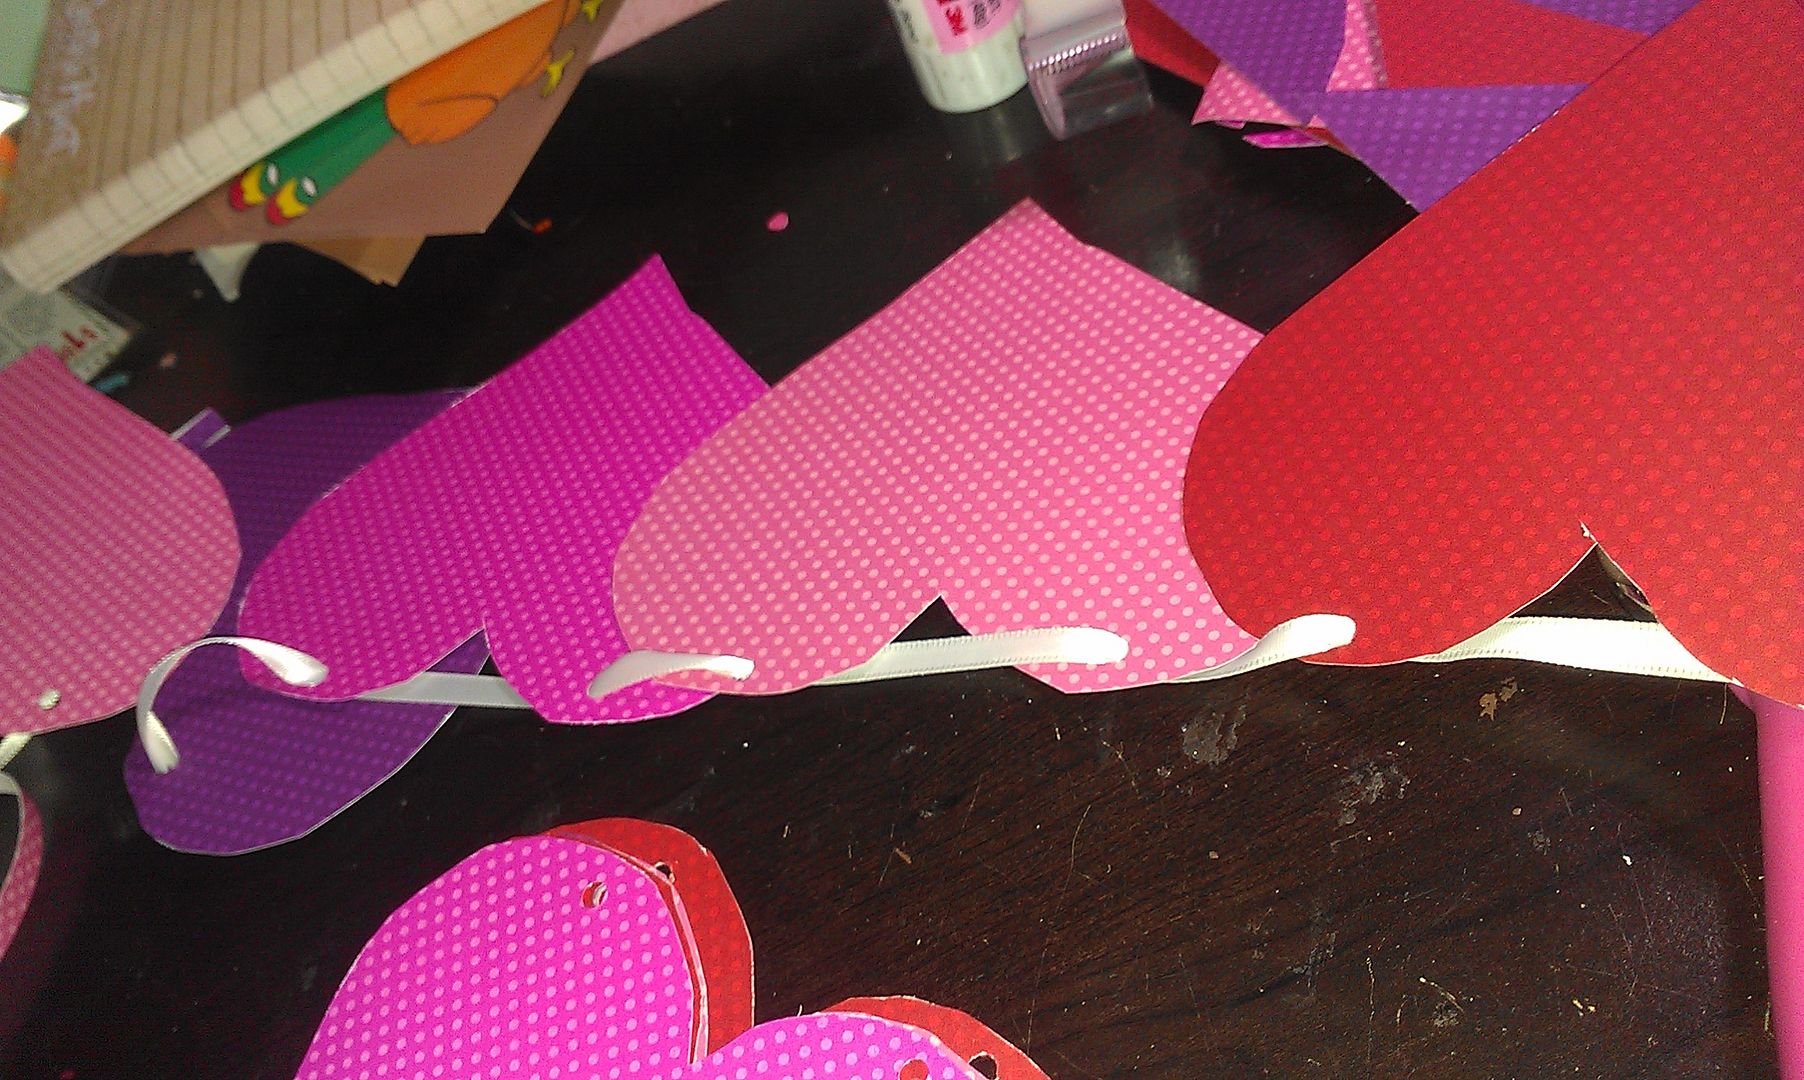
Strung Hearts Hearts on Ribbon
3D Heart

I punched through all my hearts in one stack to make sure the holes would line up. I opted not to add grommets, but depending on the look of your paper you may want them. They make threading the ribbon easier and decrease paper wear. I threaded my hearts in alternating colors. I tied my banner to the superyard and spaced out my hearts. I attempted to make 3D hearts from the scraps. They came out cute the problem was that they didn't work with my 2D banner (at least I don't think they did). I left them out.

Ribons Close Up

I did add red, pink and white curling ribbon on each end. I'm very pleased with the final product. Happy crafting!

Ribons

Wednesday, February 15, 2012

Mommy's Valentines Day

My post on Valentines Day was very Riley-centric so I thought I'd tell you how it went for me. Mike made his own flower arrangement. He bought plants from Home Depot, cut what he wanted and put the rest in the backyard to be planted. Which is very, Mike. When will he ever have time to put them in the ground? Anyway, they're perfectly lovely, aren't they? Spider mums, delphiniums, daisies, willow and some other things I've forgotten the names of.

He "ran out" to get them and almost two hours later wasn't home. I was dog tired from starting my day with a rigorous therapy session at 8am and now it was going on 8pm. I ordered my much anticipated heart pizzas.

They did not disappoint. Festive and fun as well as exceedingly easy with minimal clean up. I stayed awake waiting for Mike to finish perfecting his flower arrangement after the kids went to bed. Then he delivered them with a flourish and I applauded them. I demanded pictures as it was know late and I wanted to show off my flowers on Facebook too.

I put this image on his wall earlier in the day. Isn't it funny? Happy Mother of all pun inspiring holidays!

Tuesday, February 14, 2012

Happy Valetines Day!!!

My Little fashion plate. I blew it and let her wear her "Valentines Day Outfit" yeatserday so this one was pretty much her creation.

Head to toe: Pink felt monster barrette from Etsy, bright colored heart shirt with ruffled edges, pink tu-tu(ish) skirt and pink cowboy boots with tiny hearts on them. Happy Valentines Day, indeed I think she did Fancy Nancy Proud.

Handing out her valentines to her friends! Such a big girl. I took a year off from making all the kids shirts and nobody seemed to mind.

Enjoying her pink owl lollipop from Miss Boo! She also got pink puppy stickers from little E. We are so lucky to have such nice friends.

Happy Valentines Day!!

Click to play this Smilebox slideshow
Create your own slideshow - Powered by Smilebox
Make your own free digital slideshow

Thank you Miss D for taking the time to make this slideshow it's lovely!!

Sunday, February 12, 2012

Riley's Valentines

Earlier in the month I cut the heart cards. Tonight I finished them for Riley to give out to her friends. Just so you know I'm not insane Isaac's classmates are receiving store bought Pixar Valentines. He's a boy and his class is 20 kids so that's absolutely the right choice for him. I suspect as long as Riley has 4 valentines to hand out and appreciates them so much I'll keep making them.

Materials
  • Heart Cards (see link above)
  • Glitter/Glittery stickers or foam letters
  • Smaller foam/contruction paper hearts
  • Flower stickers
  • Red and Pink construction paper
  • Edging scissors
  • Glue stick
  • Pretty tissue paper
  • Raisin boxes

Cut a strip of red or pink paper to line the inside of the card. I alternated edging scissors to make them look fancier. Glue them down especially around the edges. Be sure to let them dry all the way before you fold the card.

Once the inside is dry fold the card. Make a defined fold so you can tell where you can start the writing on the front. Then flatten it again and decorate with your smaller hearts and glittery letters. Again, let the front dry completely before folding the card again.

Wrap your raisin boxes in the pretty tissue paper. Be careful to start low enough for the kids to be able to get into them. Add stickers and their names.

Then the real fun begins, thinking of cute raisin puns. Ours incuded: We go togehter like grapes and sunshine! and You always give me a "raisin" to smile. You could go on for days with those! So much fun.

All done, sitting in a pretty stack. I thought about attaching the raisins to the card, but decided against it. There were so few and I didn't want to damage the tissue paper. I do wish I'd secured the tissue paper on the bottom of the box to keep it from slipping down. Other than that I'll explain to Miss D that each card and each box has a name. Riley will be excited to pass them out.

Friday, February 3, 2012

Heart Cards

In my quest to find inspiration for thank you cards (we got our first two wedding gifts this week) I found these cute heart shaped cards in The DIY Bride: Crafty Countdown. She calls them "From the Heart Thank You Cards" and they seemed simple enough. Whether I'll use them for wedding thank you cards I'm not sure, but they make adorable valentines!

First, she requests you copy and enlarge her template:

Here's my template heart and note section

Here's what the heart looks like folded

An example of a finished one:

Once you get the template proportions right they're very simple. The decorating possibilities and uses are endless.

Sunday, January 29, 2012

"Mommy, is it Valentines, yet?"

Riley insisted on putting up our Valentines decorations last weekend. I don't have a lot. I'v got some hearts with cartoon characters (Mickey and Snoopy), a few things the kids made in prior years and a sign for the door my mom gave us last year. It took us all of 3 minutes to have them up.

I don't know where she heard about Valentines Day, but she was insisting we needed to "Hang up da hearts! And wear a reeeeeeed tu-tu and (s)pin!!" She's absolutely my mini me sometimes. We also borrowed Clifford's First Valentines Day and we've been reading it a lot.

Spreading the love, that's my little Miss Roo.