Showing posts with label banner. Show all posts

Friday, March 15, 2013

Easter Banners

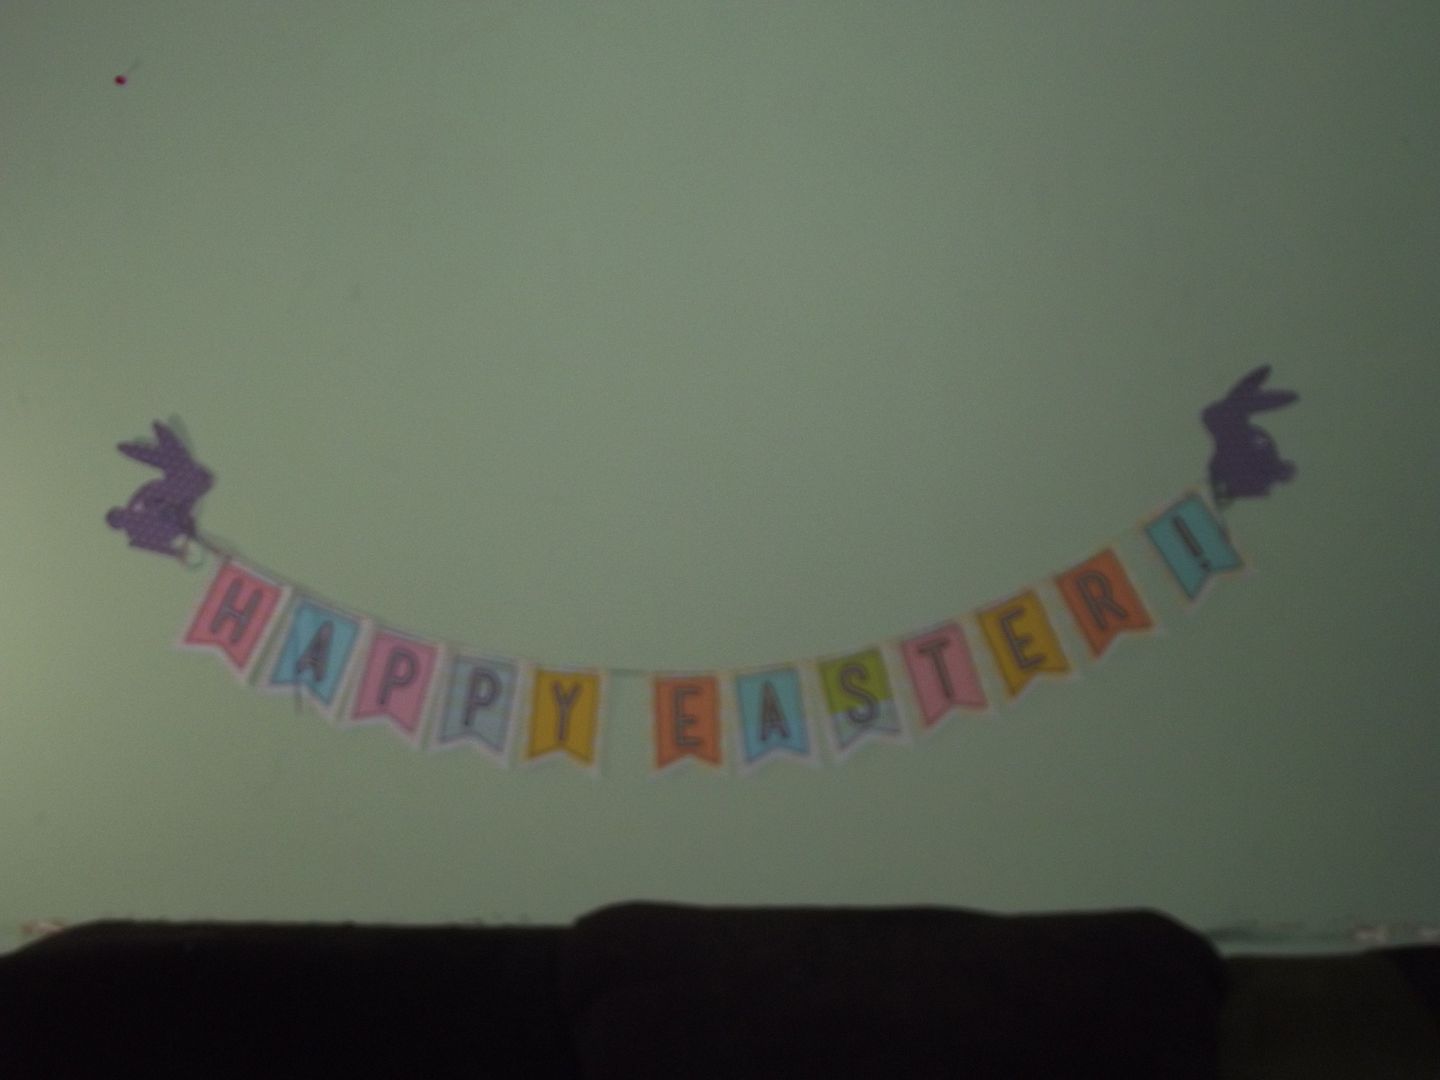
More Crafts? Heck Yeah! Like I said, this crazy back-to-back timing with Easter and St. Patrick's Day's has been inspiring me (plus I'm a little stressed and crafts help me unwind). I made 2 Easter banners. I did a super easy one for the archway and a more complicated one to hang on the fence for the egg hunt.

Here's the template for the easy one: Easter Banner Printable.

Easy Easter Banner

Materials

  • Template Above
  • Cardstock
  • Scissors
  • Gluestick
  • Crop-a-dile/Hole Punch
  • Yarn/Ribbon
Esy Pieces Easy Easter Banner

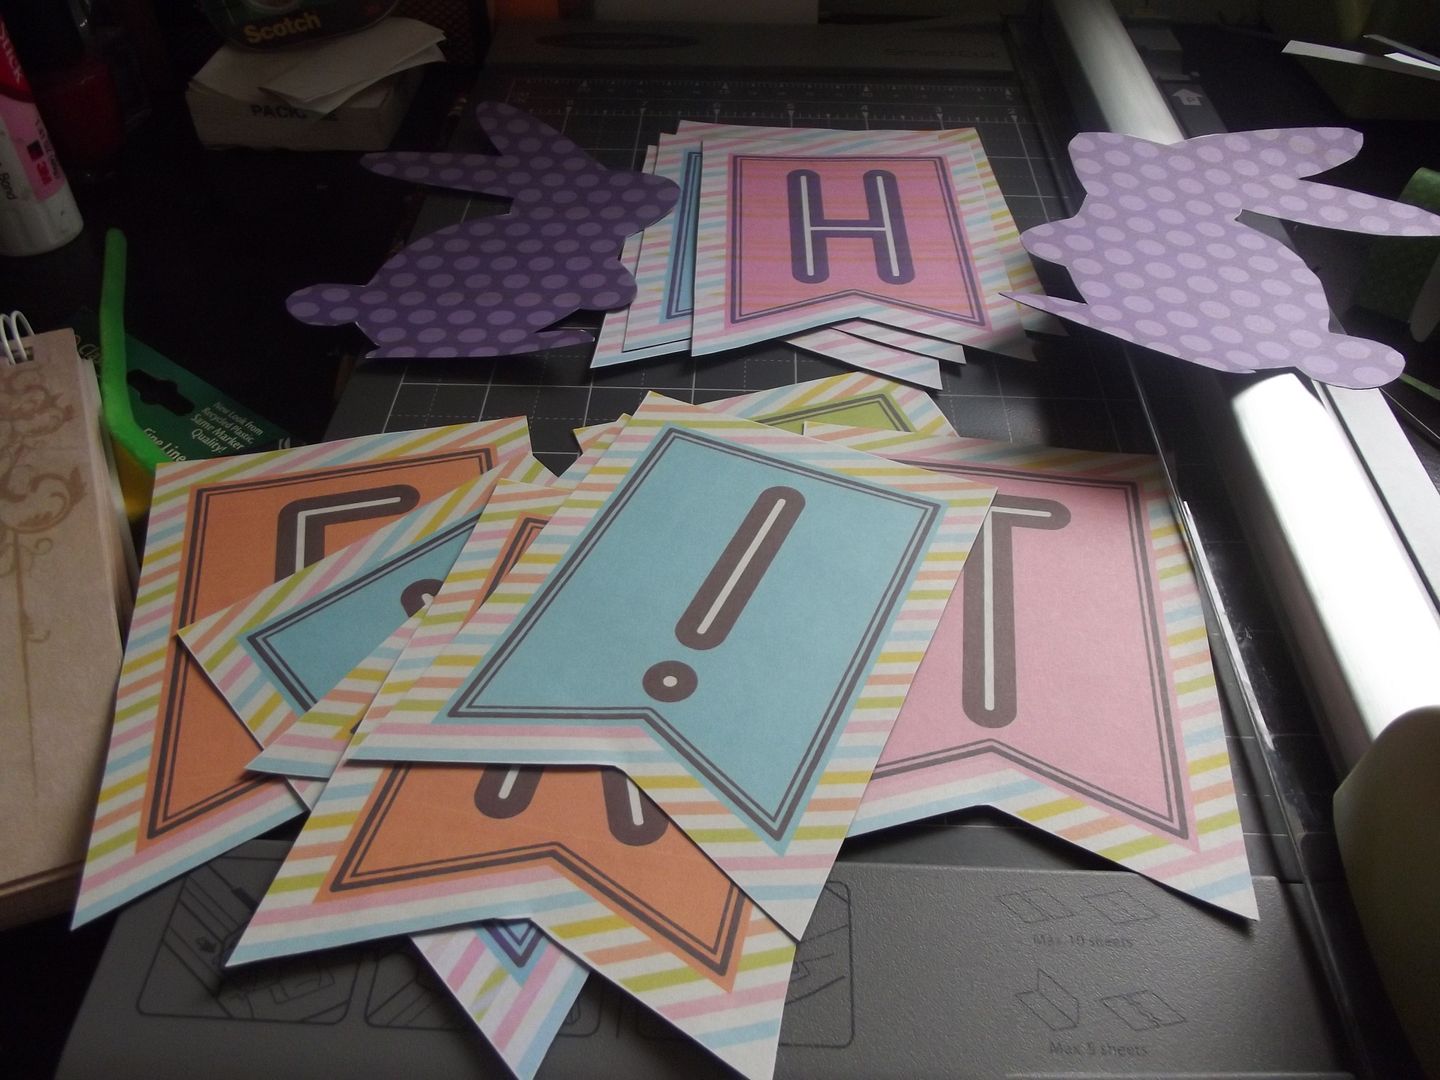
Click on my pictures to see them bigger. Just print out your banner directly onto cardstock. I didn't have any white left so I printed it out on printer paper and glued it to black cardstock before I cut it out. Just cut your pieces, punch holes and string them. I used some pretty multicolored yarn. I love the little bows at the bunnies paws. Plus, I traced the bunny silhouette onto an old Shutter Fly envelope to use as a template for my next banner. Tie your bows and hang it up! Easy Peasy!

DIY Bunny Banner

Materials

  • Bunny Template (cut from the first banner) & a slightly larger one
  • Cardstock
  • Spring Words Document/Spring Magazine Pictures
  • Scissors
  • Gluestick
  • Crop-a-dile/Hole Punch
  • Craft Cutter
  • Patterned Scrap Book Paper
  • Buttons
  • Fabric Glue
  • Yarn/Ribbon

Here's the tutorial for the bunny banner: Easter Banner Printable (from Happy Clippings).
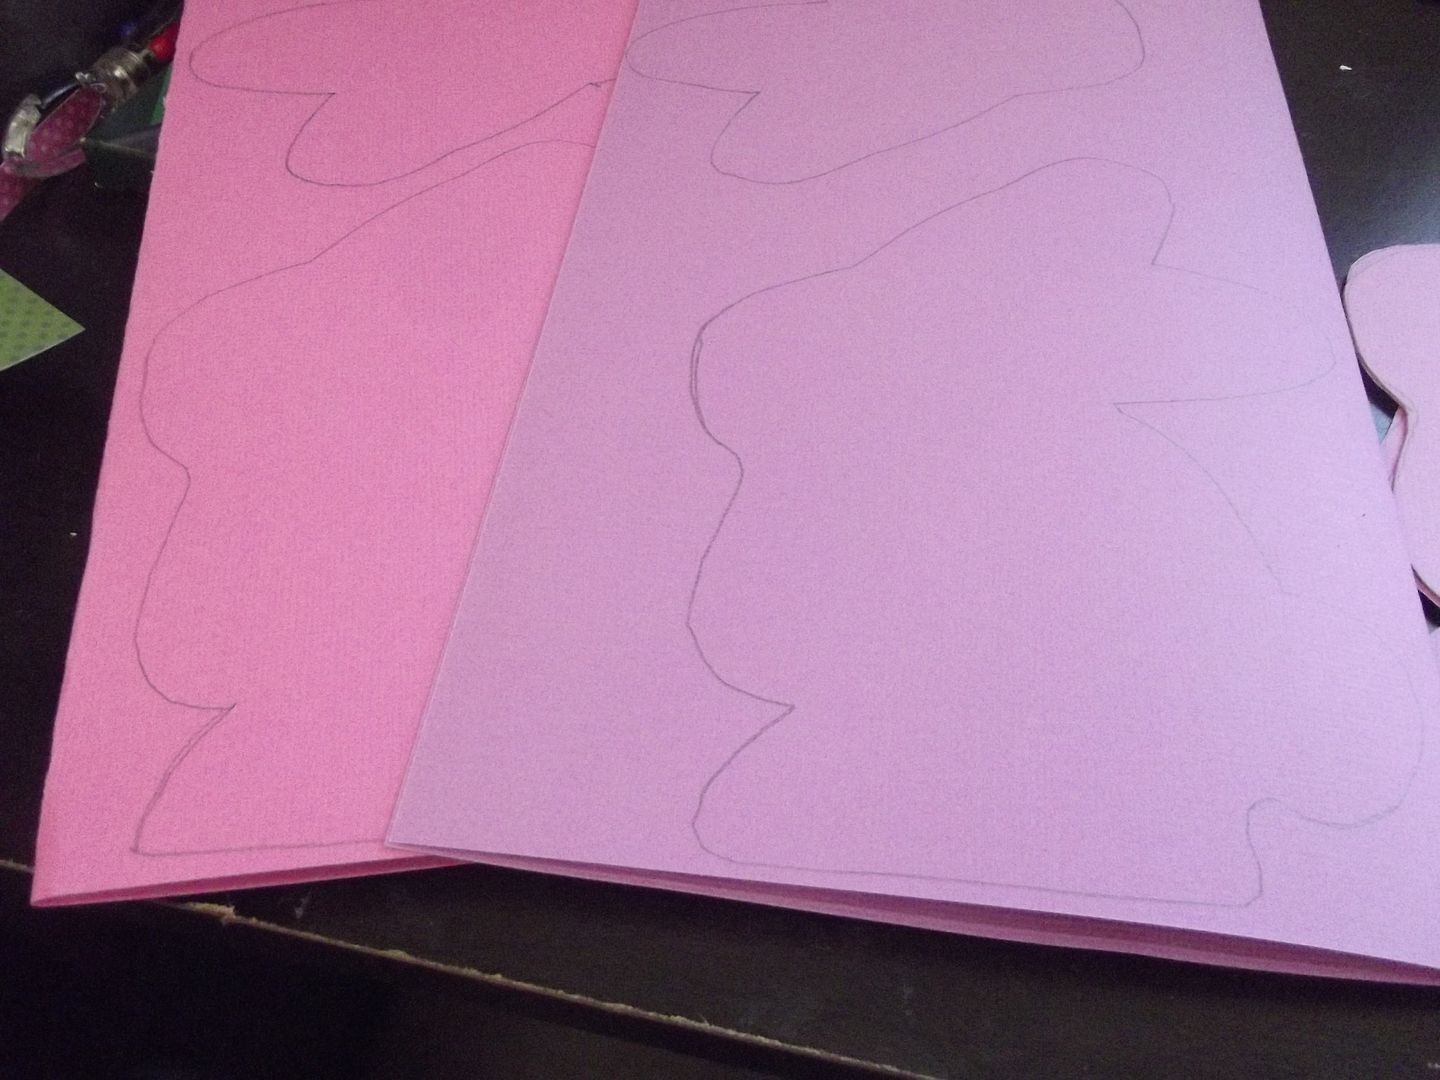
Cardstock Bunnies Cardstock Bunnies 2
Cut Out Bunnies

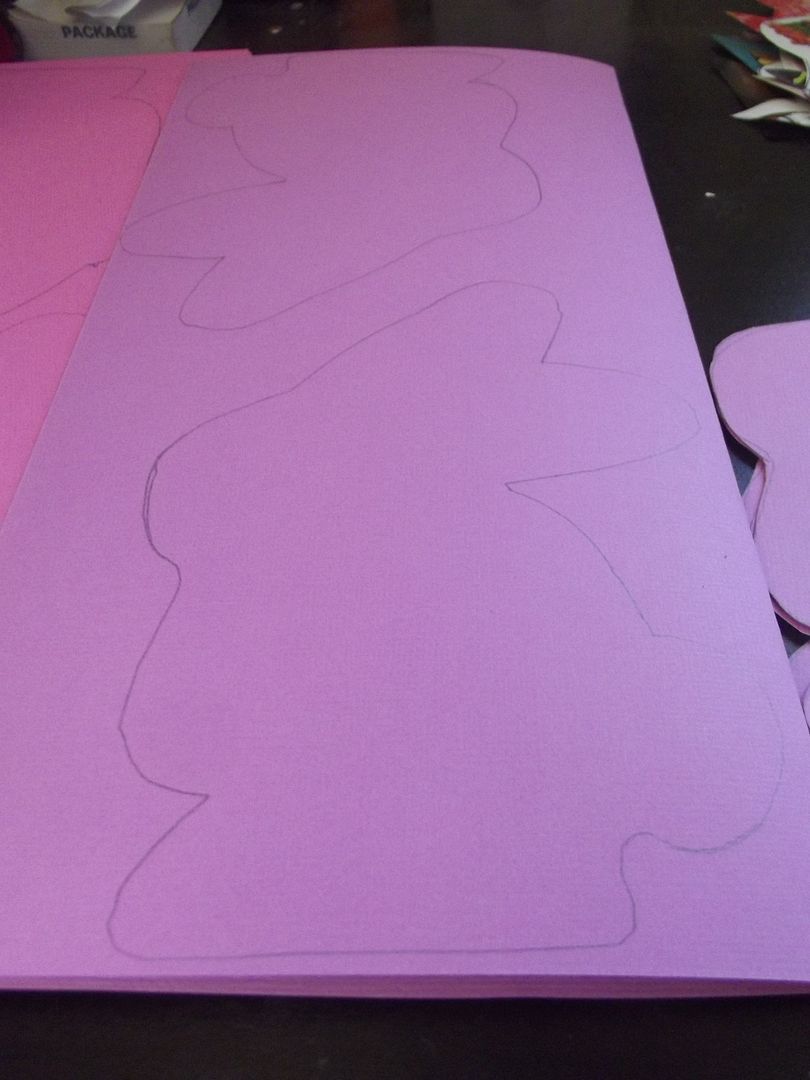
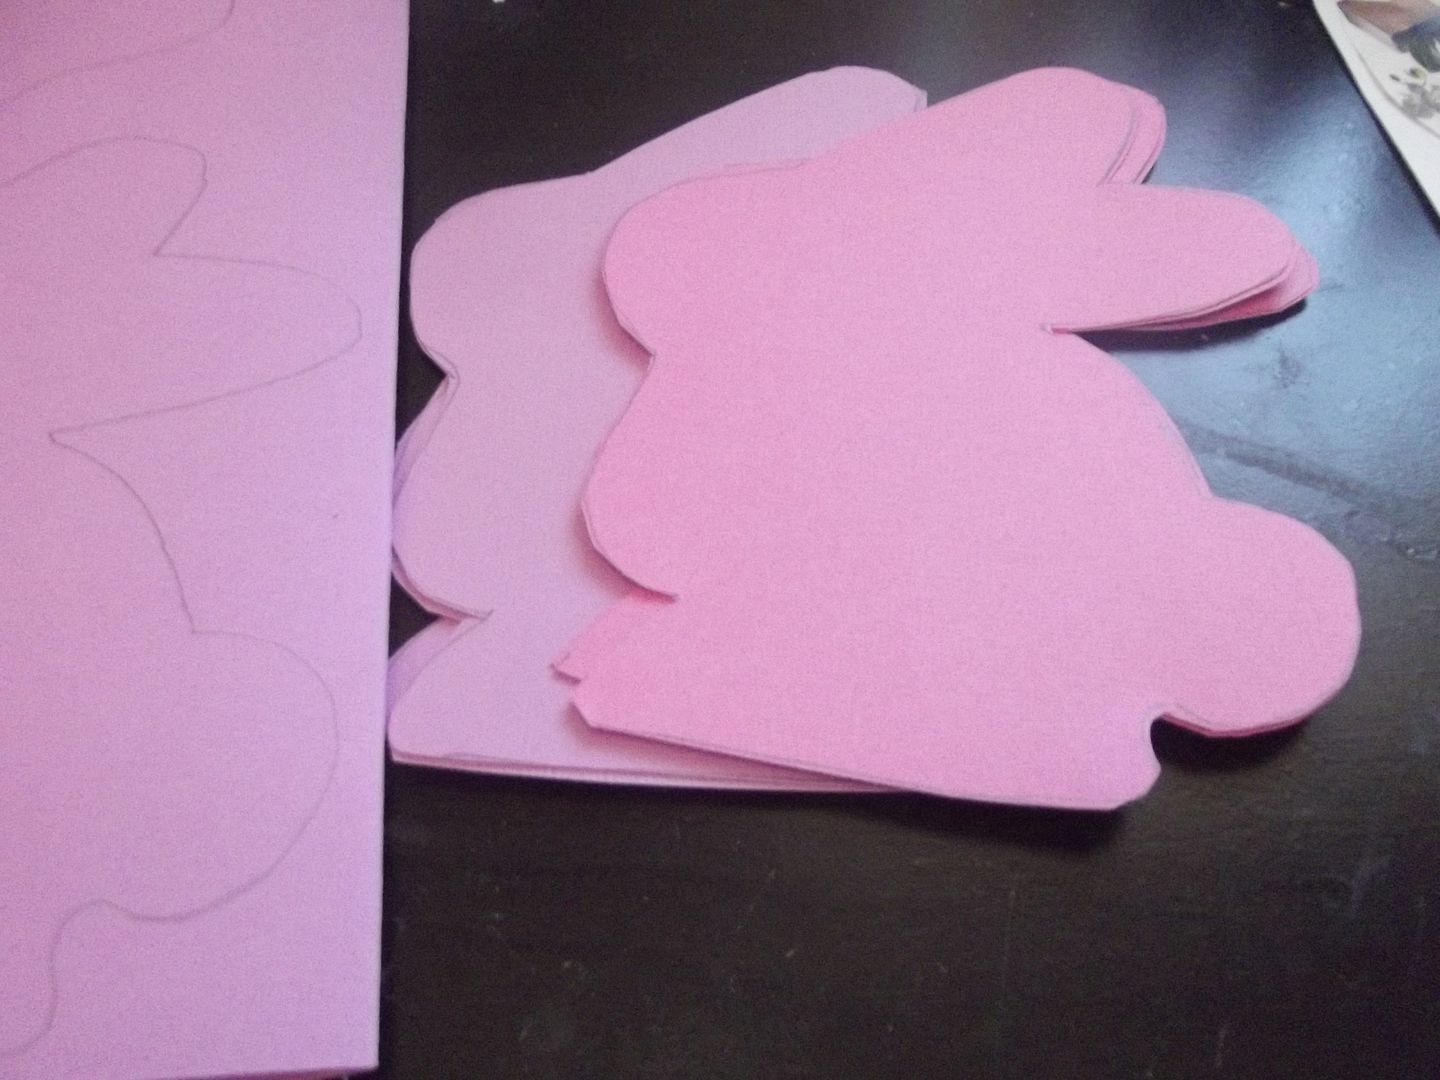
Start by tracing your larger bunny onto folded cardstock. I chose pink and purple for the background bunnies. I cut eight bunnies.
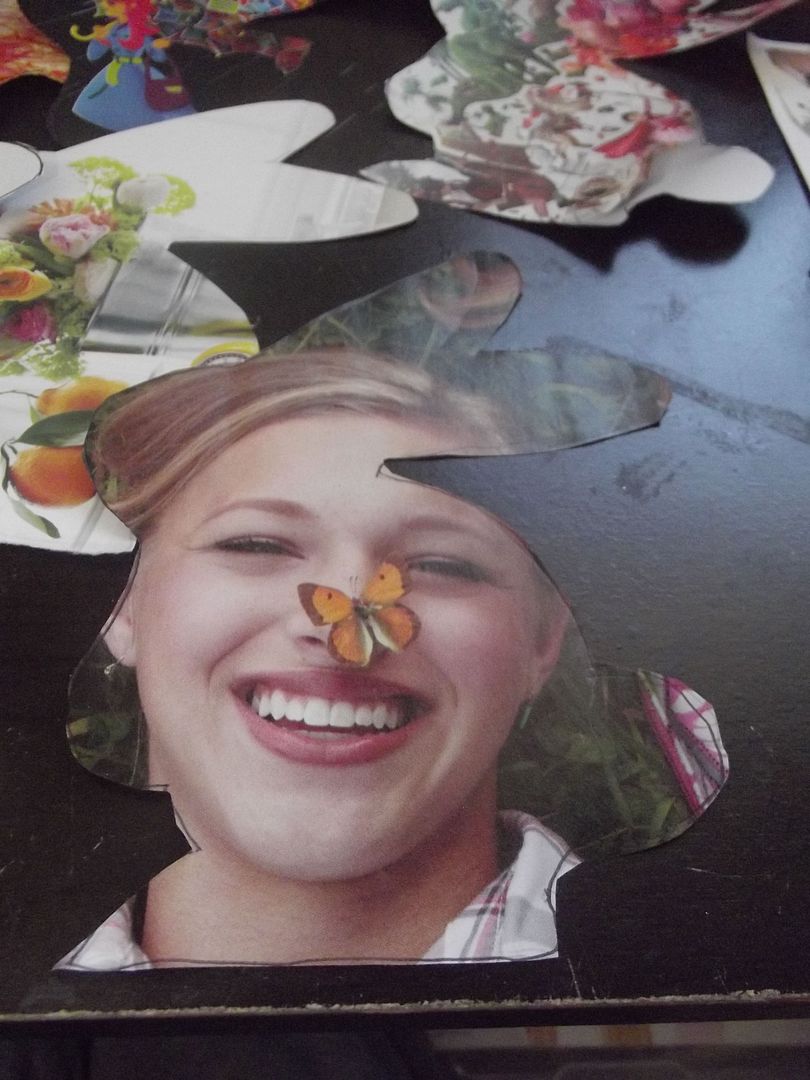
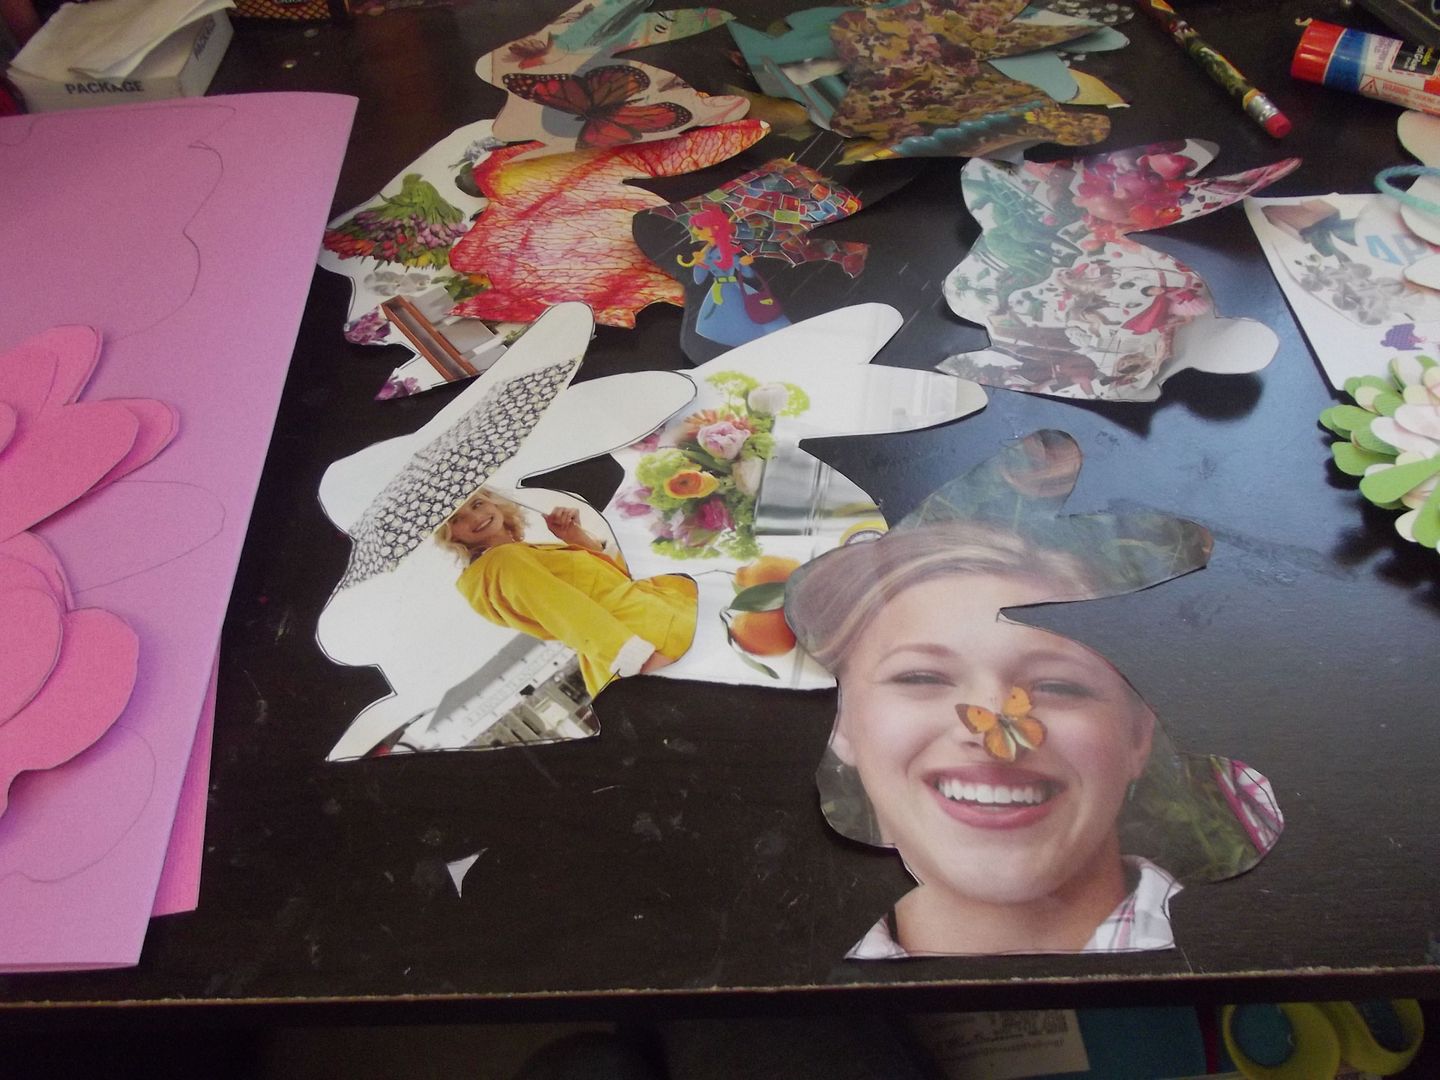
Smaller Bunnies Smaller Bunnies 2

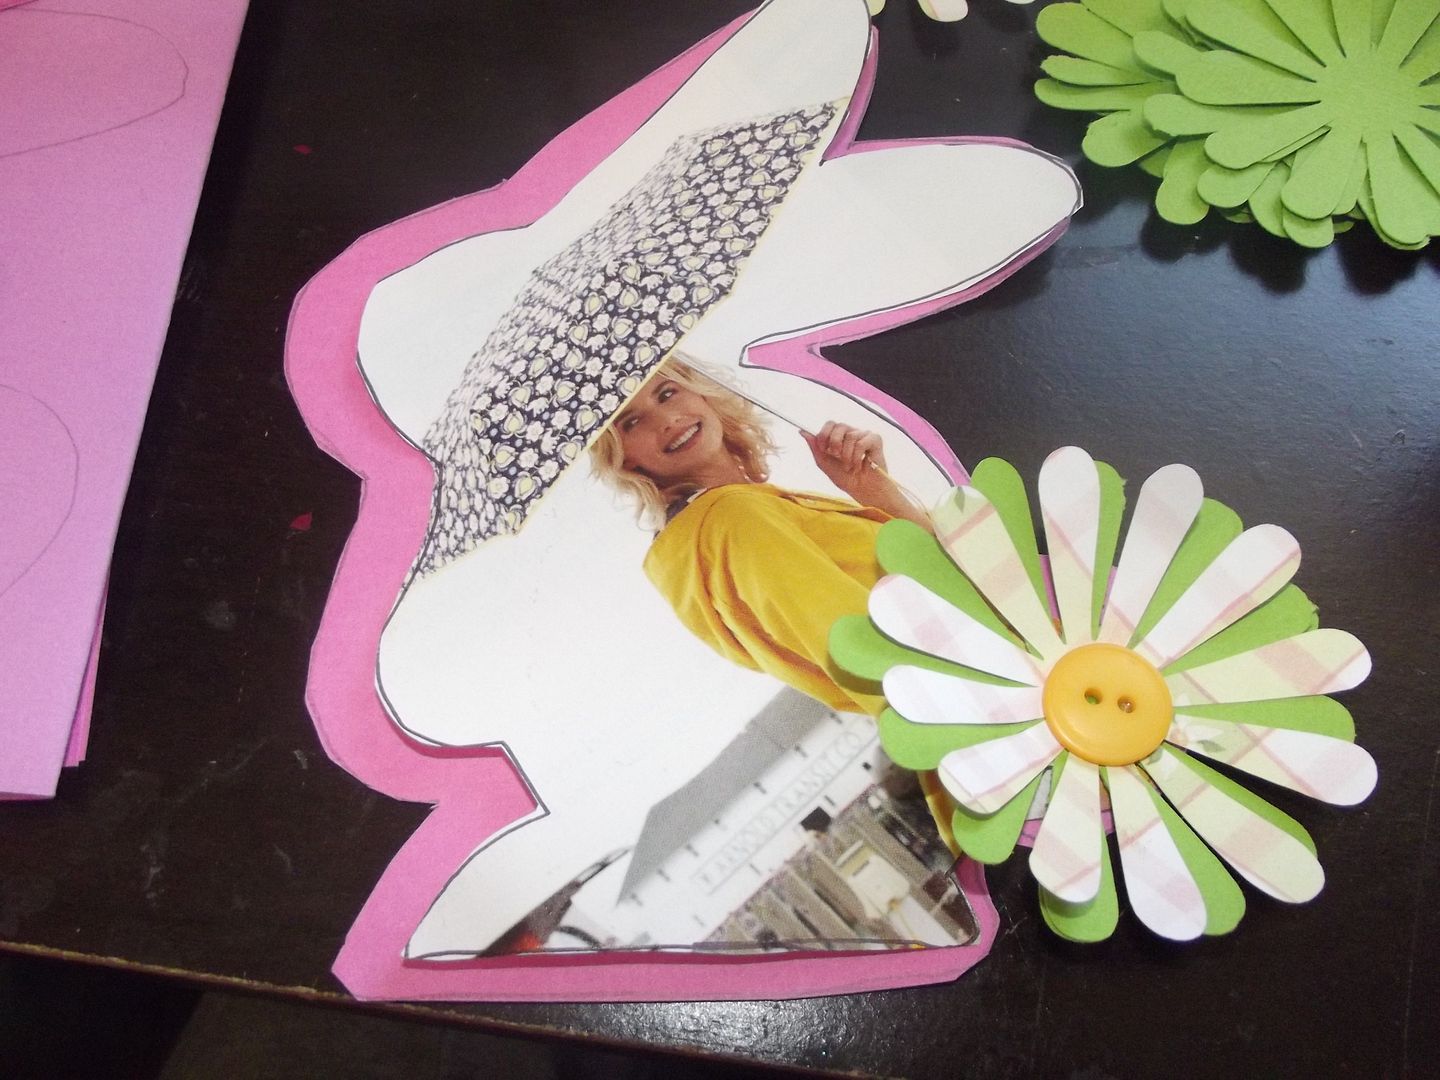
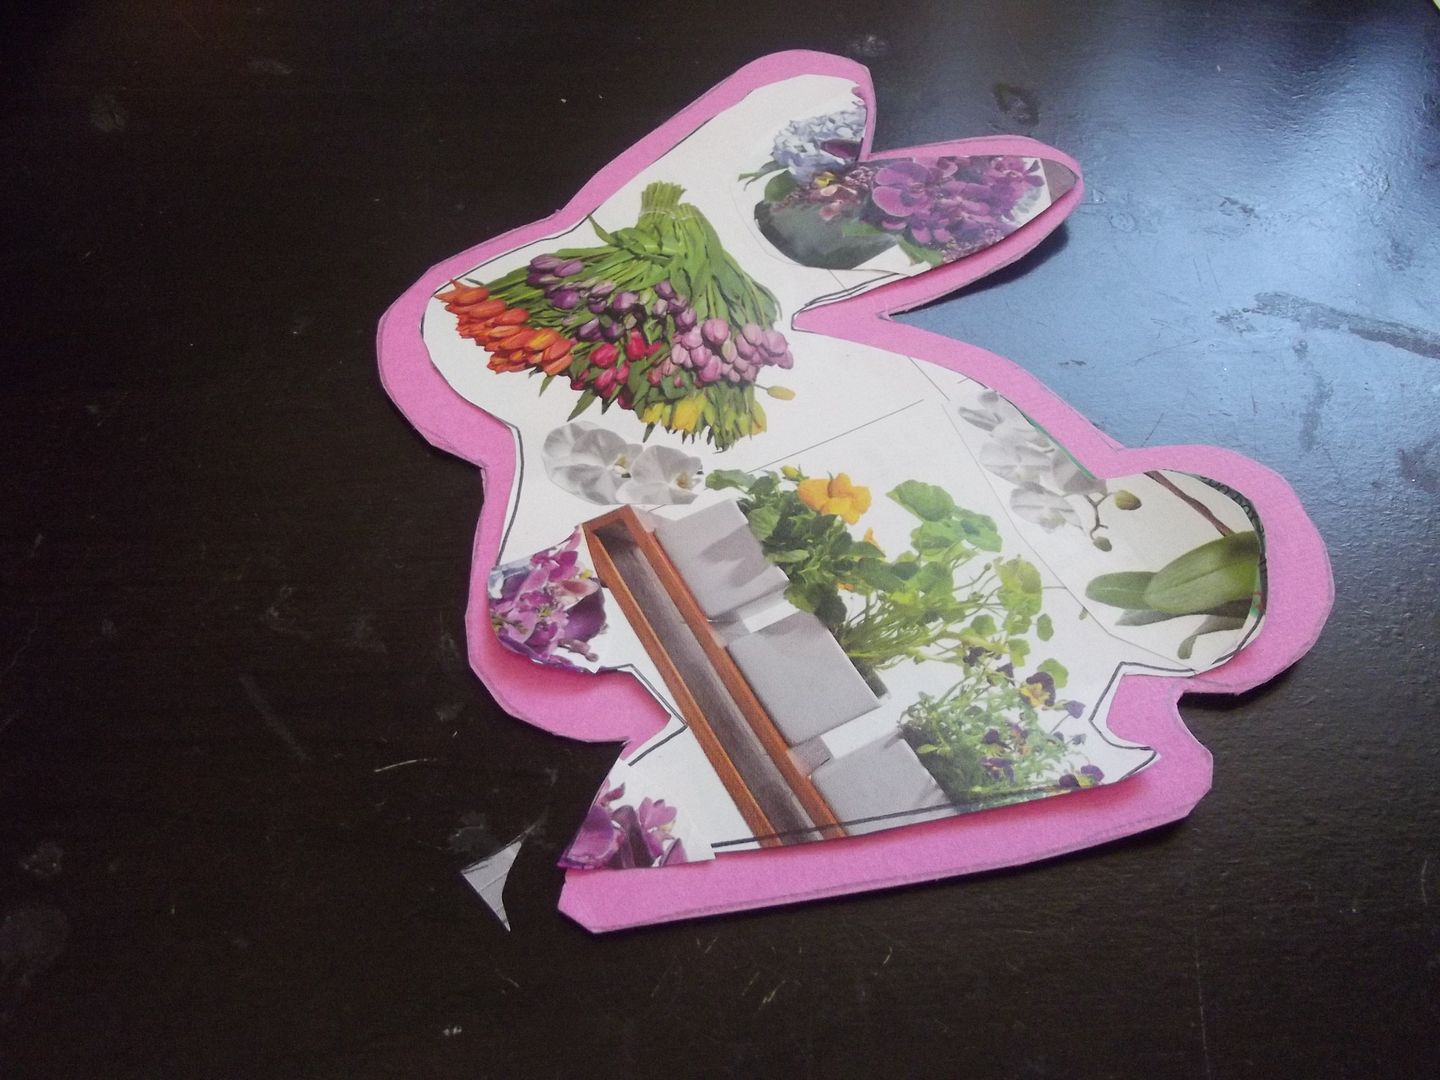
In the tutorial she typed a page of spring related words in different fonts and printed them out. I decided to cut magazine pictures instead. Cute stuff, right?
Attach Bunnies

Now just glue your spring words/picture bunnies onto the cardstock bunnies.
Flowers Flower Close-up
Finished Flower

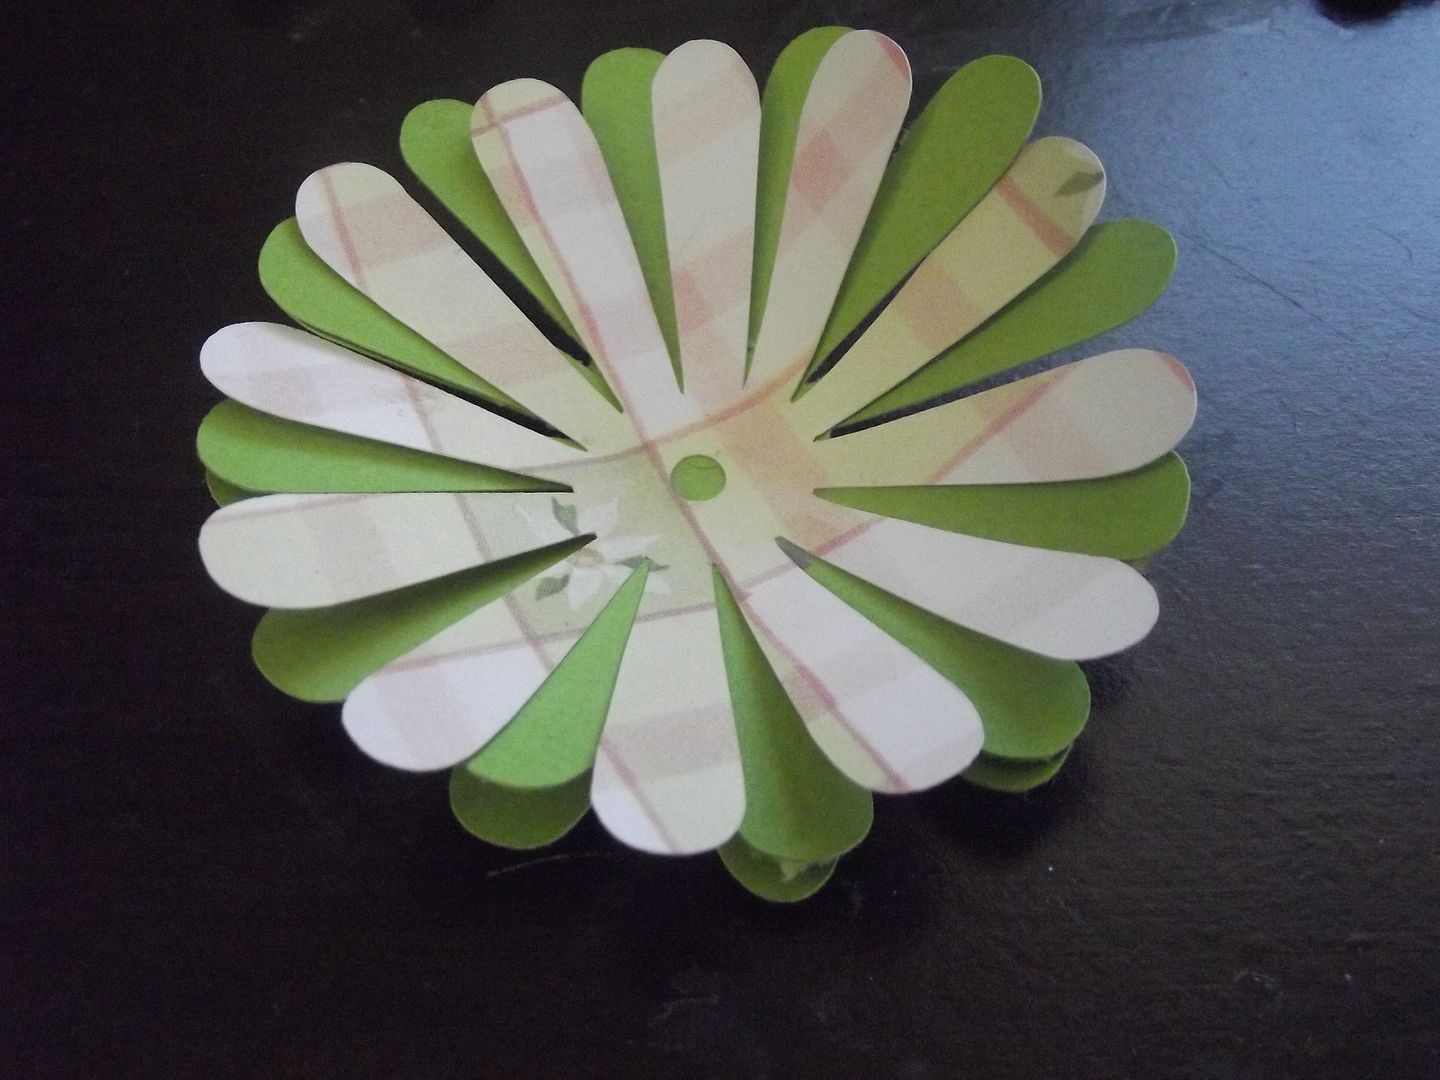
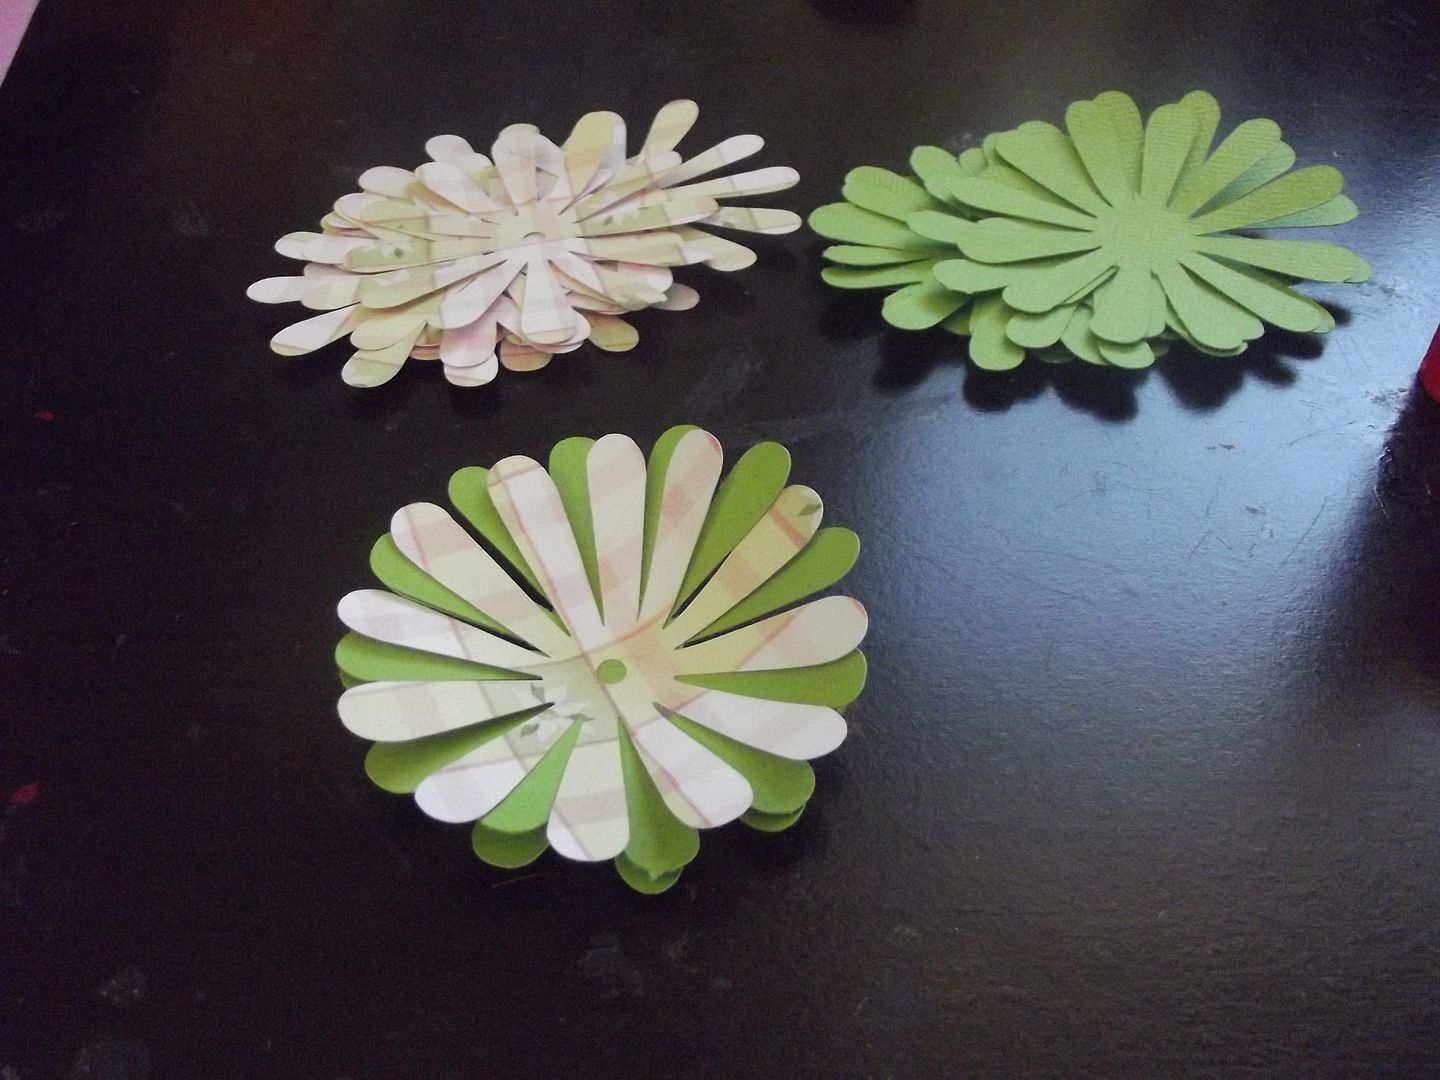
Now for the banner bunnies to get their tails. I copied the tutorial exactly on these. I chose a pink patterned scarapbooking pattern and a solid spring green cardstock. I used one of the stock patterns in my Sillouhette software to cut 8 flowers on each paper. Once I had 16 paper daisies I glued them together alternating which color was on top. On my banner all the pink bunnies have patterned petals on top and all the purple bunnies have green. Once you've assenbled a tail for each hoppy friend, add your buttons to the center. I used yellow and cream colored buttons. Fabric glue works best for adhering them. Make sure to give the flowers ample drying time before you movie them around. Once they're dry bent your petals upward.
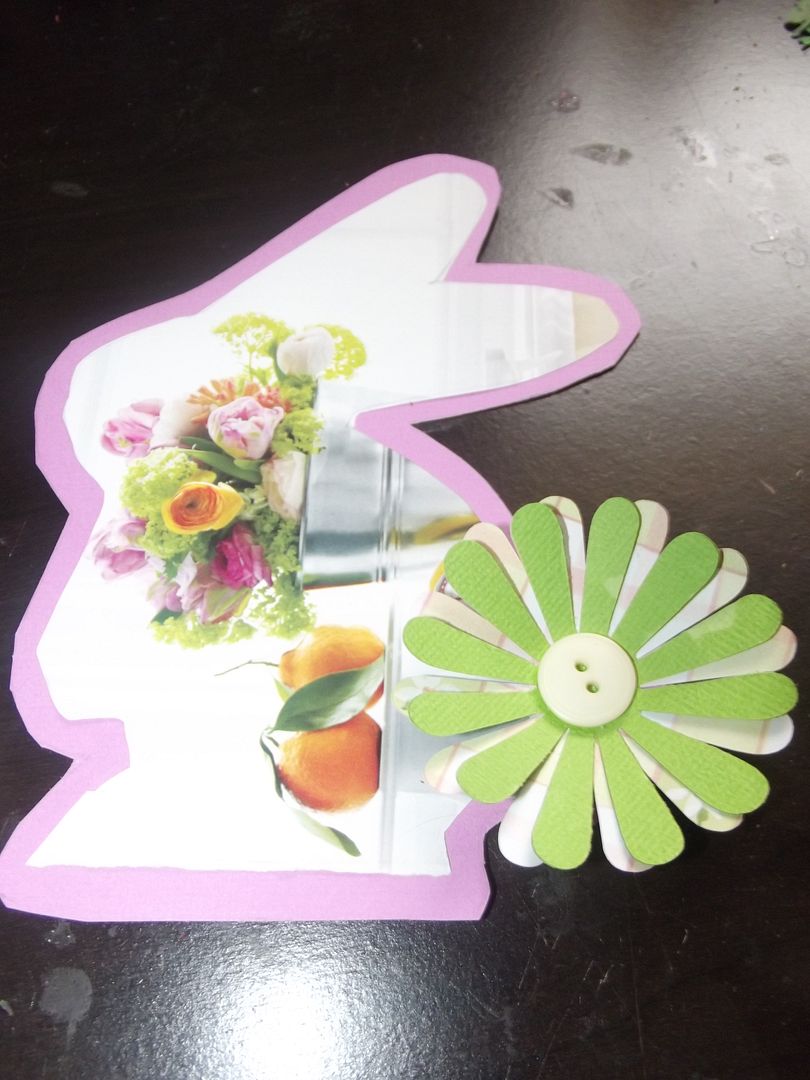
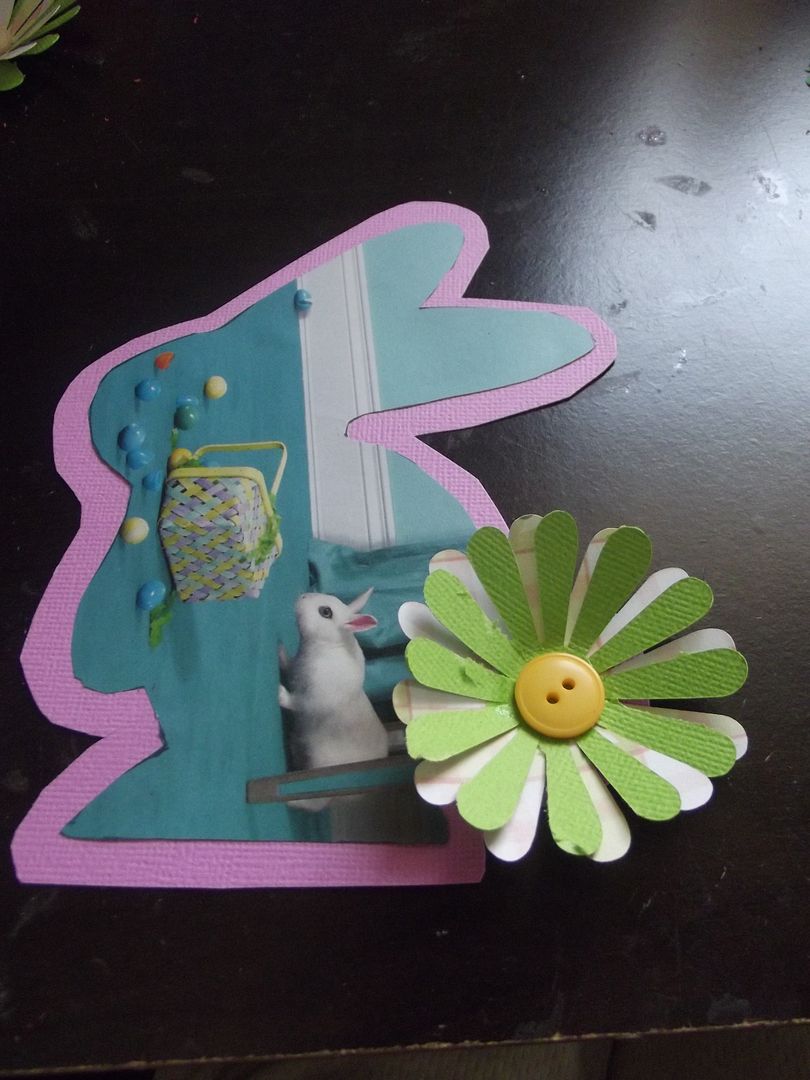
Finished Bunny Finished Bunny 2
Strung Bunnies

Add tails to your bunnies than punch your holes. I used a wide violet ribbon to string mine.
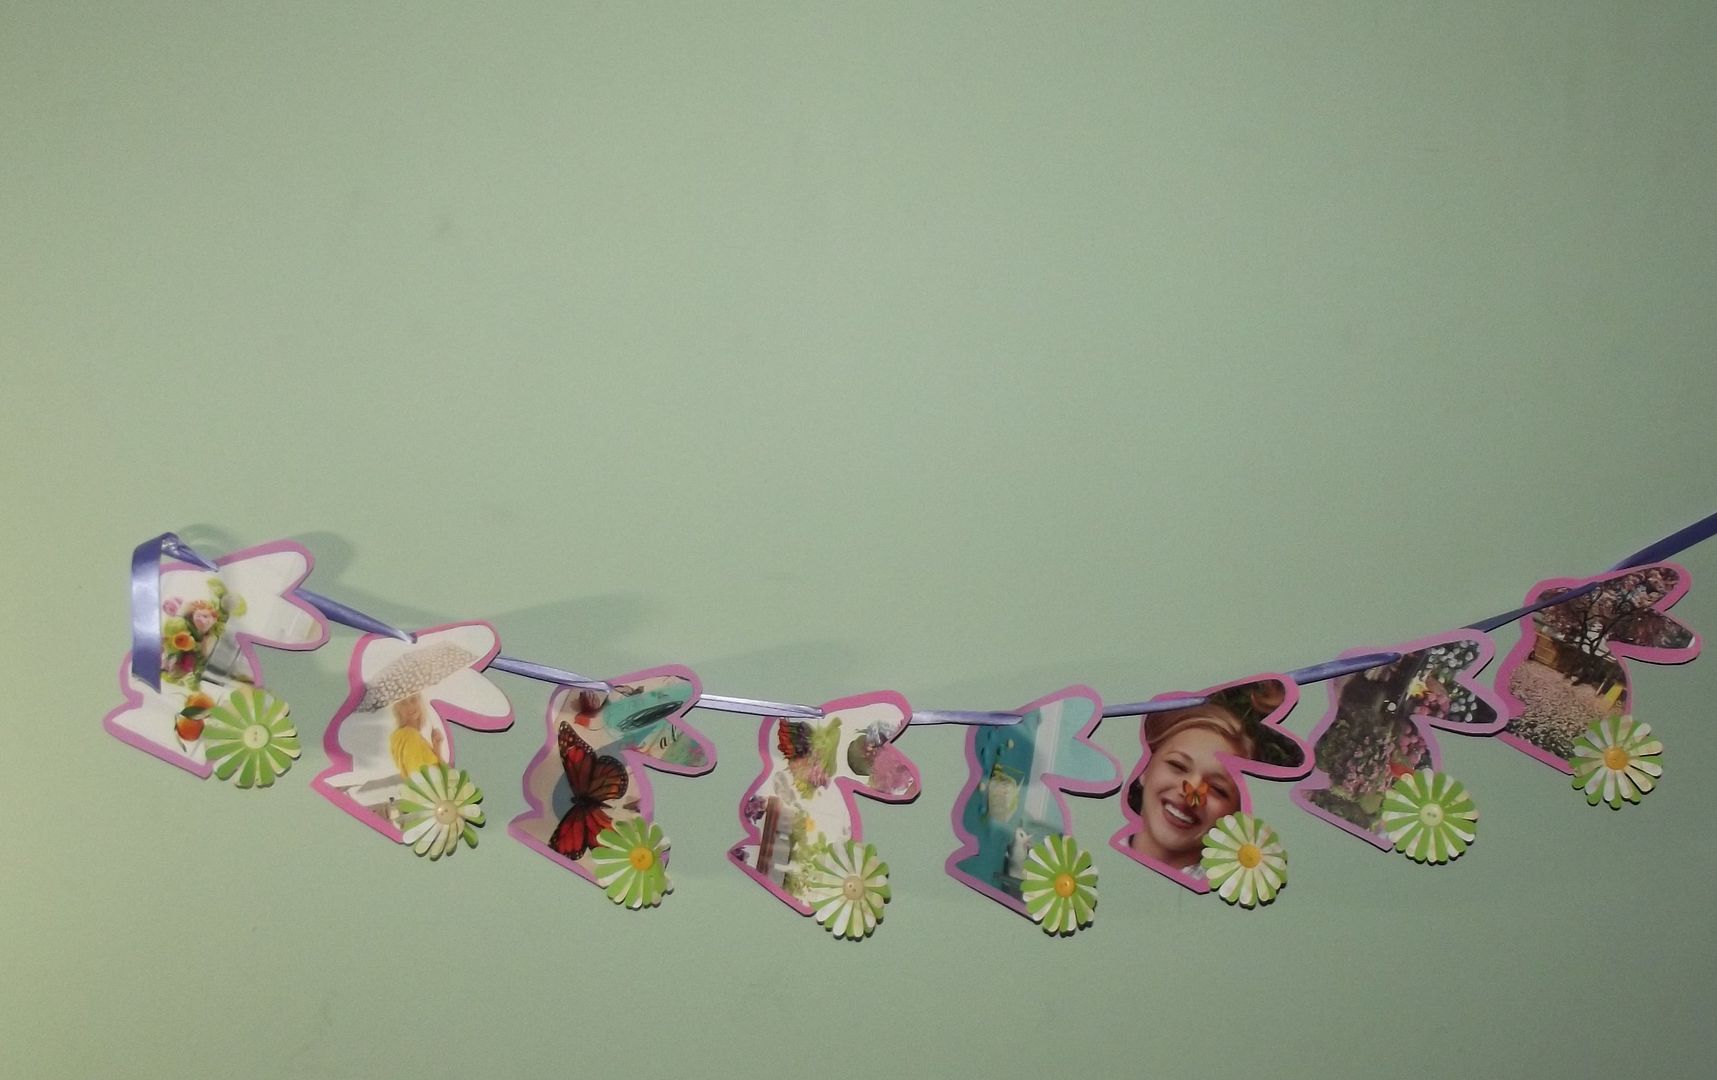
Finished Bunny Banner

Ta-da!

Saturday, March 9, 2013

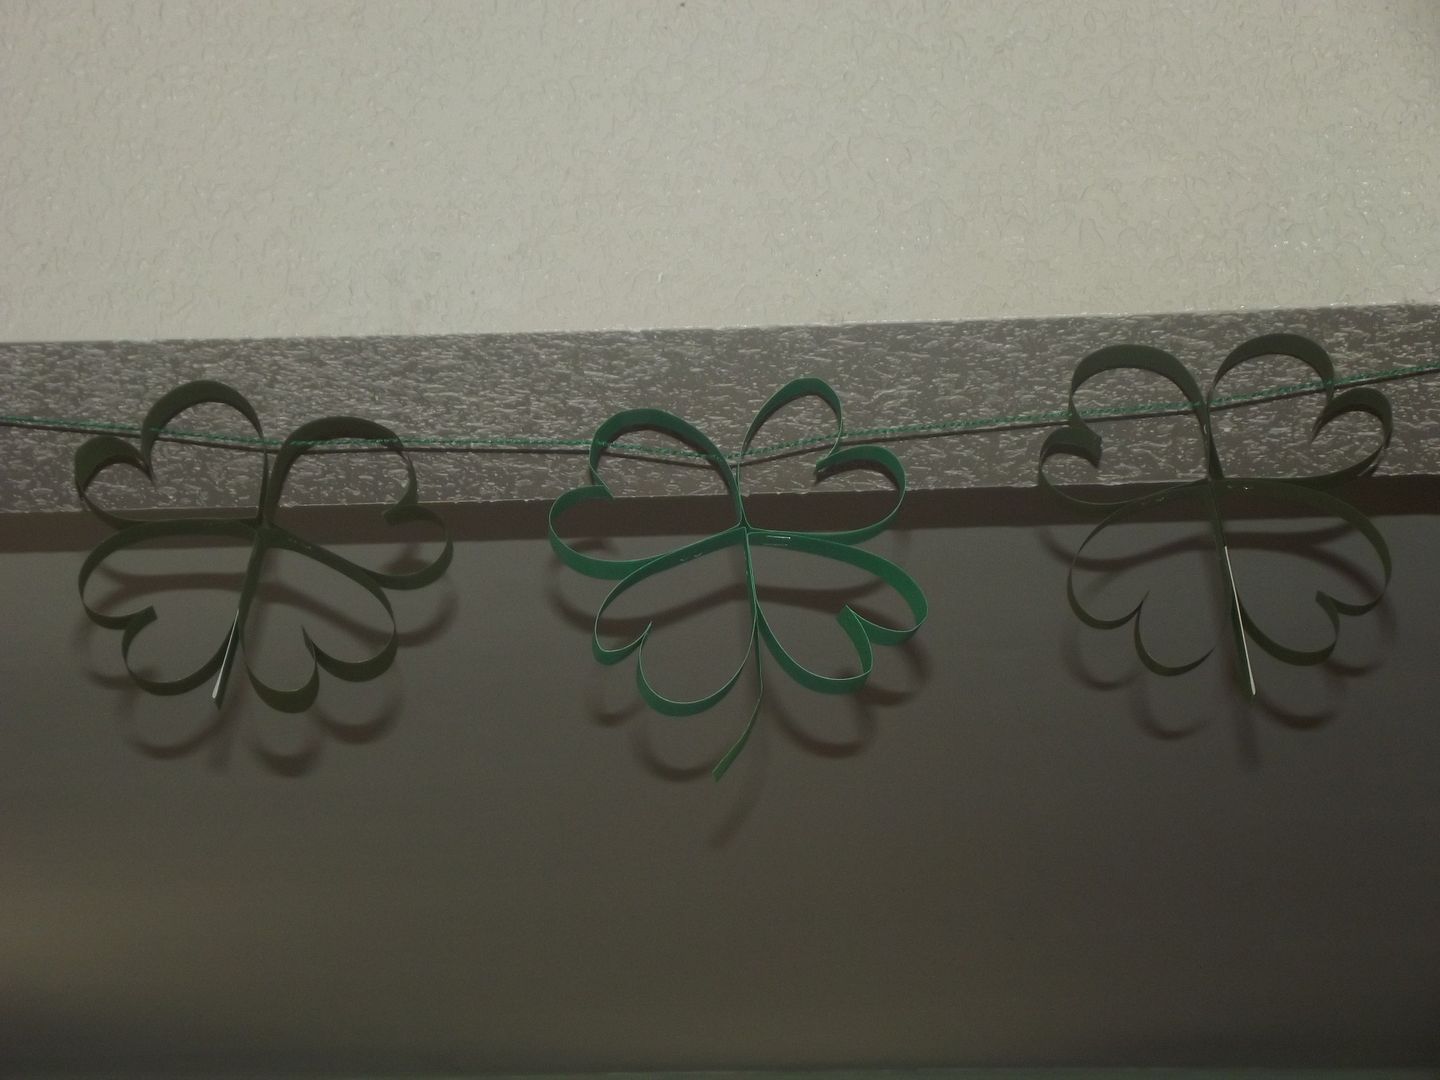
Paper Shamrock Banner

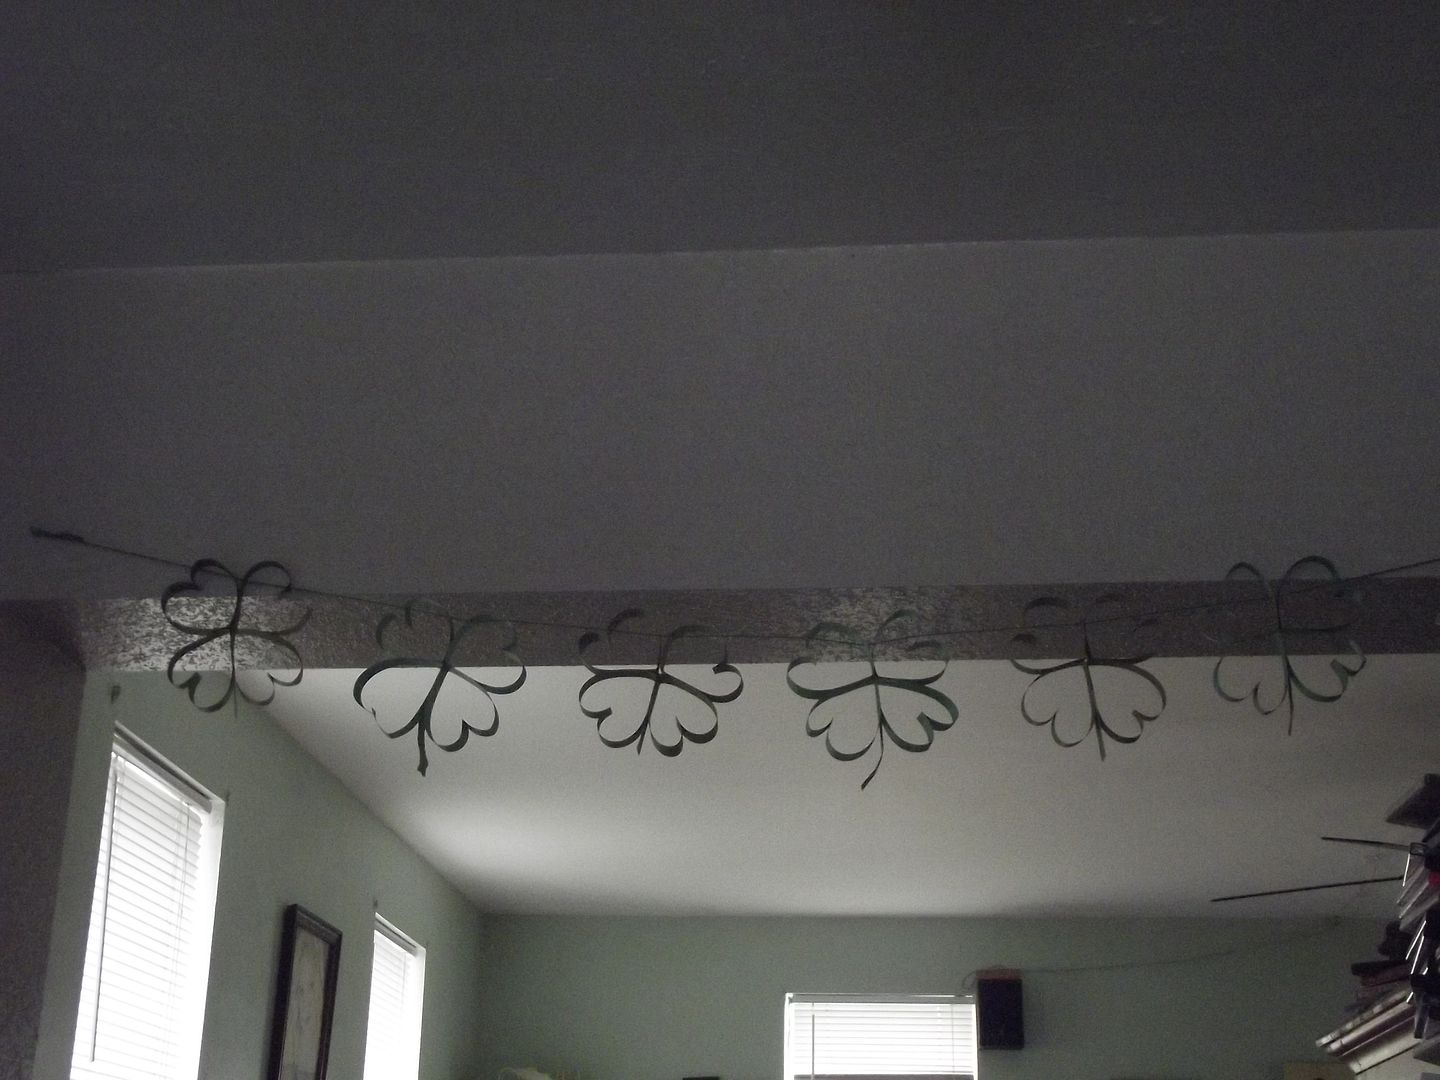
Crafty time? Heck Yeah! This crazy timing with Easter right on St. Patrick's Day's heels has been inspiring me to make decor. I decided I wanted to do a simple banner for the infamous archway. Here's my Pinterest inspiration: Click.

Materials

  • Green Cardstock
  • Cutting Board/Scisors
  • Stapler
  • Gluestick
  • Crop-a-dile/Hole Punch
  • Green Yarn/Ribbon
  • A little o'ye Irish Spirit
Cut Strips

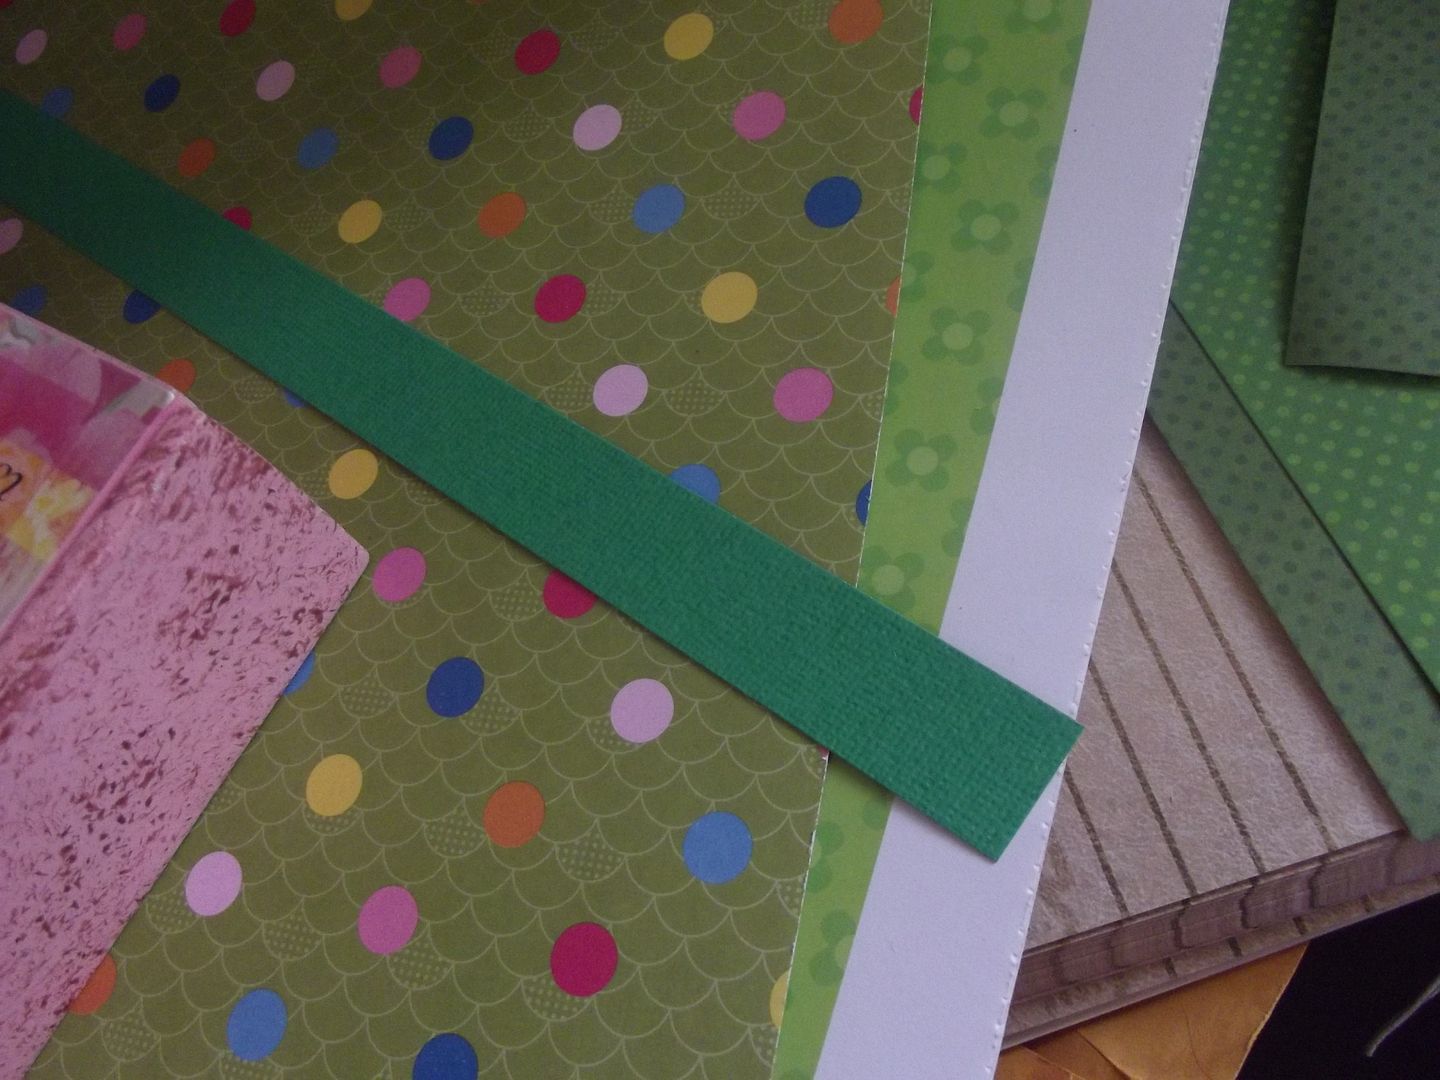
I chose a kelly green and an olive green card stock to make alternating colors of shamrocks. I highly recommend using double sided paper like I did to avoid all the white showing in the Pinterest example. I cut my strips approximately 1.5in wide. You need 4 strips for each Shamrock.

Fold & Staple Hearts

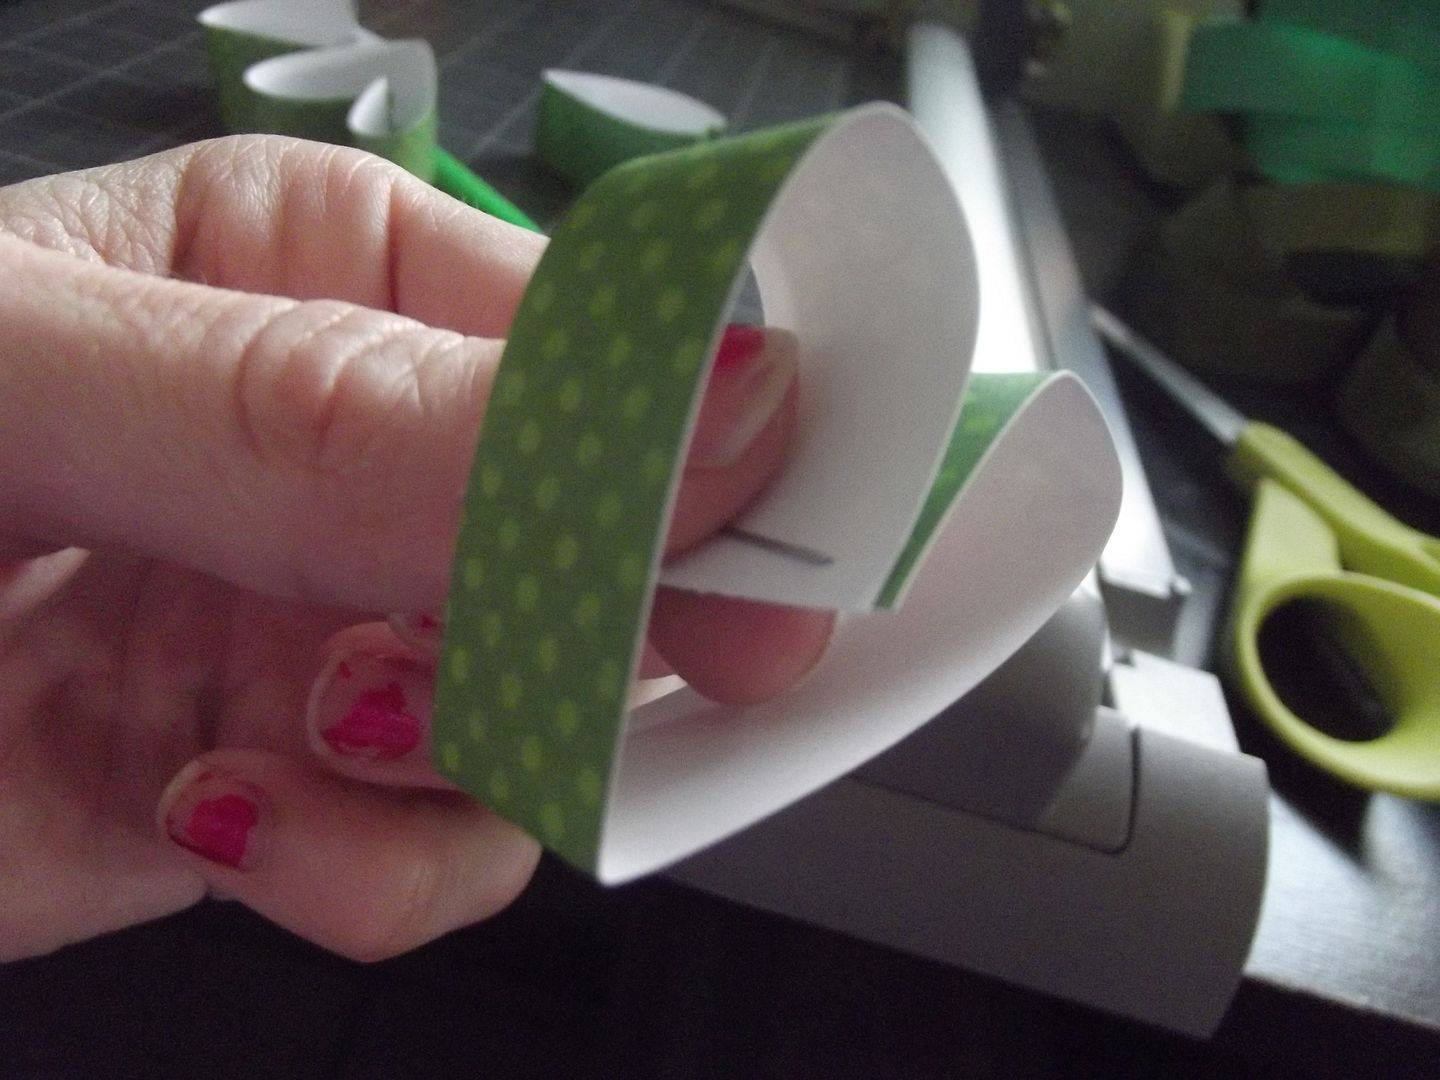
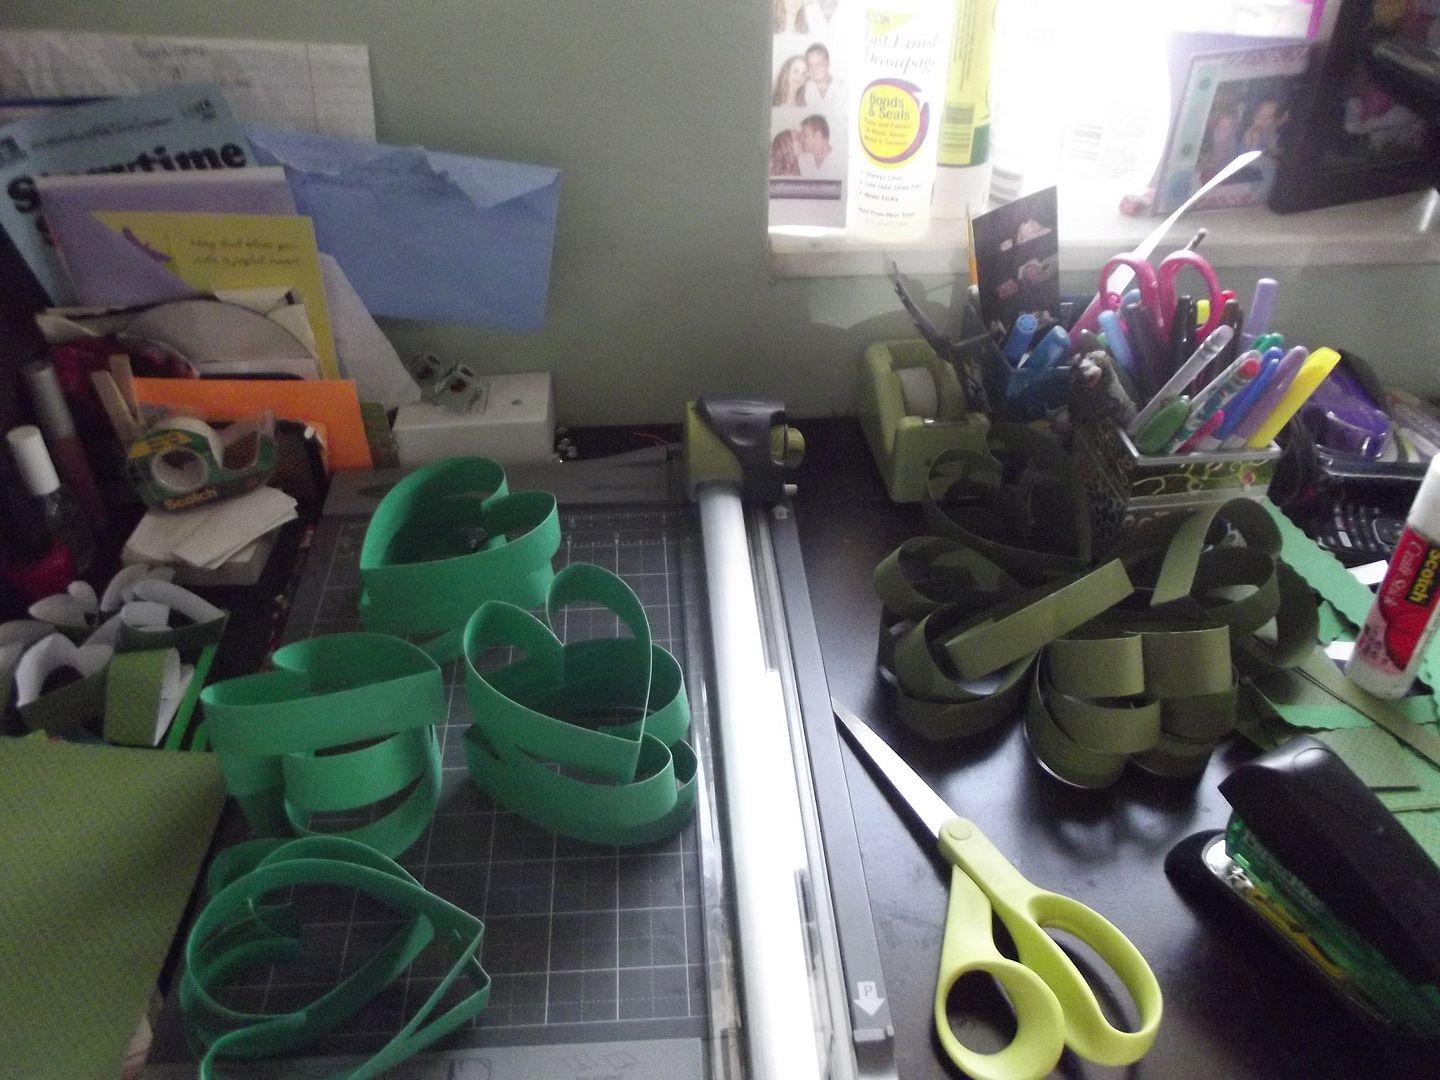
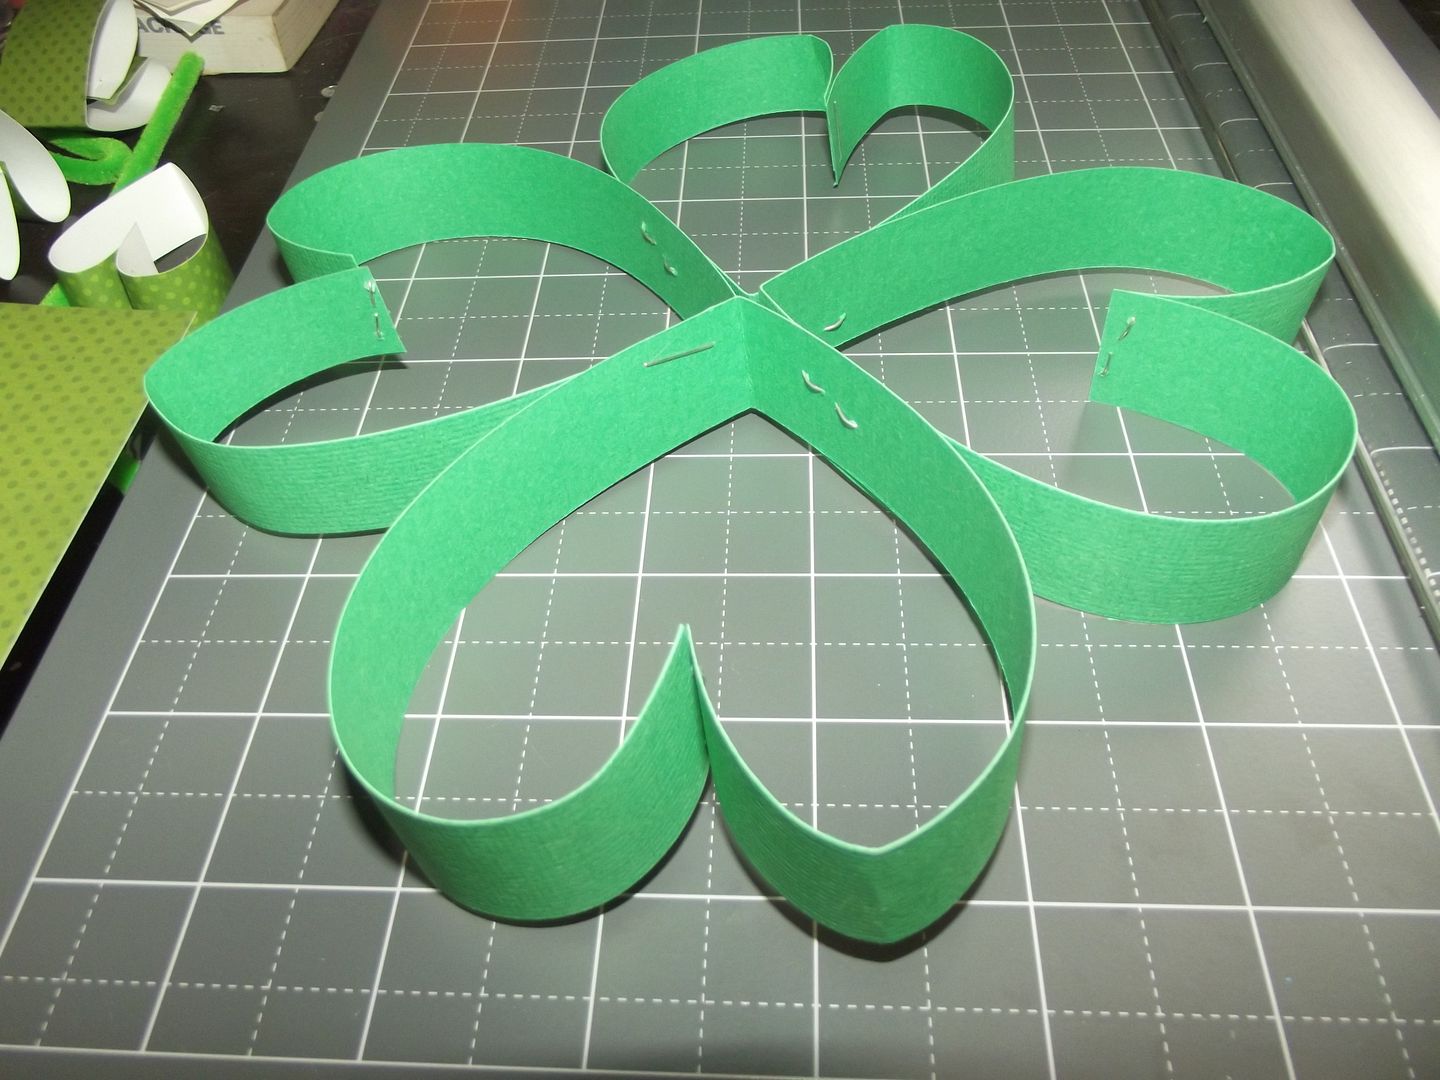
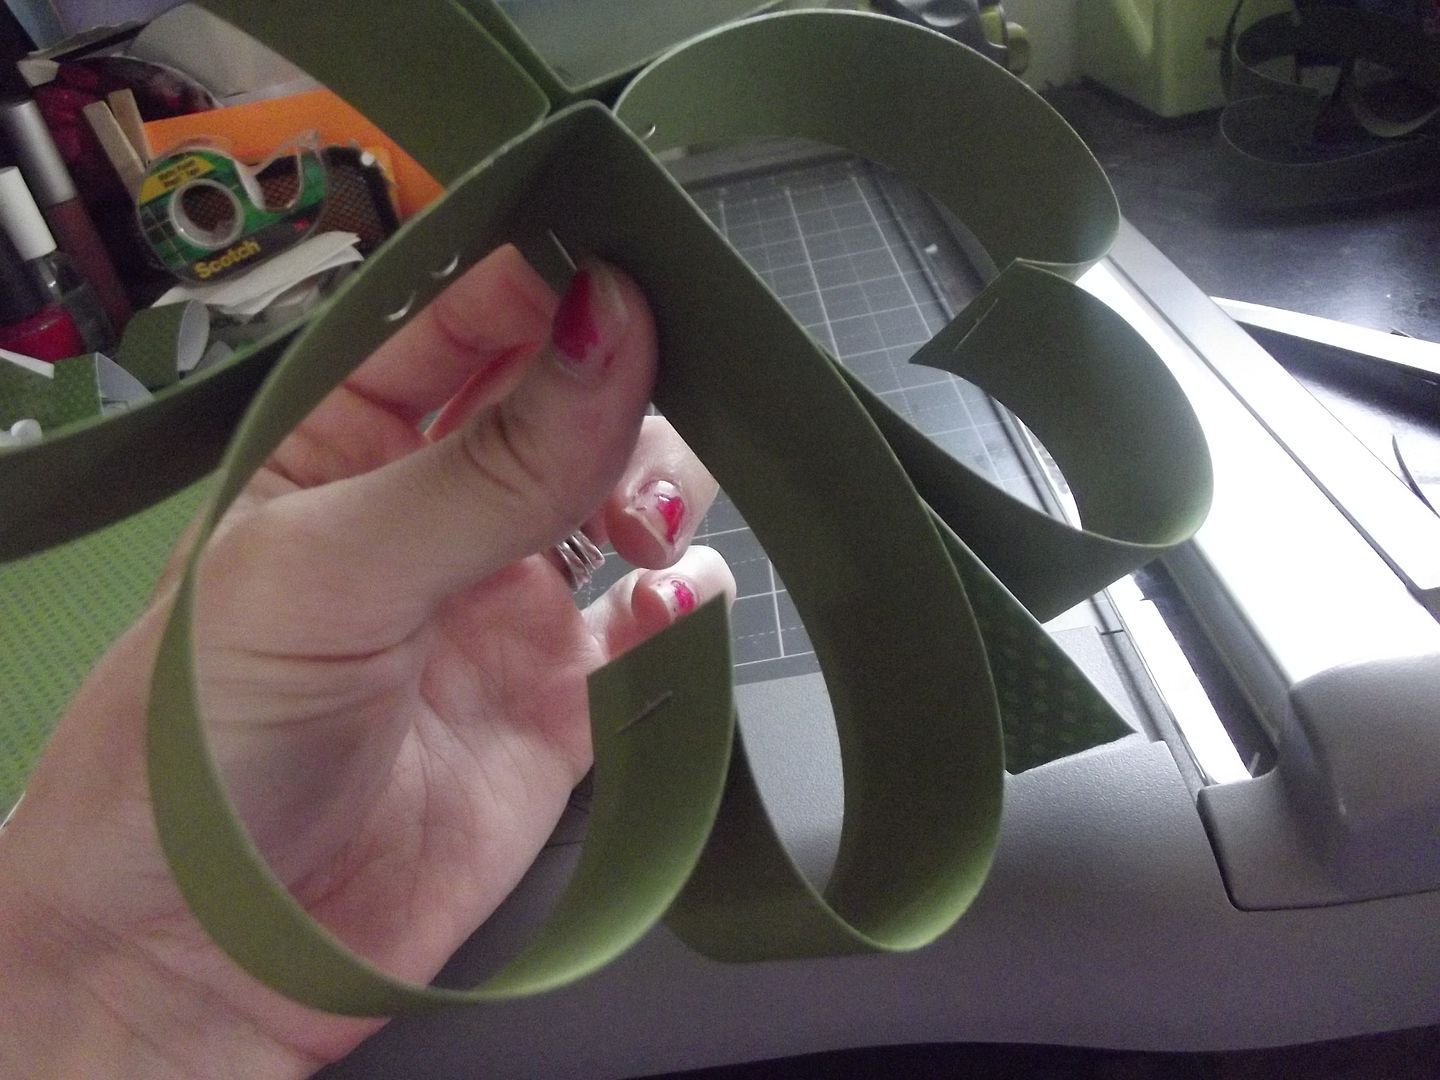
Now you fold your strips into heart shapes. Fold the paper in half (paper will form a V shape when un-folded). Then you fold the top ends in towards each other to form the top of the heart. The first picture was a test I did with patterned paper (you can see why double sided is best for this project). After you've folded your shape just staple once as indicated in the picture. The second pictures shows you all my finished hearts.

2 Hearts 3Hearts
4 Hearts

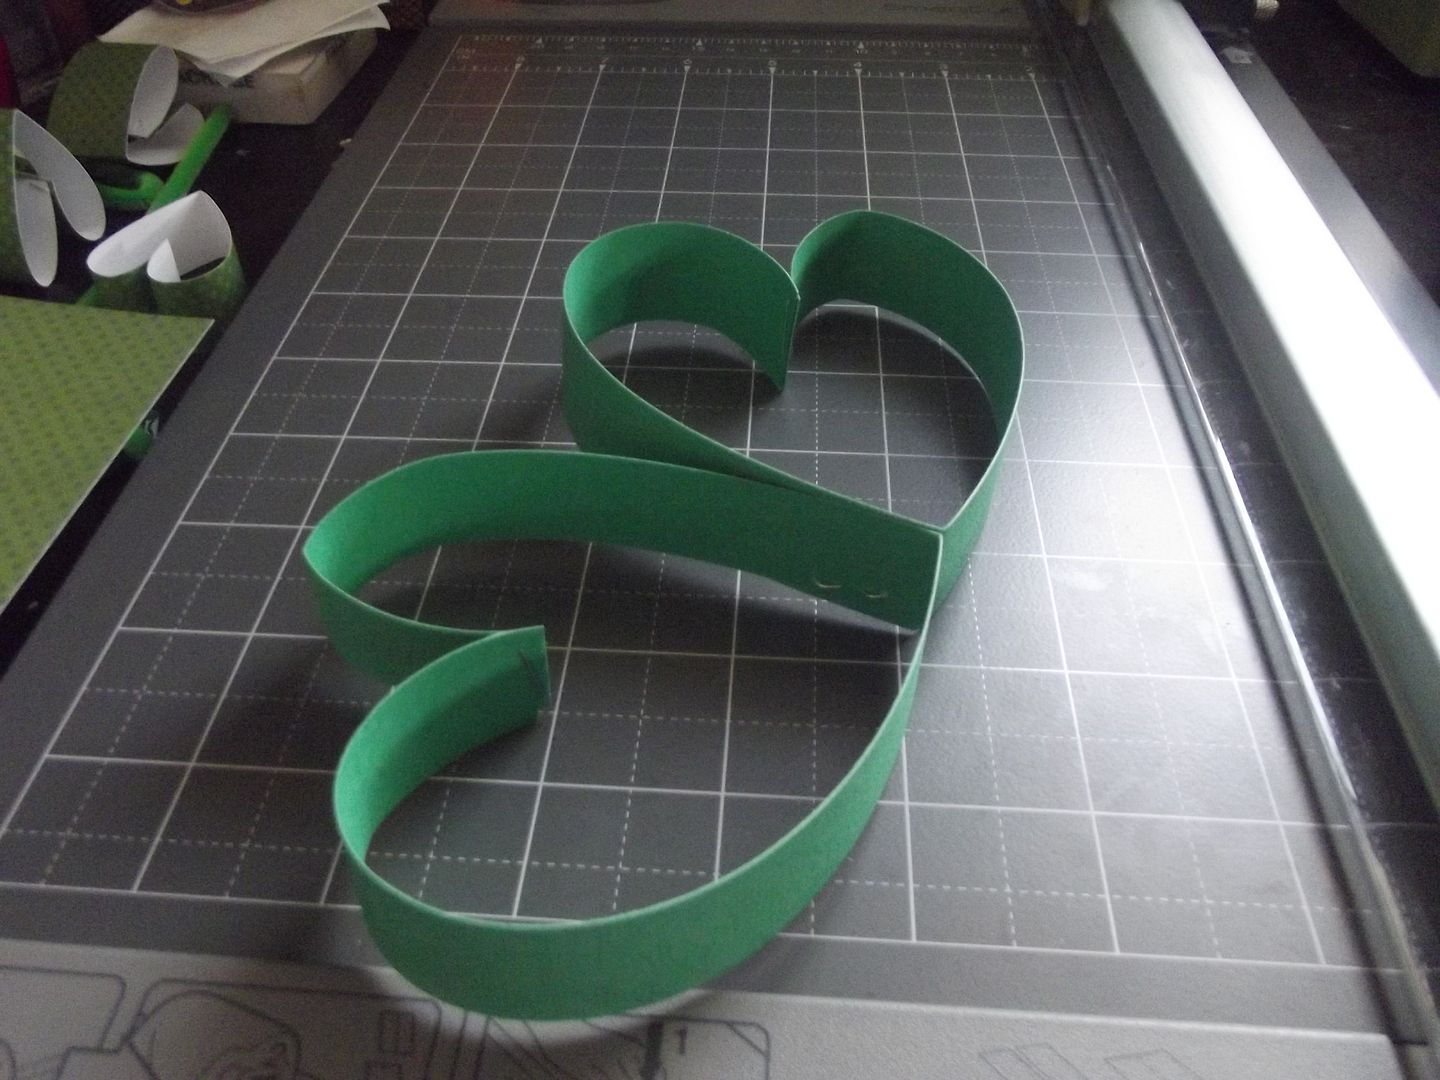
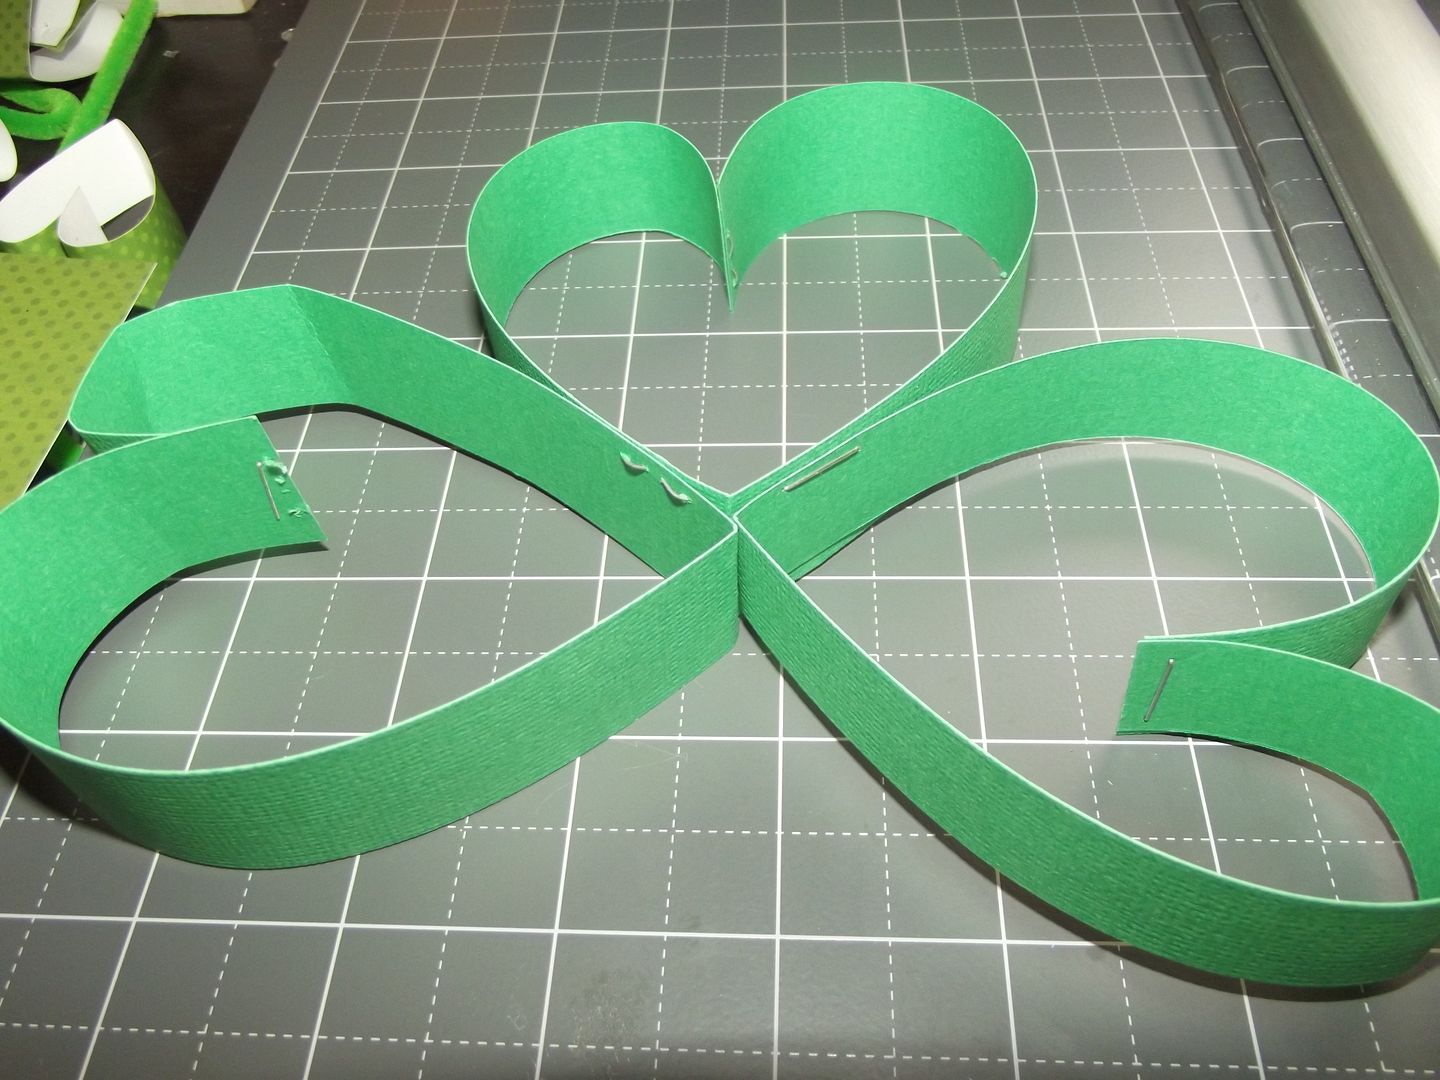
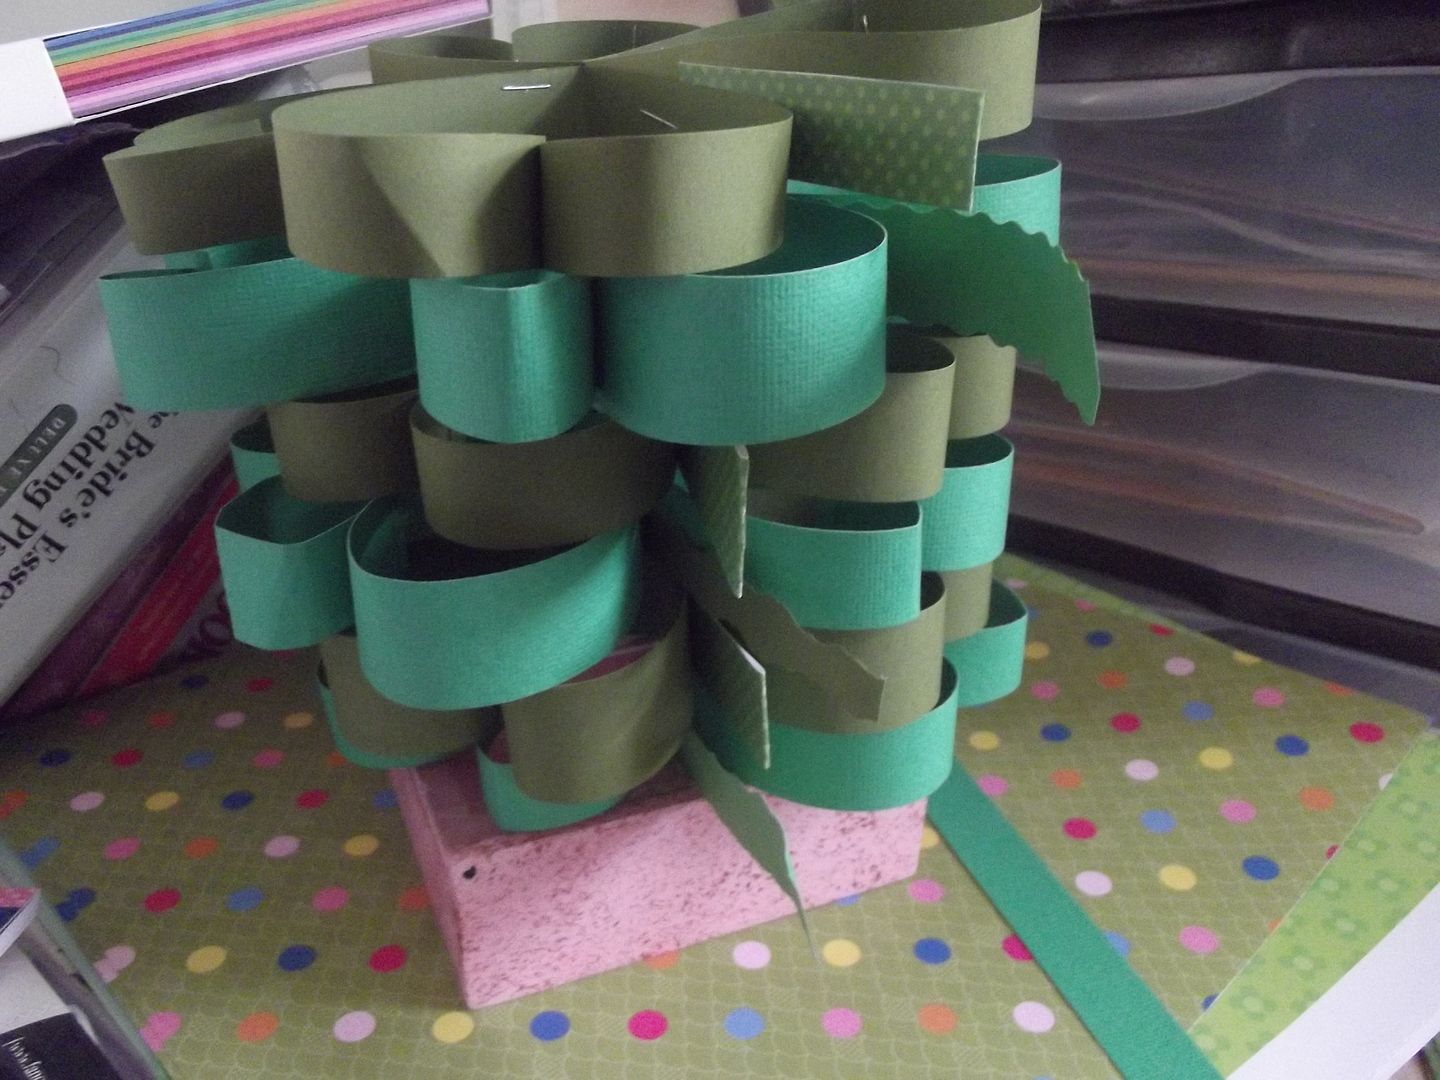
Now attach your hearts together in groups of four. Staples work best.

Stem Finished Shamrocks

After I assembled the leaves of each shamrock I added a stem. I used patterned paper or green paper that I used a paper edging scissors on. I just folded the paper in half, put glue on both sides, and then slid it into place and squeezed the hearts together.

Scissors and Yarn Close-up

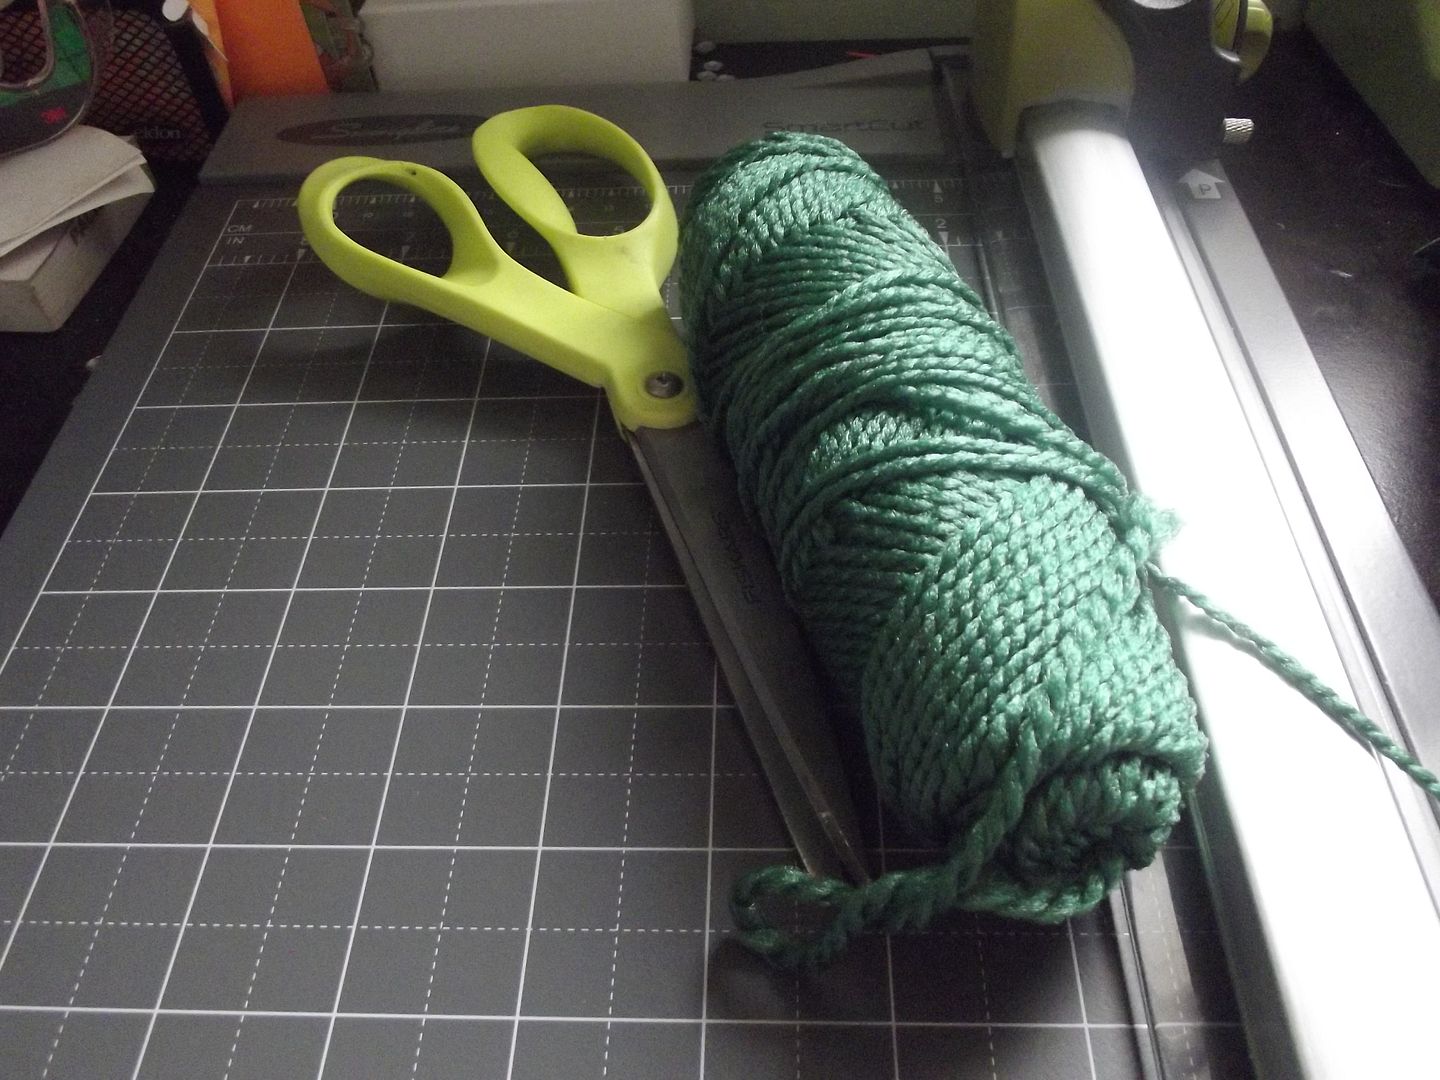
Next punch a hole in the "V" at the top of the heart, the wall the hearts share and the the "V" of the second heart. This hole configuration helps the shamrocks keep their shape. String them with whatever yarn or ribbon you choose. I liked my simple.

Finished Banner

Wednesday, January 23, 2013

Heart Banner

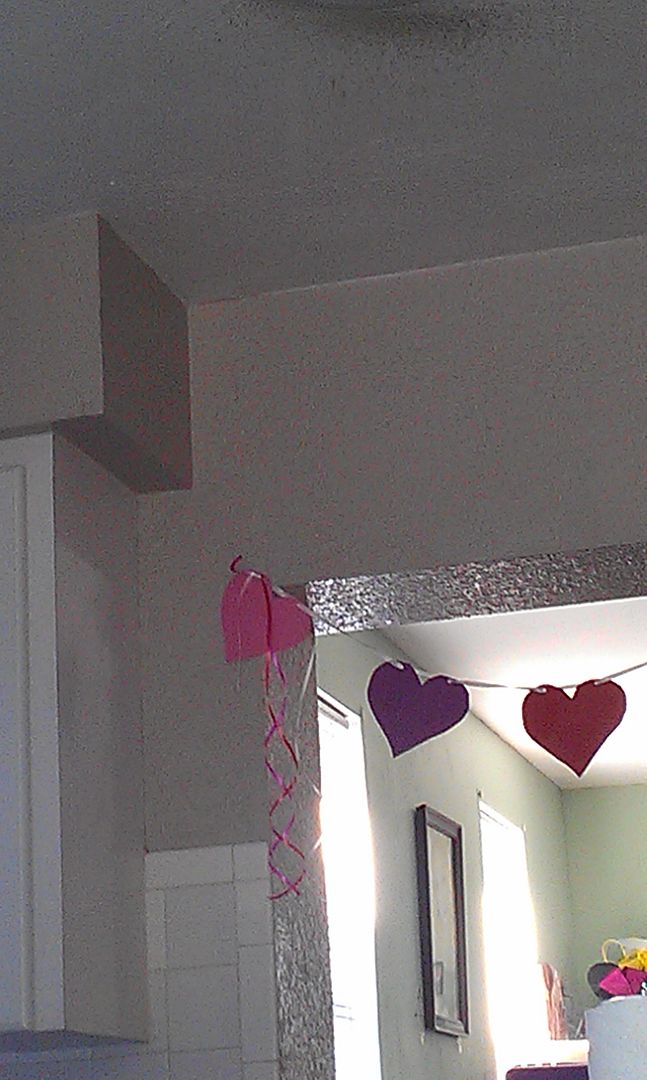
I have an archway between my kitchen and living room. For most holidays I have a pretty sign or festive garland of some sort for that spot. I like to display things there because you see them as soon as you walk in the door. As it turns out when Riley and I put up my Valentines decorations this year we had nothing for the archway. It also happens (sniff) that this is the first year Miss Roo opted for store bought cards for her friends. Here are some of my past creations: Valentines Shirts & Pillows, Heart Cards, and Punny Raisins with Cards. I'm a little relieved to have the pressure off, but I'm a little sad that she's growing up and Mom's homemade cards won't be cool much longer.

All that long winded back story to tell you, I decided to make a banner!

Materials

  • Patterned Card Stock
  • Scissors (or a craft cutter)
  • Cardboard Heart Template (or craft cutter template)
  • Crop-a-dile
  • Assorted Ribbons
  • Grommets, Glitter, Glue
Tracing Template Cut Out
Heart Stack

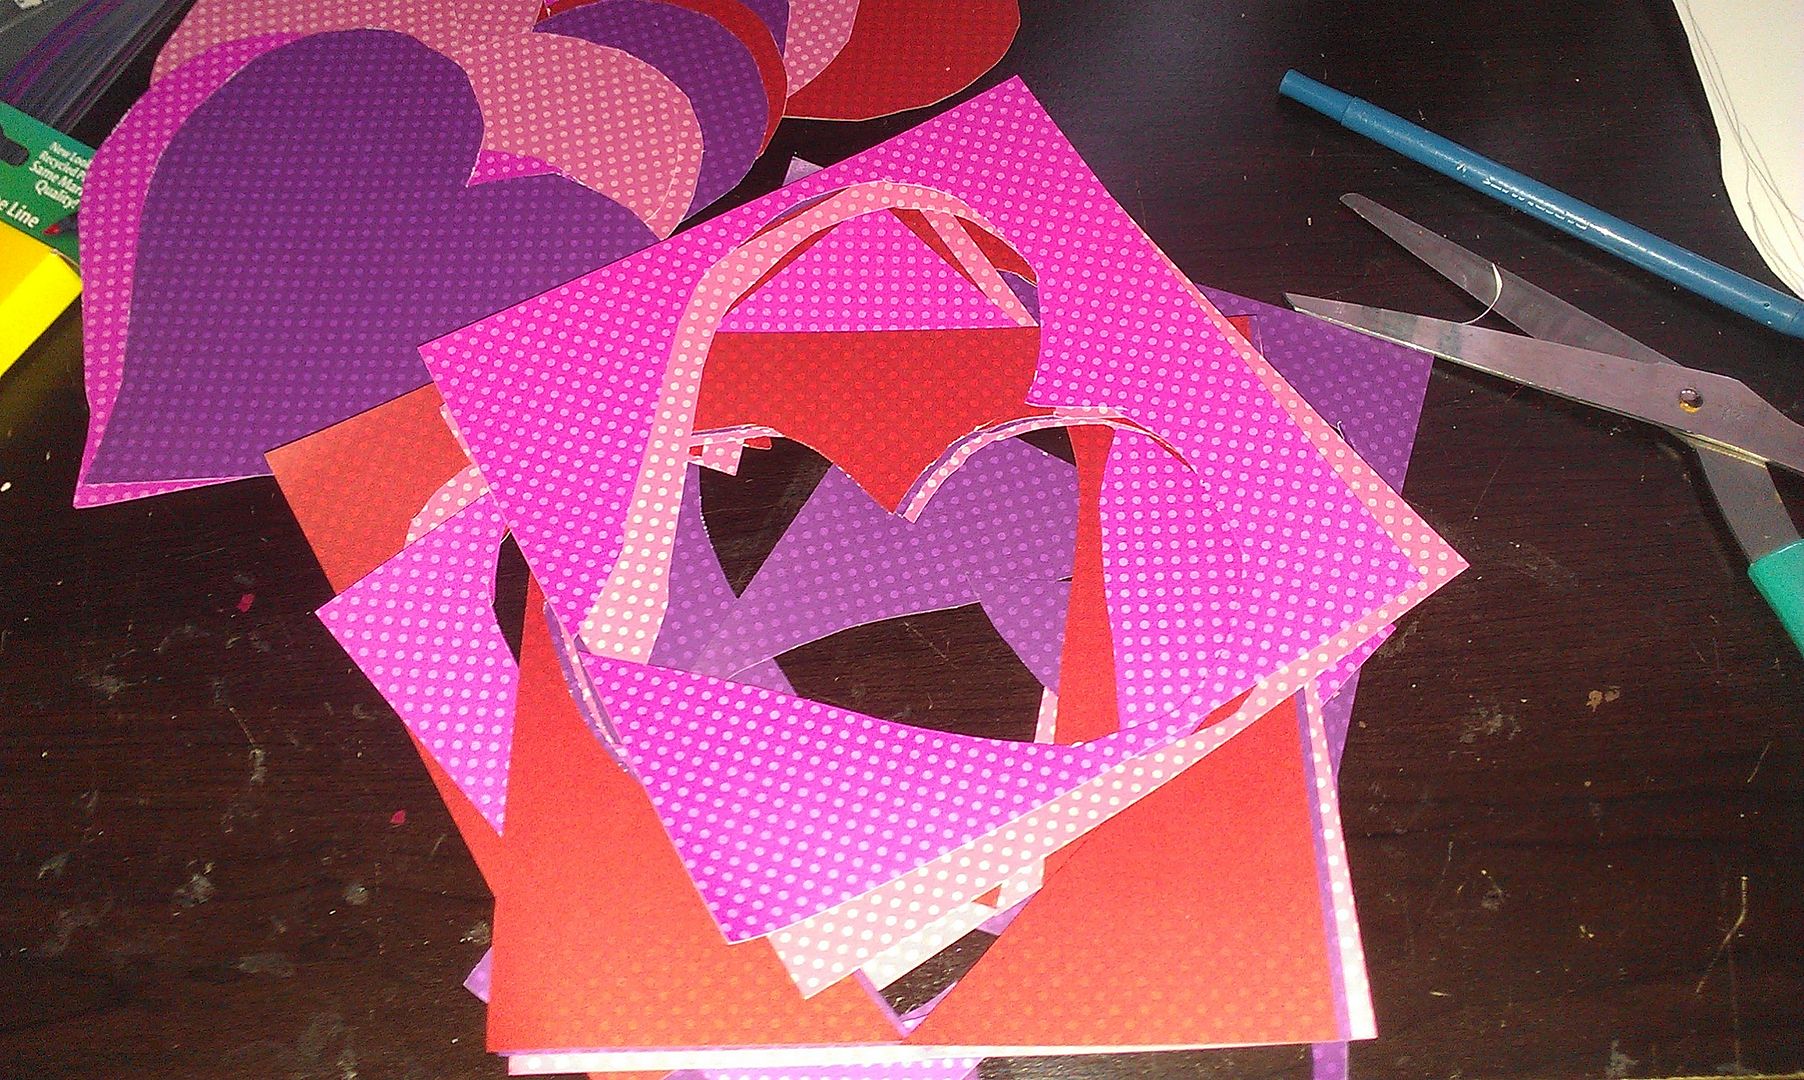
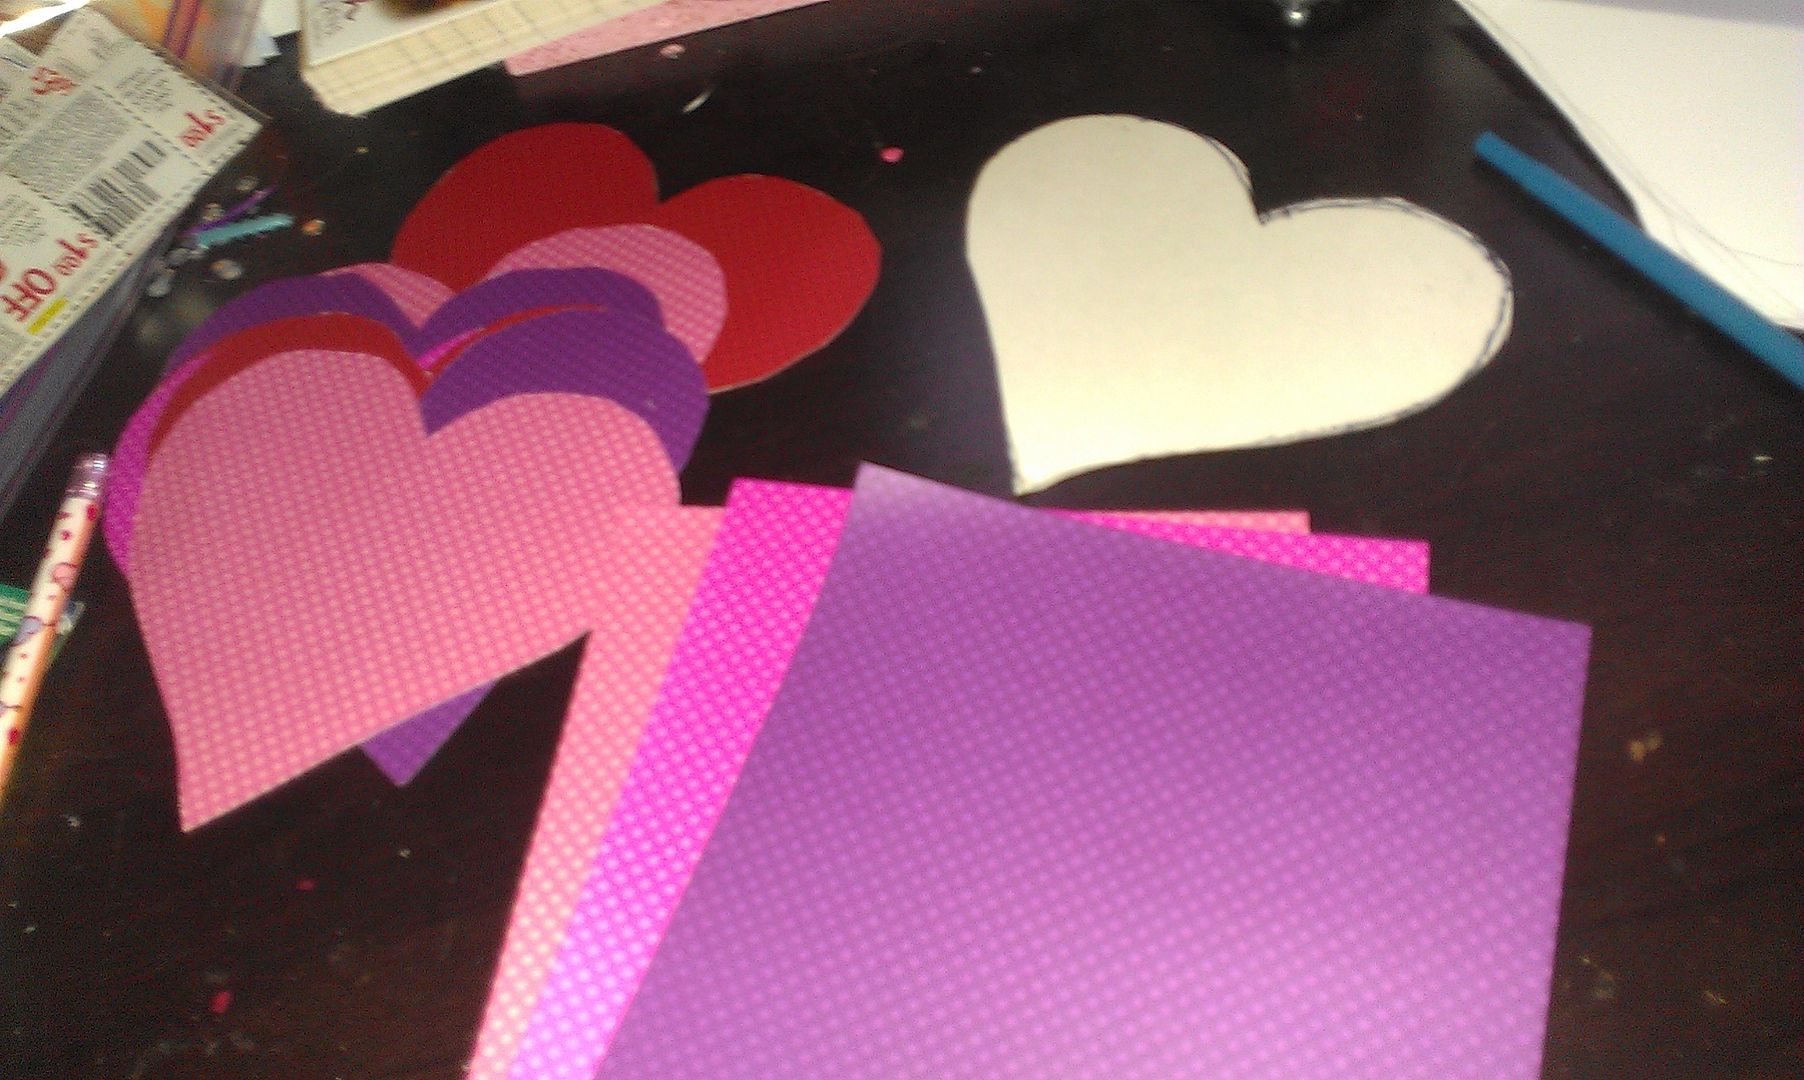
By all means fire up a set of hearts on your Silhouette or Cricut or what have you. I happen to have received a small square pad of polka dot card stock for Christmas. I was afraid to send such small paper through my cutter, but I loved the look. I also already had a heart template I saved from an old project. I printed a heart from an image search, cut it out and then traced it onto cardboard. Remember if your paper is one sided like mine trace on the blank side. Do you like my festive nails? Glitter and hearts!

Strung Hearts Hearts on Ribbon
3D Heart

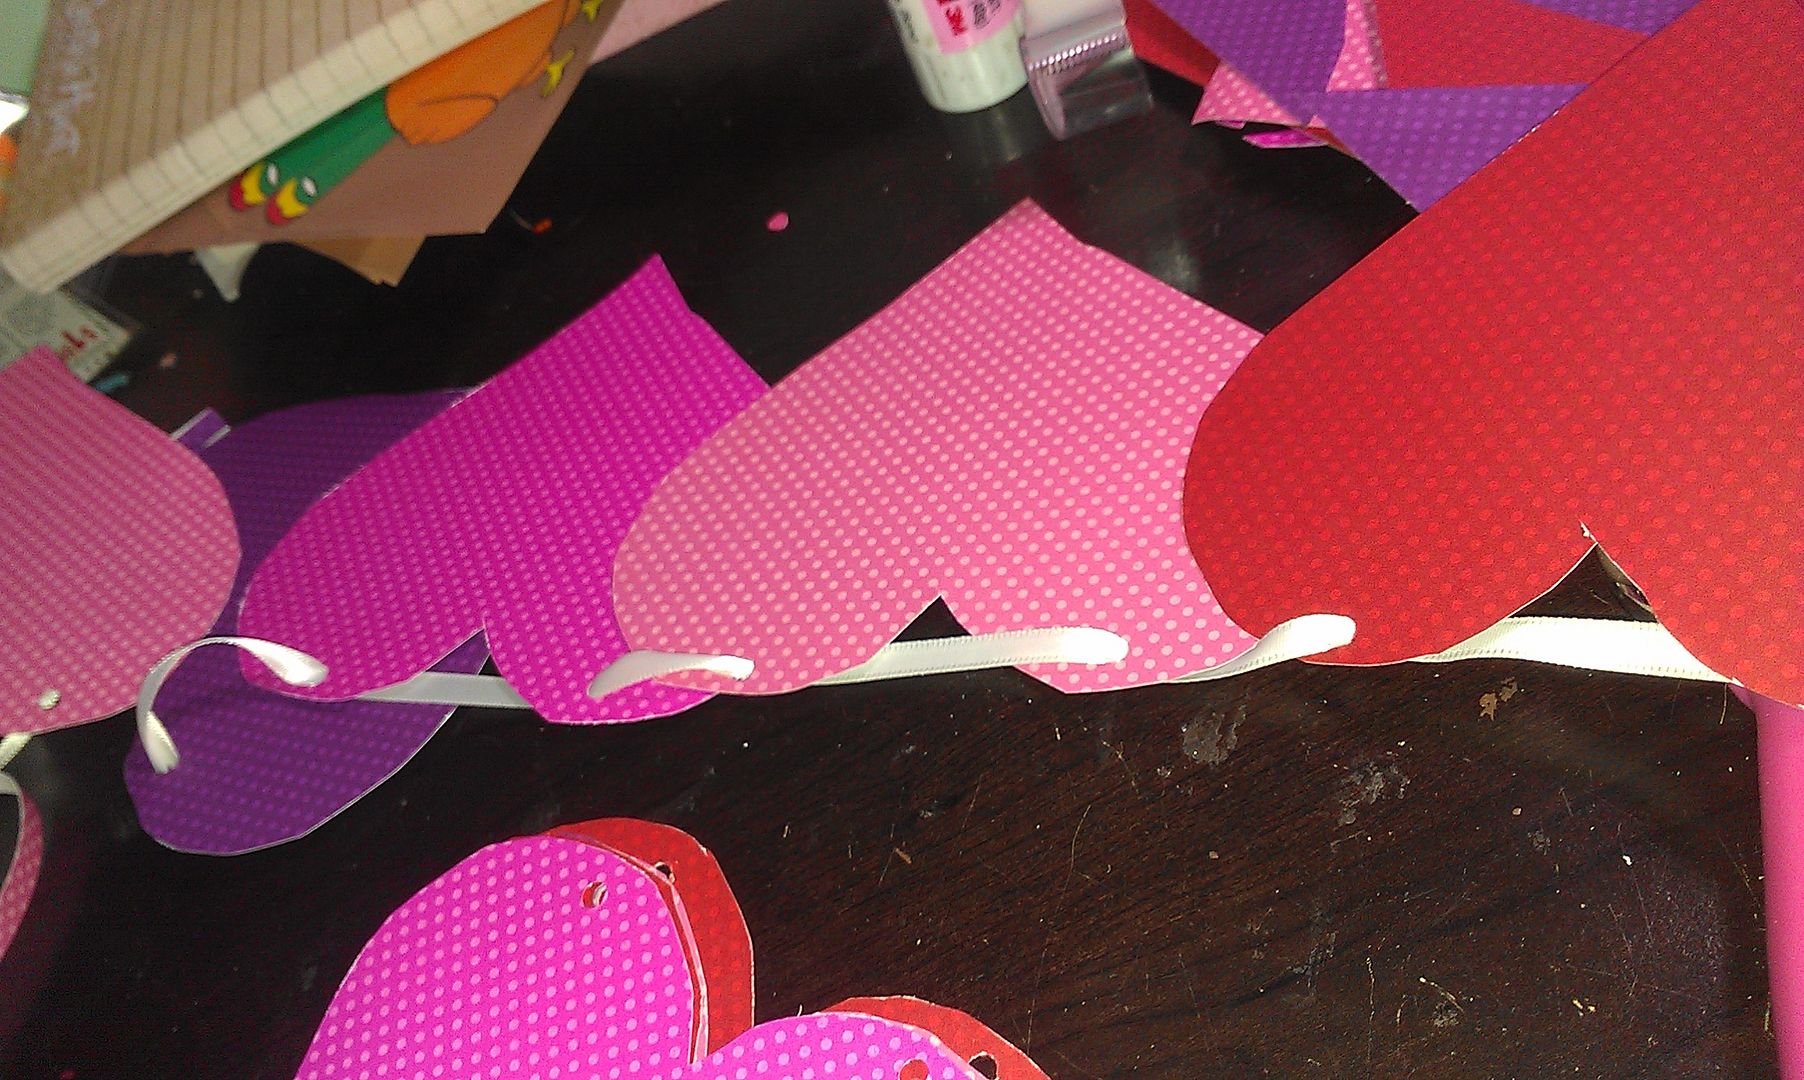
I punched through all my hearts in one stack to make sure the holes would line up. I opted not to add grommets, but depending on the look of your paper you may want them. They make threading the ribbon easier and decrease paper wear. I threaded my hearts in alternating colors. I tied my banner to the superyard and spaced out my hearts. I attempted to make 3D hearts from the scraps. They came out cute the problem was that they didn't work with my 2D banner (at least I don't think they did). I left them out.

Ribons Close Up

I did add red, pink and white curling ribbon on each end. I'm very pleased with the final product. Happy crafting!

Ribons

Thursday, July 19, 2012

DIY Very Hungry Caterpillar Banner

It's one of my favorite people's first birthday this weekend. Her Mommy decided to do The Very Hungry Caterpillar party. She made a big caterpillar out of painted plates and was planning cupcakes in a caterpillar formation as well. I decided to contribute a fruit happy birthday banner.

Originally, I was just going to cut out fruit on solid colored card stock, write the letters and then string them, but Mike suggested tissue paper decoupage so they'd look like Eric Carle illustrations. Genius!

Materials

  • Card Stock
  • A variety pack of tissue paper
  • Decoupage
  • Paint Brush (that you don't mind ruining)
  • Crop-a-dile/Hole punch
  • Scissors
  • Glitter
  • Ribbon

In the book our hungry little friend consumes: 1 apple, 2 pears, 3 plums, 4 strawberries and 5 oranges during the week. On Saturday he has a buffet of mostly junk food, but there is a watermelon slice in there too. I used these templates to trace the shapes on card stock.

I counted out the number of letters I'd need to spell out happy birthday and the little one's name. I went in book order until the watermelon and then I picked a few fruits at random for the last 3 letters.

Now it gets messy. Put some paper down to protect your work surface. Select the color palette form your tissue paper assortment. Squeeze a little decoupage onto the piece of fruit and brush it out with the paint brush. You only need a thin layer. If you put too much it make the tissue paper transparent or tears it. Tear the tissue paper into irregular shapes and press down in random spots. The more colors the better.

Let them dry completely. Brush a layer of decoupage over top to seal the tissue paper down. Be very careful not to tear it. I found patting the brush down over the spots were the edges of the tissue paper met helped. Let them dry again.

When they are Completely dry lay them upside down on the table and stack some heavy books on top. They curl up from the glue. This flattens them out so they'll lay right for the banner.

I drew the letters on card stock and cut them out.

Then as I was arranging the letters on to the correct pieces of fruit my husband remarked "Those are dark. Are you going to do sparkles?". So, I broke out the glitter. A different color for each word. I held the letter down brushed decoupage over the letter and then shook glitter on to it. When they were dry I shook the excess off and did touch ups.

Then I punched a hole in the top of each letter. You may, if you have time, want to put grommets in to make them more durable and easier to string. Then thread them onto some pretty ribbon. I used sheer green ribbon with with green glittery dots in it. It took me about 4yds.