Bowtique Bags
Materials
- Small colored bags with handles (I got mine in packs of 10 from Target's party section)
- Paper Bows
- Glue
- Embellishments
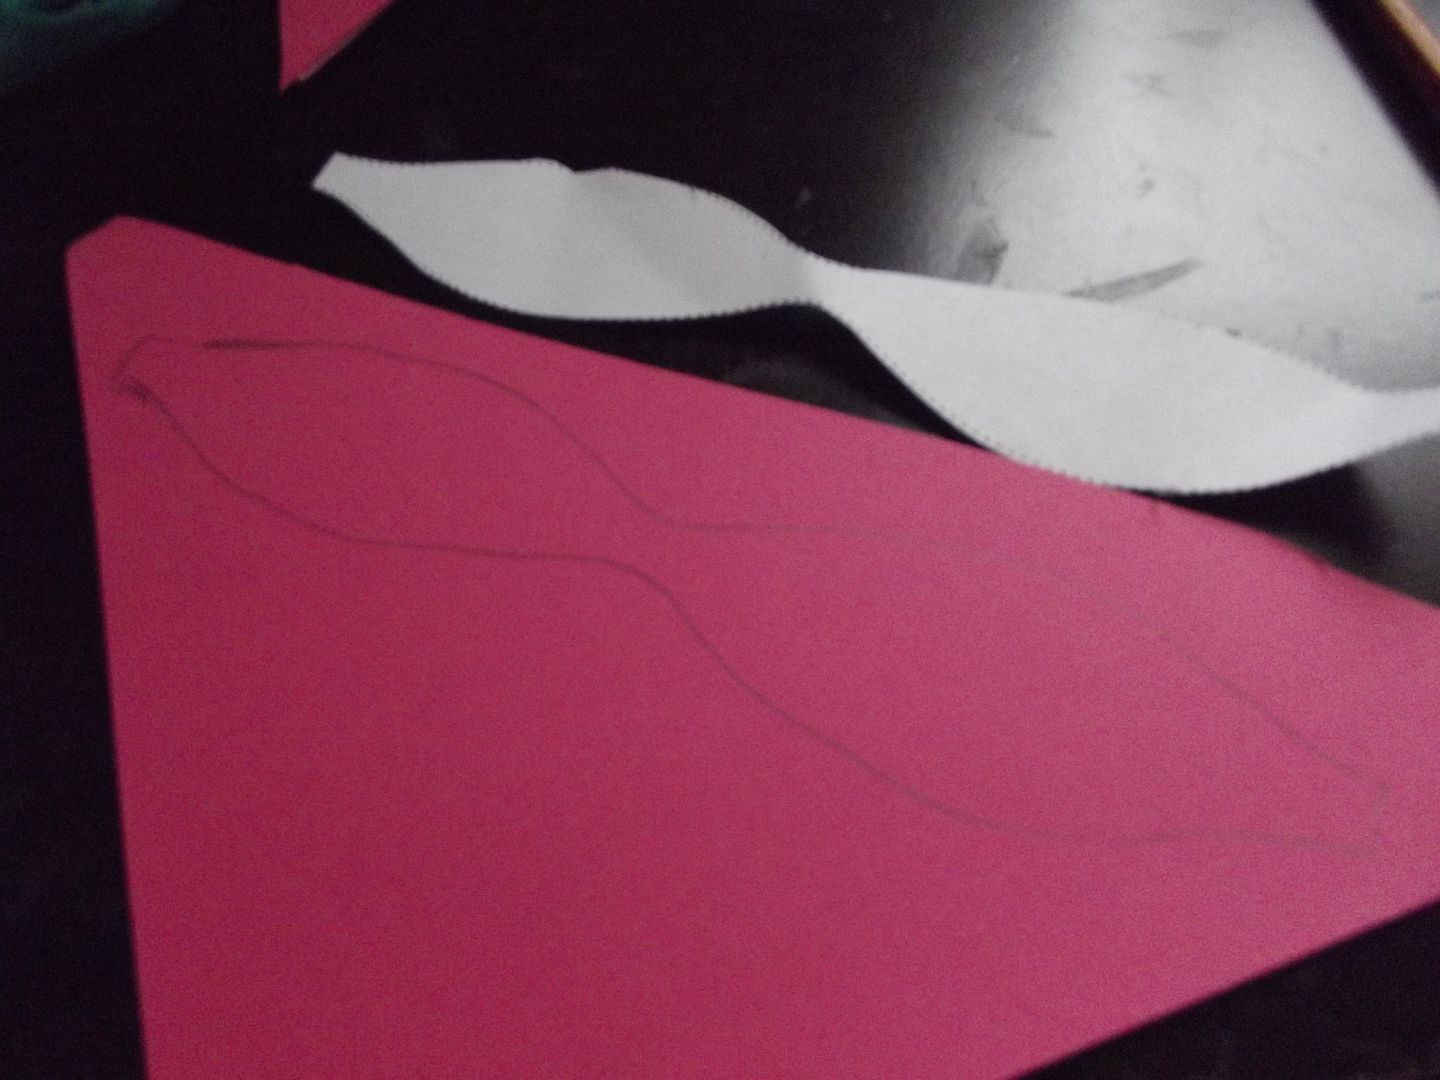
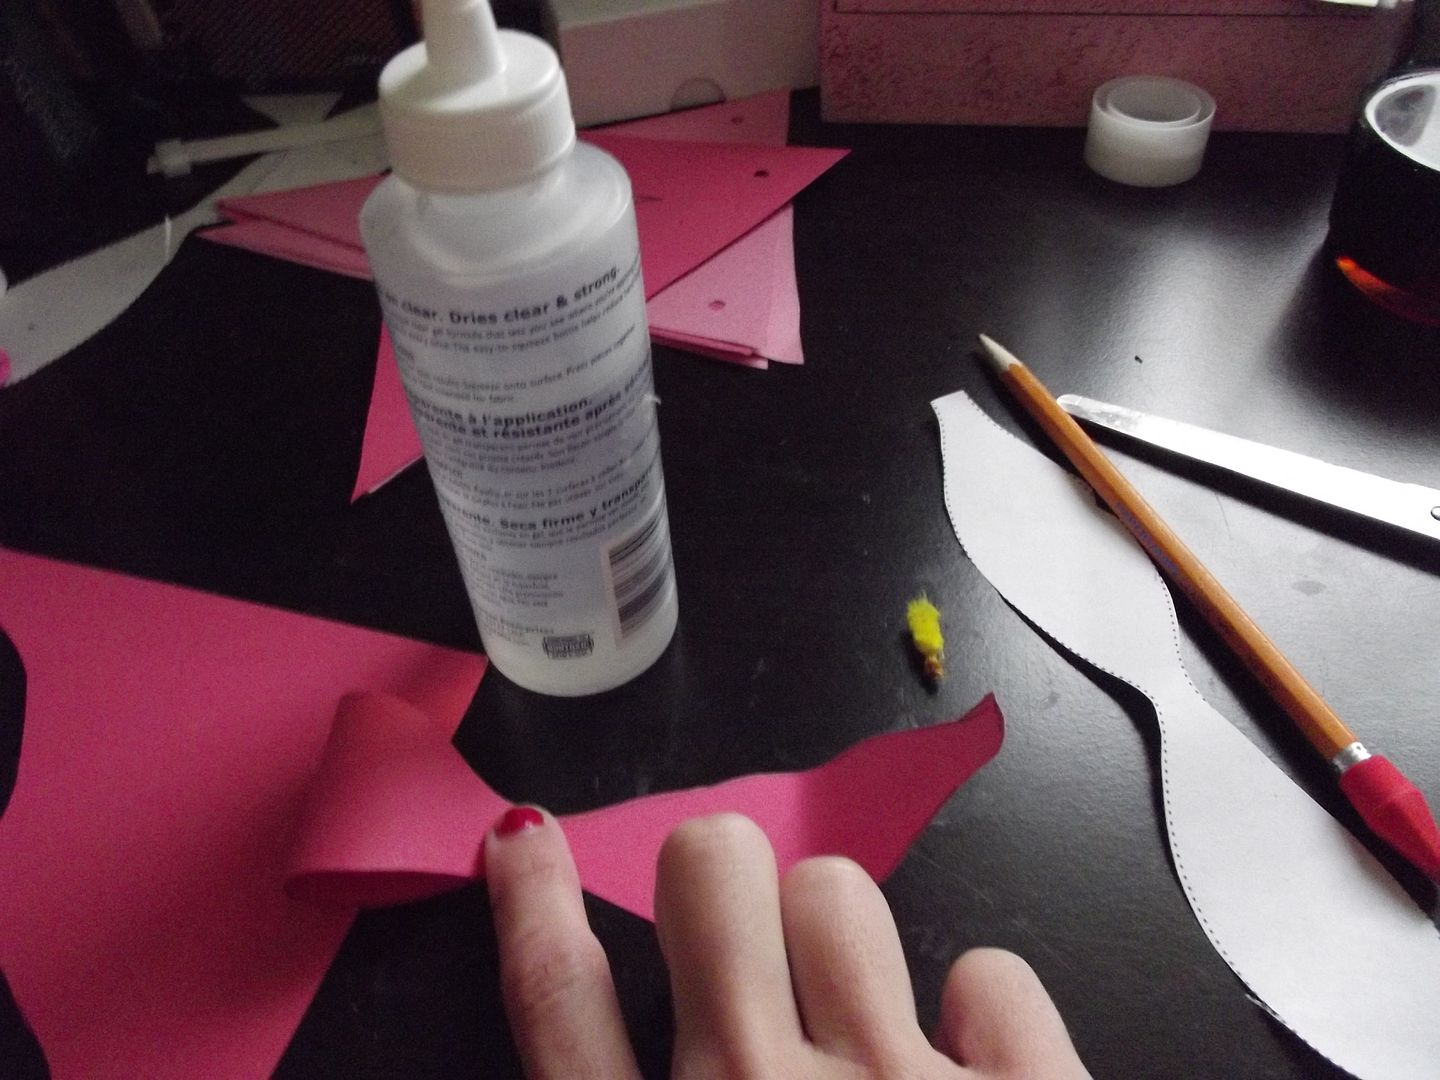
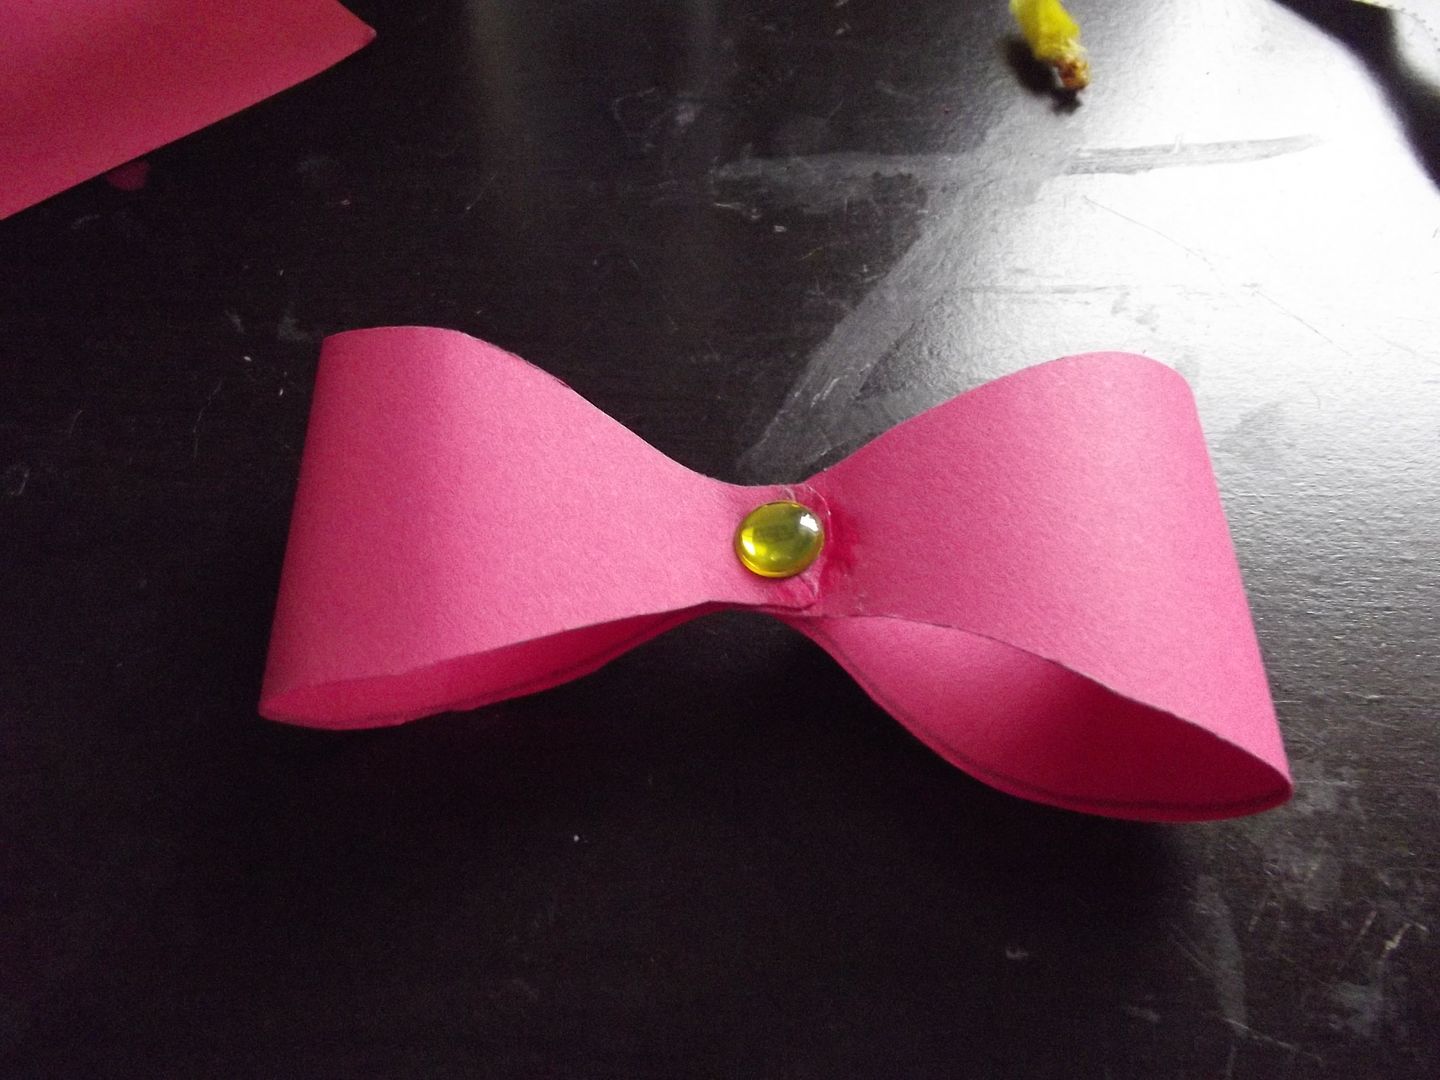
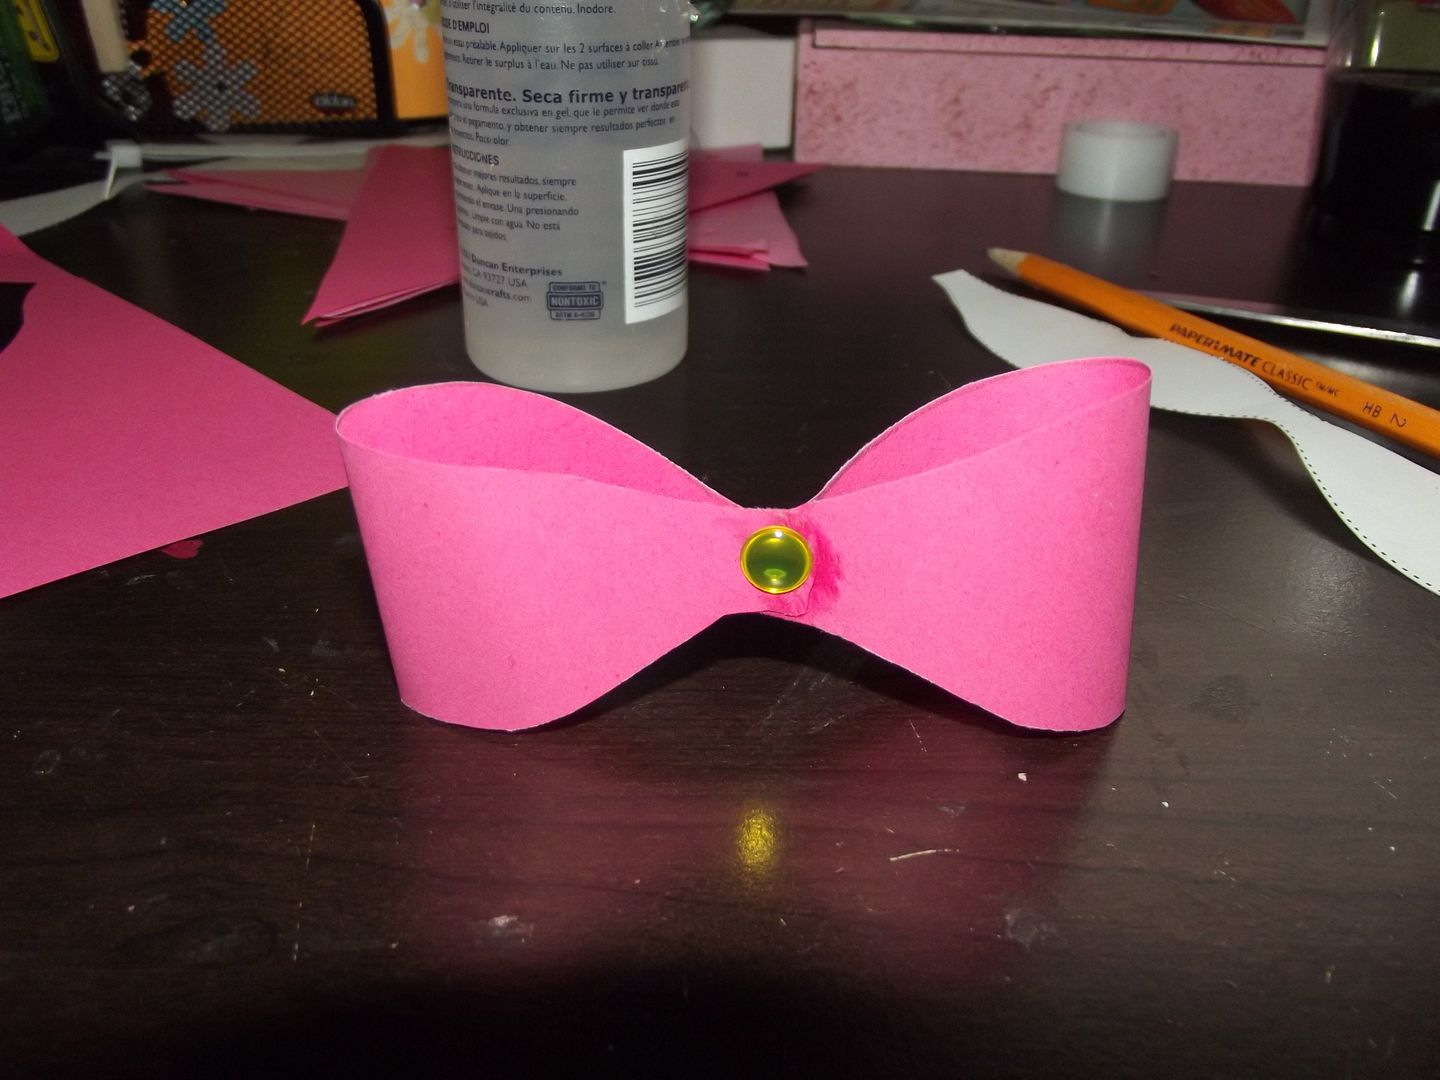
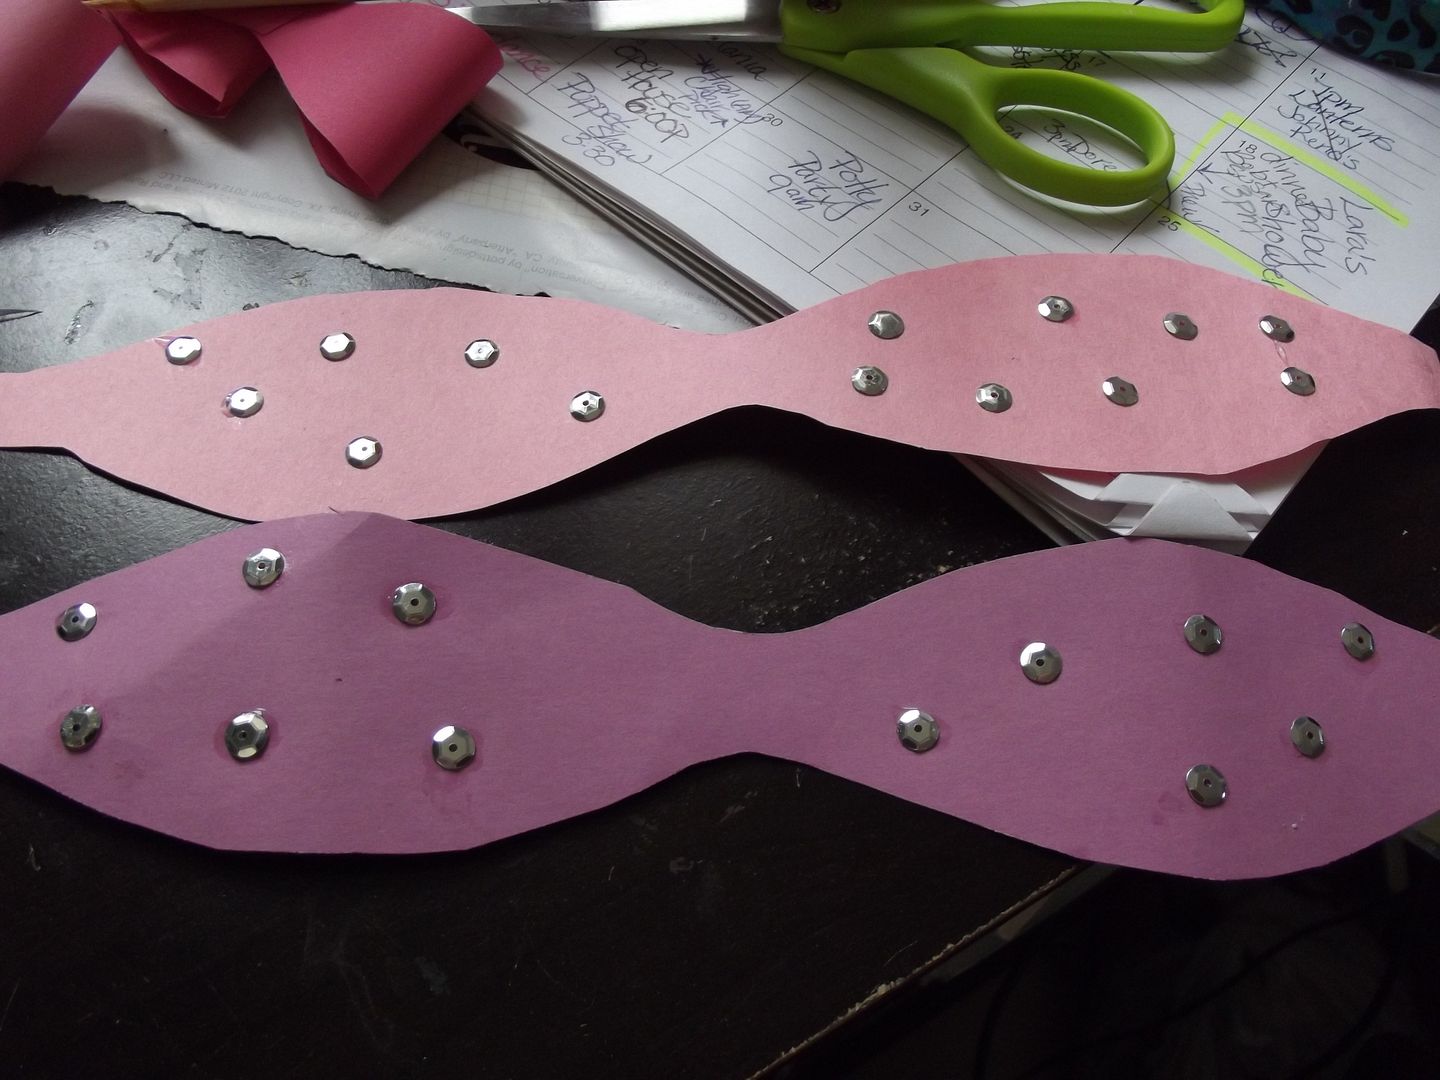
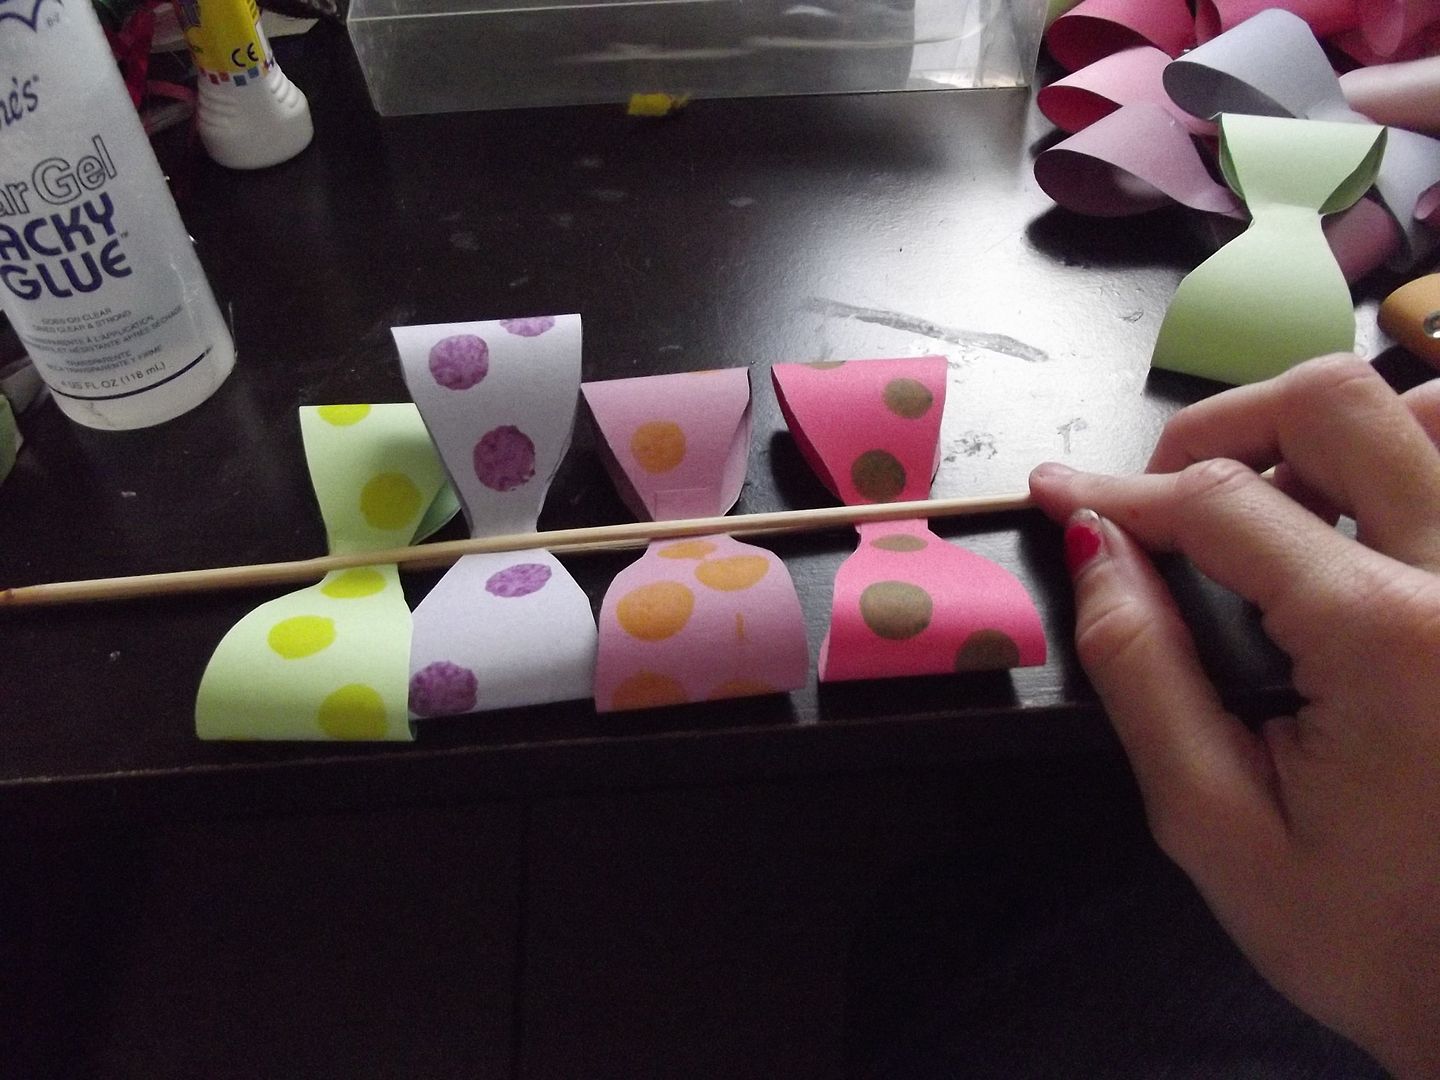
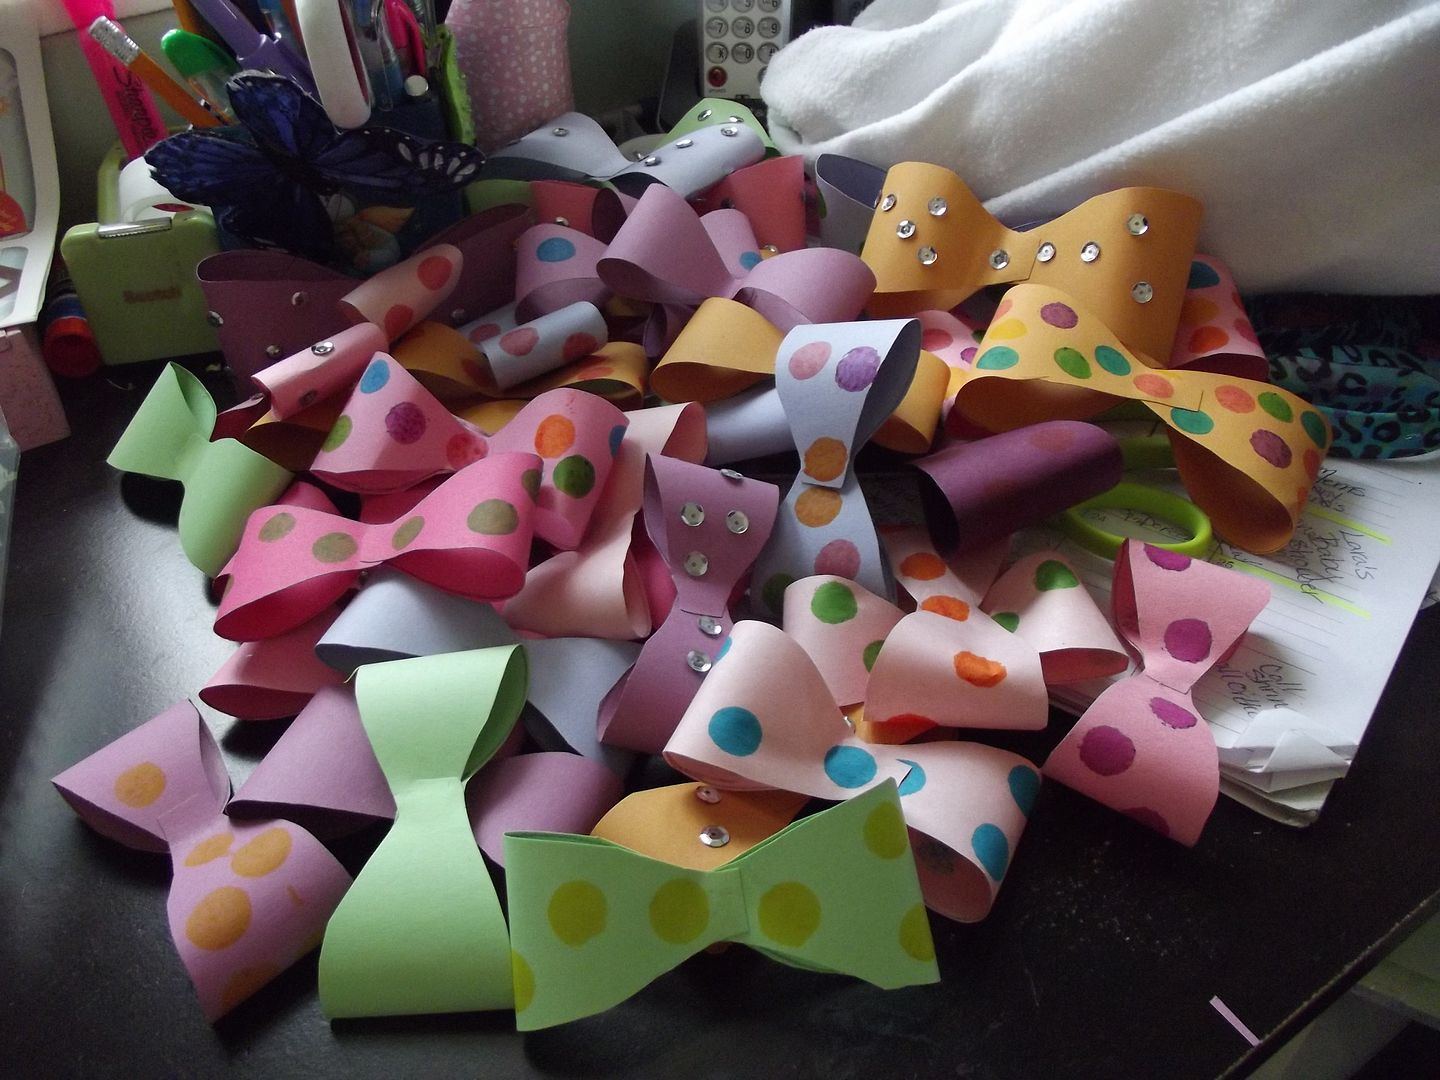
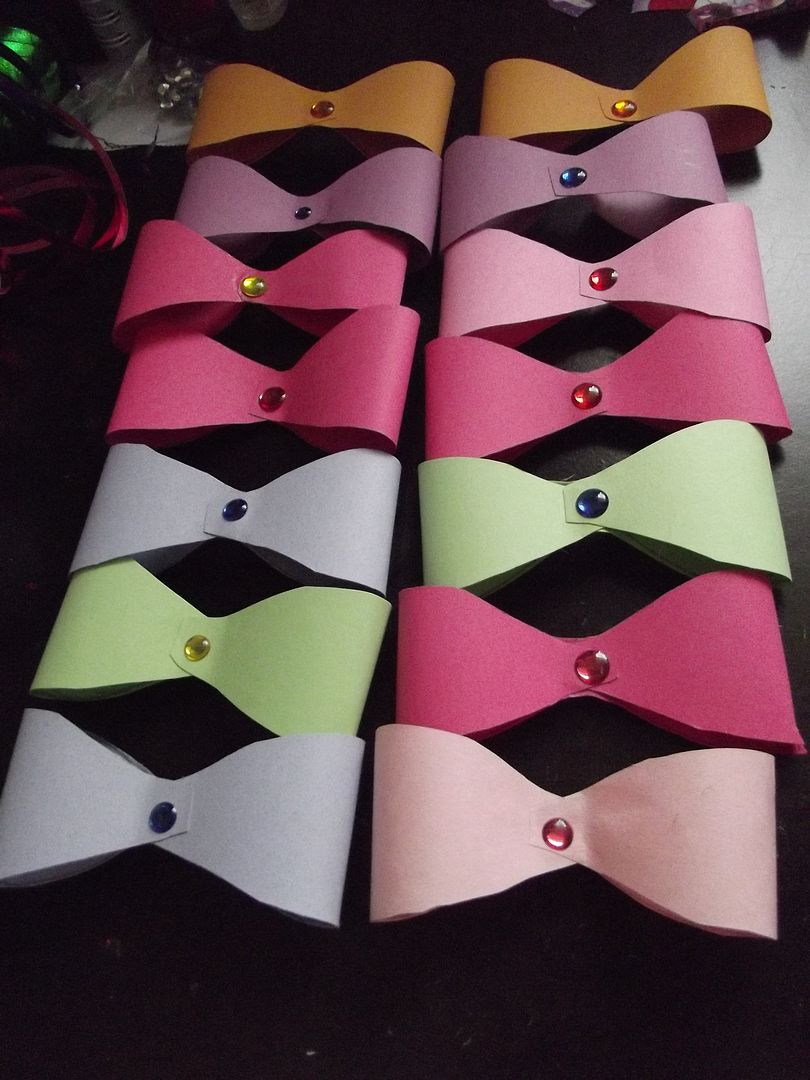
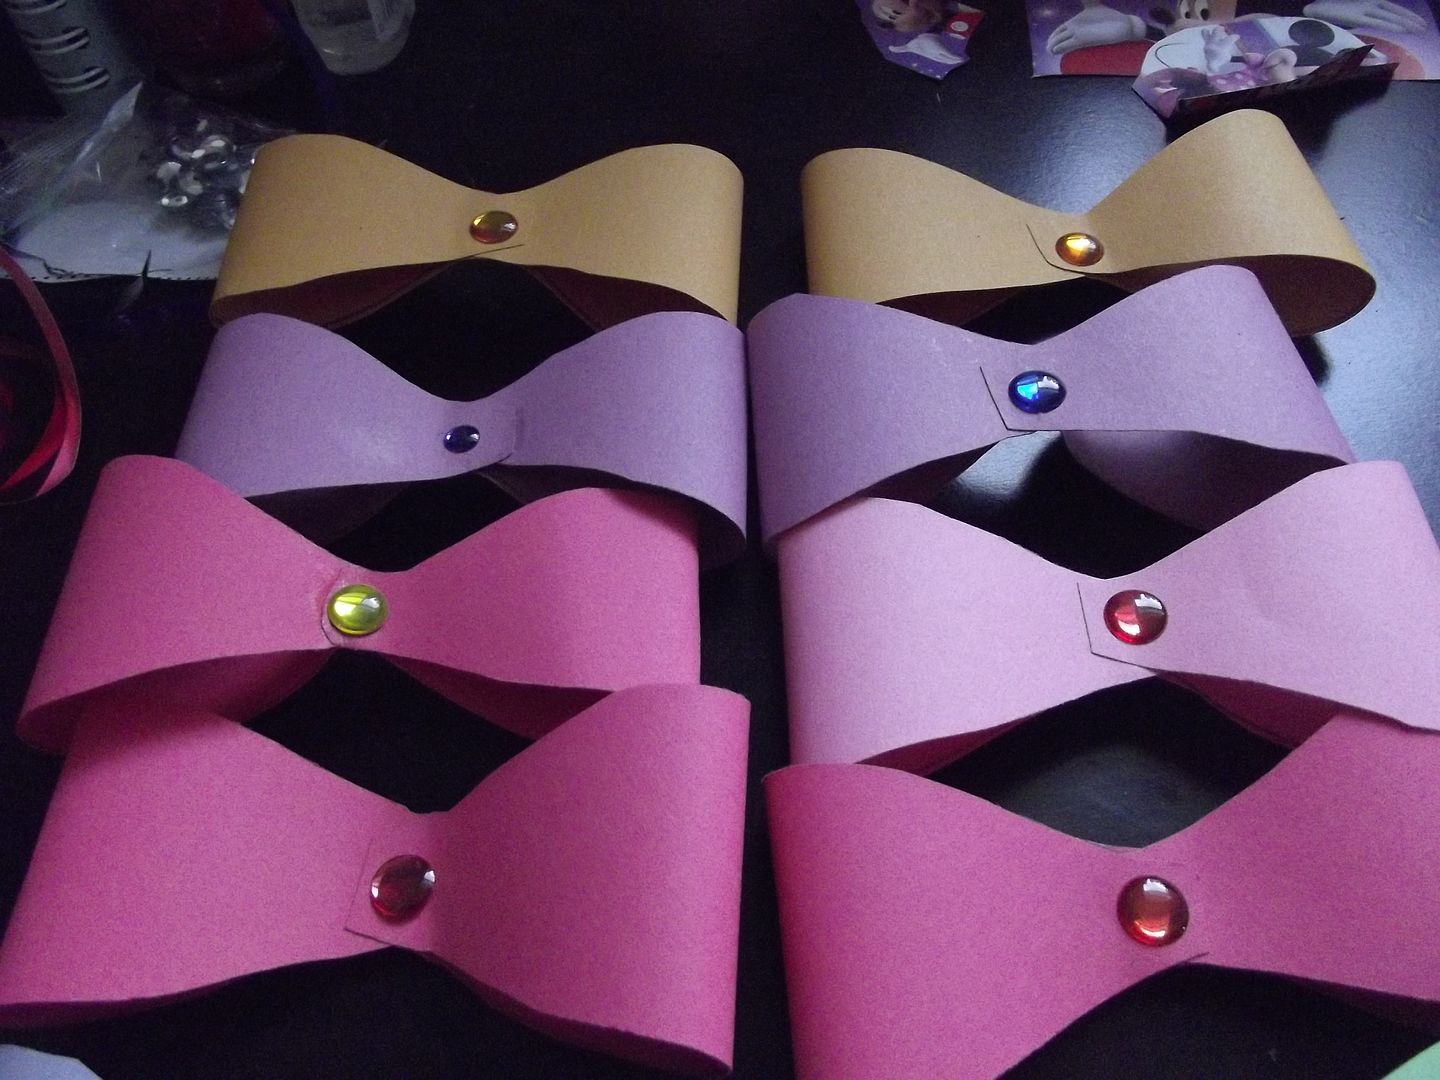
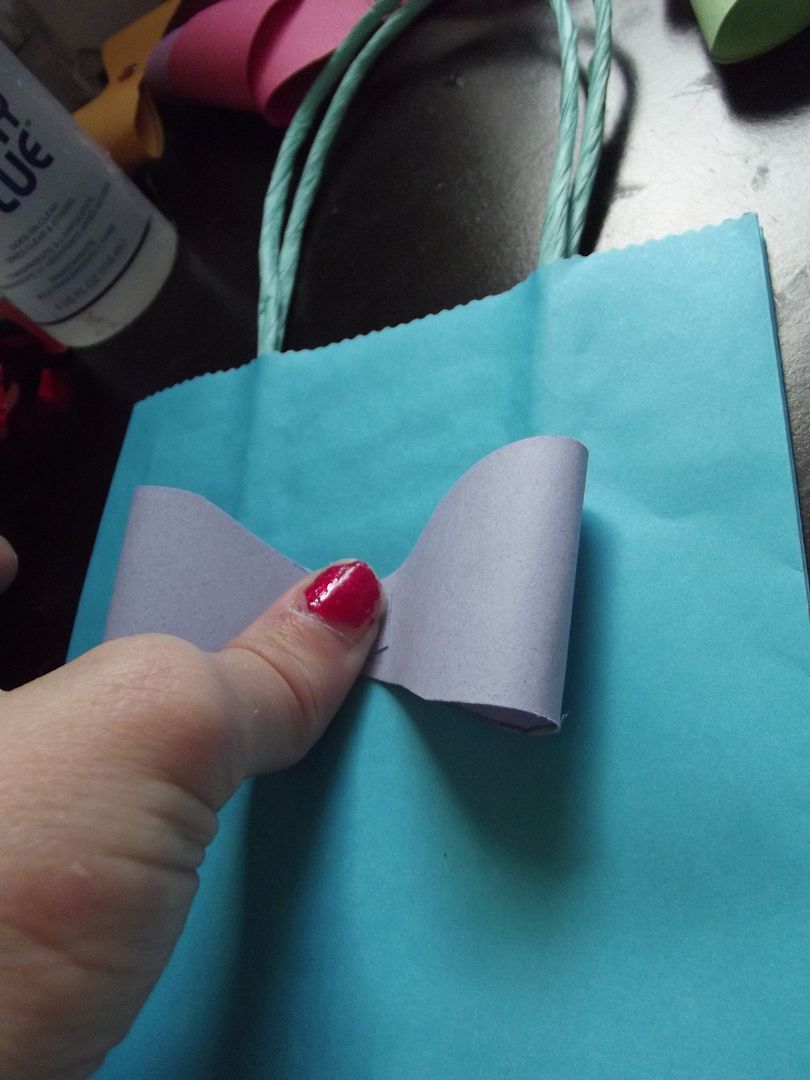
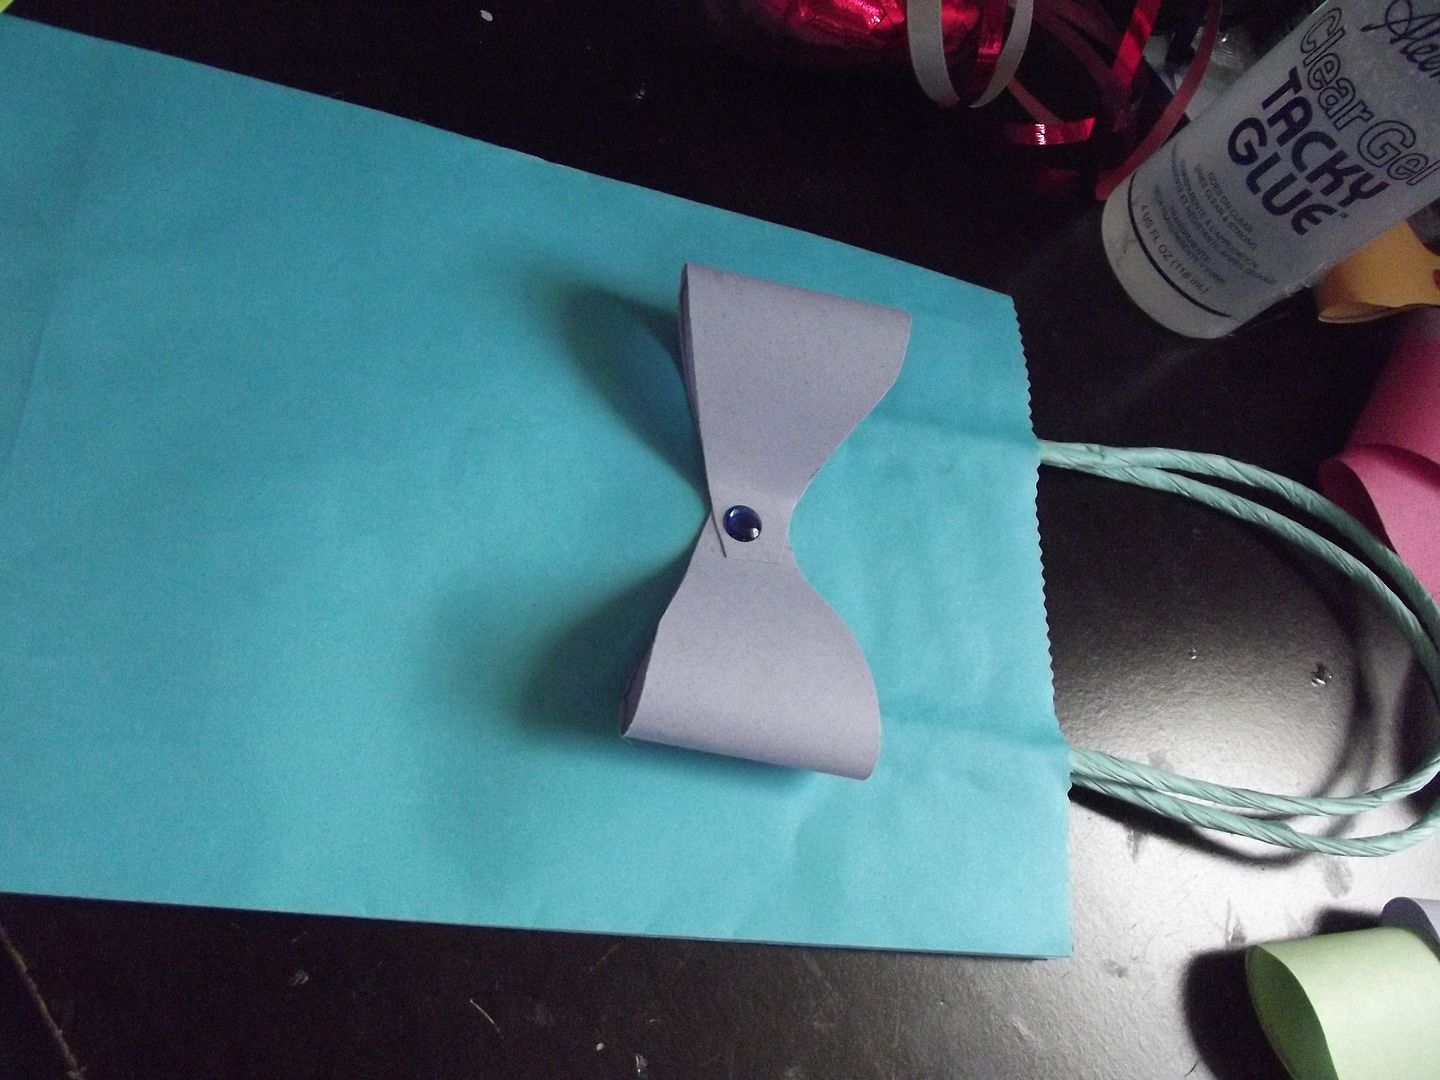
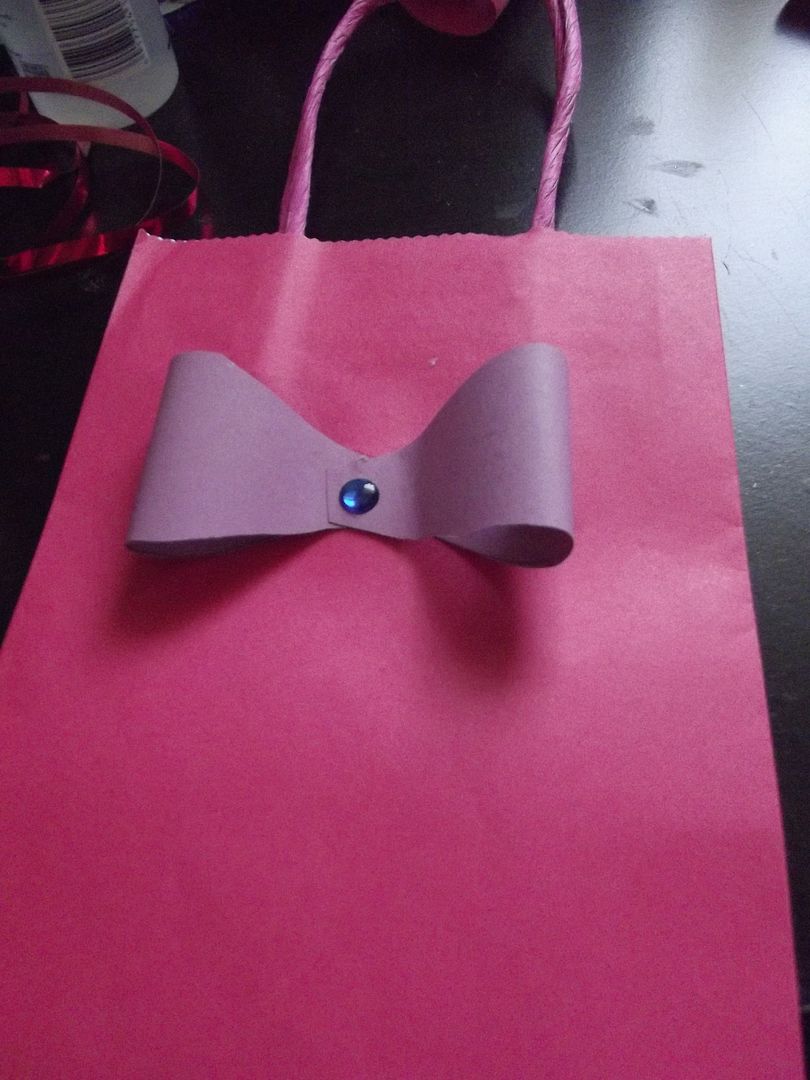
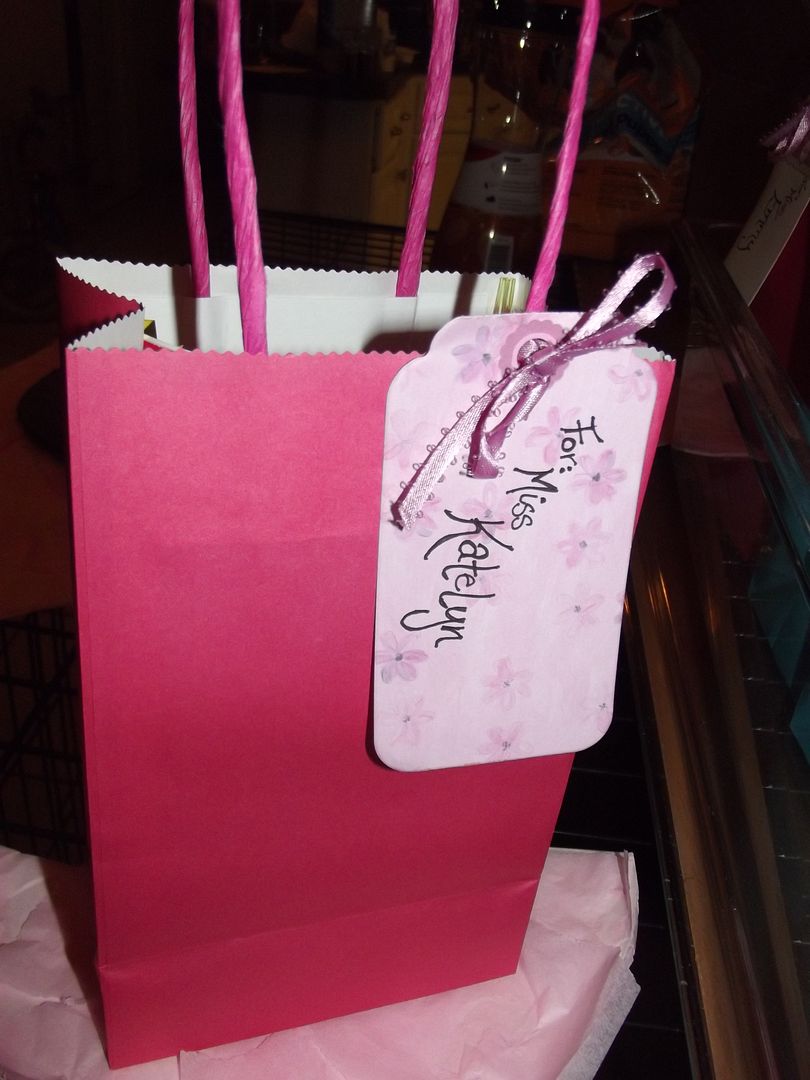
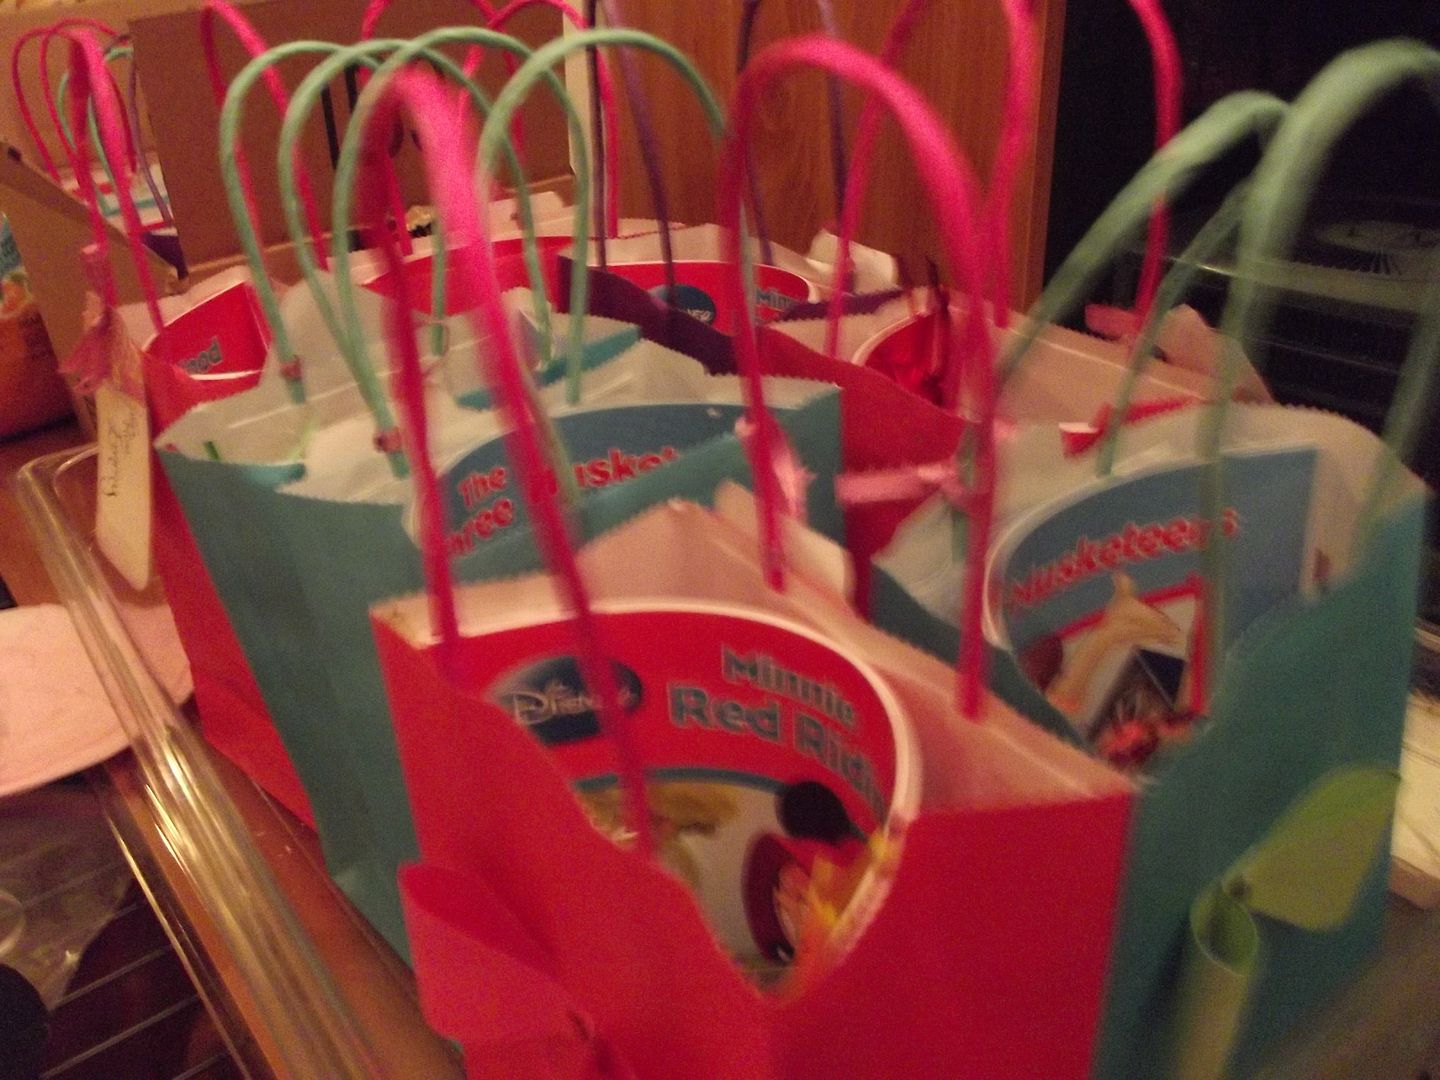
I simply took some of the paper bows I made yesterday and stuck them on the bags. I kept some plain for this purpose. I've used these bags before for favors and I must say I'm a huge fan. They're cheaper then the little plastic ones with licensed characters, they're sturdier and they're a great blank canvas. Plus, I wanted them to look like shopping bags from a boutique. I added a jewel sticker in the middle of each bow. Cute, right?
Now just a dab of tacky glue in the center and press for about 10 seconds. Then let them dry and your ready to roll.

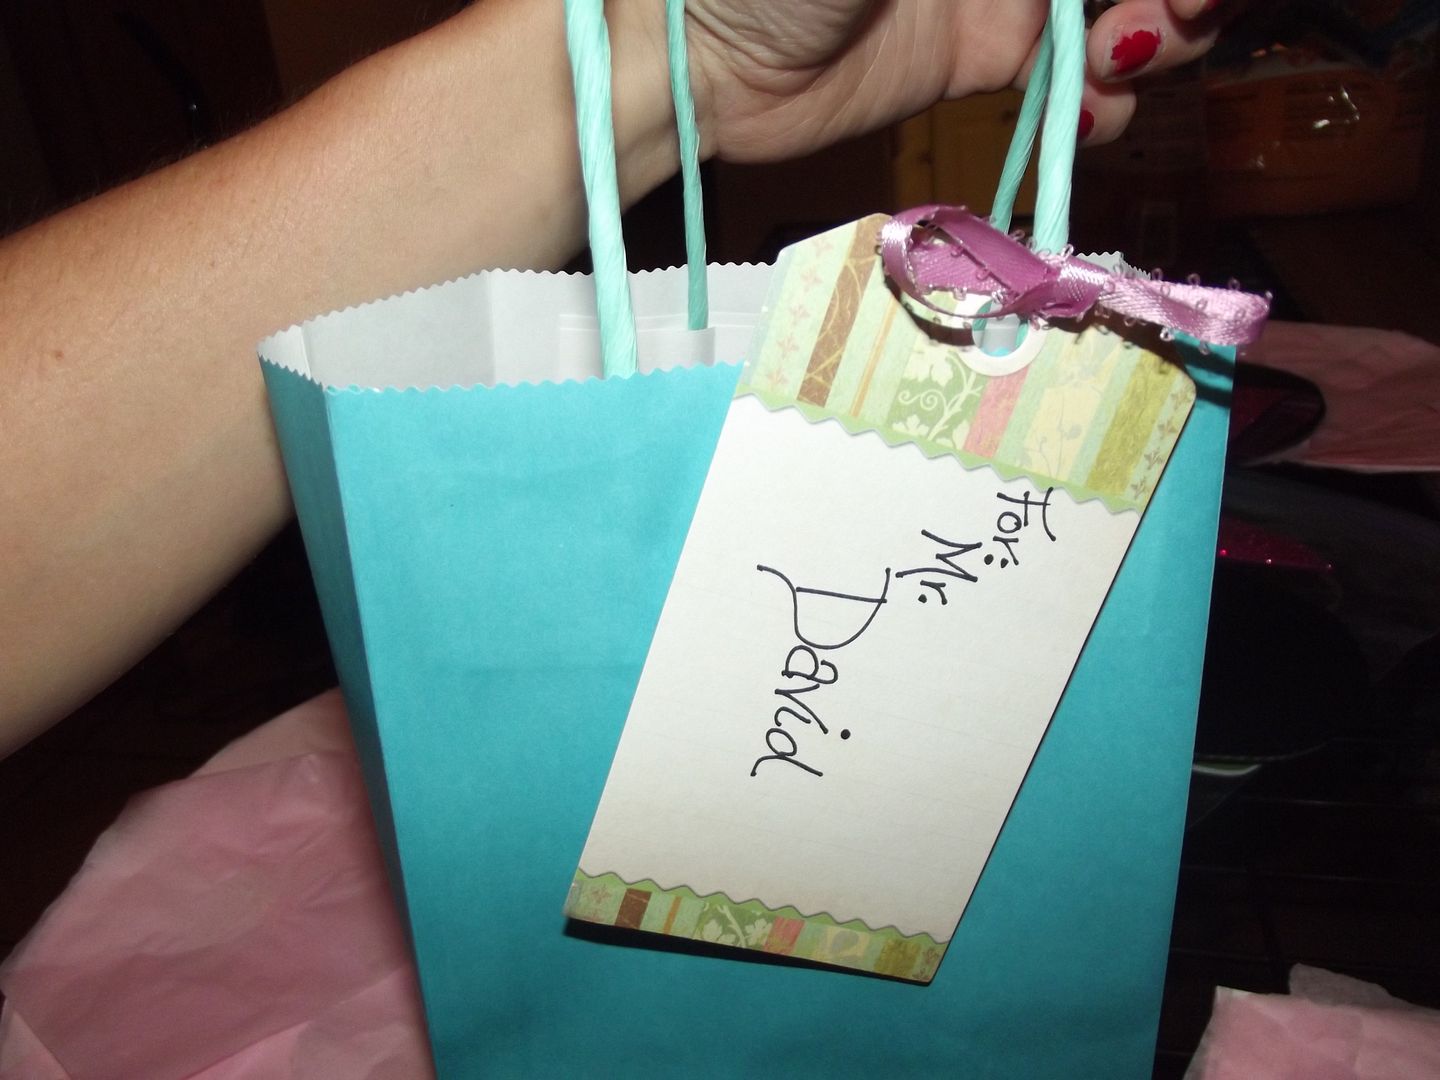
After they were dry I tied tags on with purple ribbon. I wrote Miss & Mr before Riley's friends' names because it seemed fancier. I just used tags from the craft store "tag pack" and a Sharpie. I tied them on in the back so they wouldn't hang over the bows.
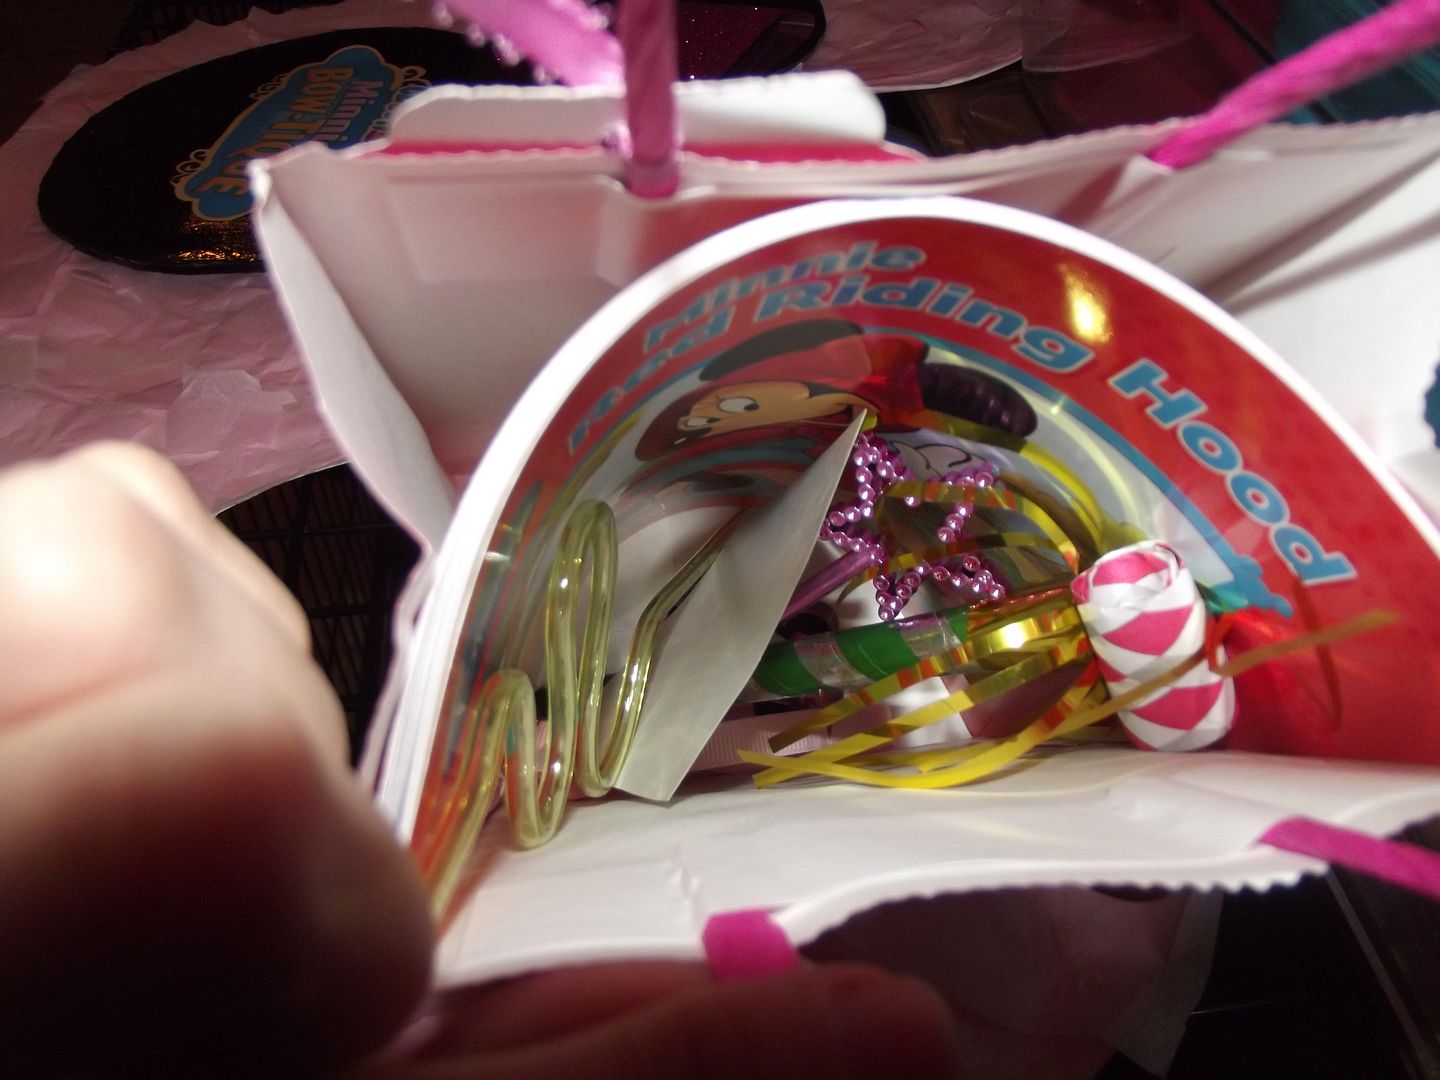
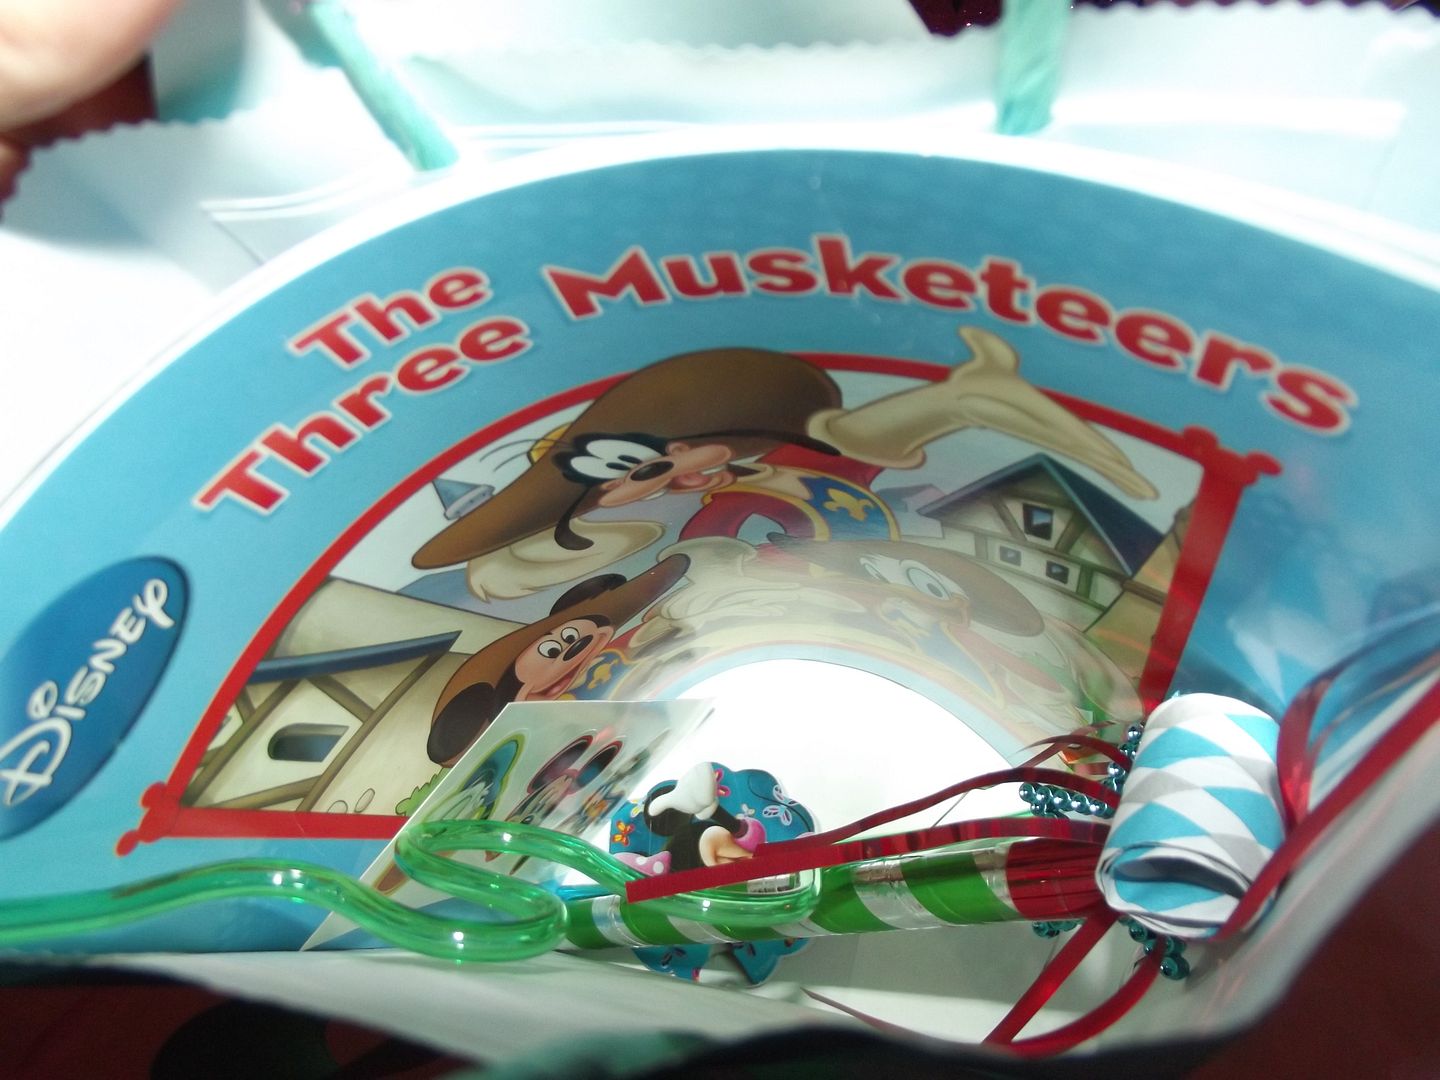
Then I filled them up. They each got a book. Boys are getting Mickey Three Musketeers and girls are getting Minnie Red Ridding Hood. Everyone gets a Minnie notebook, a wand, a party blower, a twisty straw and stickers. Girls also get a doll bow. I left room in the bag for their cups too. I know I always leave parties with my hands full so I thought having a place to stick their Minnie/Mickey cup would be appreciated.
I was going to do a "Riley's Bowtique" label on the front of each, but I liked the simplicity. I still may do them if inspiration strikes, but I'm happy with them the way they are.
Minnie Sign
Materials
- Cardborad
- Black Glossy Spray Paint
- Ribbon/Re-purposed Christmas Bow
- Stapler
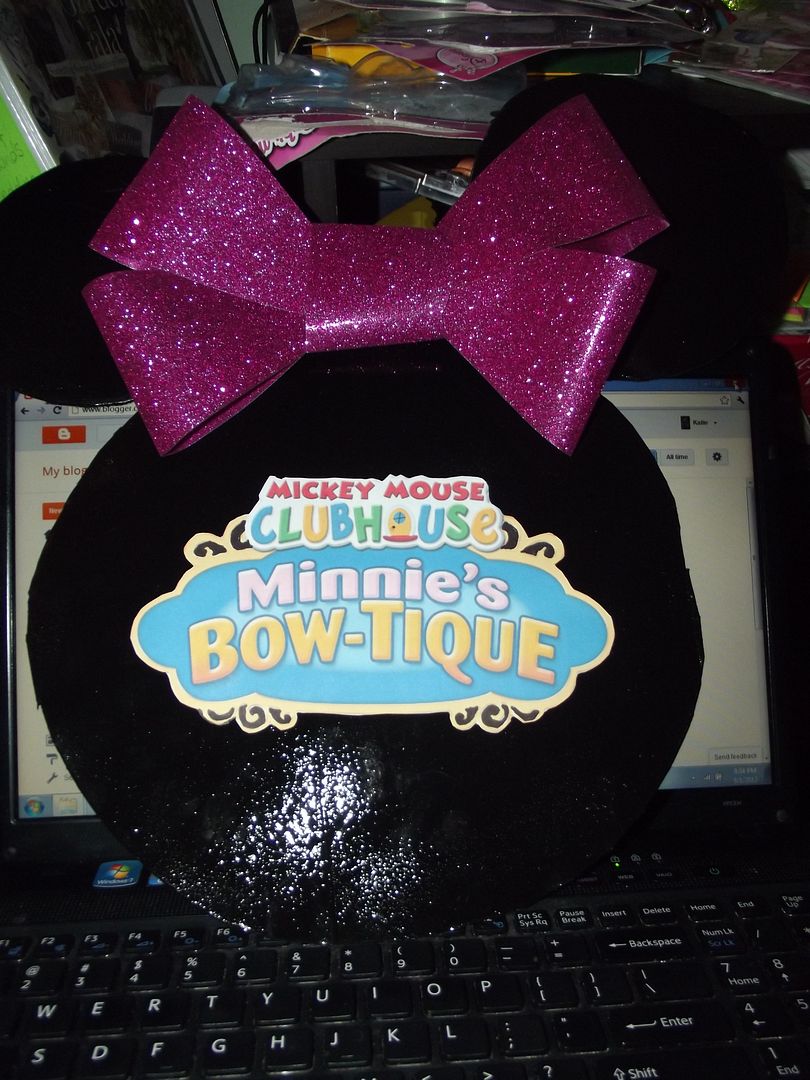
I intended to put the big sparkly pink bow Santa left on Riley's bike last year on my front door. I also intended to make a Minnie sign for just before the driveway that said "Riley's Bowtique". It turned out a little differently. Riley insisted it say "Minnie's Bowtique" and I ended up using the bow I intended for the door on Minnie. I like it a lot though. Don't buy a wooden Minnie from Etsy if you're just going to use it once for a few hours. Cardboard works just fine.
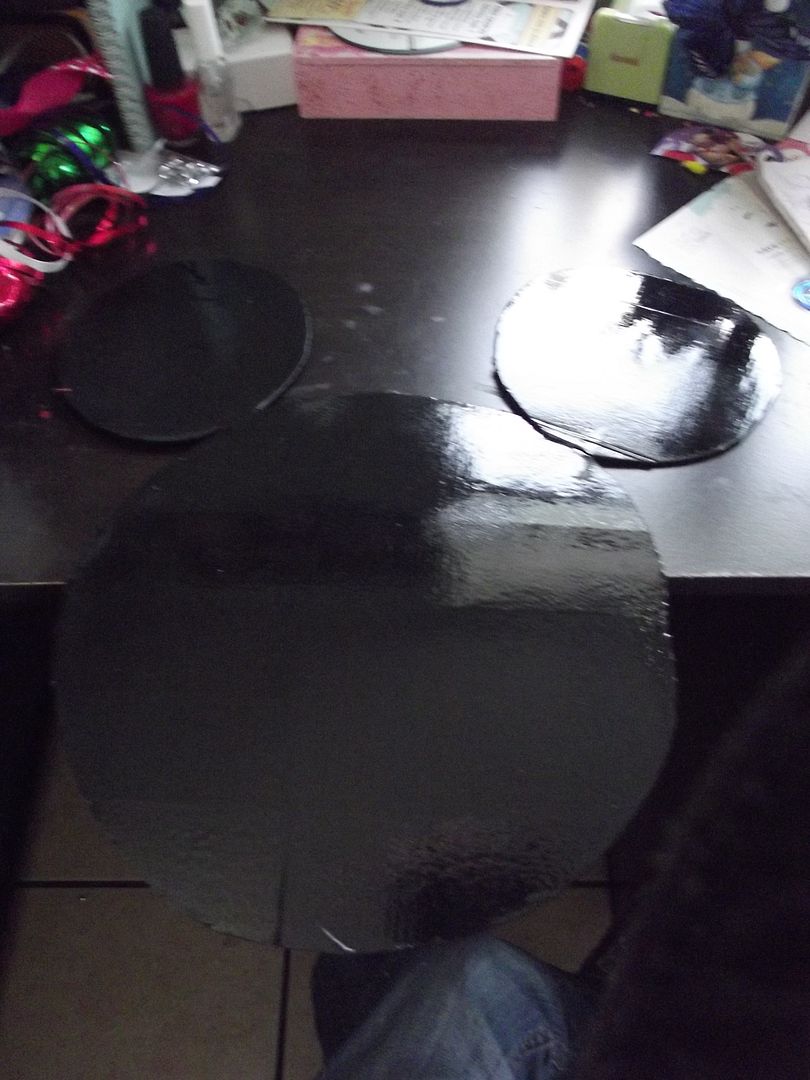
First step: Make Minnie. Just cut your 3 circles from any discarded Amazon box you've got laying around. Attach the ears before you paint so nothing shows. Then hit it with glossy black spray paint. Remember to do both sides if you're going to stake in in the lawn. I was going to use a paint stirring stick when that was the plan. Let it dry, flip it, spray it and than repeat if desired.
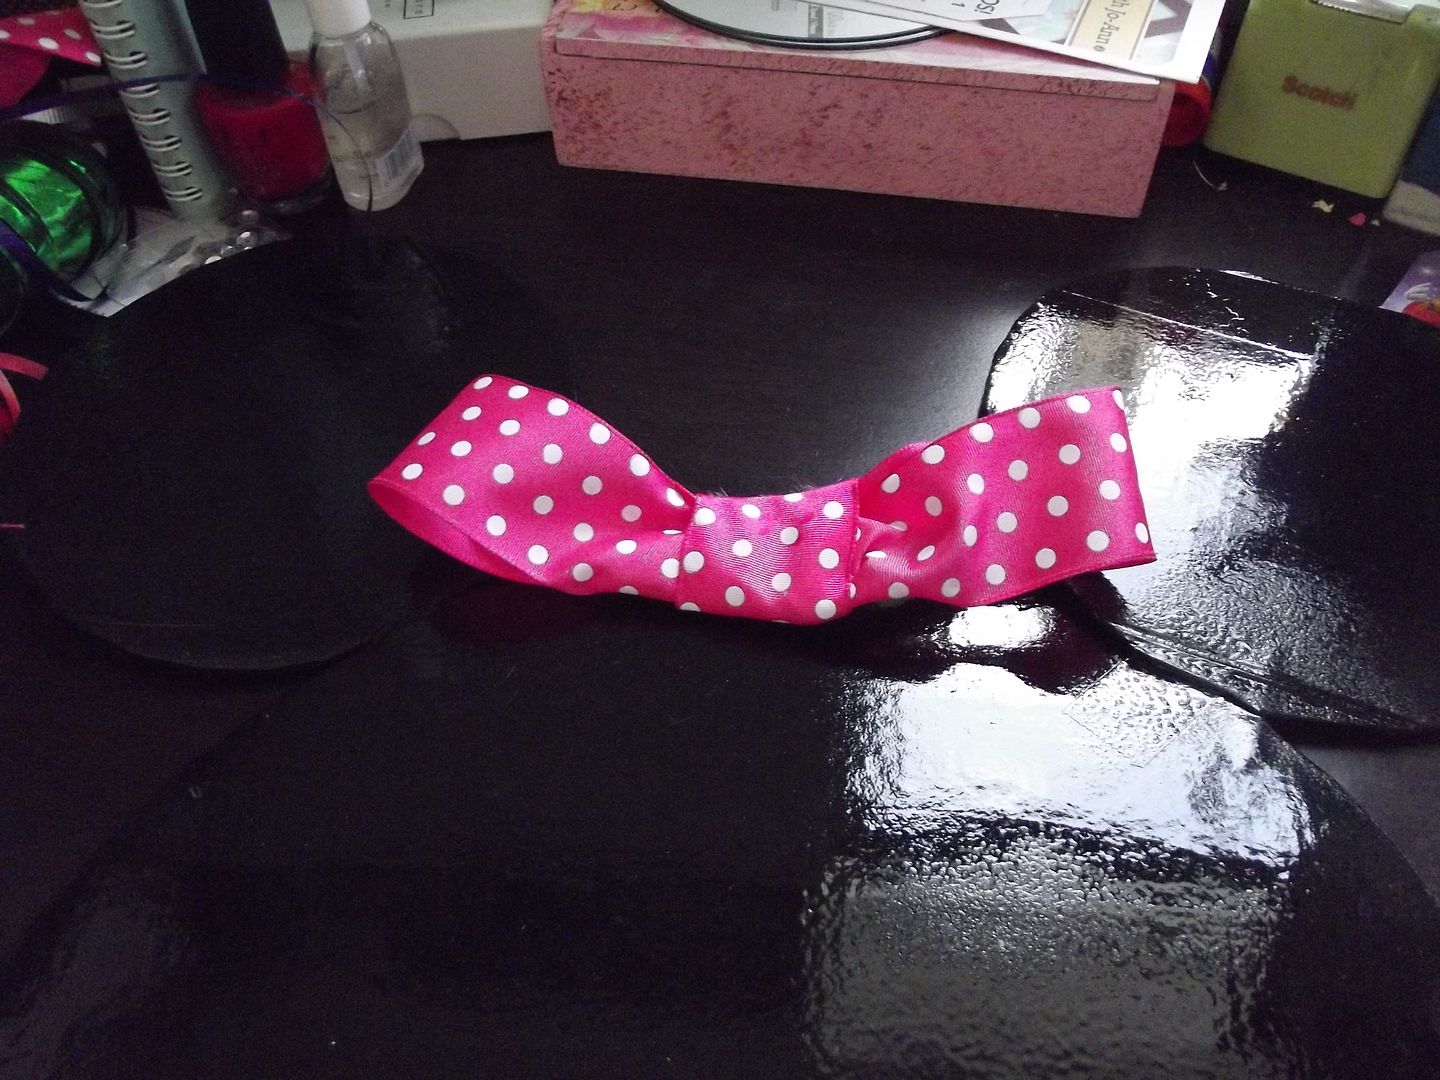
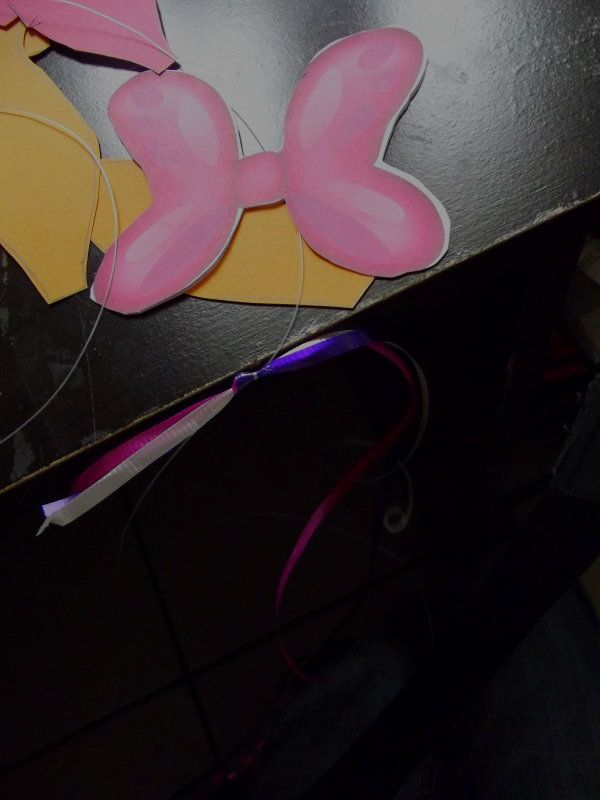
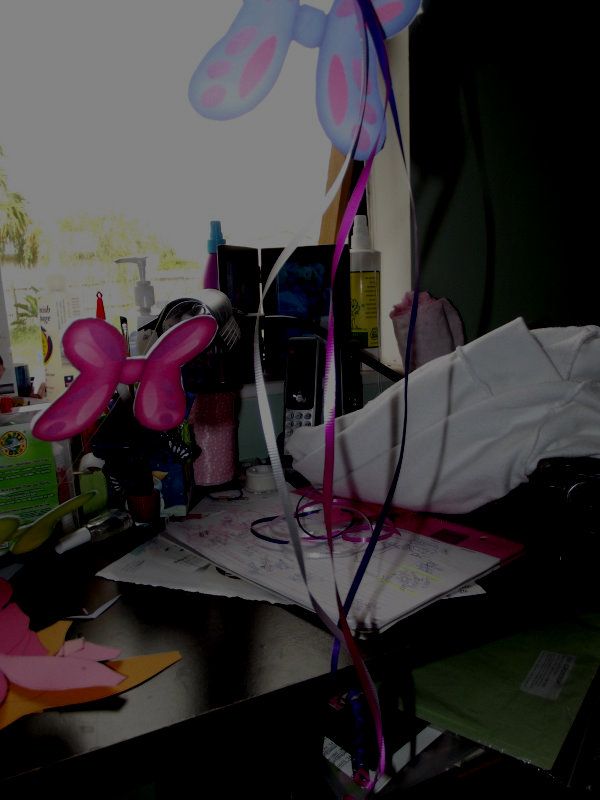
Step Two: Minnie's Bow. This was my original plan for Minnie's bow. It's the same ribbon from the invitations. It was cute, but I thought a bit small. As far as Minnie's bows are considered the bigger the better.
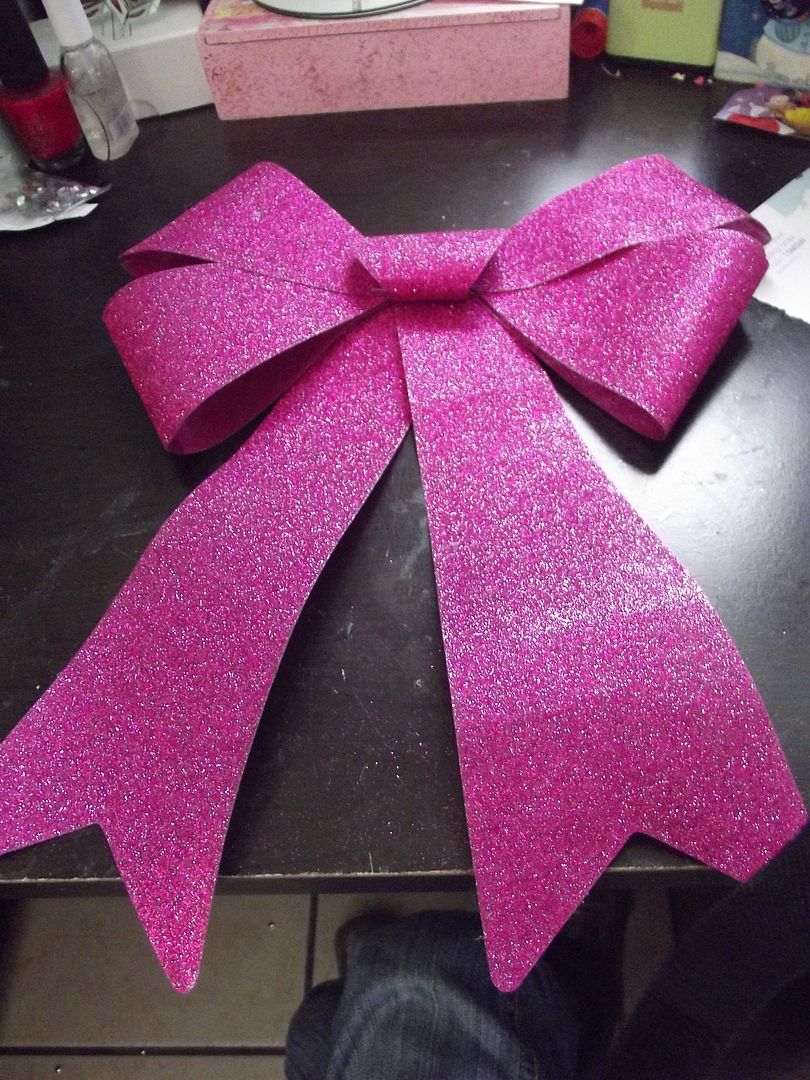
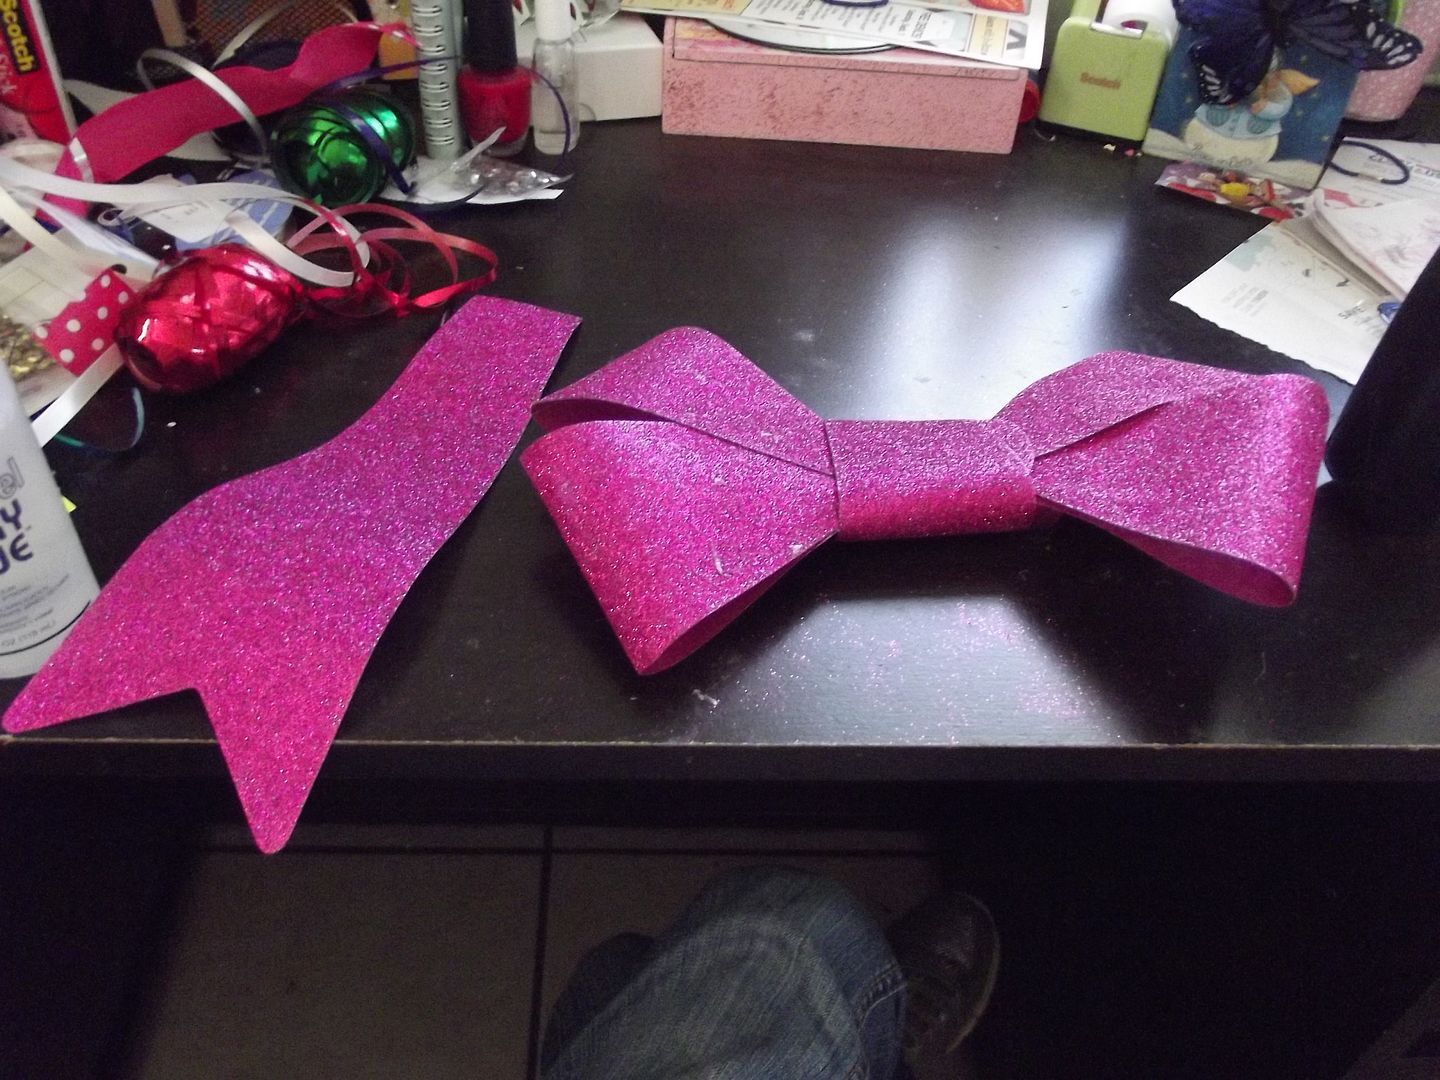
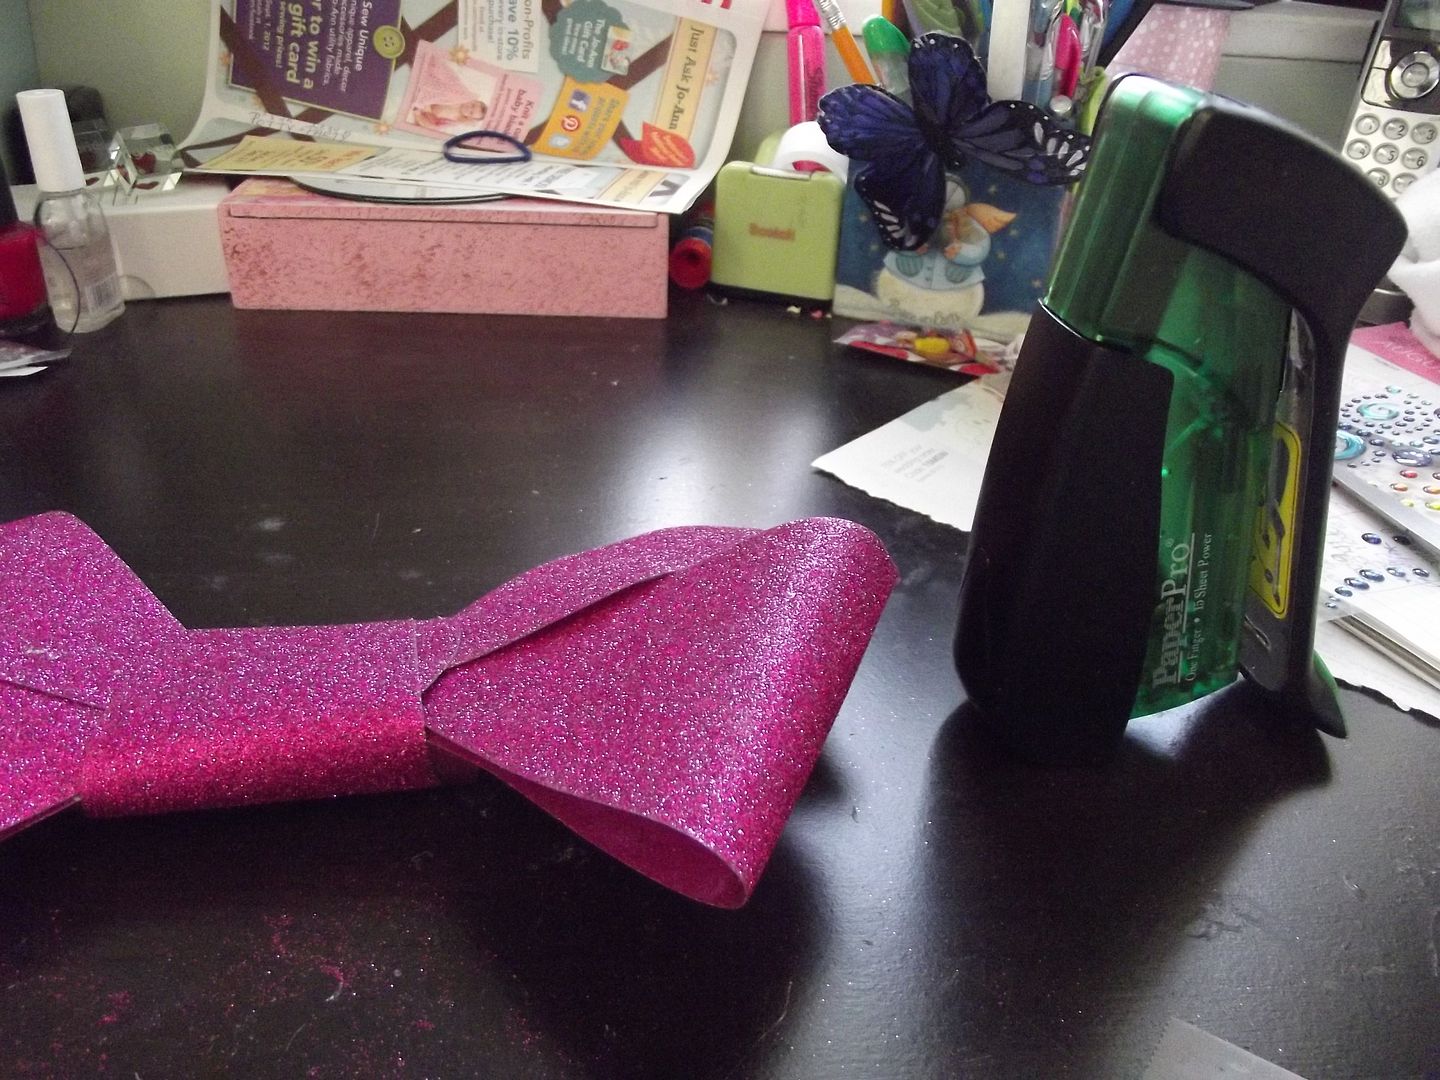
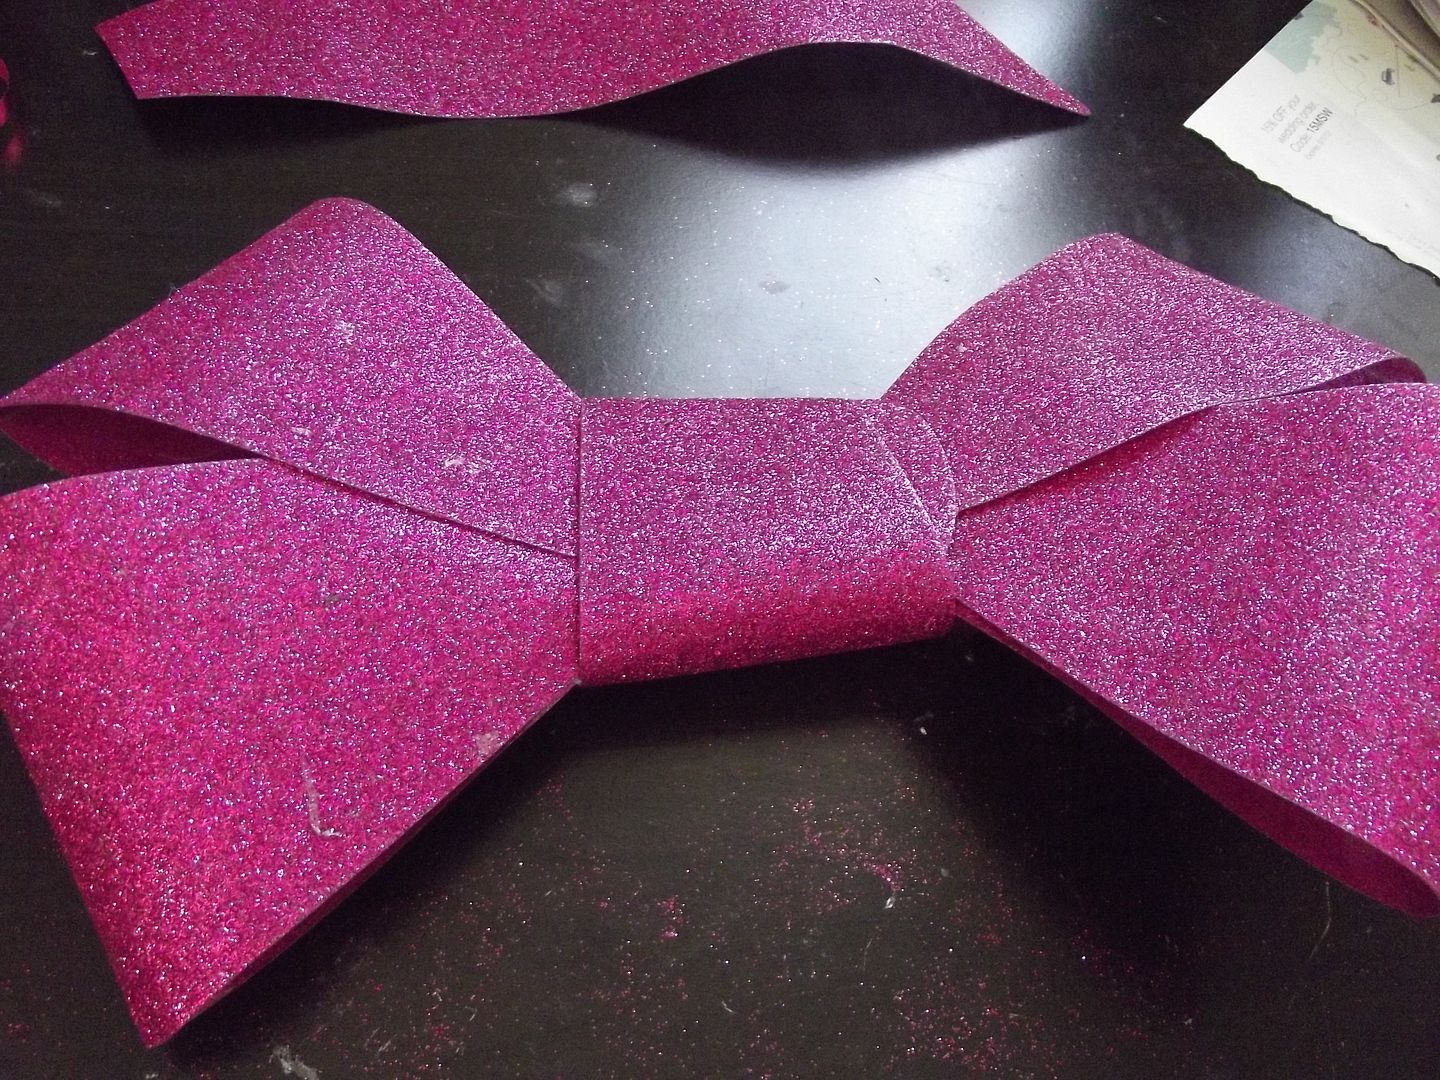
I pulled this from the Christmas box and starting fiddling. Minnie's bows do not have ribbons that hang down. In the end I cut one off and wrapped the remaining ribbon back around the center. I stapled it in the back (and to attach it to Minnie).
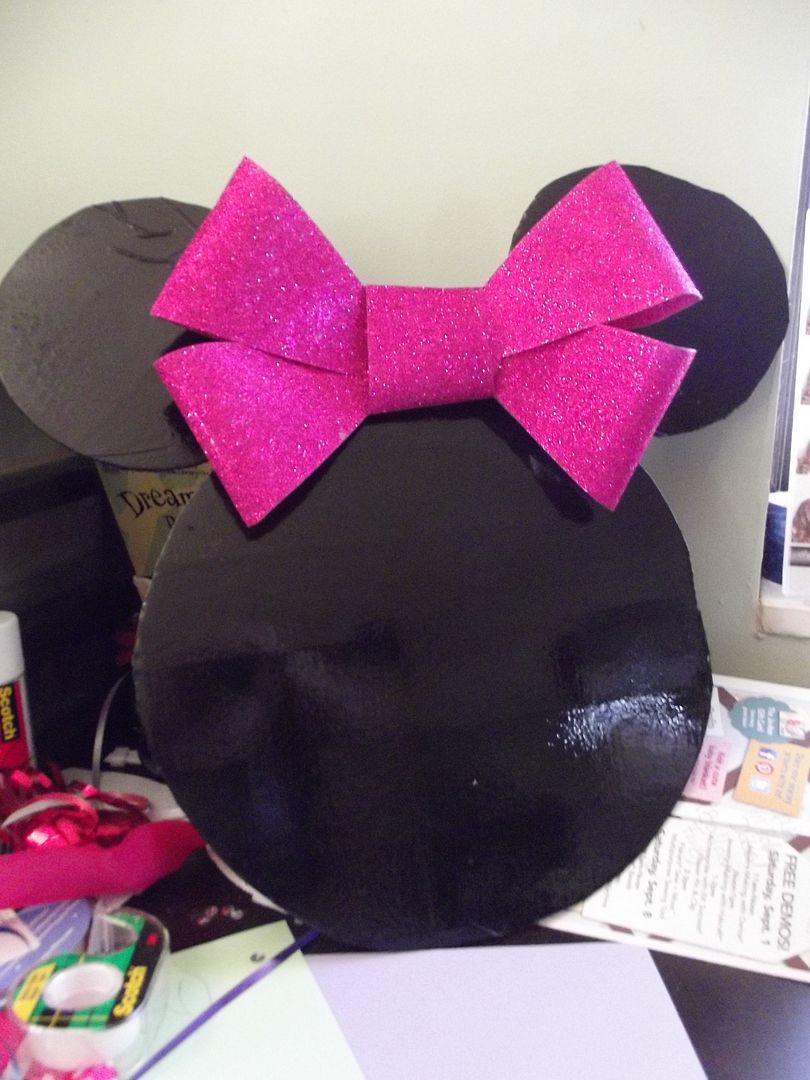
Don't you love it? All it cost me was a can of spray paint. I loved it so much I fretted quite a bit about adding words to it at all, but the birthday girl wanted it to say "Minnie's Bowtique" so I pressed on. In the end I printed and cut out the sign. I glued it on with a glue stick that way we can peal it of and hang Minnie in her room, but if you want more permanence decoupage it for sure.
I'm not sure yet whether she'll go directly onto the door or if I'll add a big pink ribbon on either side and hang her from them. Yay, Minnie. I'm still working on the big "3" sign and activity signs. I've also begun experimenting with the cupcake decorations.