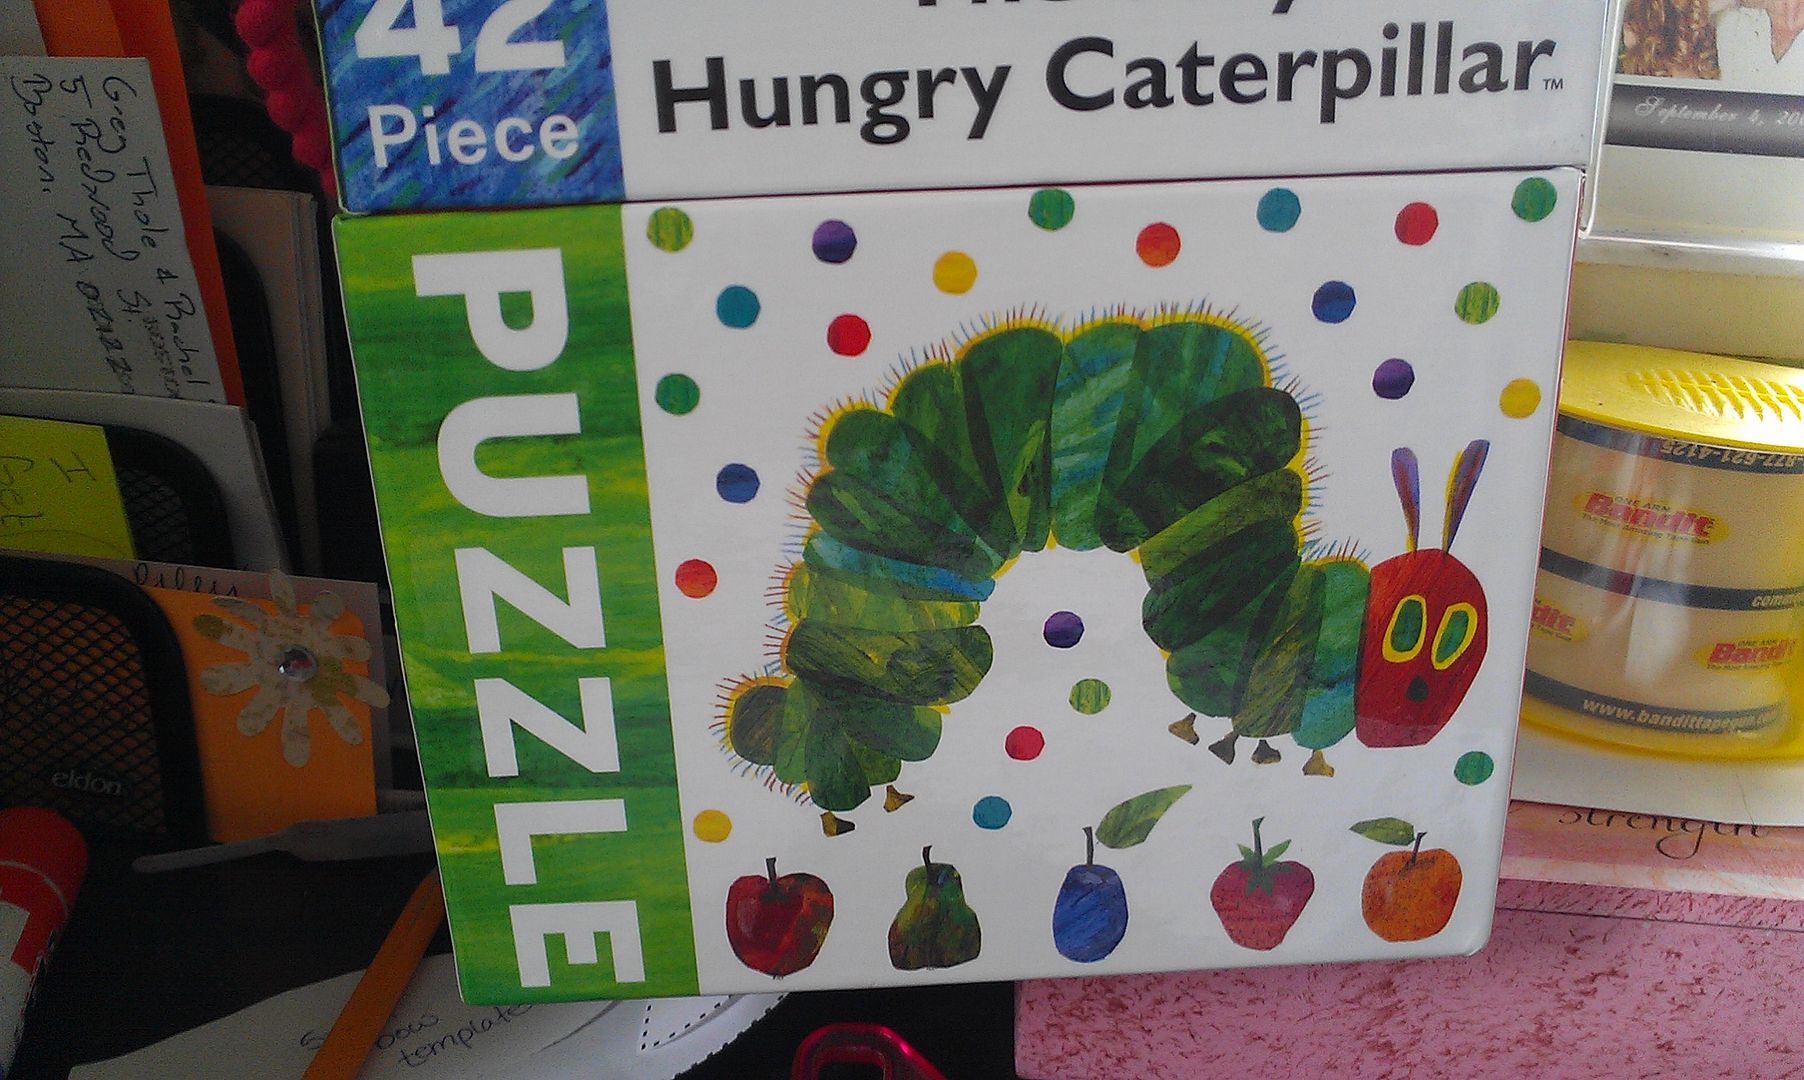
It's one of my favorite people's first birthday this weekend. Her Mommy decided to do The Very Hungry Caterpillar party. She made a big caterpillar out of painted plates and was planning cupcakes in a caterpillar formation as well. I decided to contribute a fruit happy birthday banner.
Originally, I was just going to cut out fruit on solid colored card stock, write the letters and then string them, but Mike suggested tissue paper decoupage so they'd look like Eric Carle illustrations. Genius!
Materials
- Card Stock
- A variety pack of tissue paper
- Decoupage
- Paint Brush (that you don't mind ruining)
- Crop-a-dile/Hole punch
- Scissors
- Glitter
- Ribbon
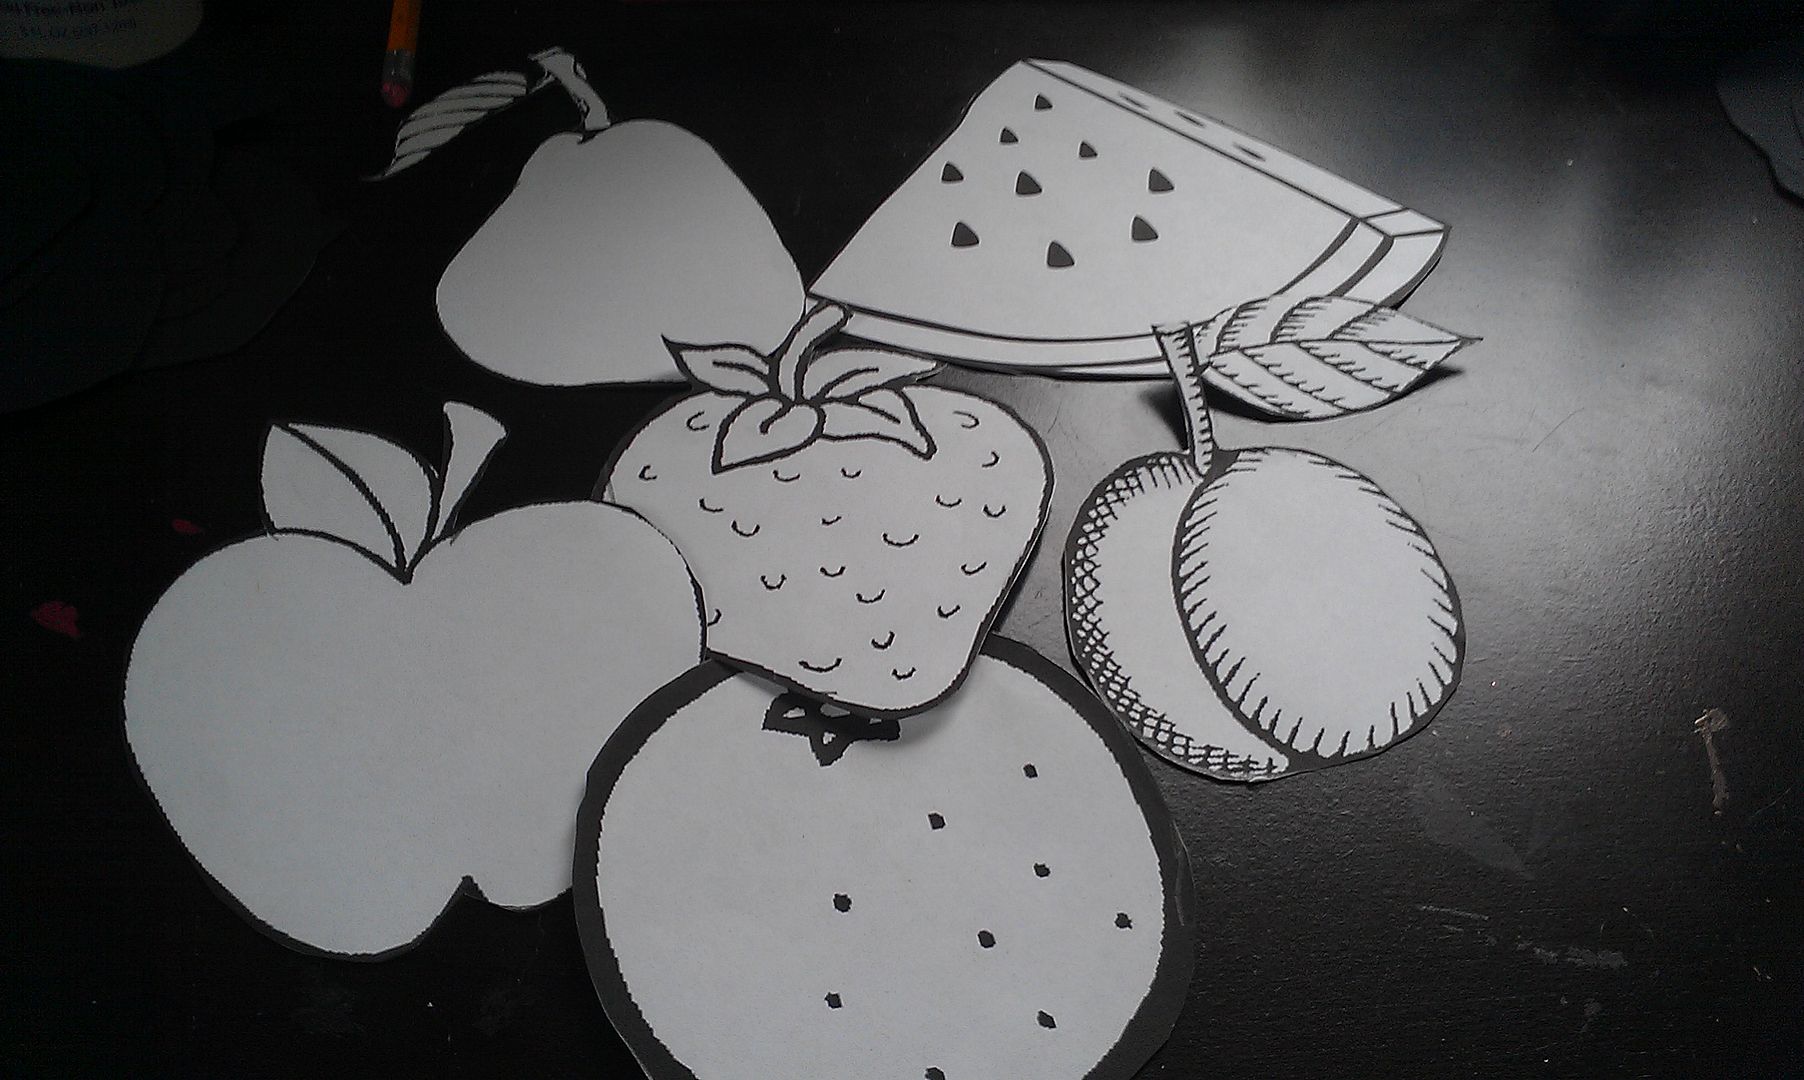
In the book our hungry little friend consumes: 1 apple, 2 pears, 3 plums, 4 strawberries and 5 oranges during the week. On Saturday he has a buffet of mostly junk food, but there is a watermelon slice in there too. I used these templates to trace the shapes on card stock.
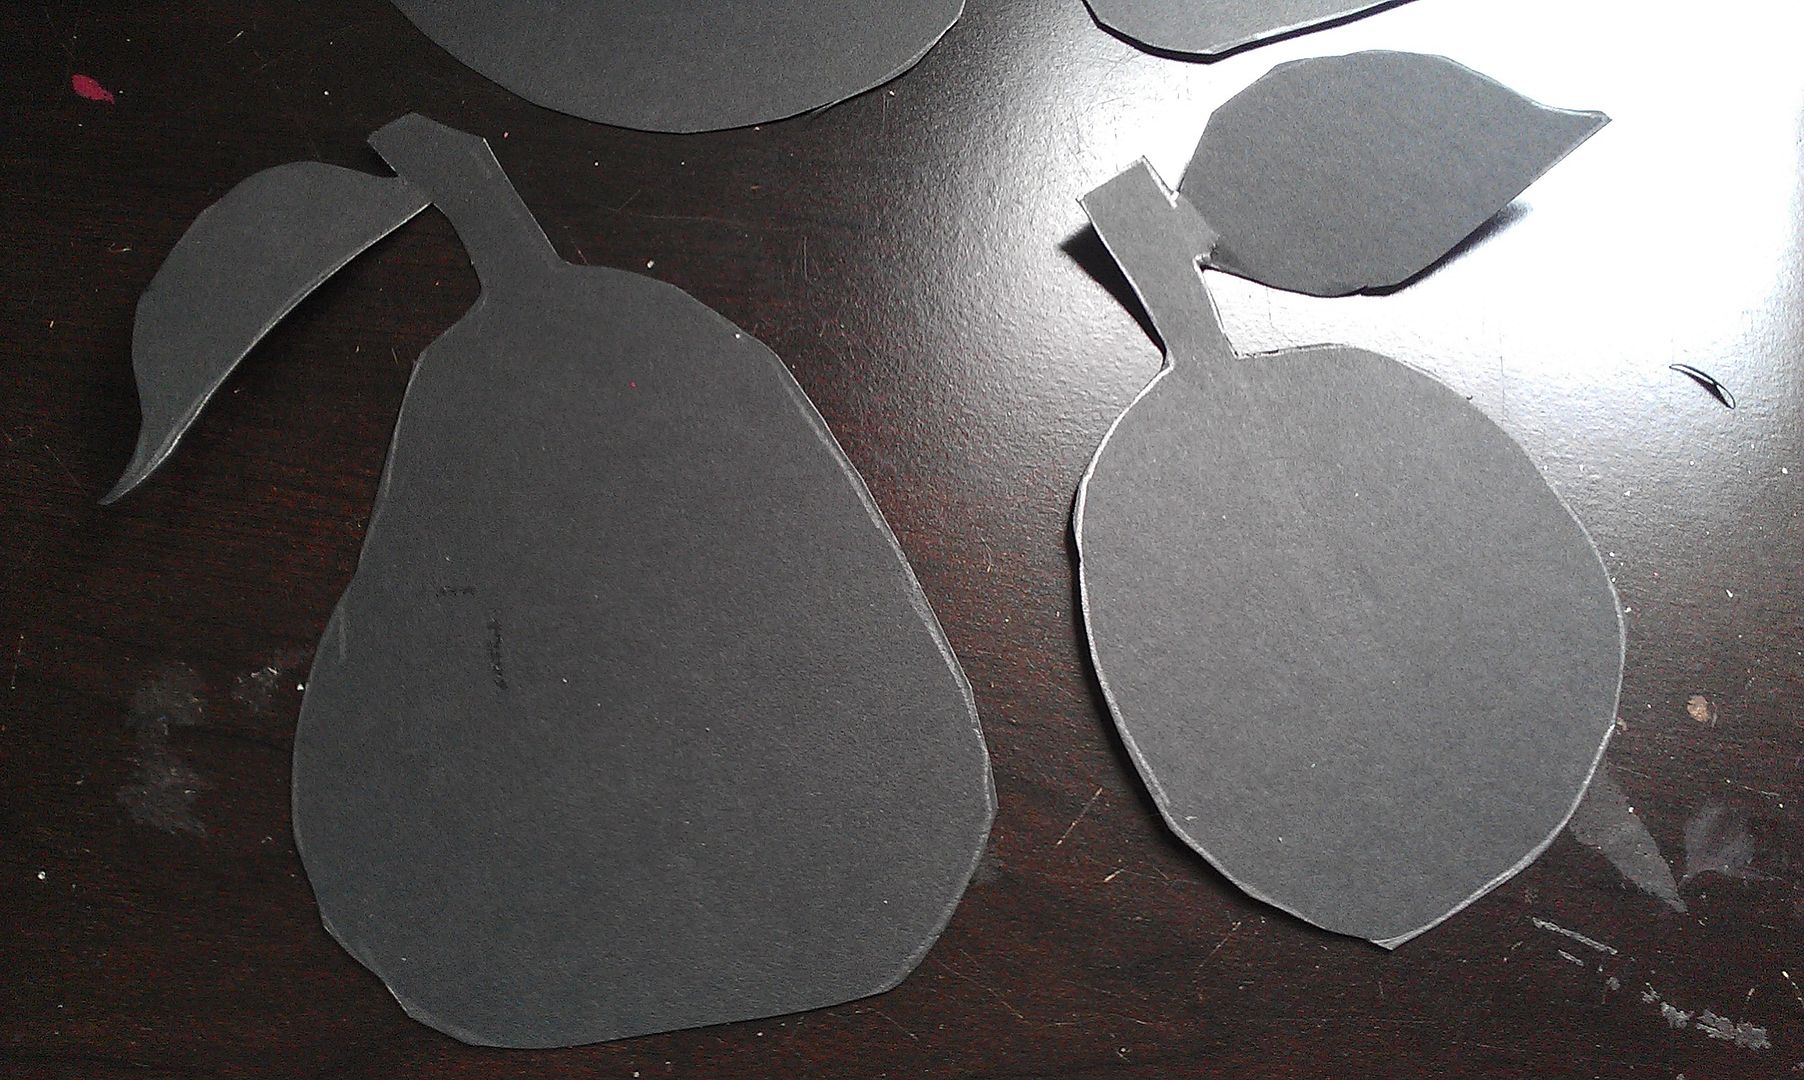
I counted out the number of letters I'd need to spell out happy birthday and the little one's name. I went in book order until the watermelon and then I picked a few fruits at random for the last 3 letters.
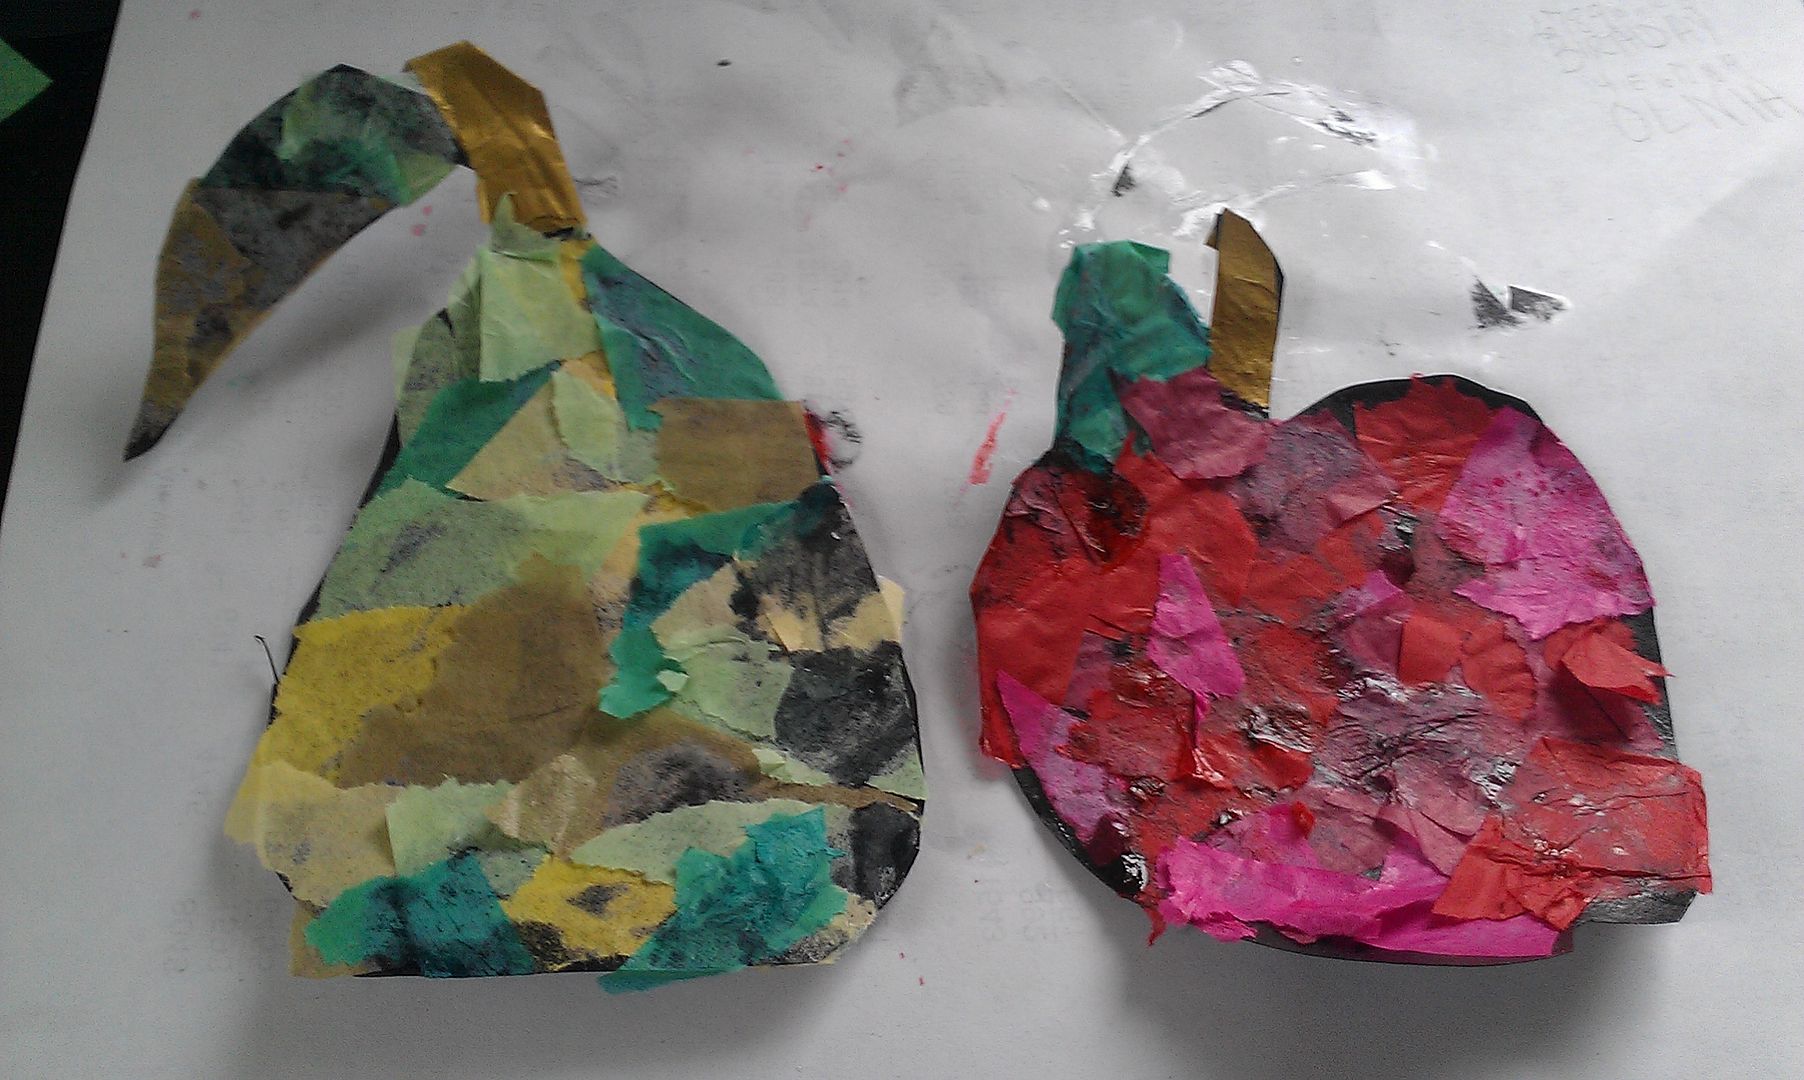
Now it gets messy. Put some paper down to protect your work surface. Select the color palette form your tissue paper assortment. Squeeze a little decoupage onto the piece of fruit and brush it out with the paint brush. You only need a thin layer. If you put too much it make the tissue paper transparent or tears it. Tear the tissue paper into irregular shapes and press down in random spots. The more colors the better.
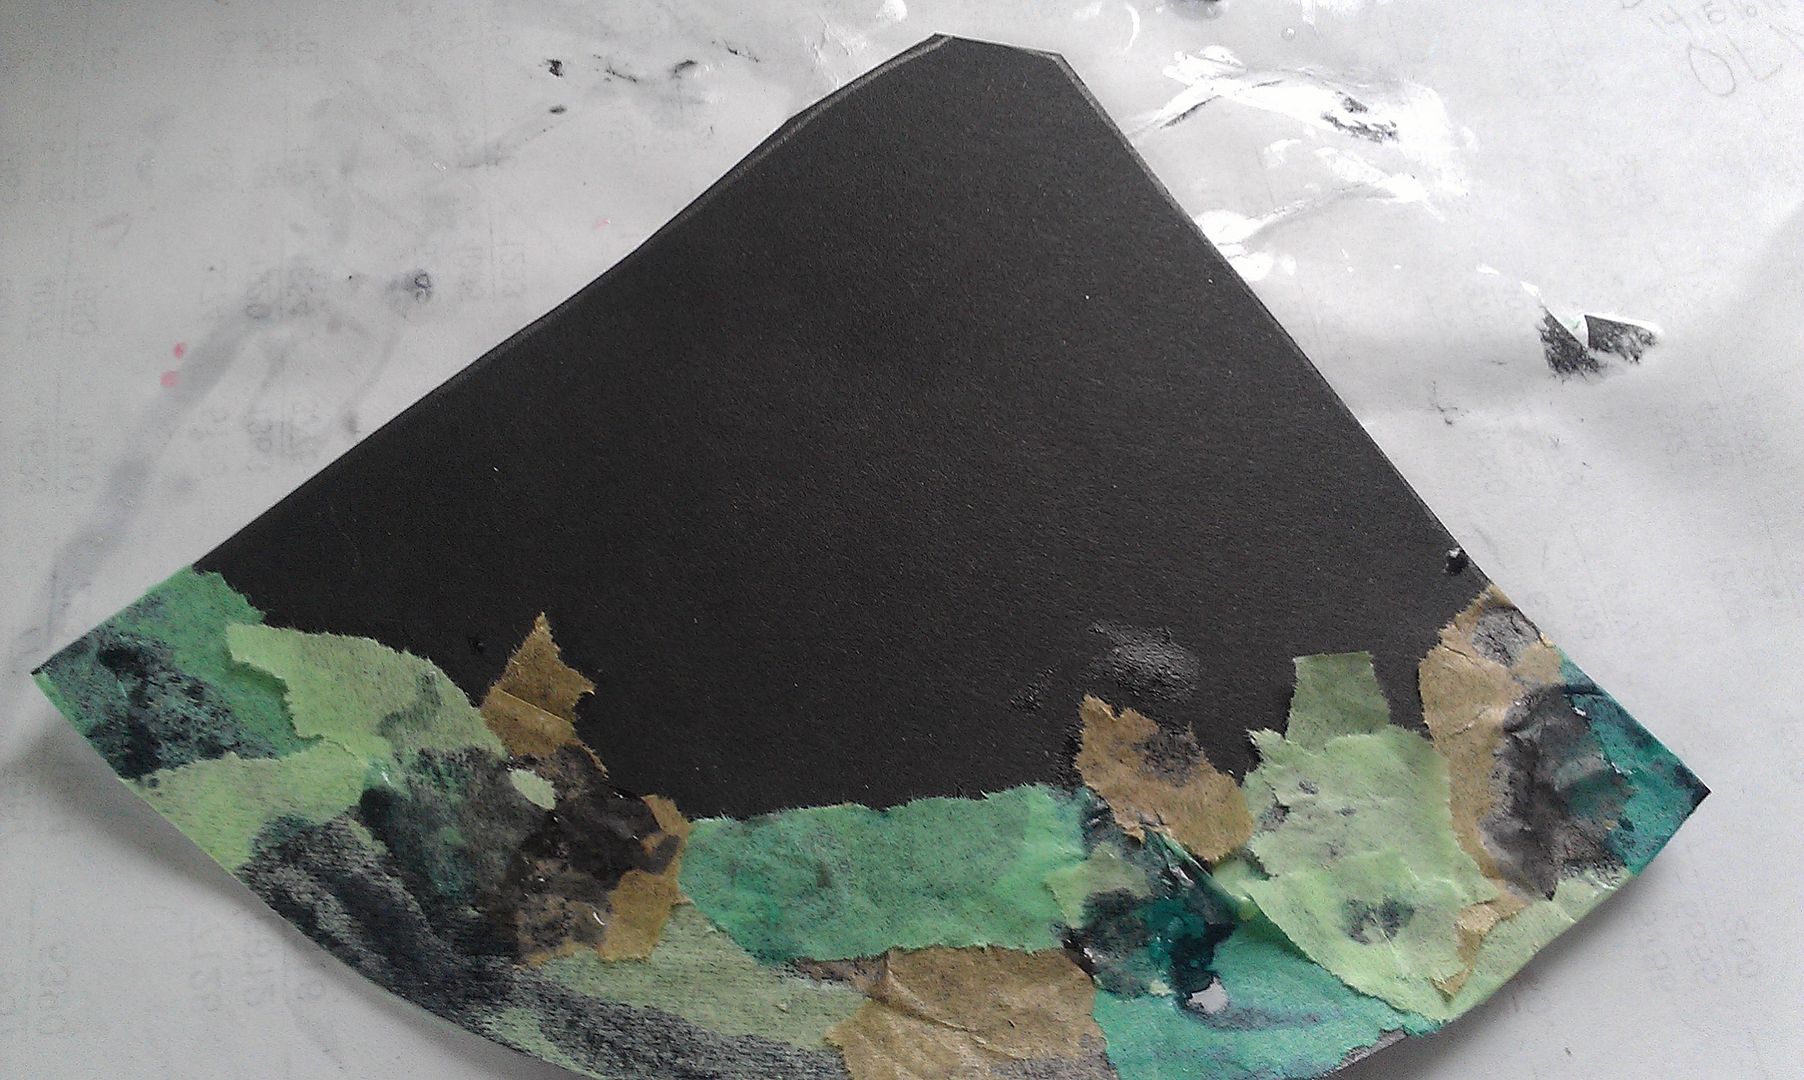
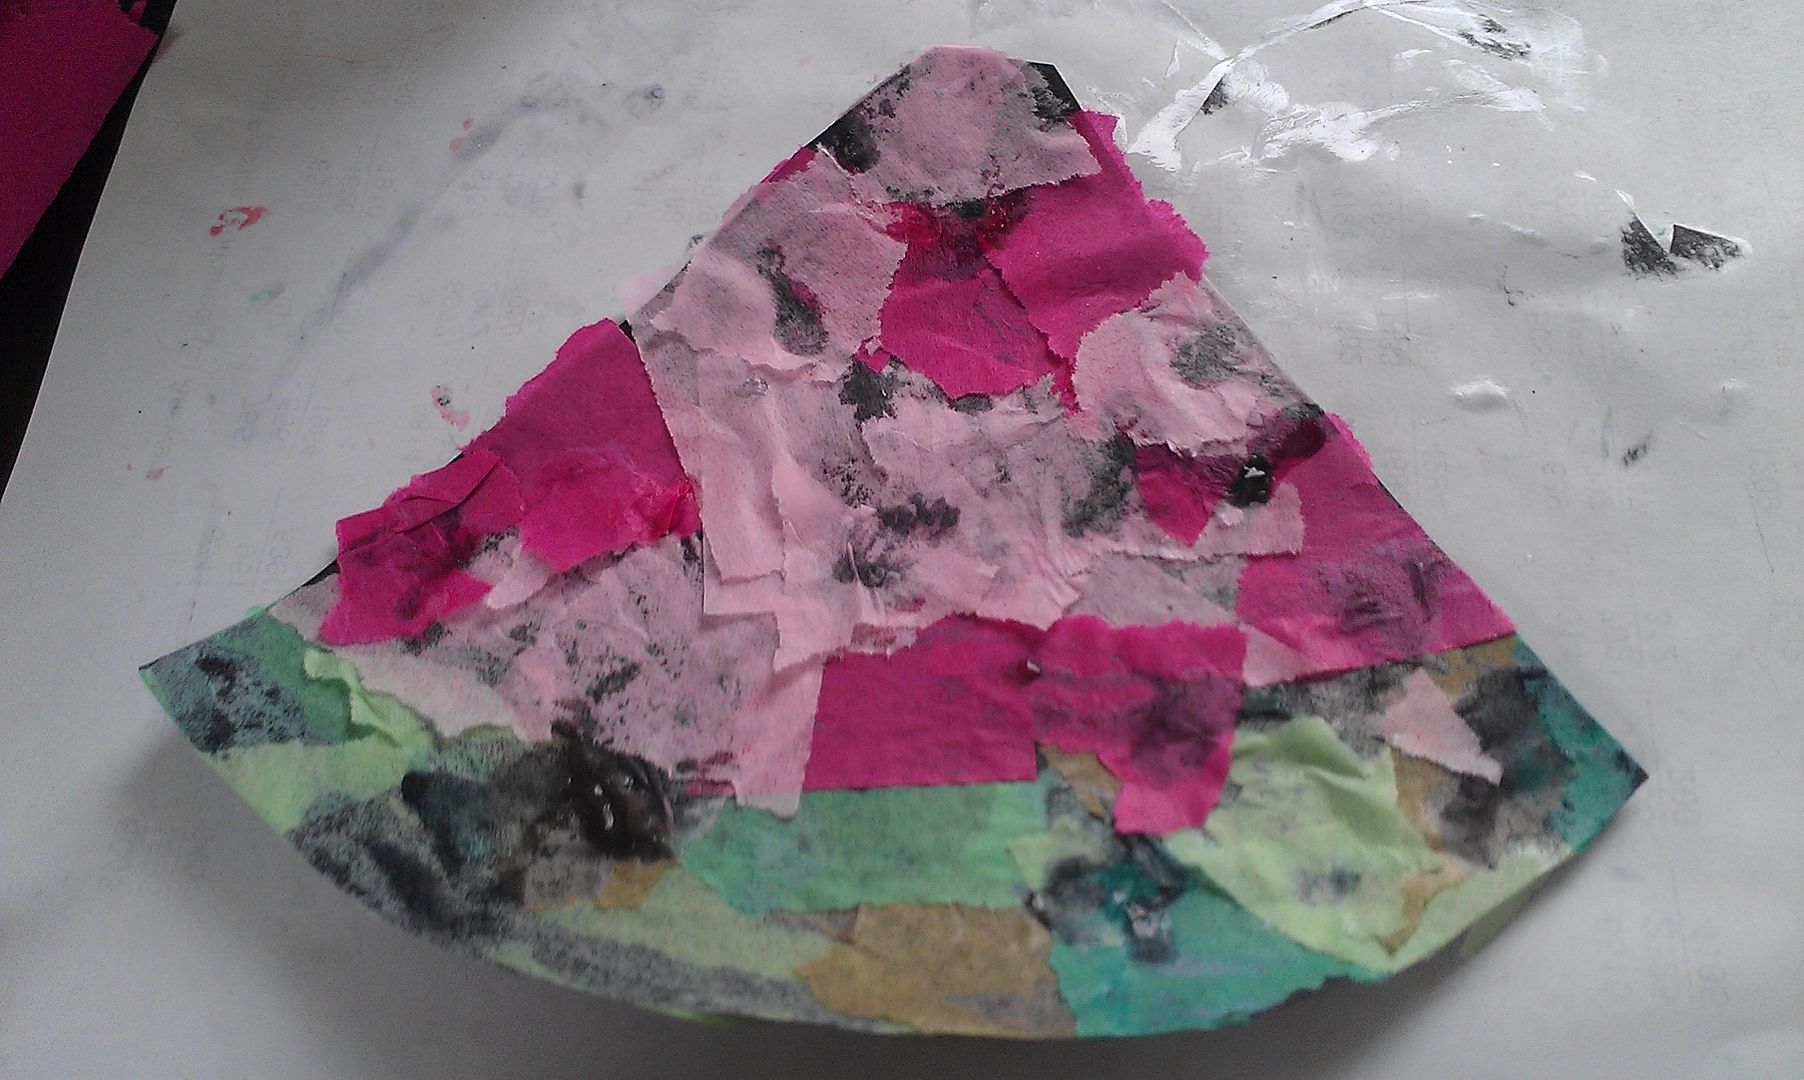
Let them dry completely. Brush a layer of decoupage over top to seal the tissue paper down. Be very careful not to tear it. I found patting the brush down over the spots were the edges of the tissue paper met helped. Let them dry again.
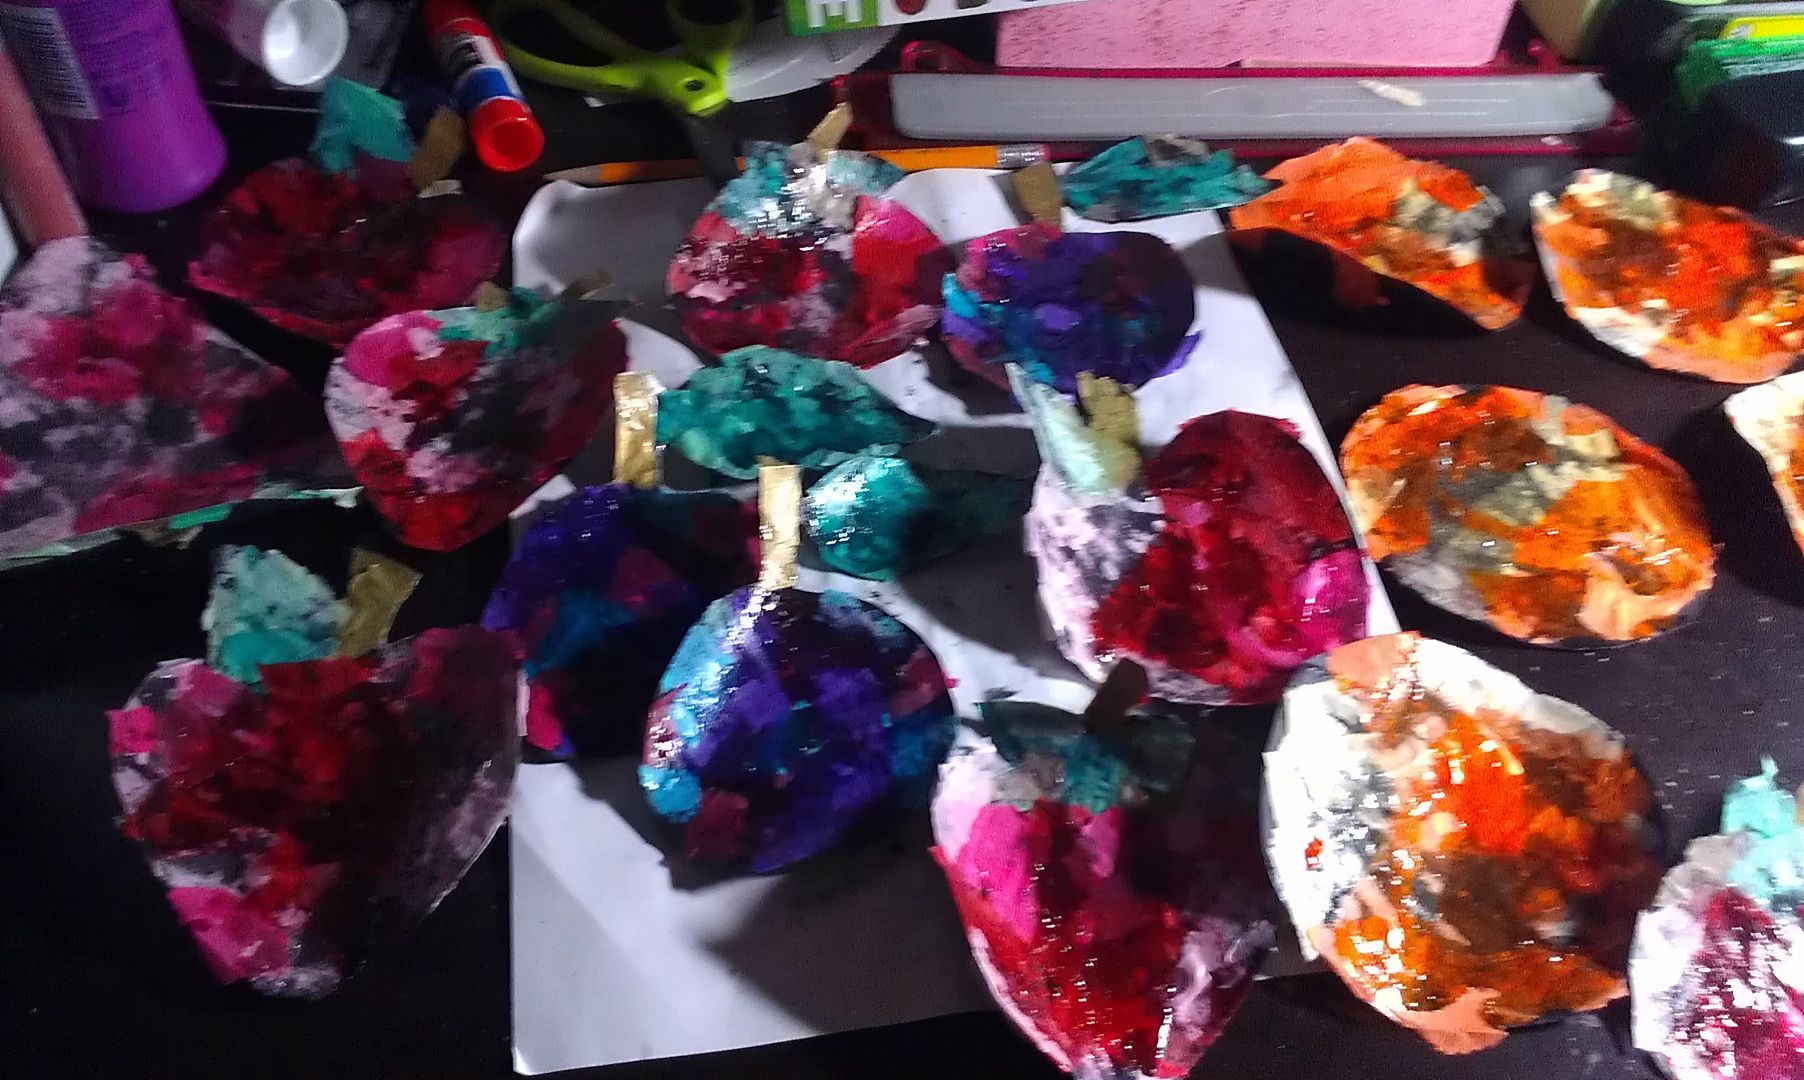
When they are Completely dry lay them upside down on the table and stack some heavy books on top. They curl up from the glue. This flattens them out so they'll lay right for the banner.
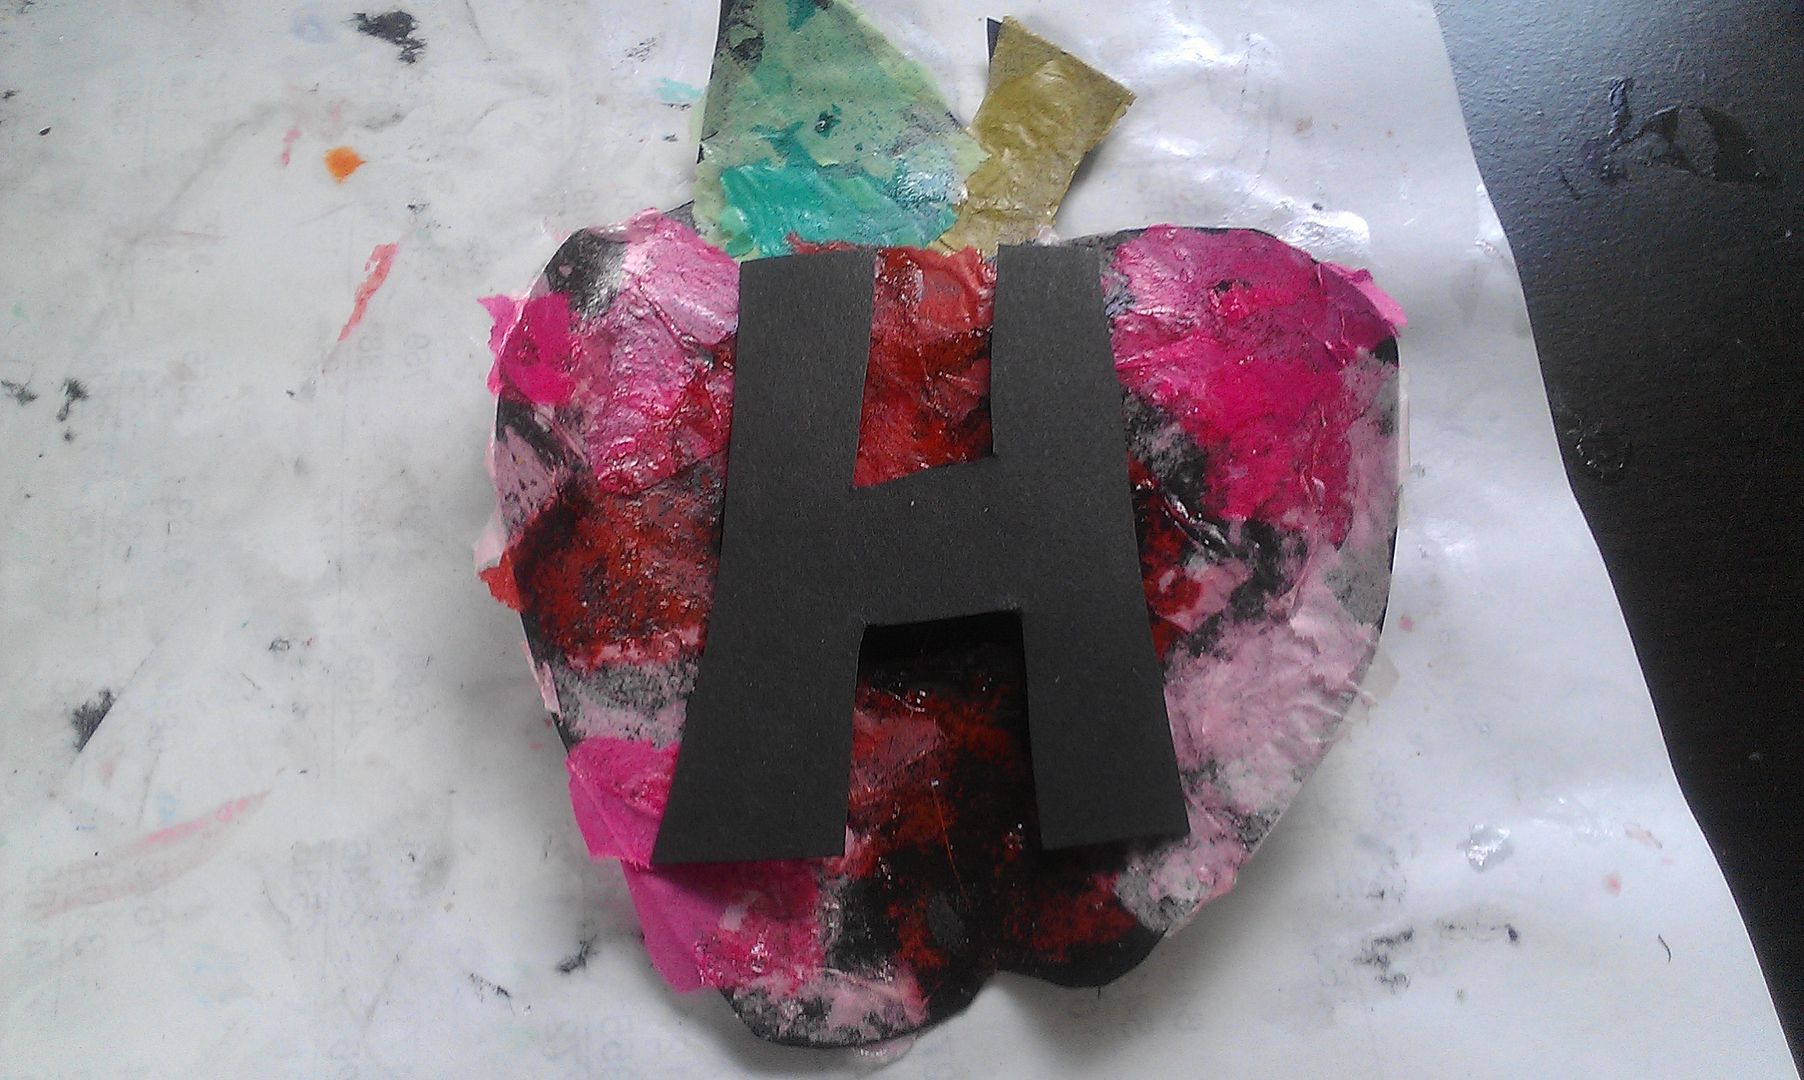
I drew the letters on card stock and cut them out.
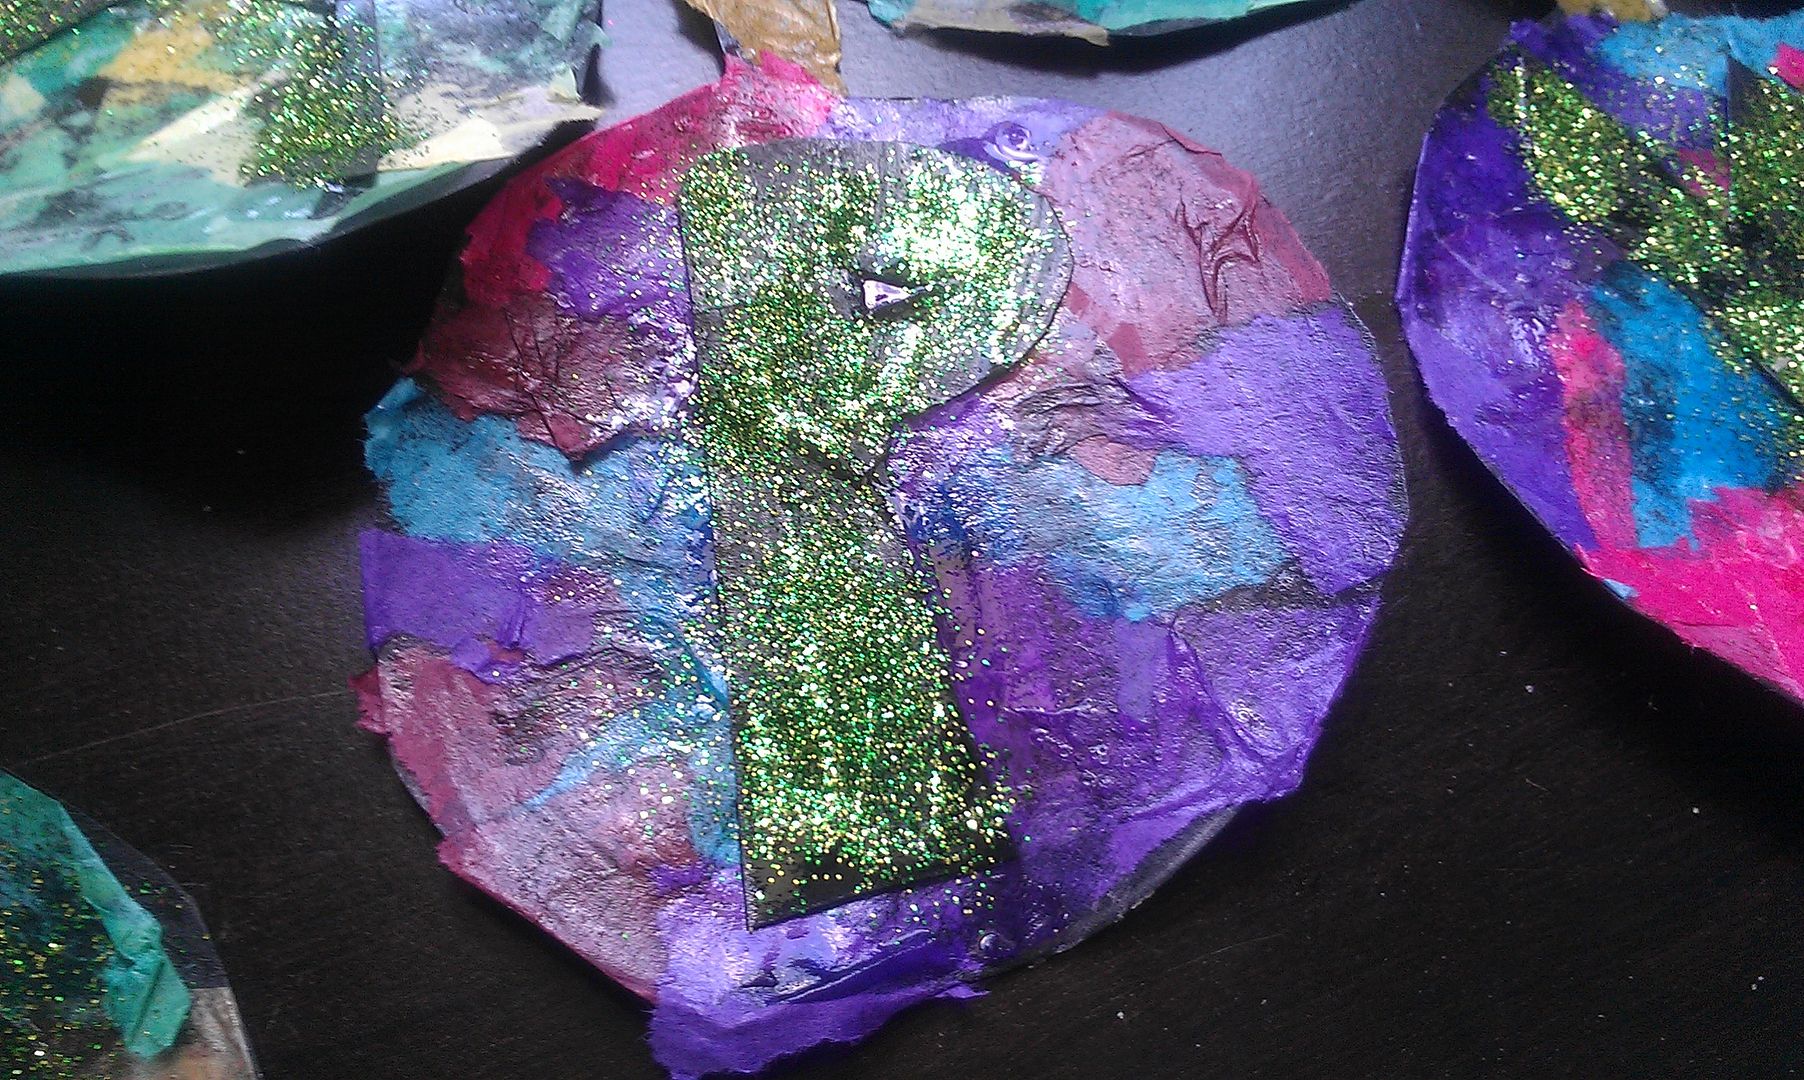
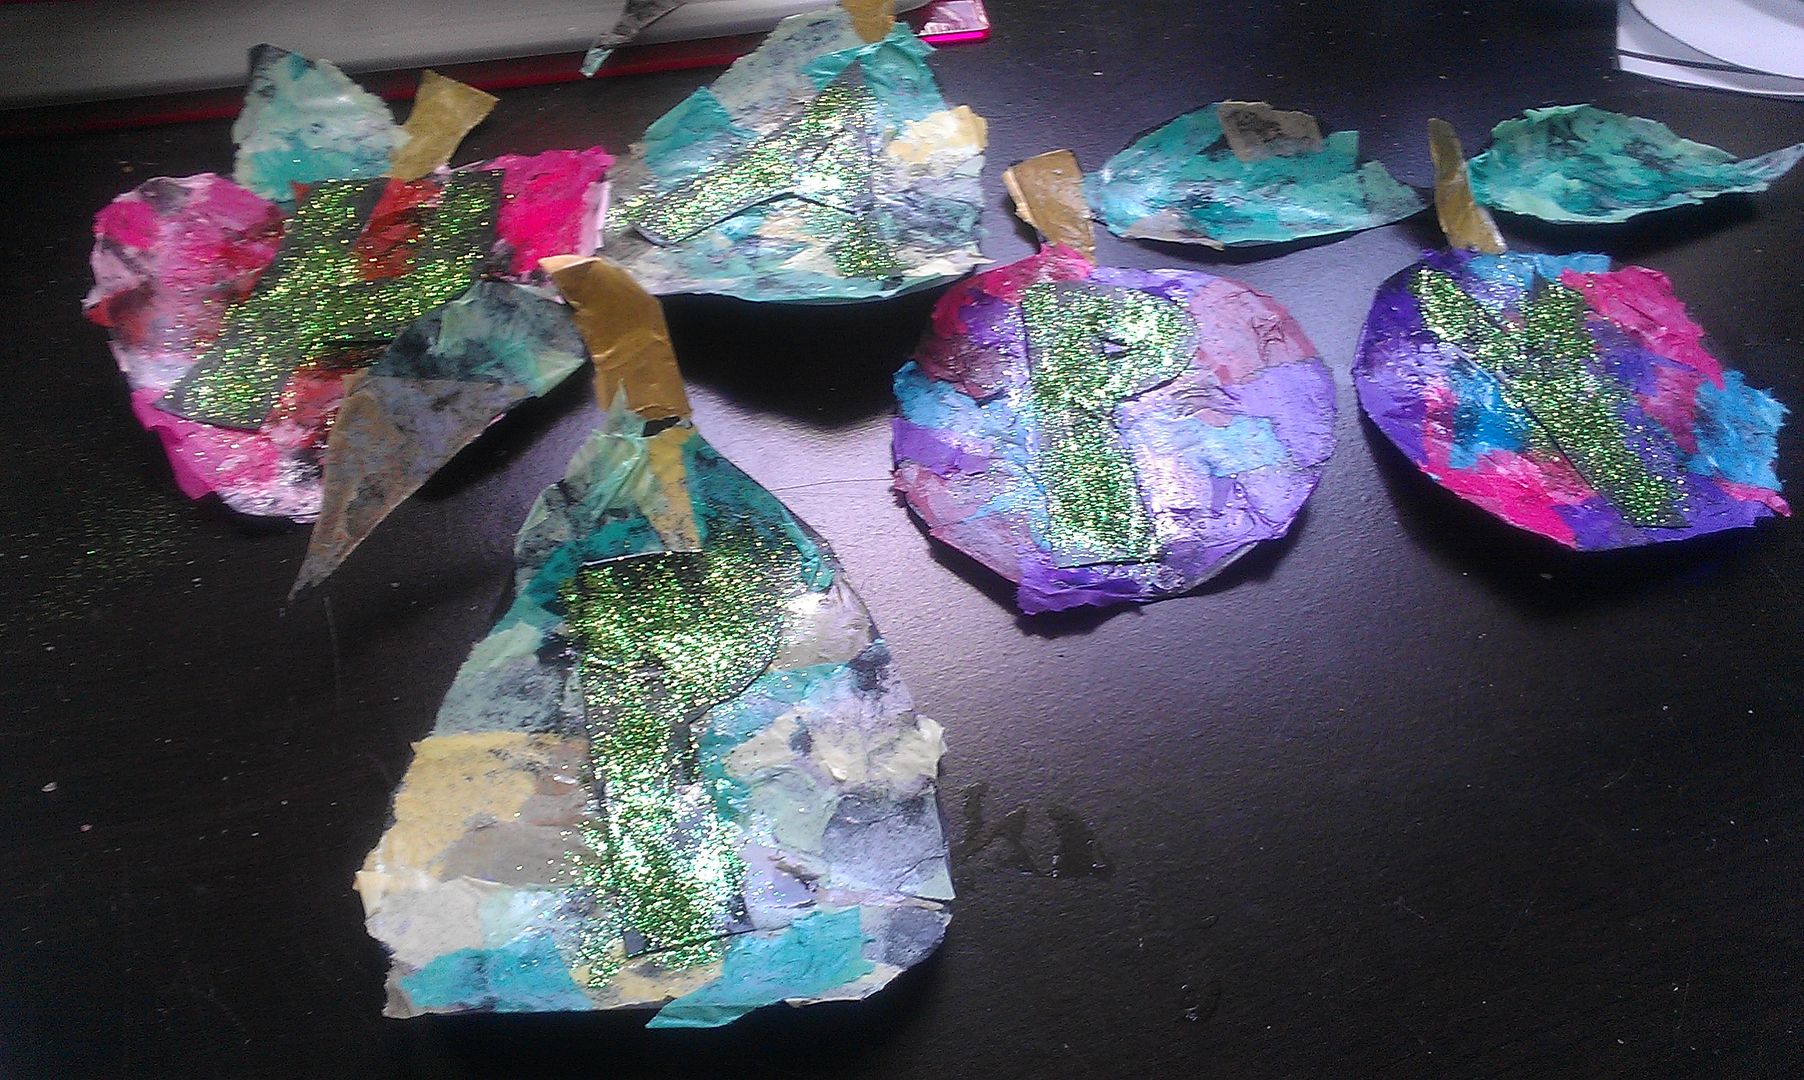
Then as I was arranging the letters on to the correct pieces of fruit my husband remarked "Those are dark. Are you going to do sparkles?". So, I broke out the glitter. A different color for each word. I held the letter down brushed decoupage over the letter and then shook glitter on to it. When they were dry I shook the excess off and did touch ups.

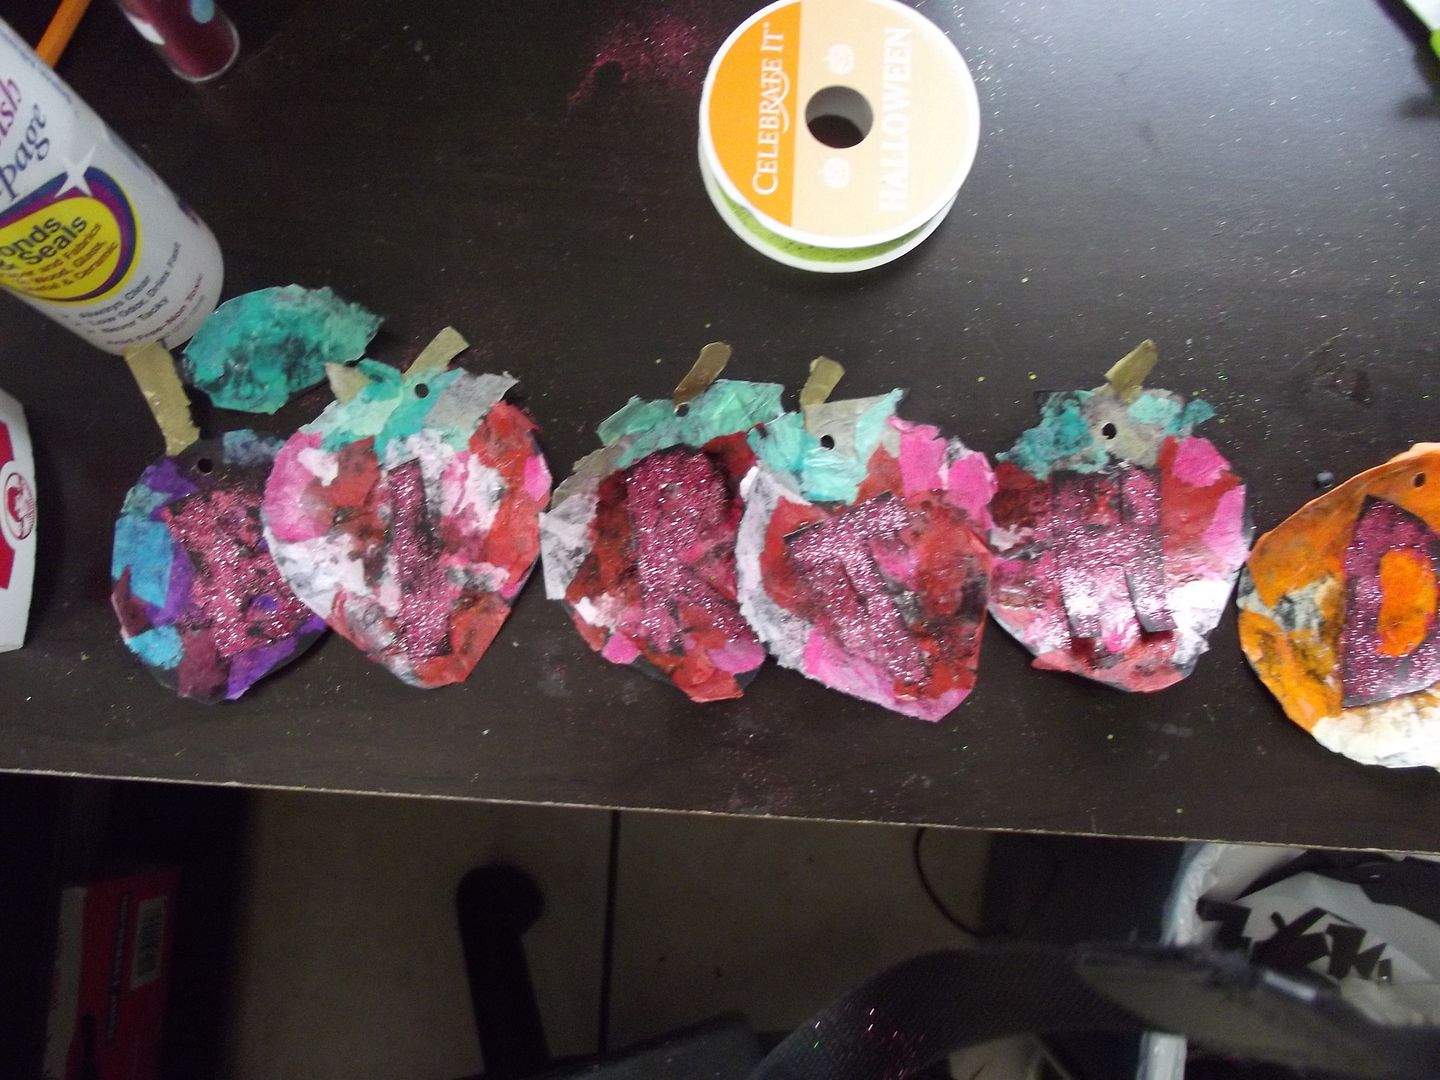
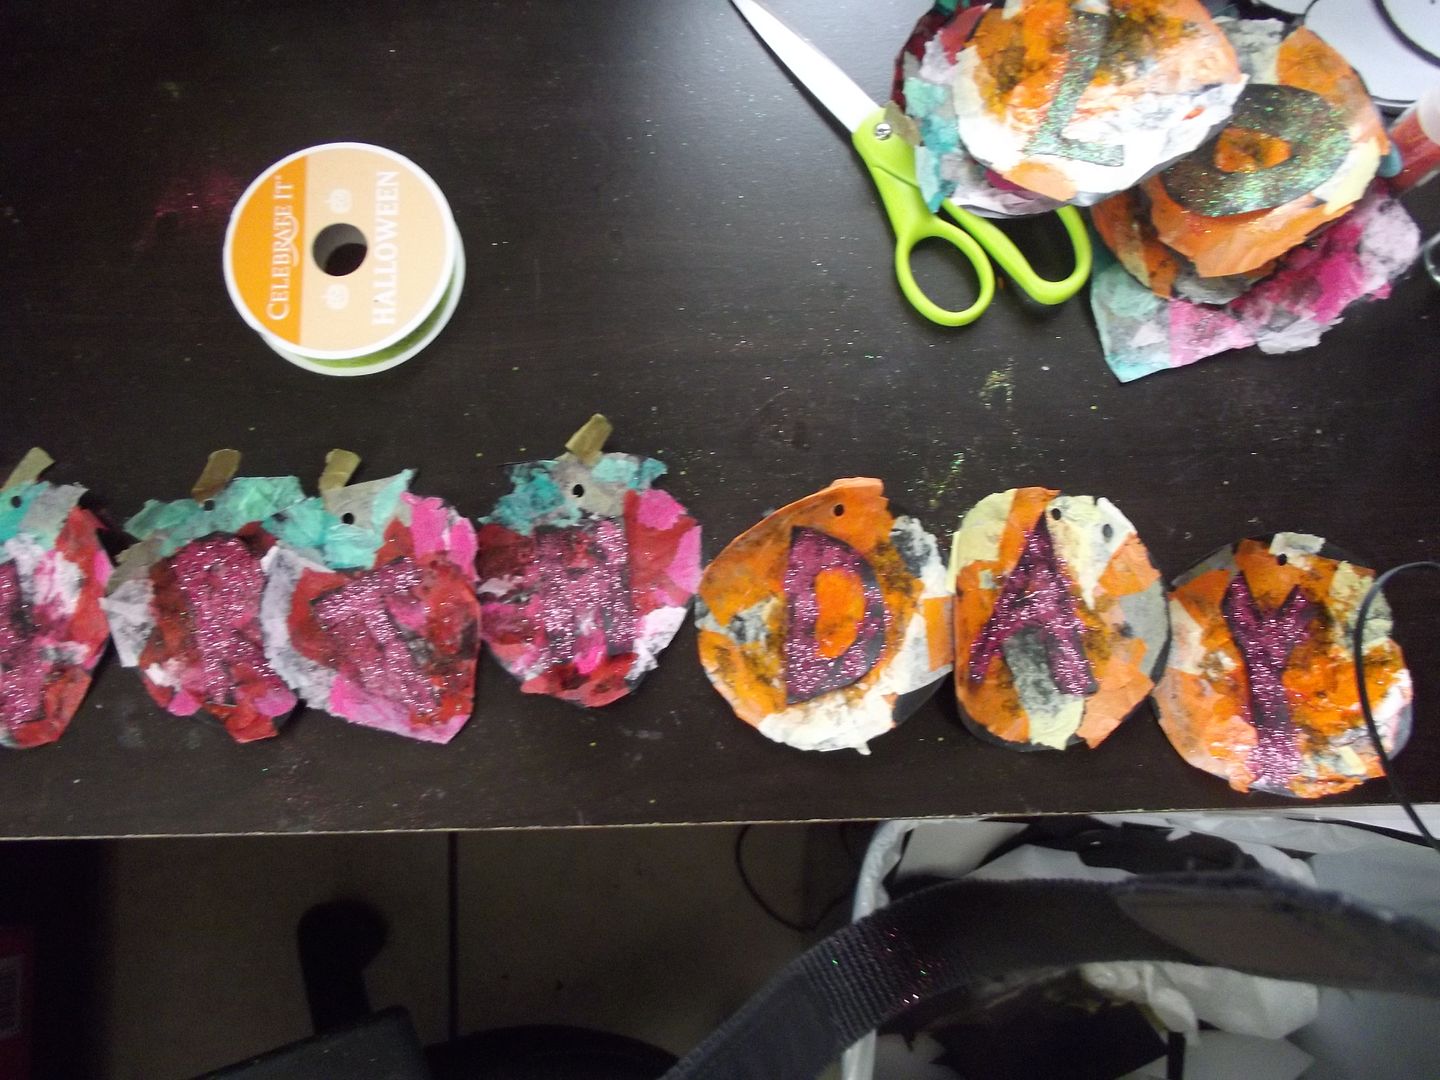
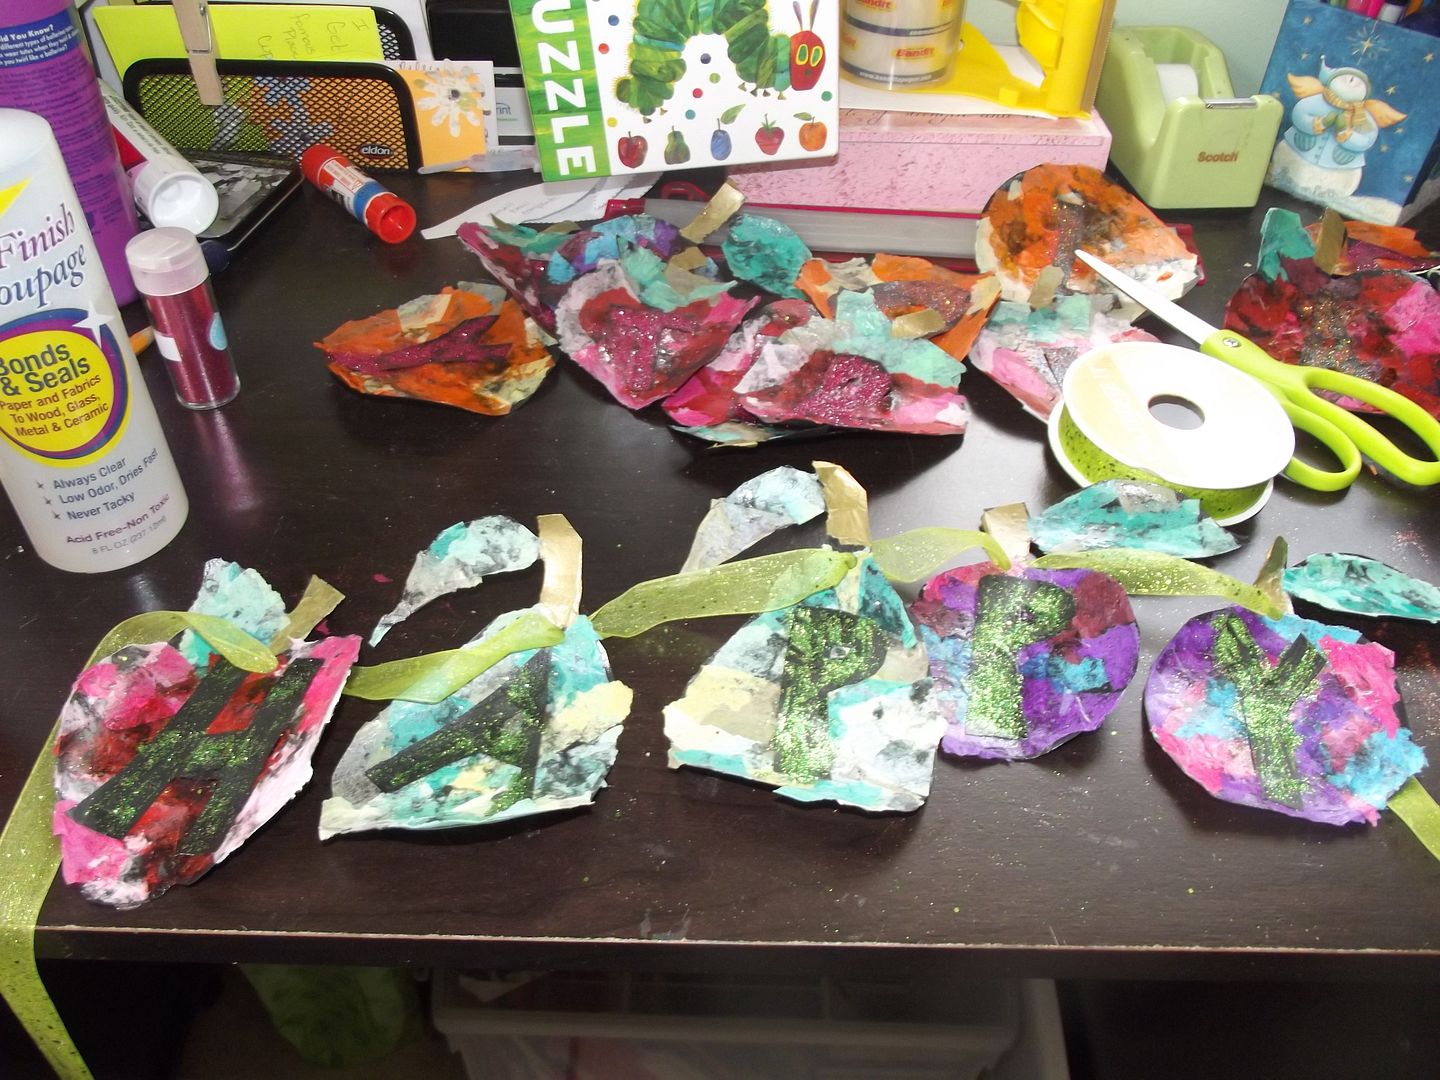
Then I punched a hole in the top of each letter. You may, if you have time, want to put grommets in to make them more durable and easier to string. Then thread them onto some pretty ribbon. I used sheer green ribbon with with green glittery dots in it. It took me about 4yds.

No comments:
Post a Comment