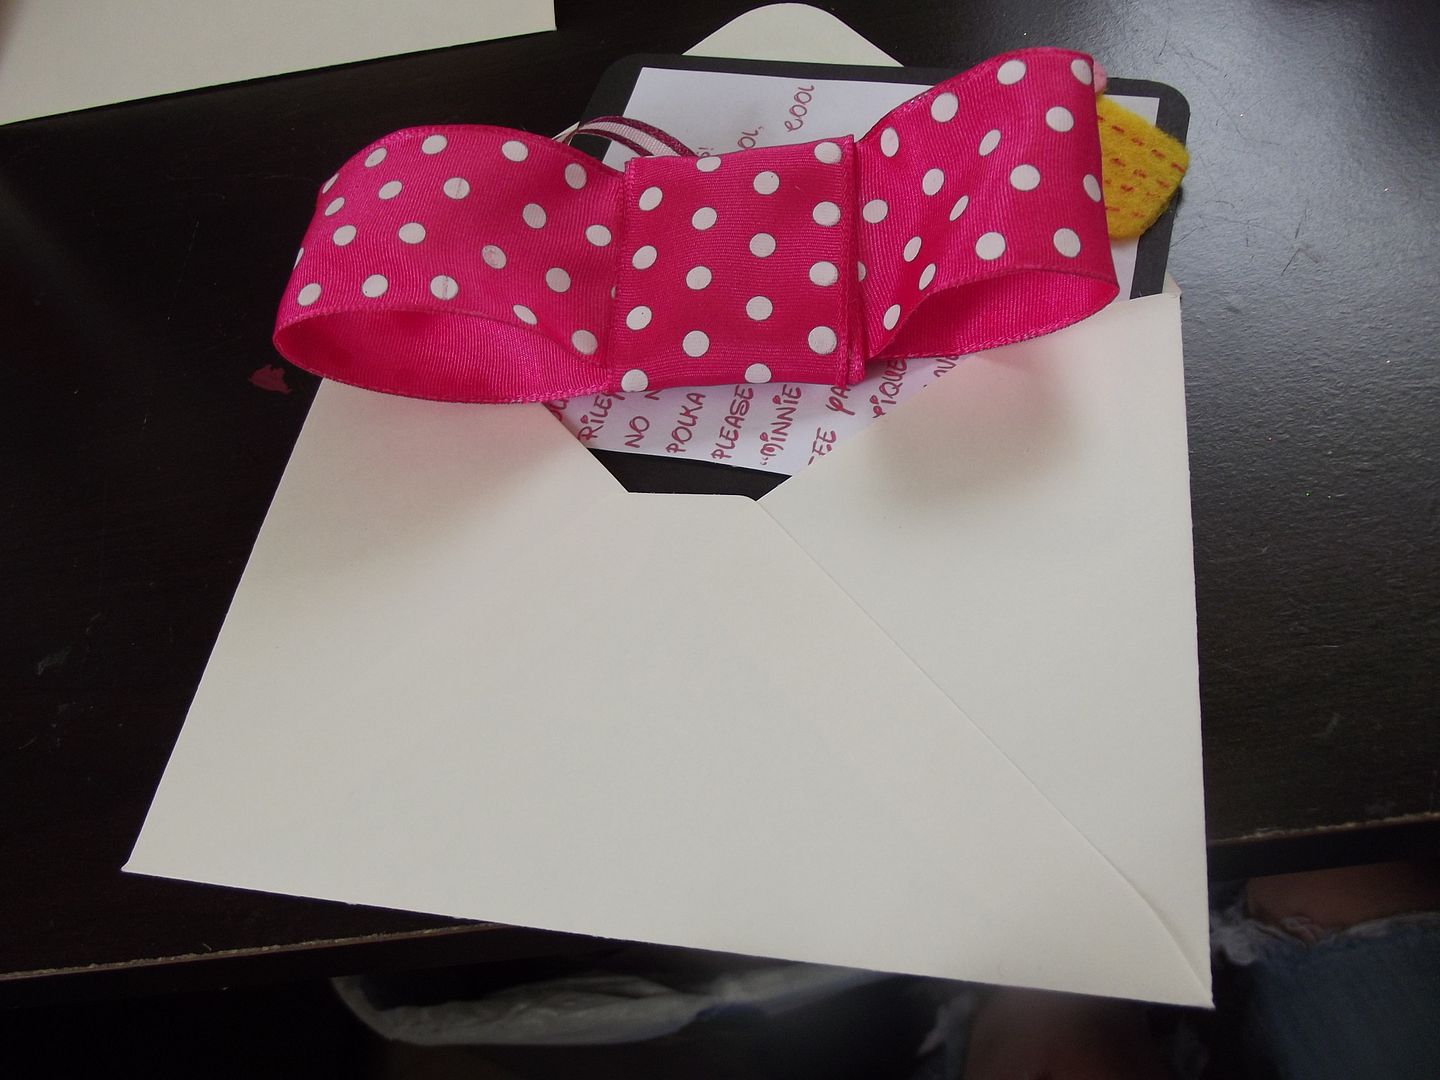
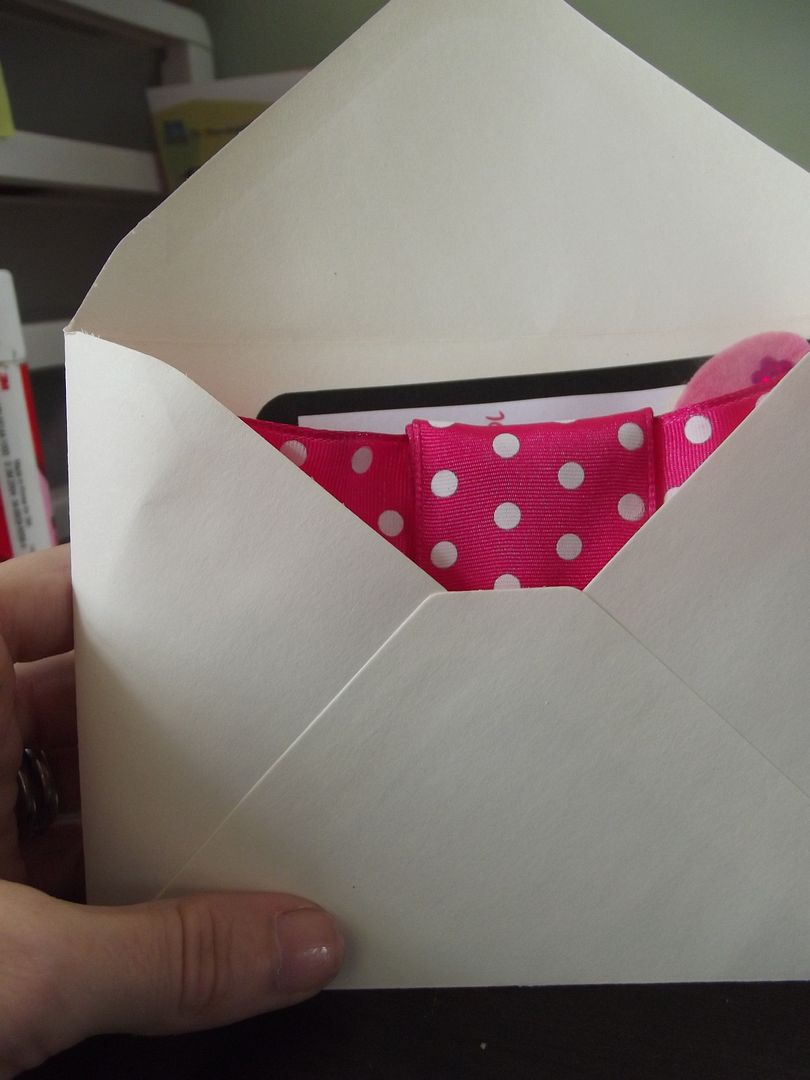
They are fiiiiiiinnnnnniiisssshhhhed! Hooray! We have Riley's Minne's Bow-tique invites ready for distribution. A million thanks to my amazing Mother-in-law for the idea inspiration!

Materials
- Polka dotted ribbon
- Hot glue gun
- Barrette backs/Safety pins
- Card stock
- Walt Disney font
- Thin ribbon
- Scissors
- Glue stick

As anyone who checks the blog regularly knows, I adore making my own invitations. I was showcasing my failures at making a paper bow earlier in the week. Well, my mother-in-law happened to see the fail pile and comment that a child would probably be delighted to receive a big puffy Minnie bow as an invitation and ask if I'd considered getting some wired ribbon and making real bows. I was sold! Perfect. Wearable invitations that perfectly fit the theme.
First I twisted the ribbon into the approximate shape I wanted to measure the length I needed. Then I cut the number of pieces I'd need. Twelve invitations took me just over 8yds.
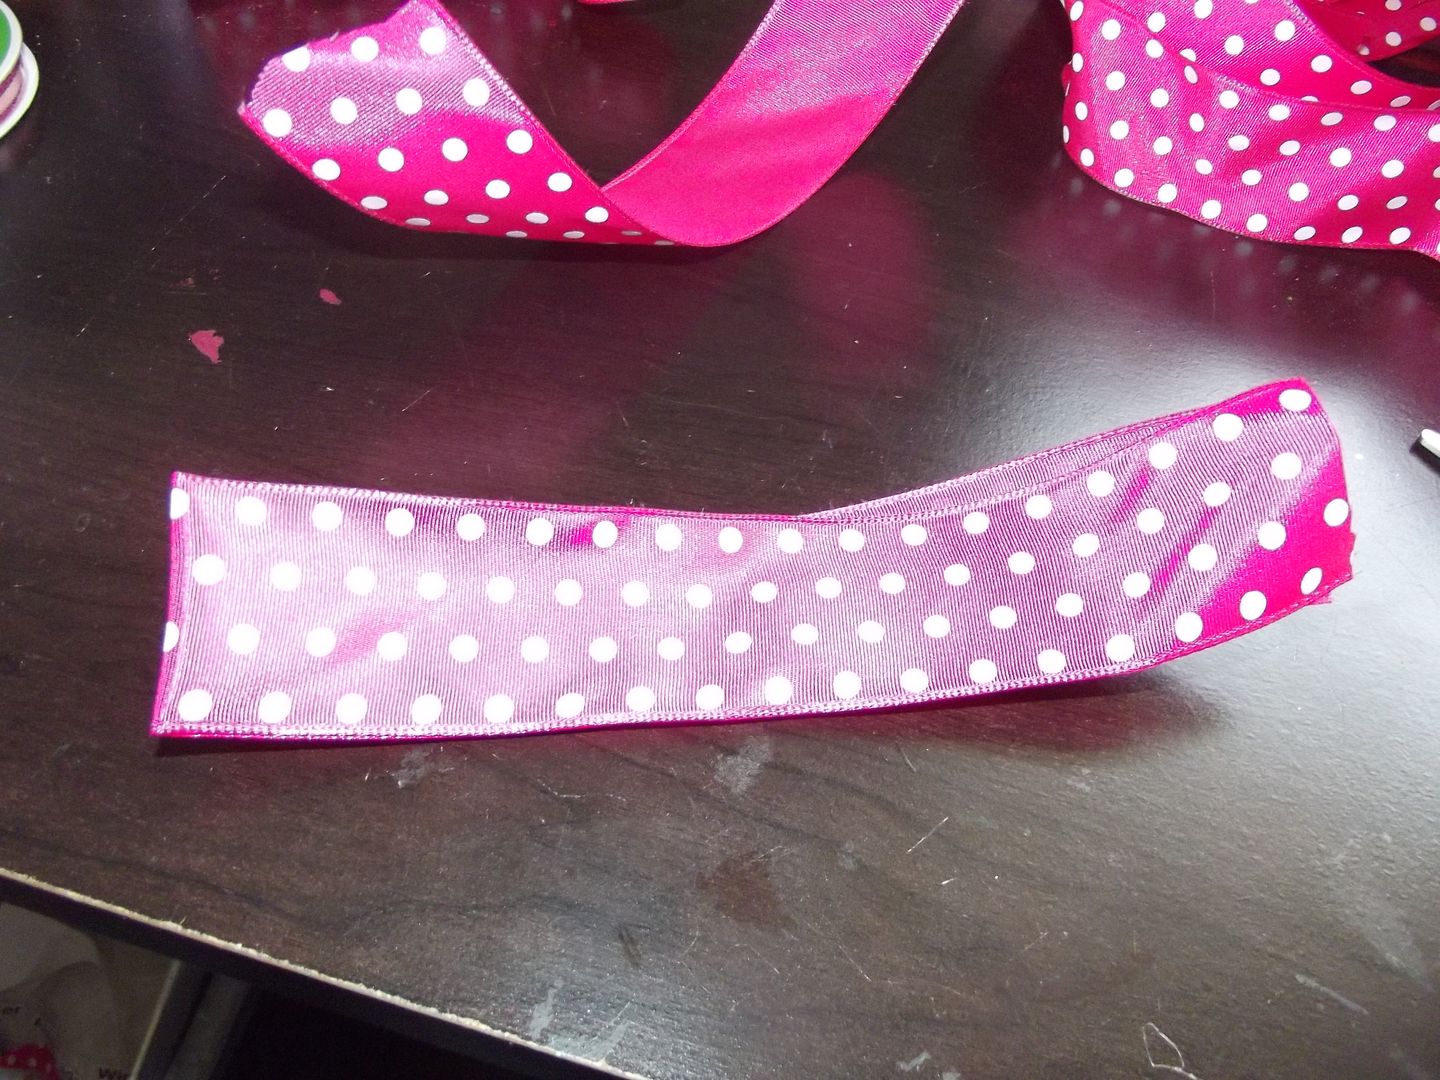
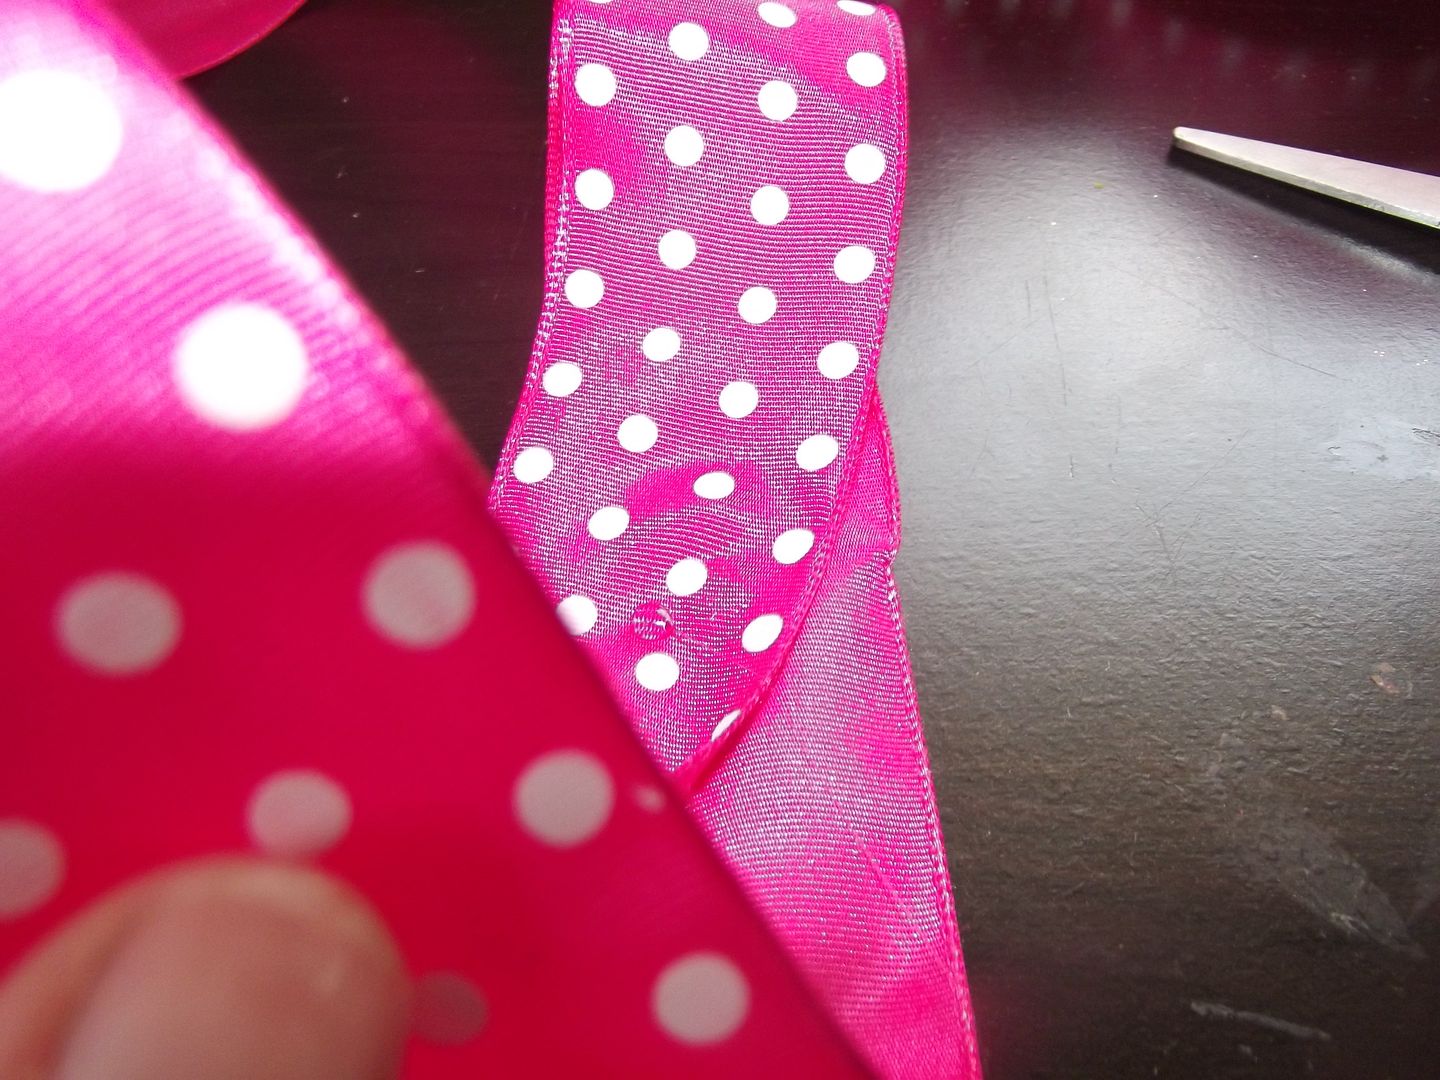
The first one I made I just keep wrapping and folding the same length of ribbon. I realized after the first one I needed to cut off a piece to be the knot part. If you don't it makes it super uneven on one side. Once I'd trimmed the end, I folded what was left in half. Then I folded each side toward the middle and down. You should have a shape similar to a heart. Then I hot glued each piece down.
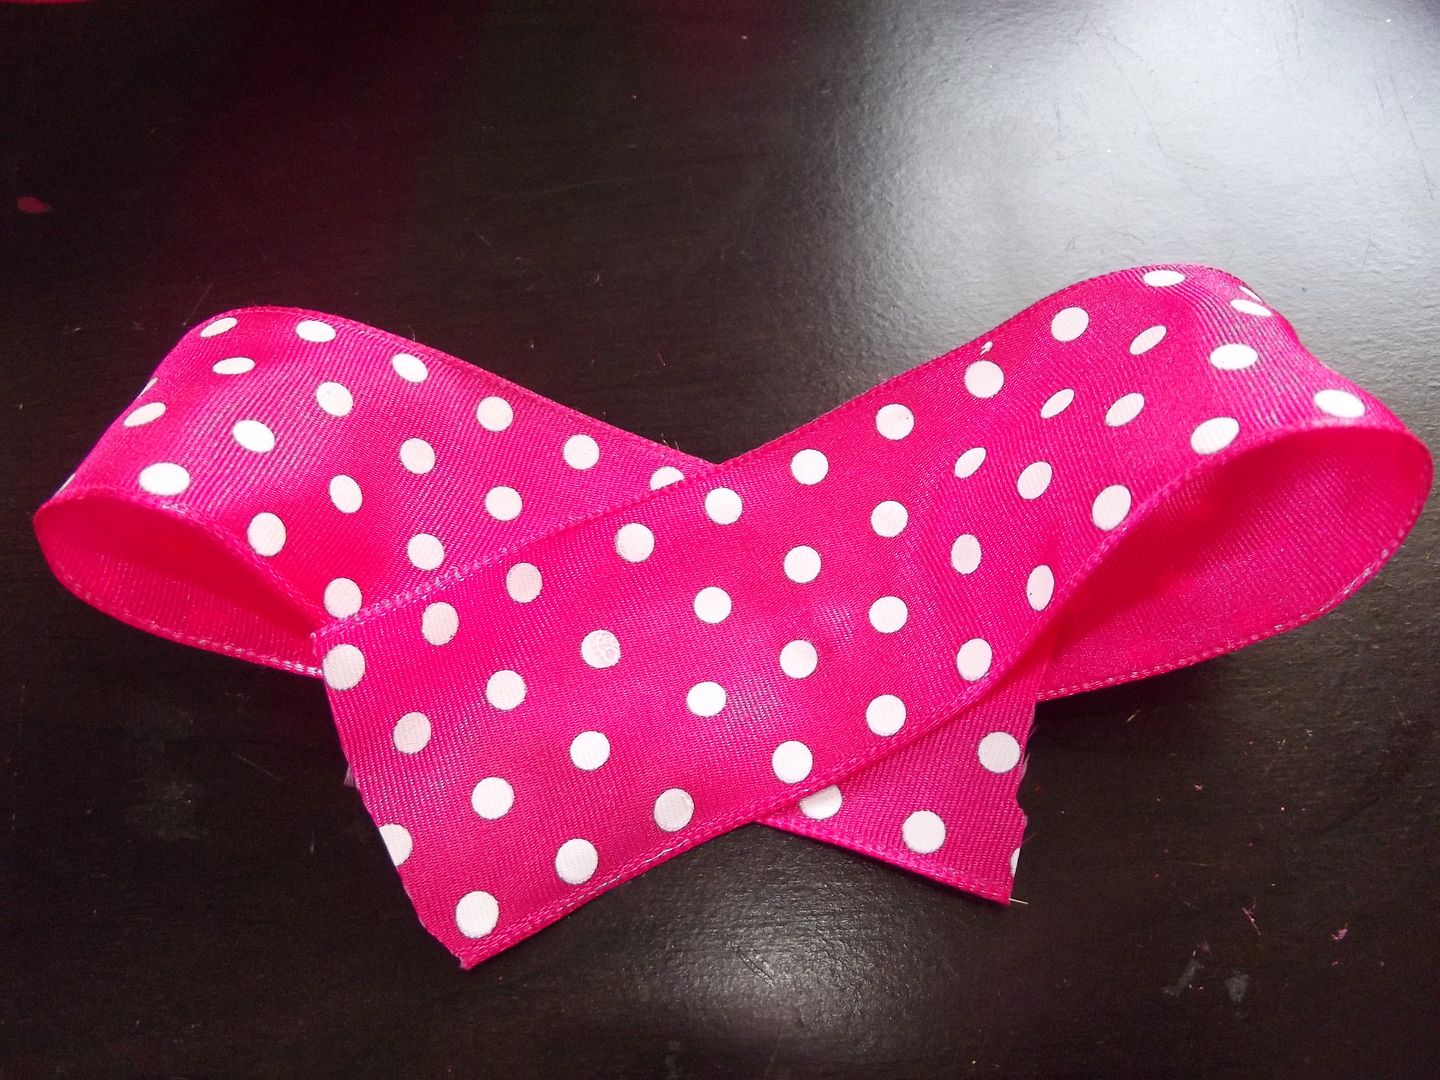
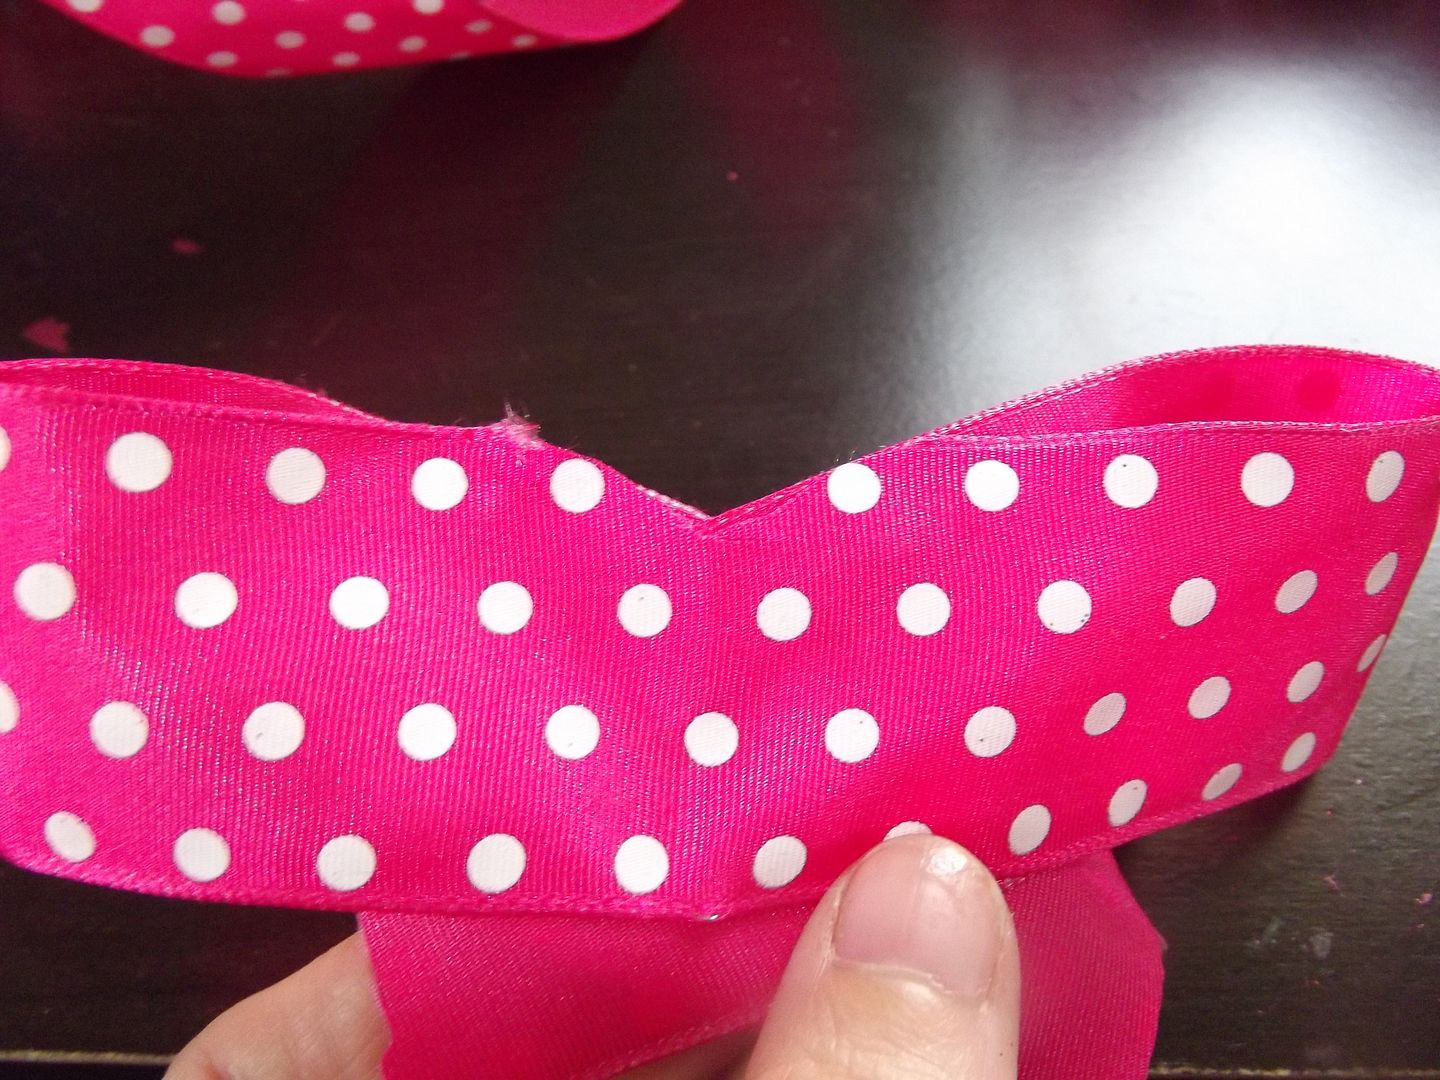
Once your heart shape is glued down turn the bow over and cut a V shape in the middle of the back.
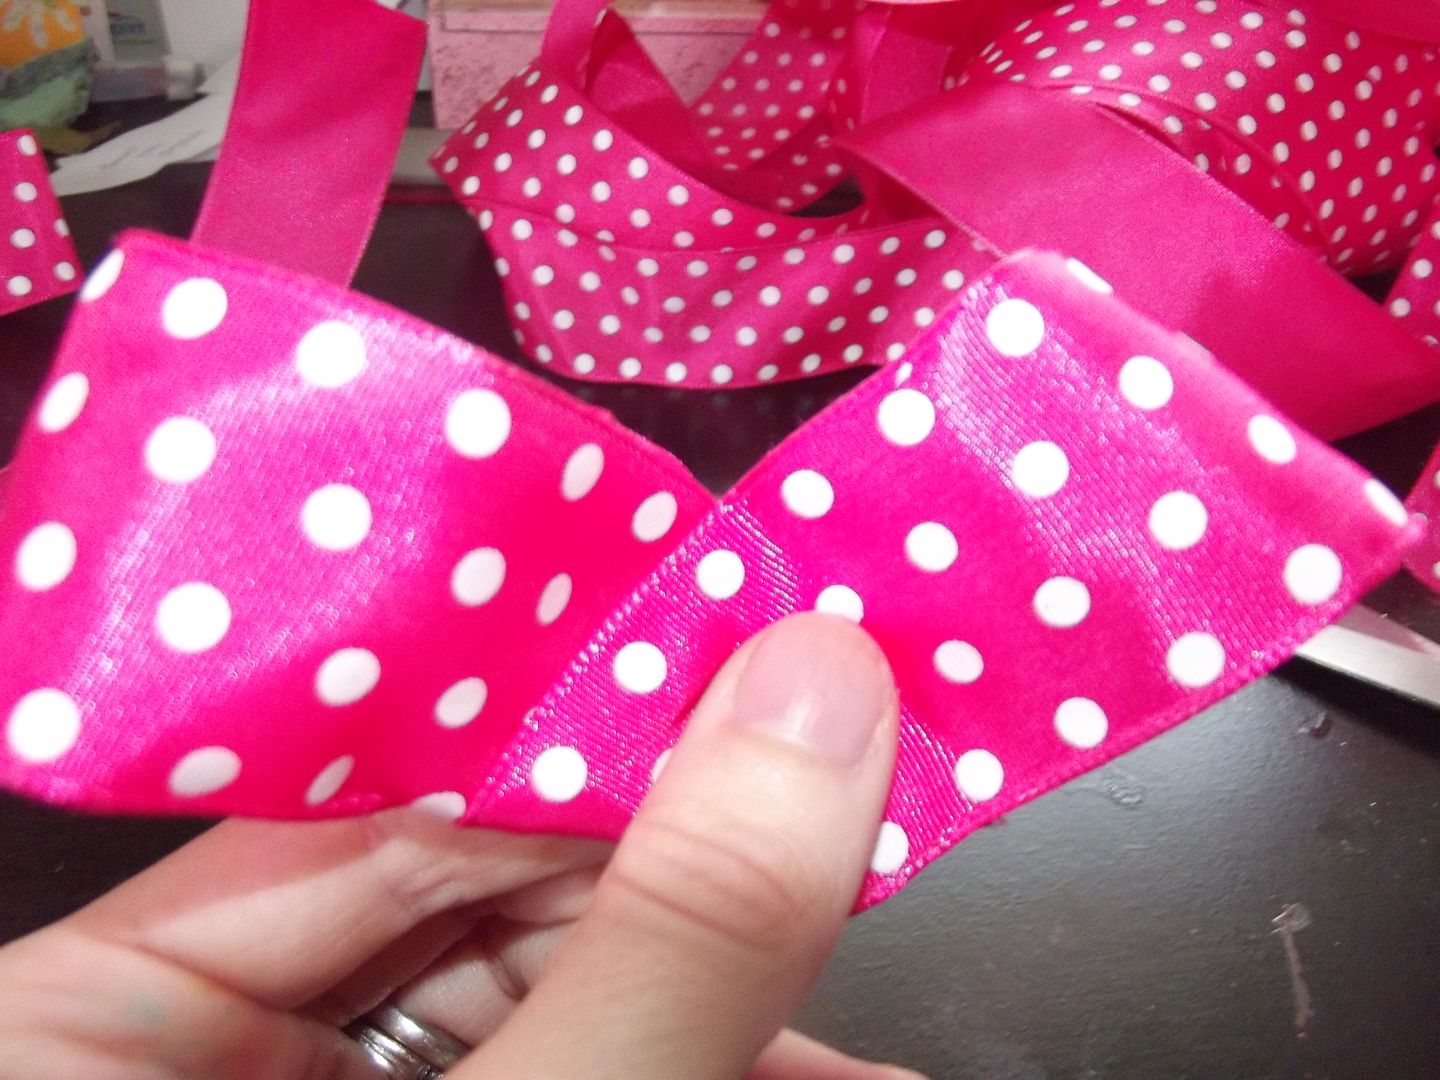
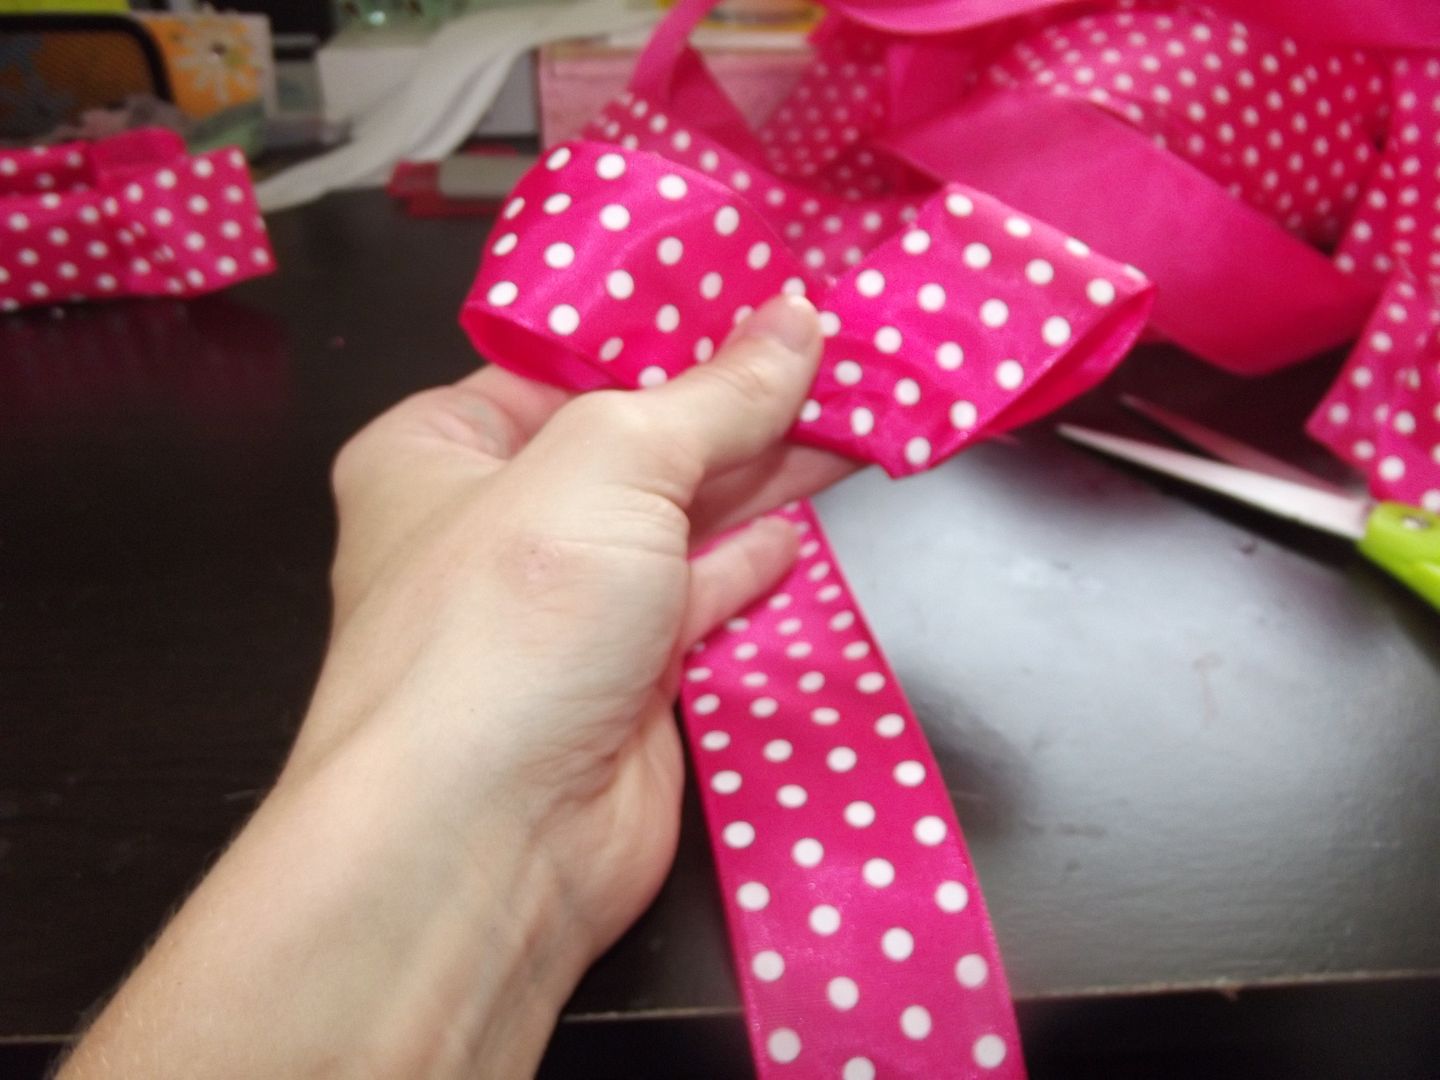
Then fold or trim the pieces hanging down. Put a dot of hot glue on the back and attach the excess you cut off at the beginning to it.
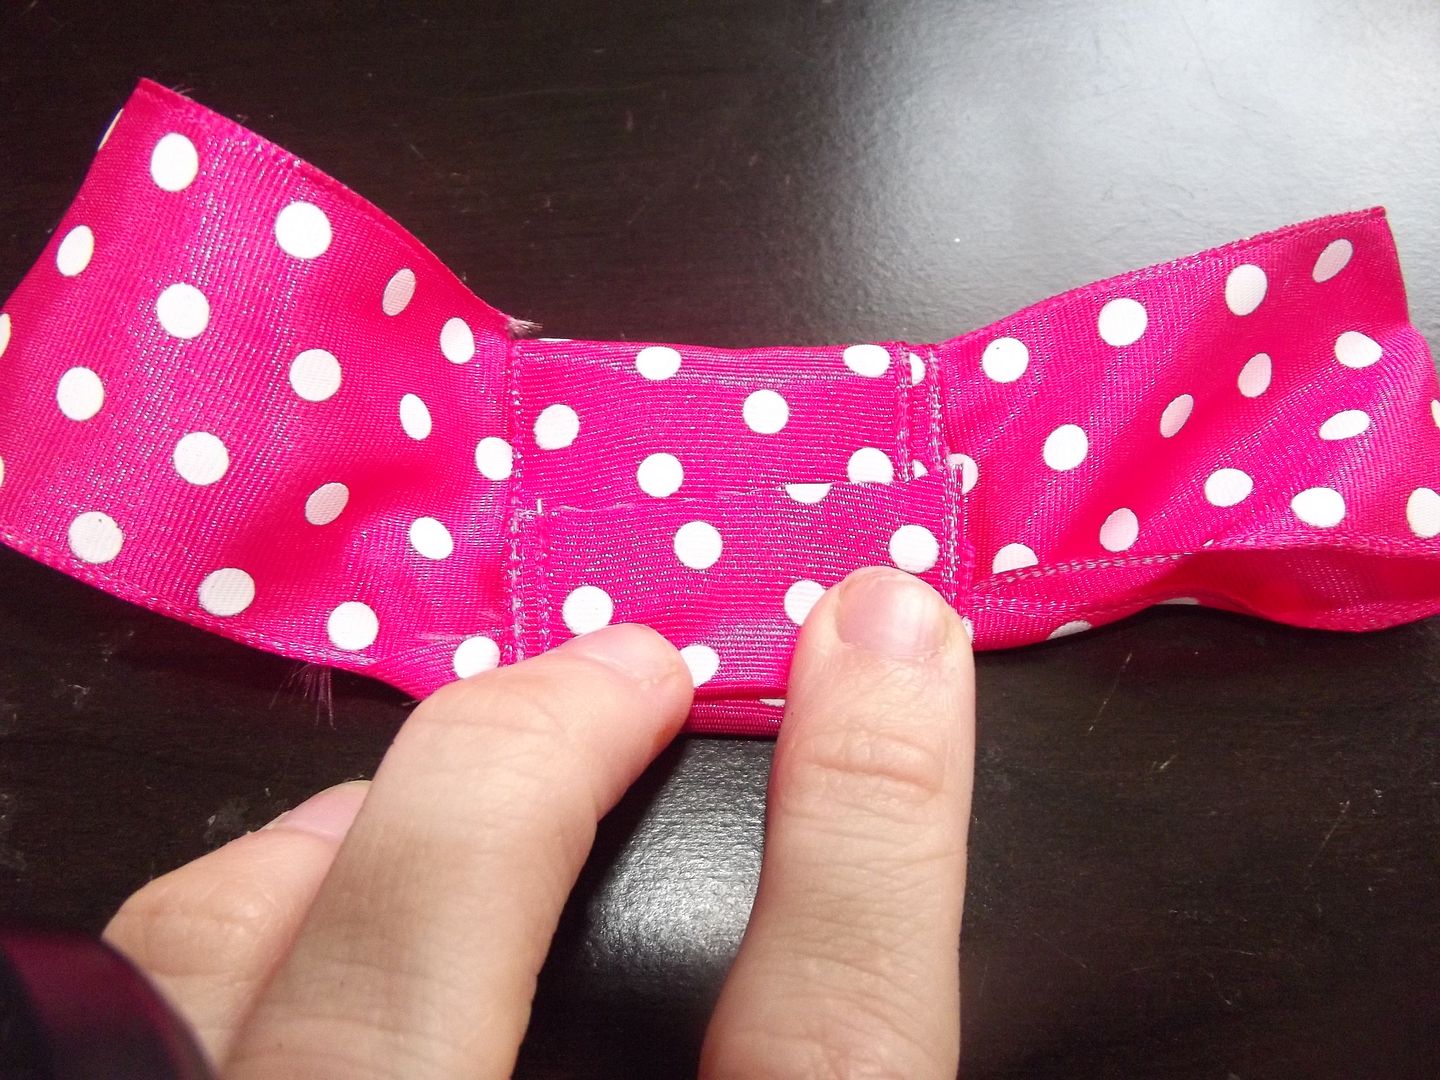
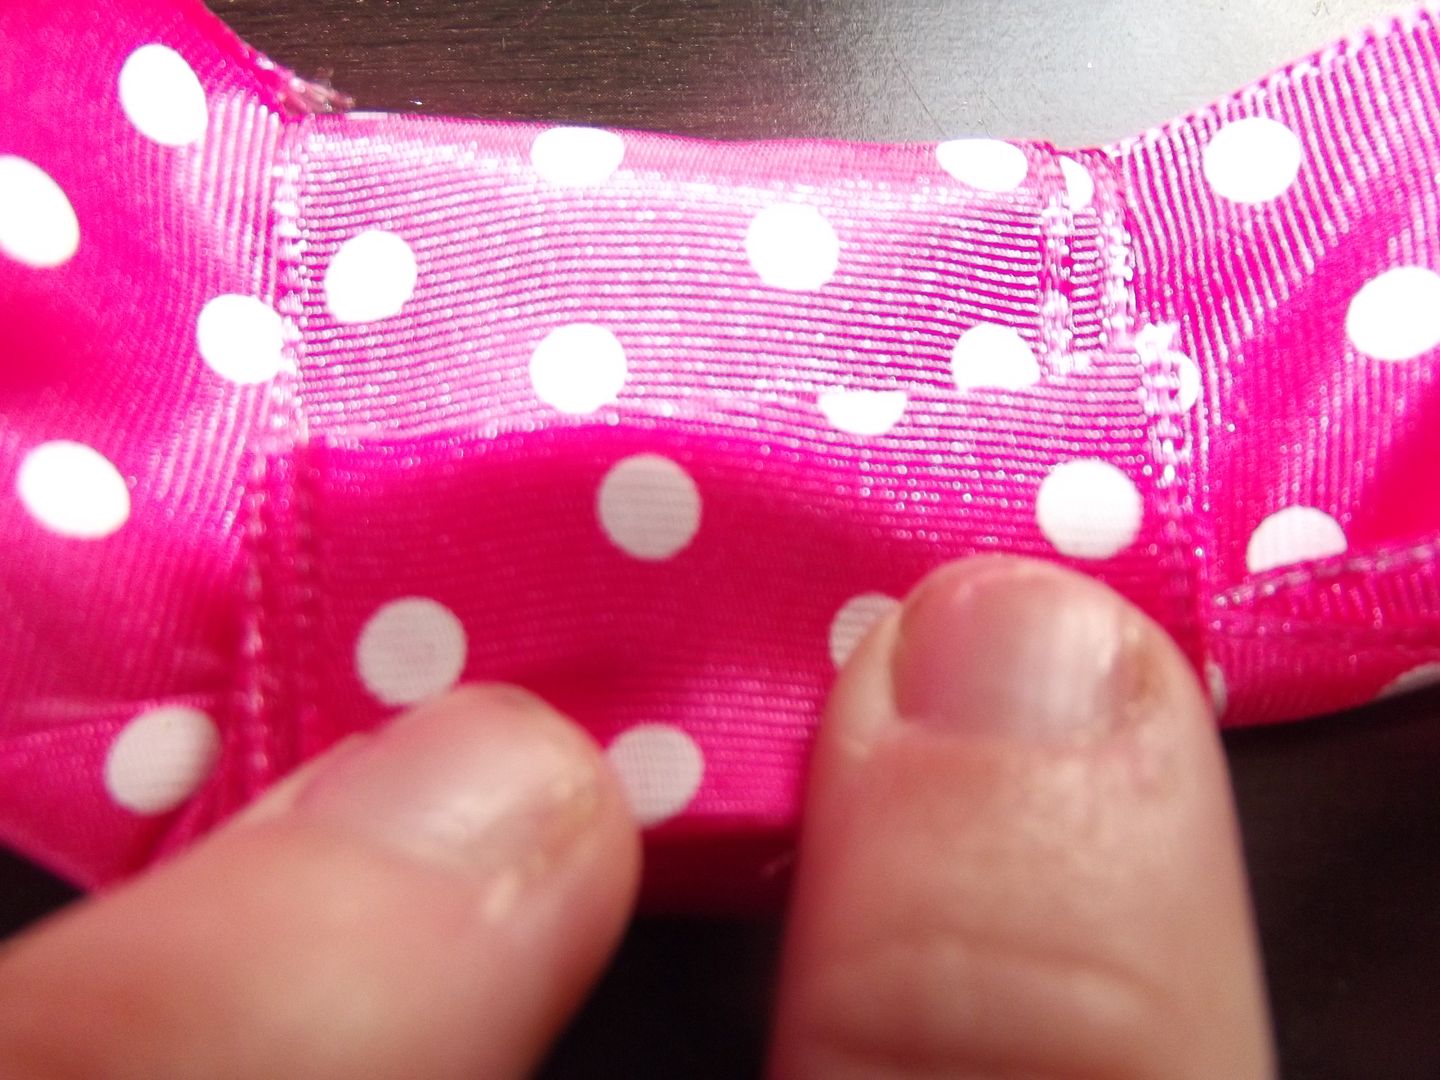
Then wrap it around the middle "knot" section. Make sure to fold over any excess so that it's glued in the back.
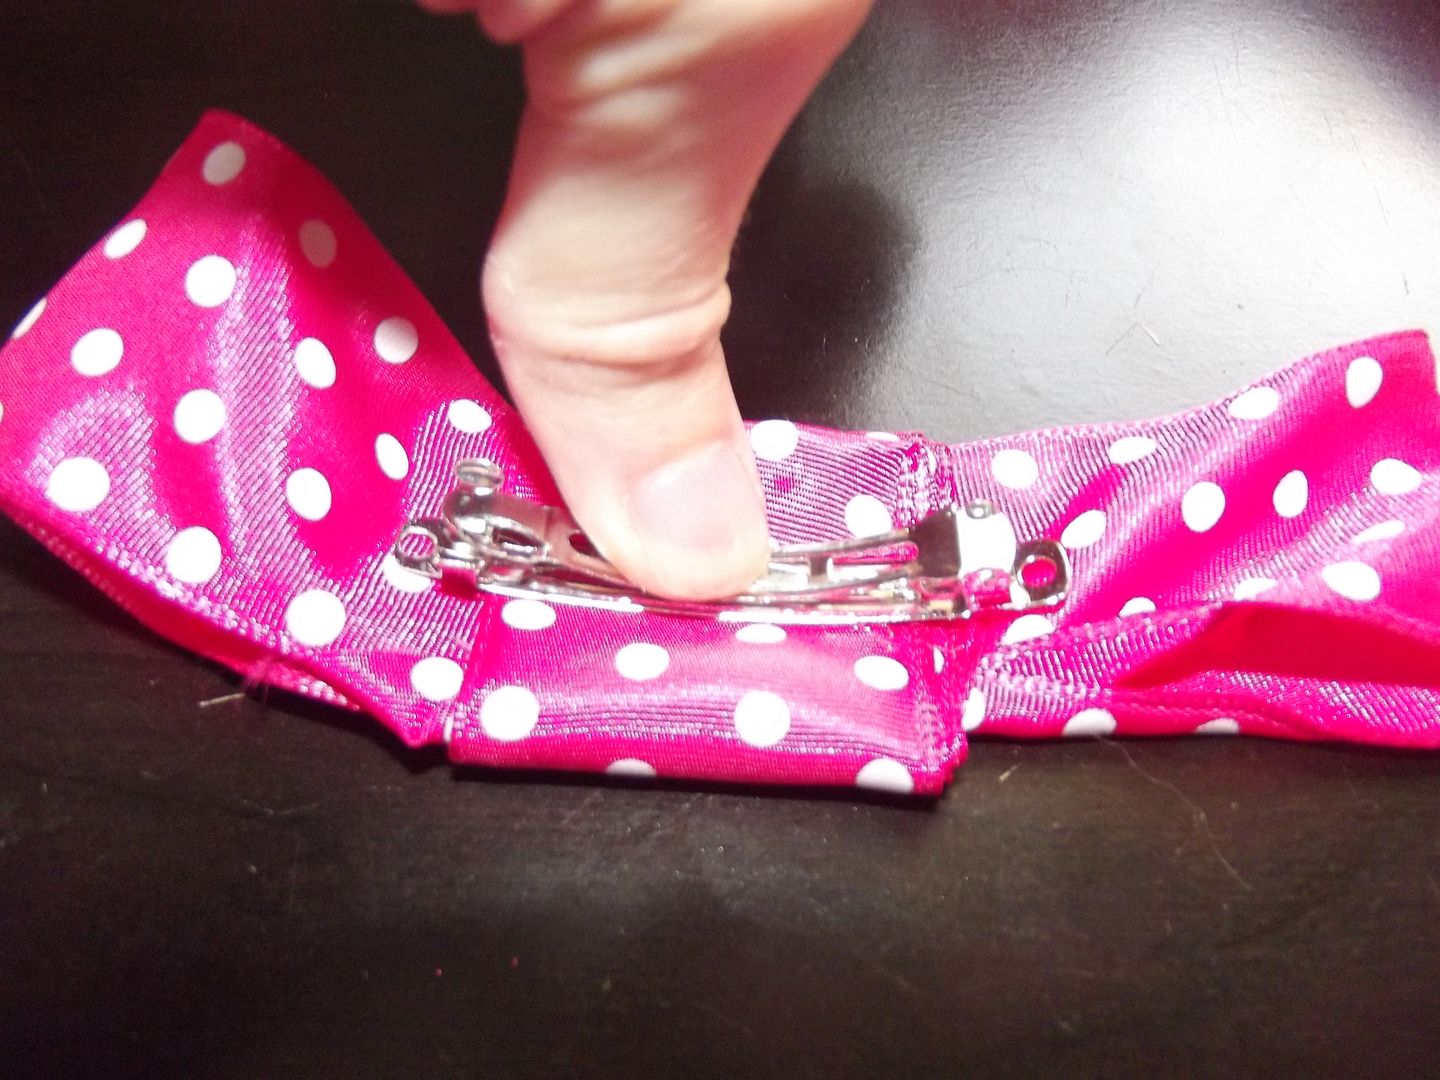
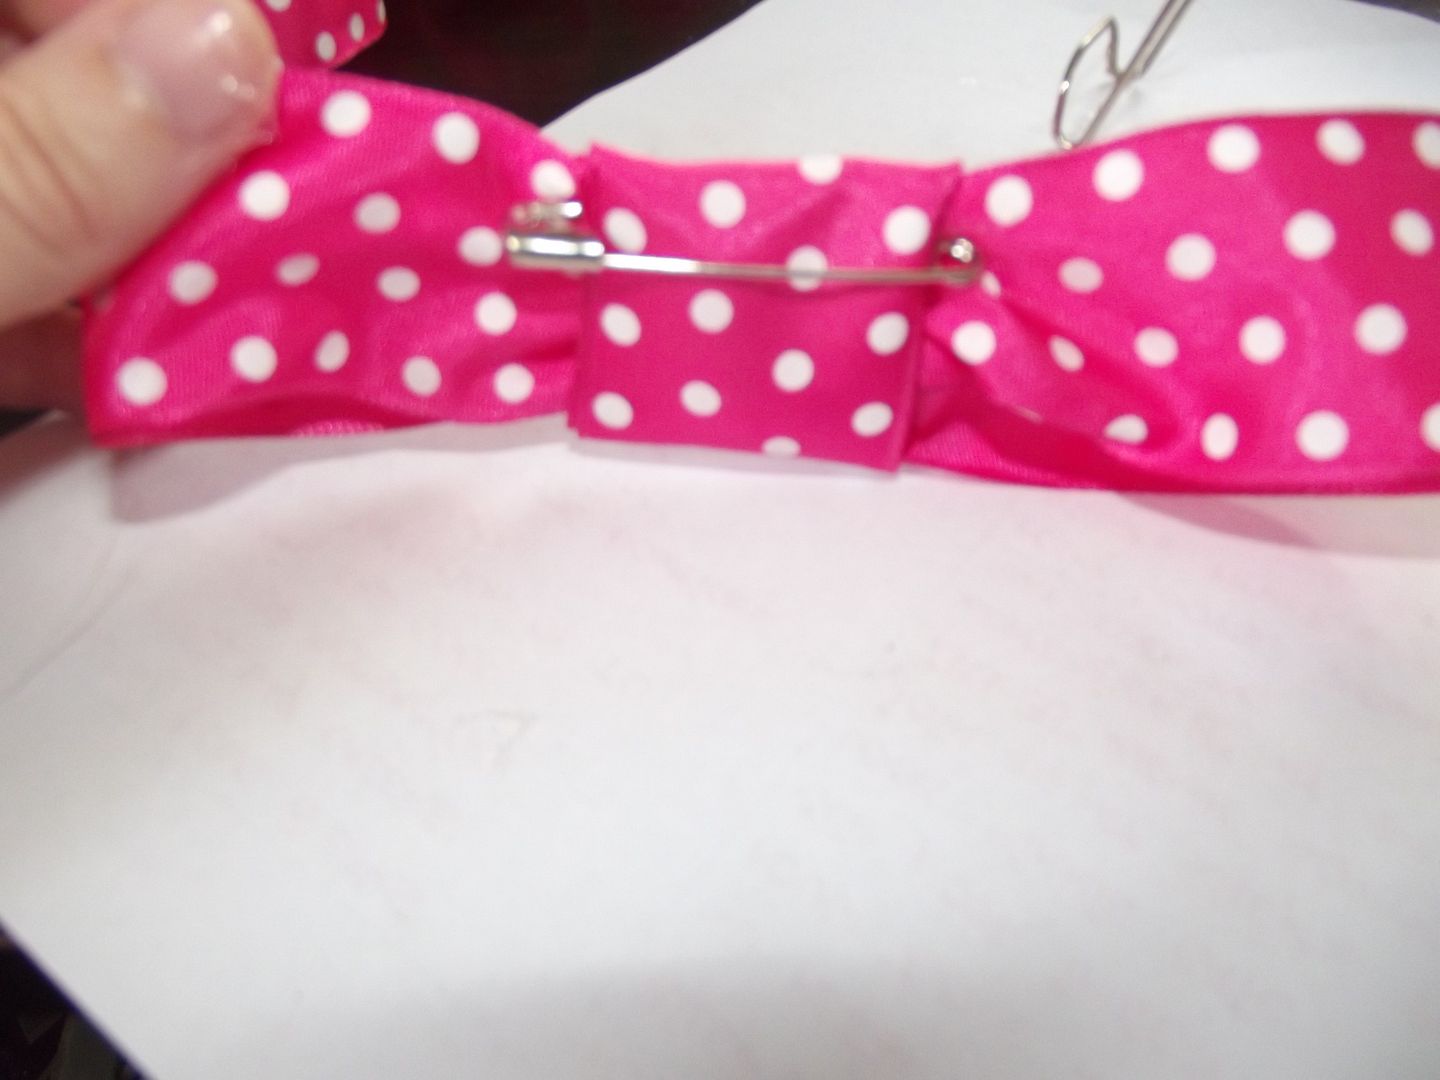
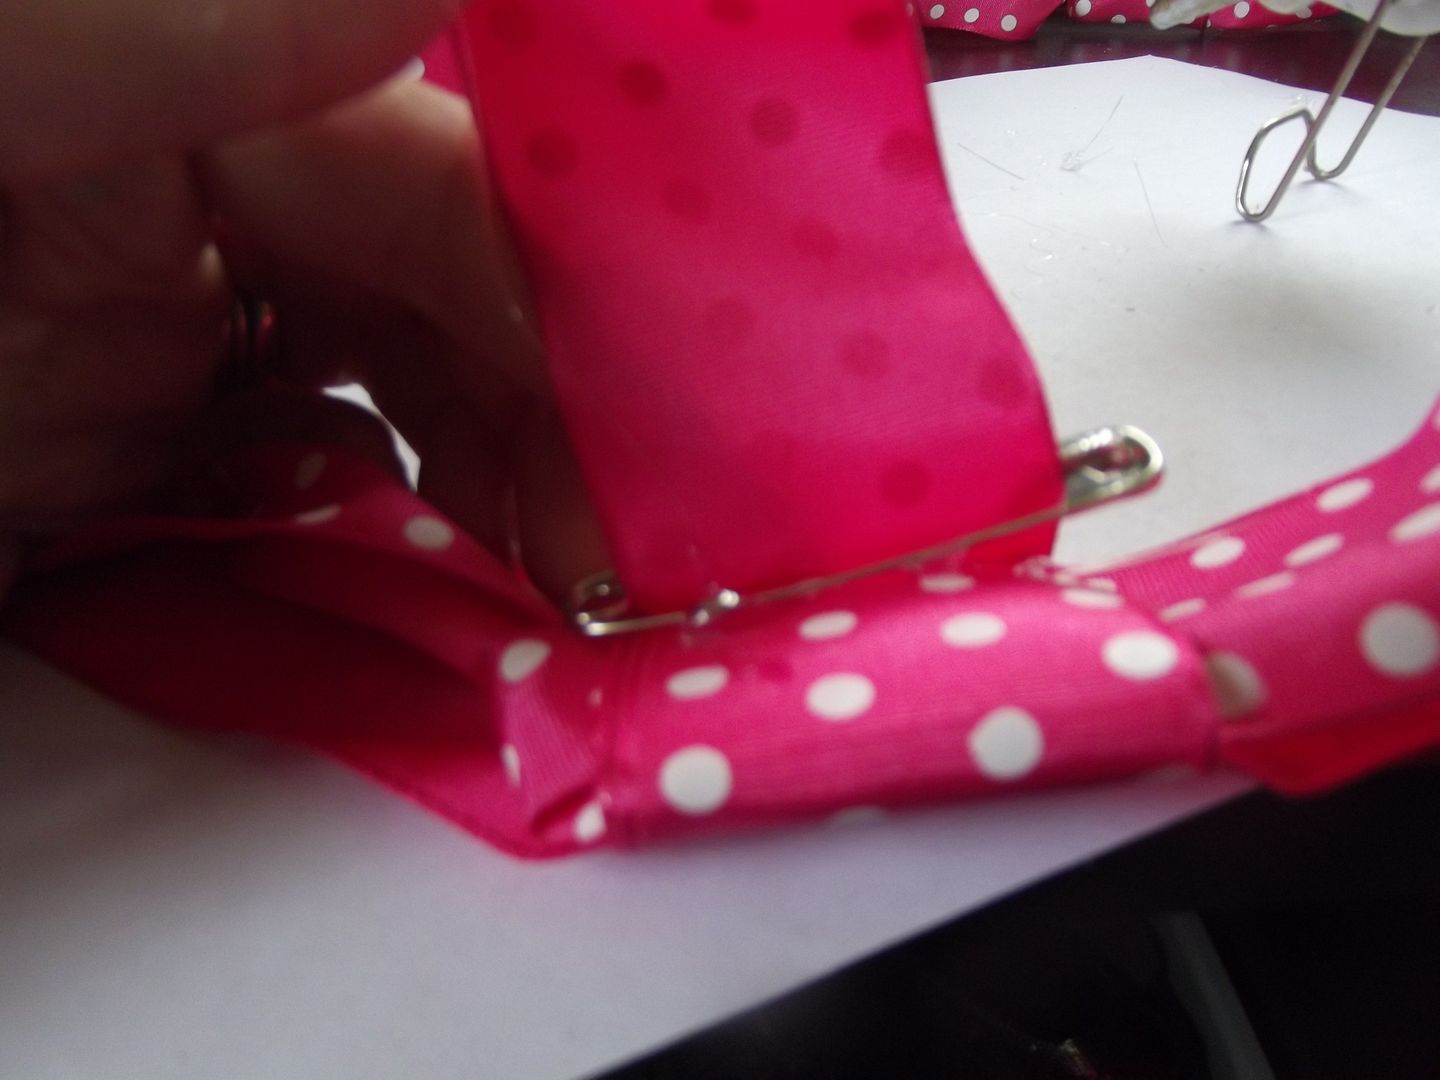
Then add a line of hot glue and attach a barrette for girls or a safety pin for boys. For the barrette it's pretty straight forward. For your "bow ties" glue the pin a layer below and feed the fabric in and back around to help it stay in position.
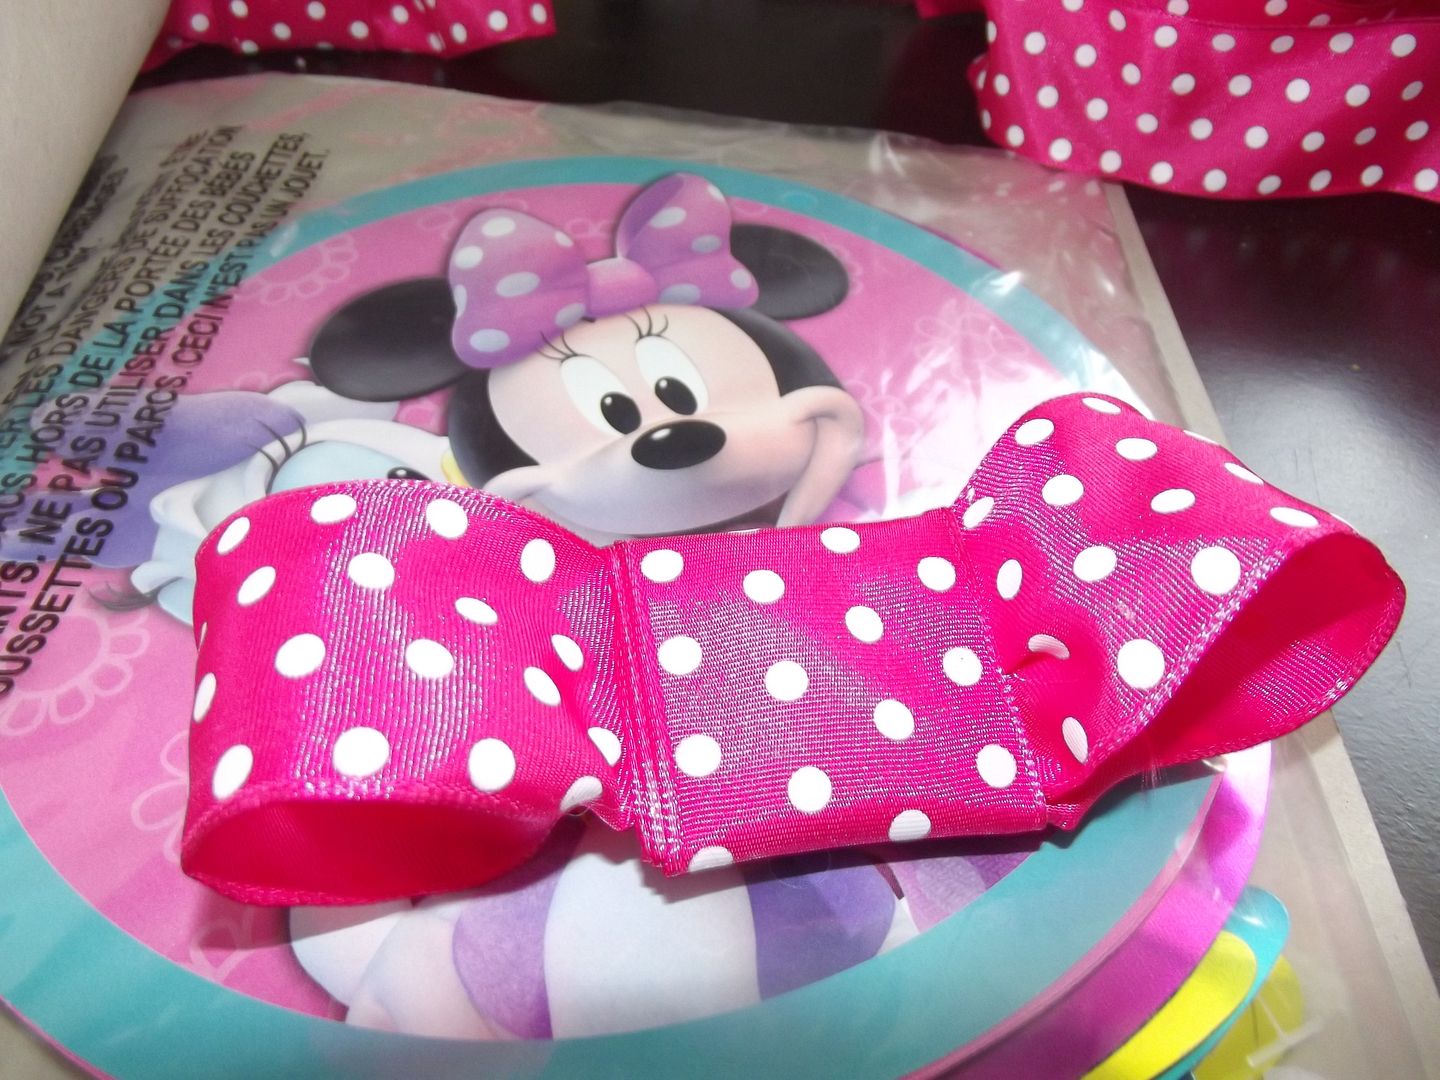
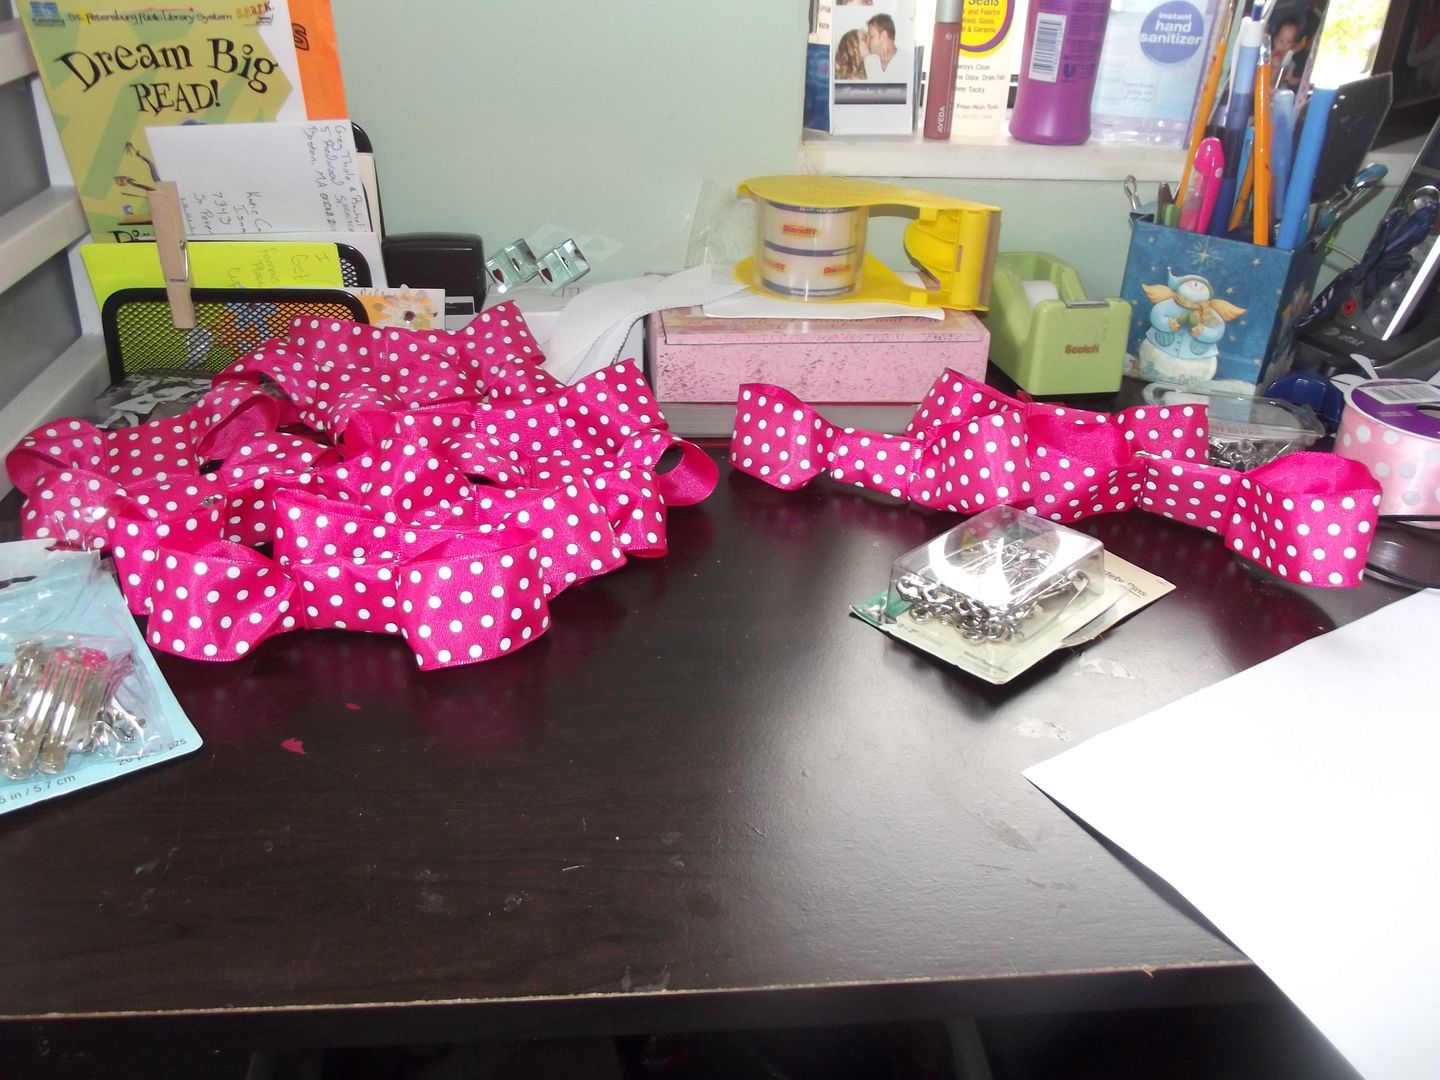
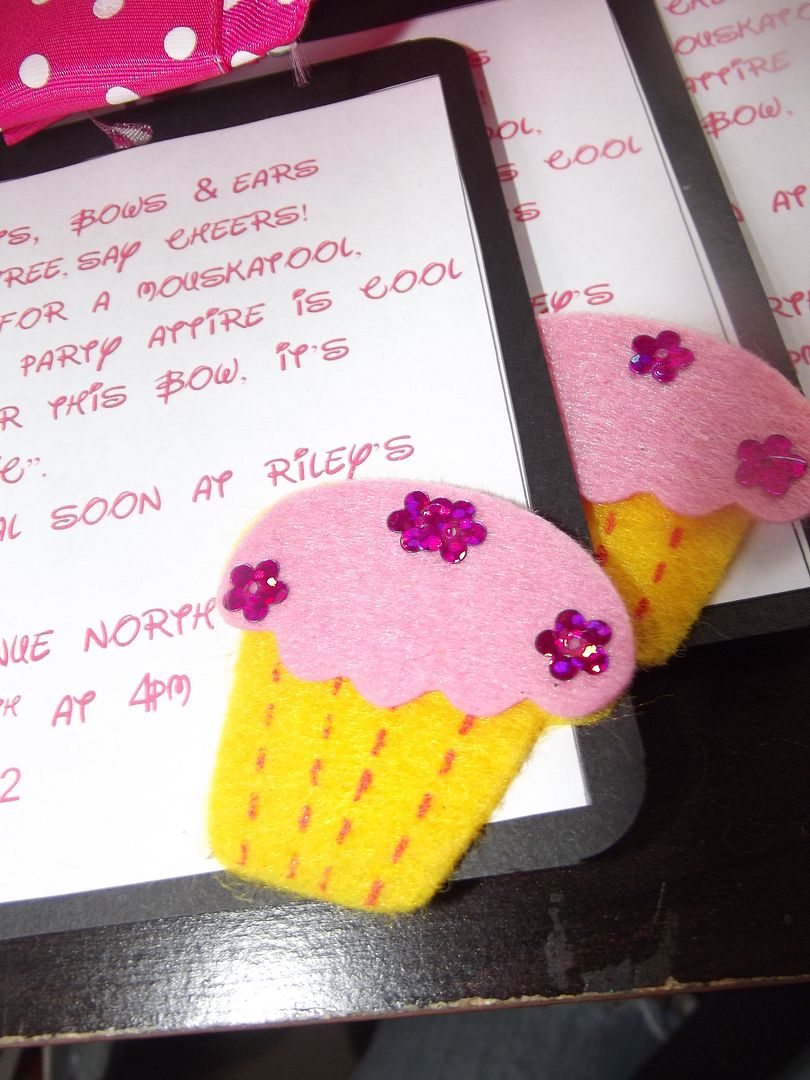
The hard part's done! You've got your bows and bow ties now to make the "price tag" and give all the important information to your guests. I downloaded the Walter font from fontfreak.com and selected hot pick. Ours have a cute little rhyme about Miss Roo turning 3.
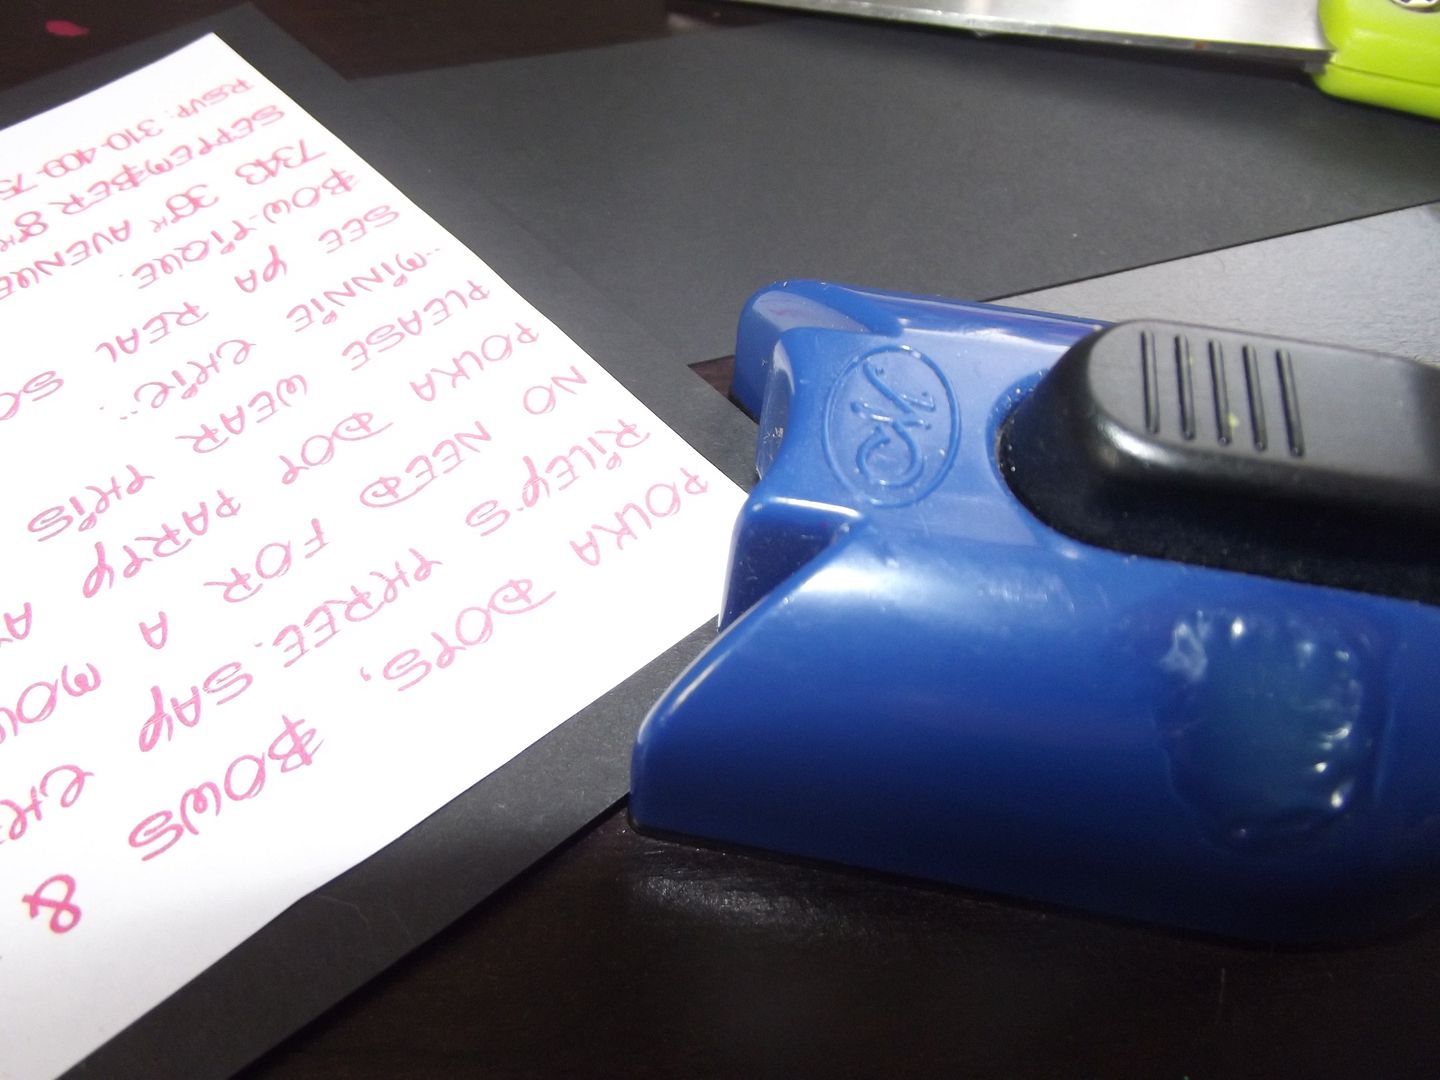

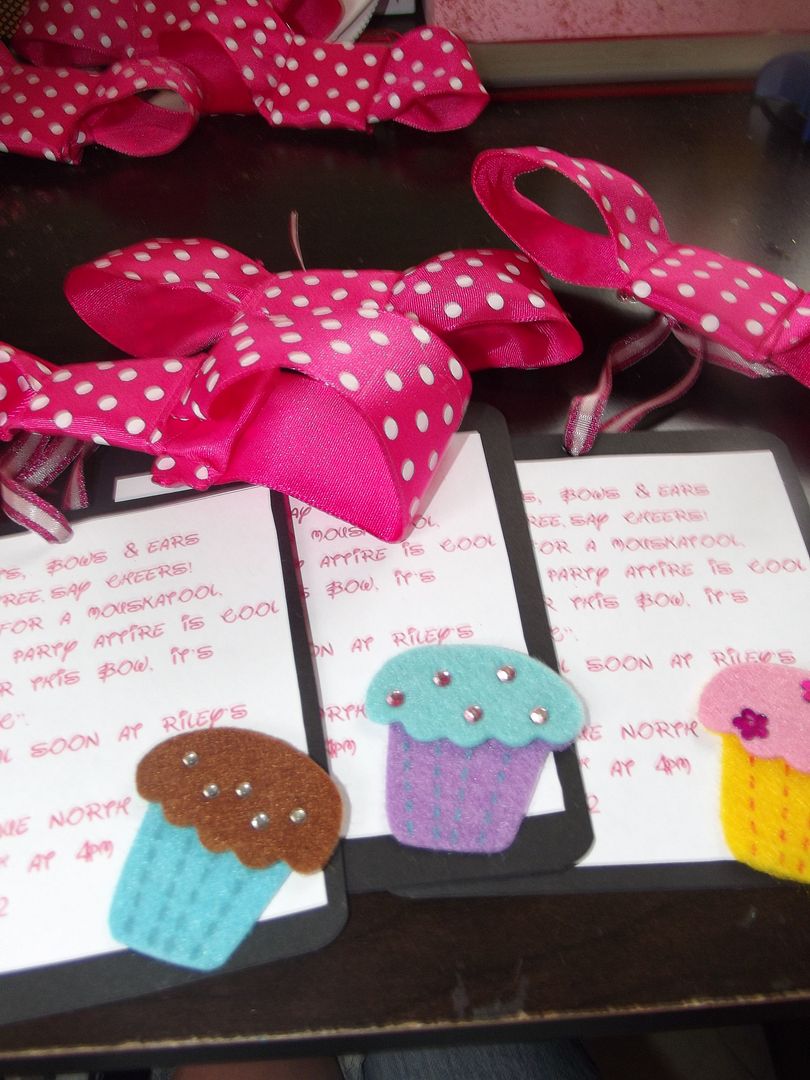
Make a table in your word processing program so you can print two rows per page. Then cut out the invitation wording and use the glue stick to attach it to card stock. Cut it out and then use an edger or scissors to round the corners. I like mine fat because boutique tags are quirky. Feel free to get fancy with your tags though. Embellish to your liking. I added felt cupcakes, Miss Roo LOVED those. Then punch a hole and feed your thinner ribbon through to attach it to a bow.

No comments:
Post a Comment