Thursday, March 21, 2013

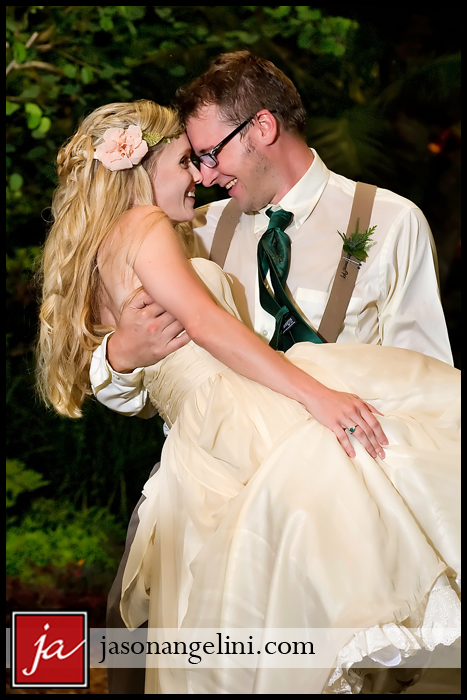
Our Paper Anniversary

Bride & Groom

We've come to the end of our newly wed status (not that we ever really were). One year married. We made all kinds of plans for what we would do on our first anniversary, but life happened. We were going to eat at the lovely restaurant where we had our rehearsal dinner, but with Leeloo only one day post-op and all the stress lately I just wanted a low key dinner near by and a couple of drinks.

It took three tries to find a restaurant close to home without a ridiculousness wait. Forty-five minutes to an hour, really? On a THURSDAY? I know not all of those people were married on Wednesday a year ago. Third time was the charm and we waltzed in and were seated immediately. It was even happy hour. We had a lovely dinner. We toasted...um...something...I think maybe we just said Sláinte! Drinks It means "to your health" in Irish. We were just so relieved to take a moment for ourselves. Once we'd had our fill we decided to take a walk.

After our walk we were both ready to get home. I'd given Mike his present as soon as it came in. I ordered him an LED shower head. We've nicknamed it the "rainbow shower." It's a big hit with Mike and the kids. My gift was an upgrade to my engagement ring setting, but my current side stones didn't fit so that's on the back burner for now. When we got home the kids were still awake watching Wreck it Ralph 3D in their jammies. So, I told Mike to cut everyone a piece of of cake from our top tier.
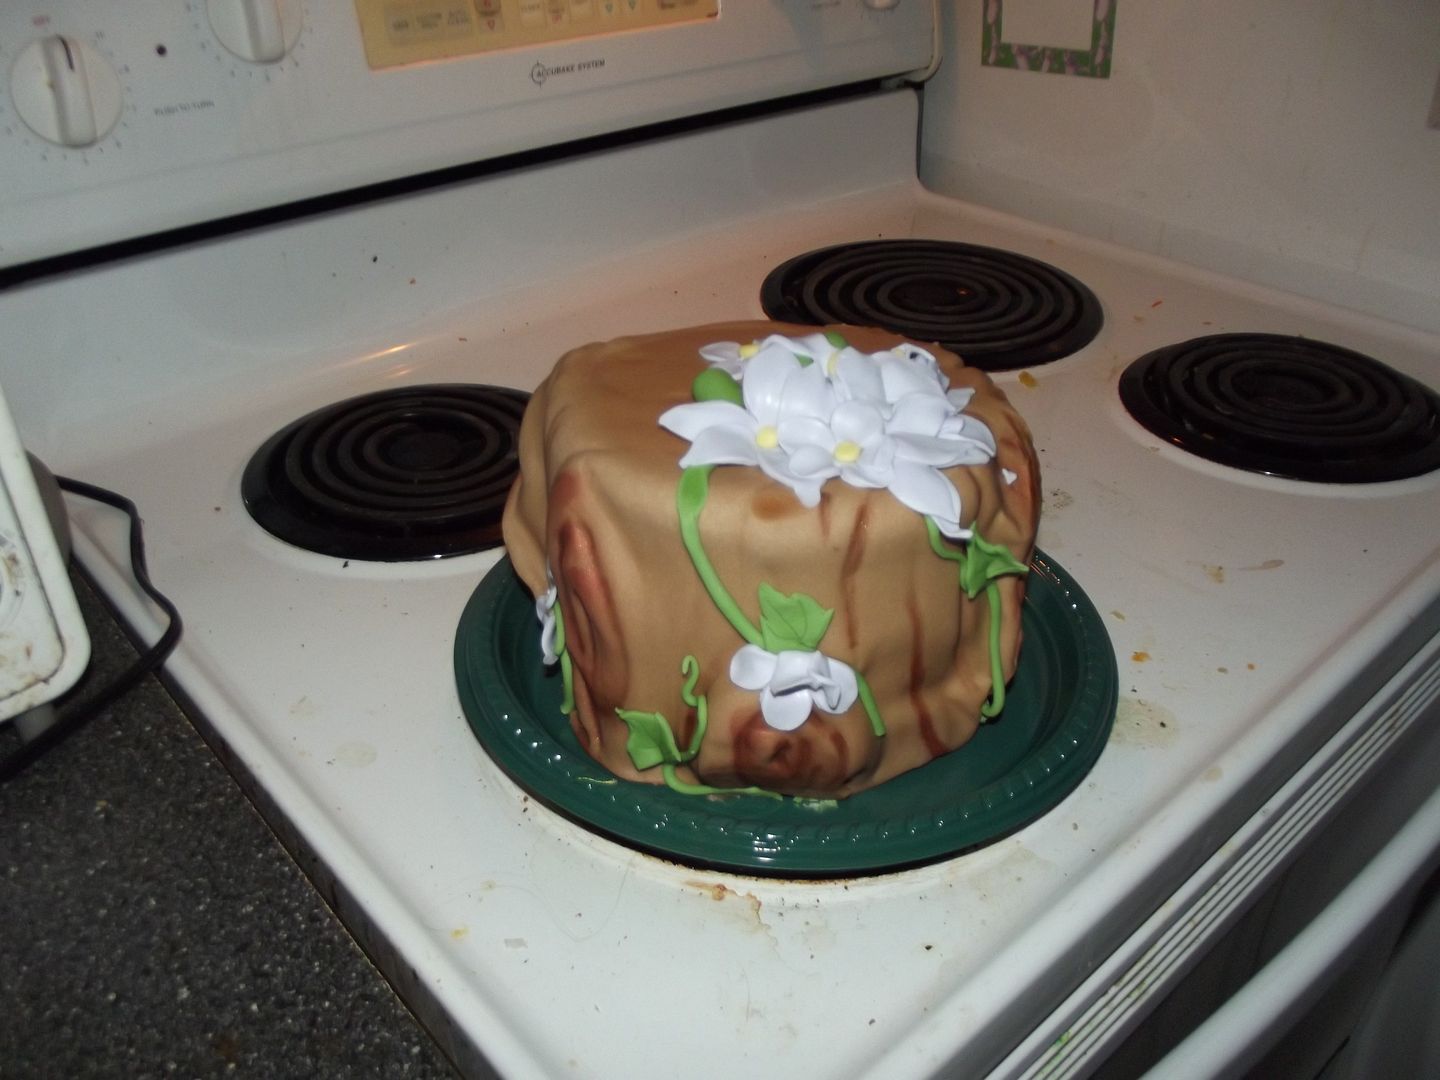
Top Teir

I was very nervous. Year old cake...um...yum? I had even threatened to throw it out once or twice because it took up valuable freezer space. I was completely reassured by how beautiful it still looked. Can you believe that was in the freezer for a year? I mean look at it! It tasted as good as I remembered. Mint chocolate cake with chocolate ganache. Everyone was pleased. I fully intend to contact our baker and tell her so. Once the kids had their cake and brushed their teeth it was off to bed. Mike and I had a quiet evening of old Sci-fi TV. It was lovely. Bring on year two!

Wednesday, March 20, 2013

Puppy's Procedure

Puppy

I know this will be one of those posts that garners eye rolls, but for anyone else with as much empathy as I have for surgical procedures here it is. Leeloo turned one recently and we scheduled her to be spayed. It hadn't occurred to me that I would feel any emotion over this. When receiving the instructions from the vet over the phone I began to cry! I felt awful signing my poor fur baby up for a scary painful experience away from me. In the irrational part of my brain, obviously. I couldn't get over how distressing the thought was for me.

I hadn't felt any of this when it was the cat's turn. Mike pointed out that the cat was always independent where Leeloo is very dependent. Such a baby still. Now I have an idea how my mother must have felt dragging me in for orthopedic surgeries. I dreaded the surgery day. I pampered and fussed over Leeloo and hoped it wouldn't come. I worried all day and night before we brought her in.

Unlike me and my poor mom, Leeloo went willingly and happily. It was over so quickly too! One minute she was there and the next they had whisked her away. With all the papers signed we went off to pretend it was a normal day. I ran a quick errand after the vet's office. When I got home I tried to step out of the car and in my haste I tangled my crutch in my purse and went over backwards in the driveway. I fell HARD too. It had been so long since anything like that had happened, I was stunned. Damn, gravity!
While I laid there, pain reverberating in my skull and blood trickling from my skinned elbow, like a turtle on it's back my phone rang. No joke. Ka-boom! Riiiiiiing.
Mrs. [LAST NAME]? This is [Vet's Office]
Hello.
I'm calling to tell you, Leeloo's out of surgery and doing fine.
Oh good!
Just give us a call tomorrow after 9 to find out when you can pick her up.
Ok, thank you! Bye.
Goodbye.
That's how it went. Then I called Mike's cell phone from the driveway and asked him to come help me up. Yup, I was like the old lady in the commercial: "I've fallen and I can't get up!". Once I knew the procedure was over there was just a night with out her to get through. Tomorrow, will be our first wedding anniversary and we'll get to pick her up in the morning. Breath in, breath out, don't fall down!

Sunday, March 17, 2013

St. Patrick's Day 2013

I find reaffirmation in the strangest places lately. When Isaac was little we always did a leprechaun trap. I think the first one was for school, but I know a few were for fun. The last year or two we didn't do a trap and I didn't make the kids shirts and it occurred to me that Isaac might have grown out of a few traditions. It didn't worry me too much, but this year when I realized Roo was old enough to begin the Leprechaun trap tradition I was THRILLED!

I got a bunch of fun books on clearance recently and one that we've thoroughly enjoyed (and I highly recommend) is The Night Before St. Patrick's Day. After we'd read that one a few times Miss Roo understood the motivation to catch a leprechaun.

We started with a cardboard box. I let her paint it first, she chose green and purple paint. She wrote "messages" too (Welcome Leprechauns, Gold Inside). Mommy wrote "Not a Trap." (notice Isaac completely uninterested in the background).

Painting Painting Close-up
Not A Trap

While the paint dried I worked on shirts for the kids. Here's the first set I made:St. Patrick's Day shirts. The next year I made shirts for my kids they looked like: this. I took some time off from shirt making after that because they hadn't grown out of them by the following year. This year I touched up the crackled writing on Miss Roo's "Mommy's Little Leprechaun" shirt. She was thrilled! I broke out the puffy paint and made Isaac one at the last minute too. His says "Let the Shenanigans Begin!" They weren't my past paintshoped, printer transferred creations, but everyone was happy.

Roo Shirt TouchUp Isaac Shirt
Isaac Shirt CloseUp

Once the trap was dry Mike gave Riley a gold dollar for bait. They built a ladder out of Construx (she just inherited these from her brother and she loves them) so the Leprechaun could get in, but not back out.

Finished Trap Bait
So Proud

As you can see she was beaming with pride when her trap was done. In the morning the gold was missing, but there was no Leprechaun in the trap. It looked like he pushed the little car Riley had built out of Construx the night before over and used it to stand on so he could throw the ladder into the box before he went after the gold. Tricky, tricky! She was so bummed, but by naptime she was convinced she'd get one next year.

Happy St. Patty's

Happy St. Patrick's Day!!

Saturday, March 16, 2013

Spring Wreath!

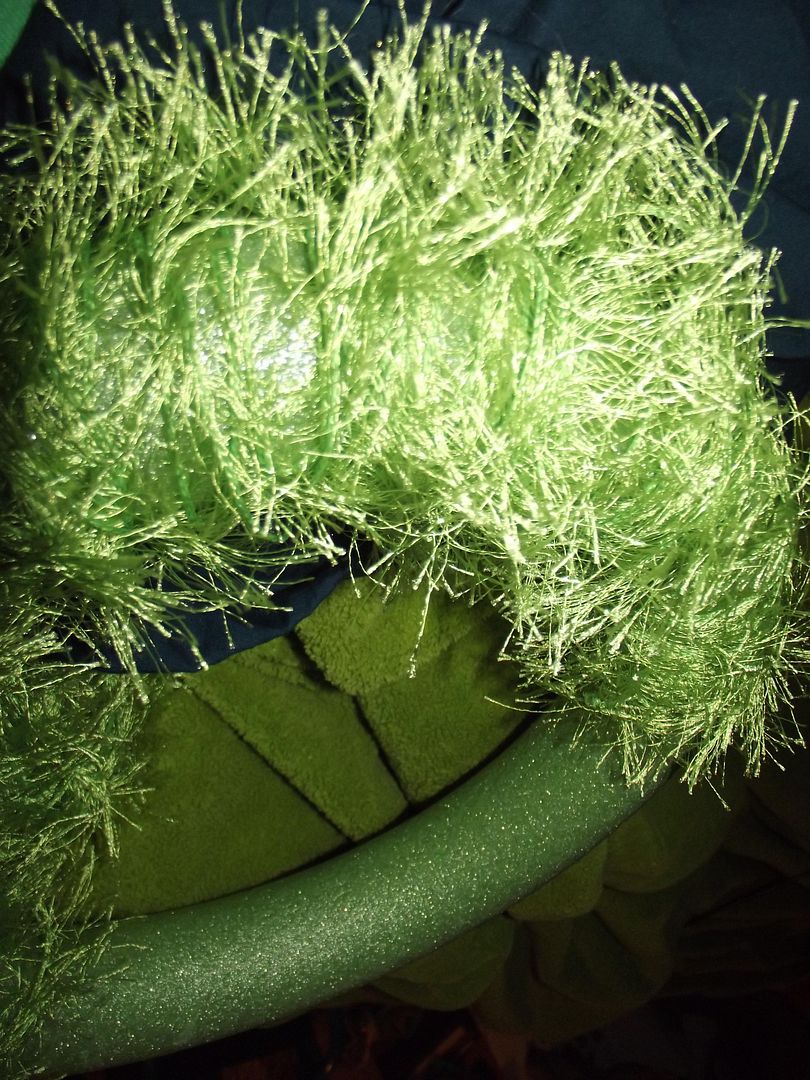
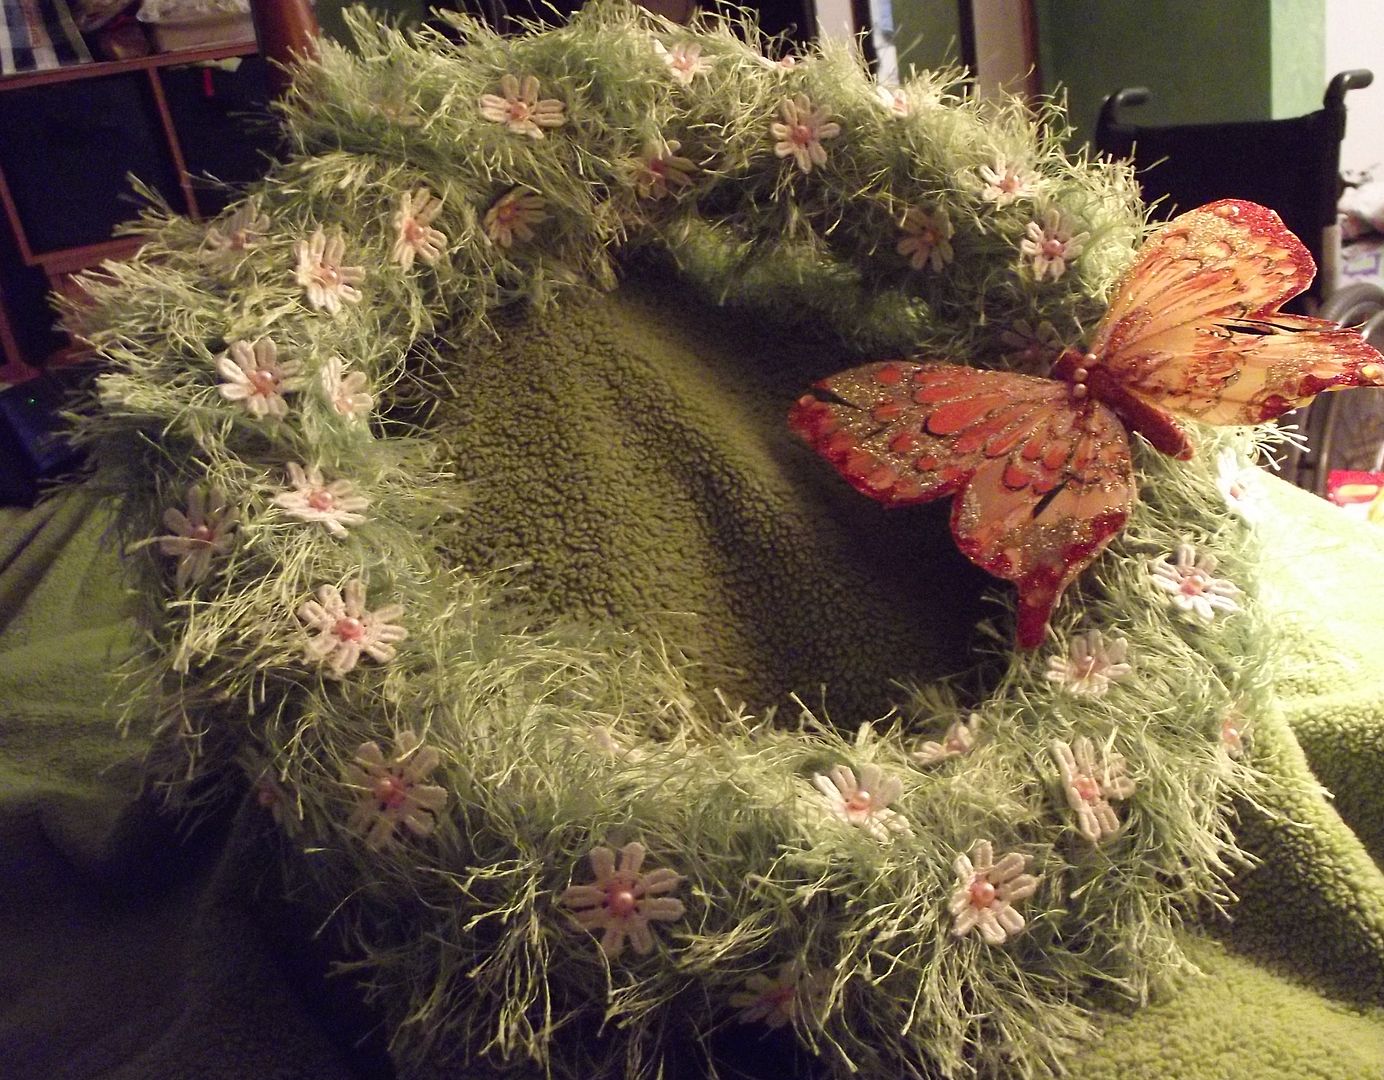
Last night I ran out to the craft store armed with some decent coupons and a gift card I got for my birthday. I had two projects in mind, but ended up only finding the supplies for one. Not to worry though it came out beautifully! Here's my Pinterest inspiration:Spring Baby Grass Wreath from Capture the Details. Adorable, isn't it? Generally, I like to pick projects that I already have most of the supplies for, but when the stars align for a guilt free trip to the craft store I don't pass it up. I came home and got cozy in bed for this one. A little less than an hour later, it was done!

Materials

  • Foam Wreath Circle (floral aisle)
  • Bright Green Fun Fir (yarn aisle)
  • Simplicity daisy trim (ribbon aisle)
  • Pealized Pins (that match your flower middles)
  • Spring Embellishments
  • Ribbon
Pins and Petals

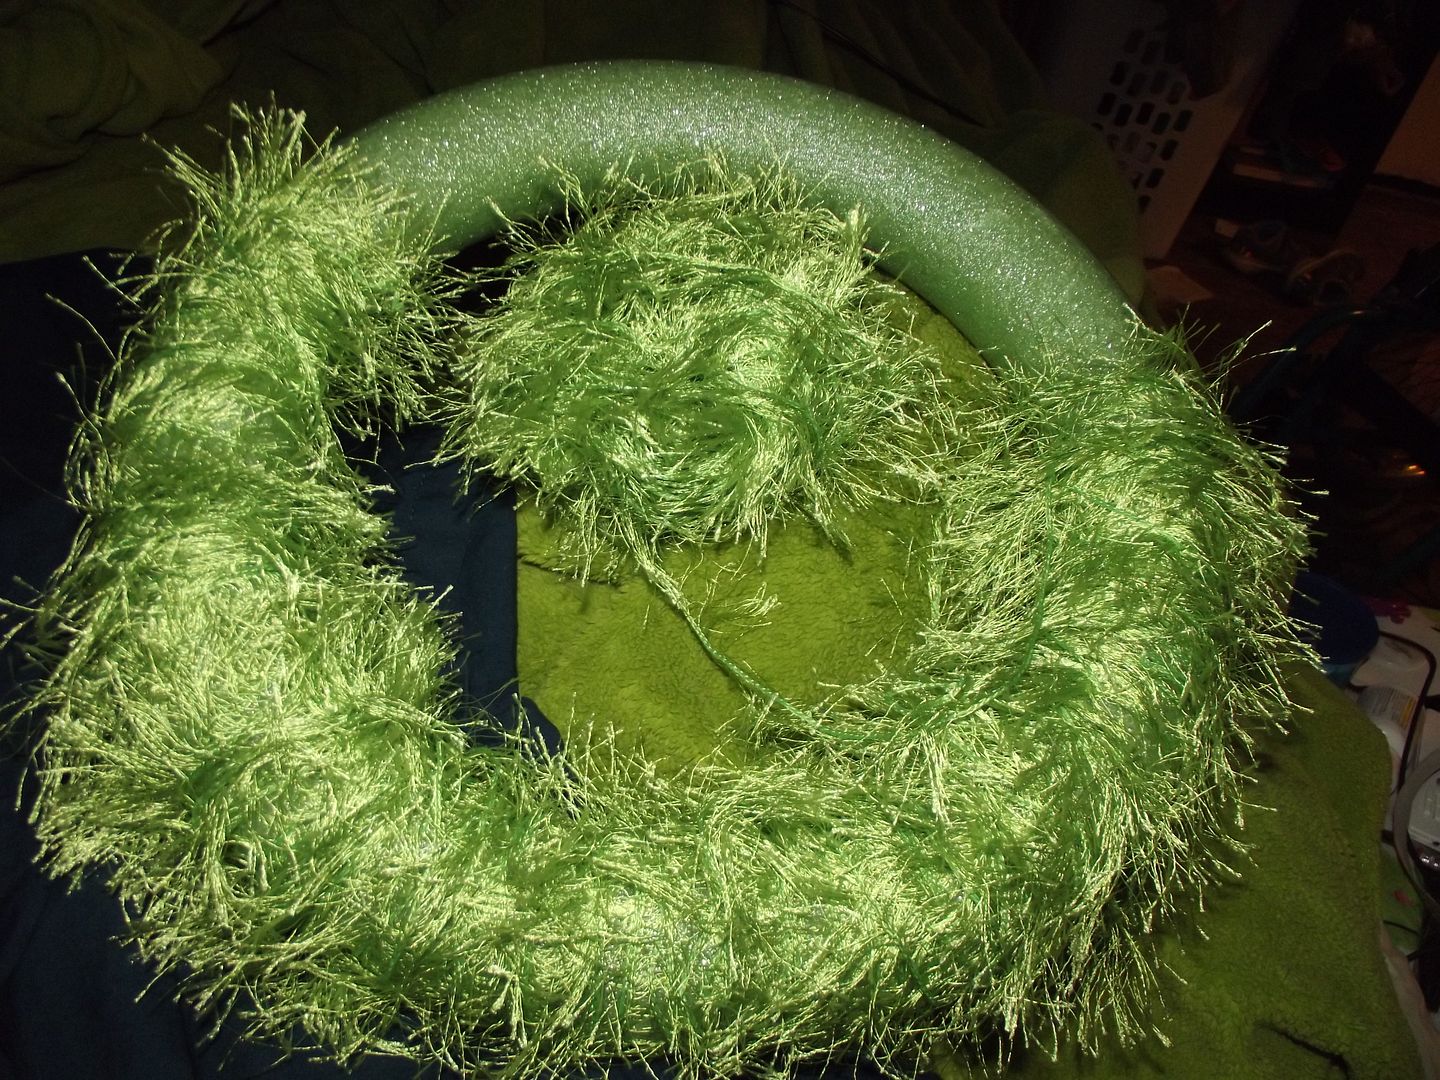
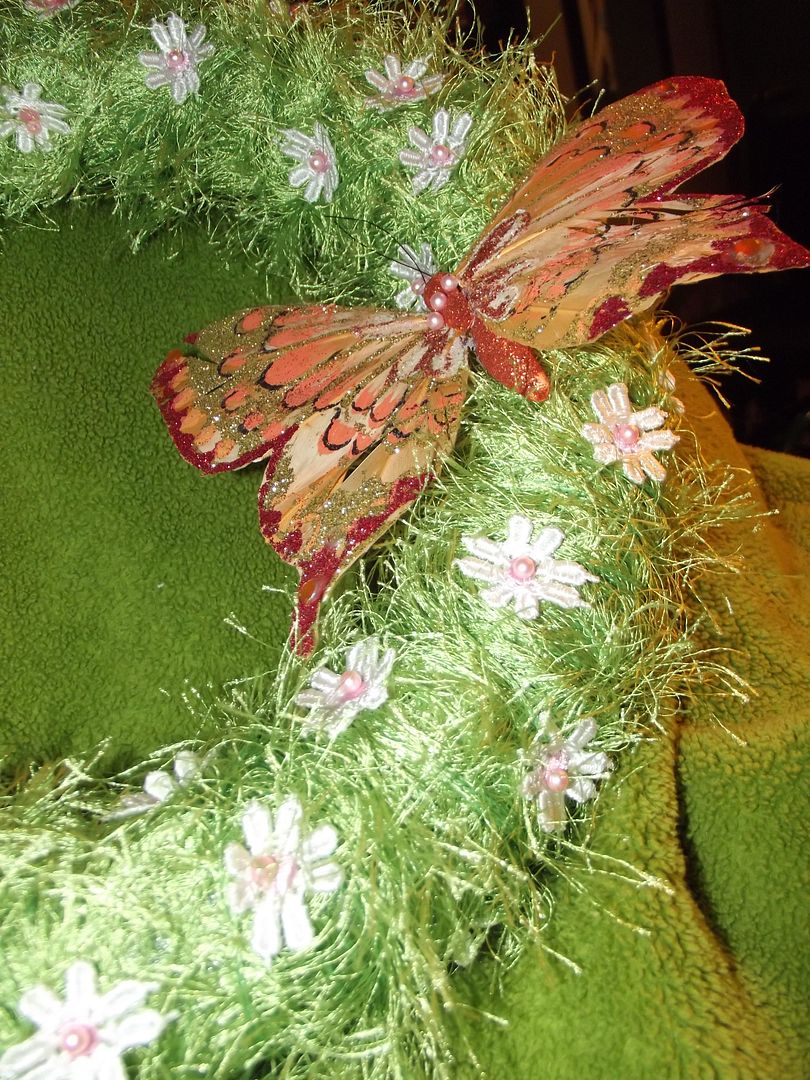
A quick word about the supplies, I chose the medium sized foam ring and it took the whole skein of fuzzy yarn to fill. I recommend two skeins of yarn if you go bigger. Joann's only had white flowers with pink centers, white flowers with yellow center, yellow with brown centers (sunflowers) or hot pink and neon green alternating petals and centers. I bet there is a vast selection online though. Also, the butterfly I used for mine literally fell apart in my hands coming out of the package. I bet you could make a sturdier one than they sell.

Wrapping Wrapping 2

Tie a knot around the foam and then start wrapping. I would pull a length of yarn loose and then double it and wrap that way. It makes the grass thicker. When I got to the end I wrapped a single piece so there would be a slightly flatter area for my butterfly. I HATE repetitive tasks in my day to day life, but I love crafty repetitiveness. I didn't have think about anything, but wrapping yarn for a while and when I was done the cuteness was overwhelming.

First Flower Lone Flower
Field of Flowers

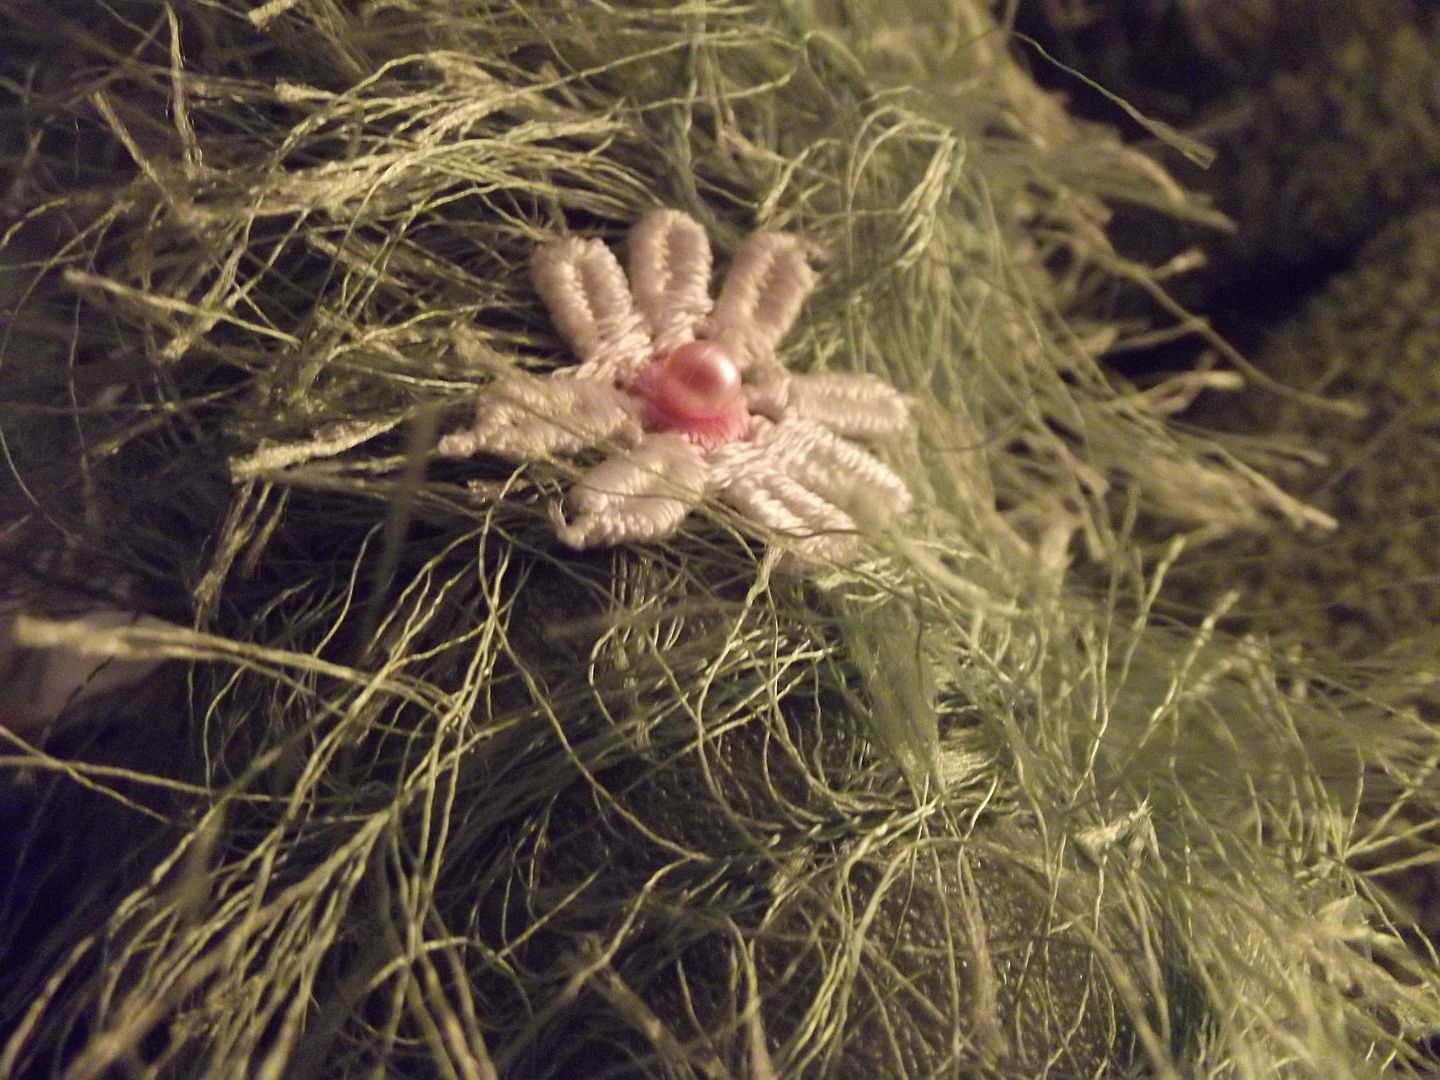
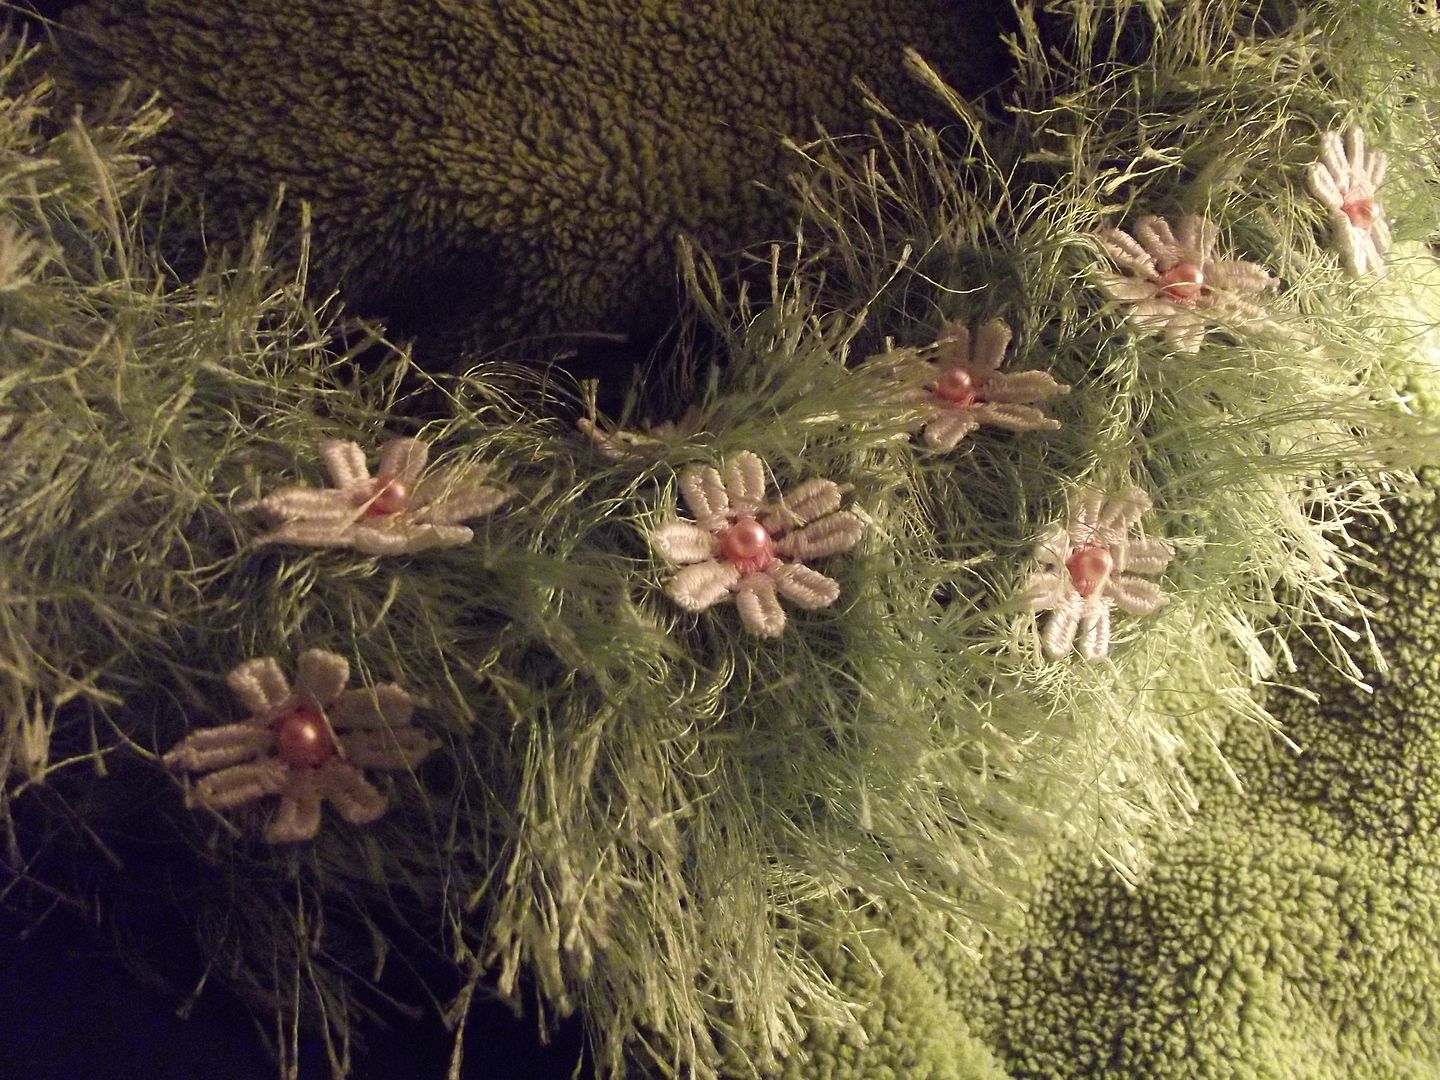
Next, you unroll your flower trim and cut them apart. I used the whole roll for my wreath. Just arrange them and pin through the centers. I pulled any loose bits of yarn up and pinned flowers over them to keep it tidy. Watch out for the seam in the foam, it'll bent your pins. Other than that go nuts!

Butterfly

The blogger from Capture the Details embellished her wreath with a tiny "barefeet welcome" sign. I wasn't a fan for two reasons: One, I didn't actually want kids running barefoot in the yard looking for eggs. Two, little pieces of paper sticking off wreaths don't stand up to my 10yr olds' door slams very well. I bought a butterfly made out of feathers from the craft store instead. I removed the alligator clip on the back and put 3 pins through it to secure it on. I absolutely love it!

Butterfly

Here's my finished wreath. Just tie a thick spring colored ribbon to hang it or use it as a table centerpiece. Happy Easter!

Friday, March 15, 2013

Easter Banners

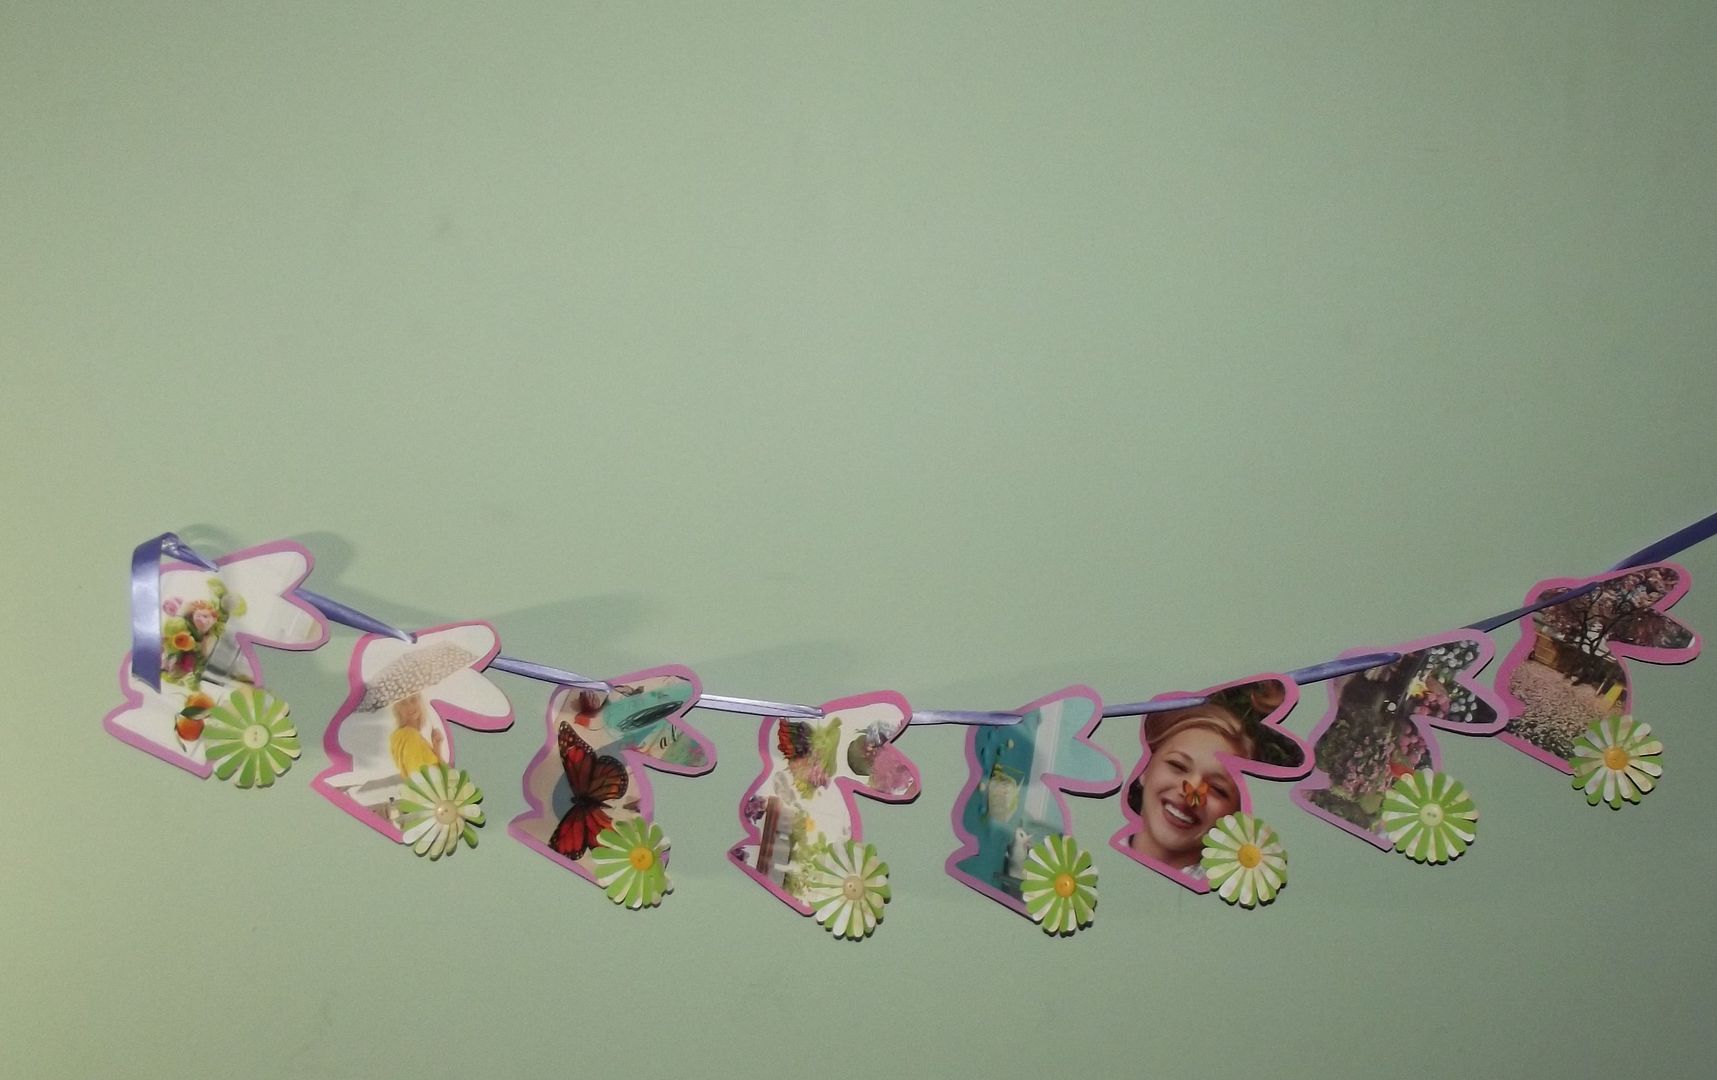
More Crafts? Heck Yeah! Like I said, this crazy back-to-back timing with Easter and St. Patrick's Day's has been inspiring me (plus I'm a little stressed and crafts help me unwind). I made 2 Easter banners. I did a super easy one for the archway and a more complicated one to hang on the fence for the egg hunt.

Here's the template for the easy one: Easter Banner Printable.

Easy Easter Banner

Materials

  • Template Above
  • Cardstock
  • Scissors
  • Gluestick
  • Crop-a-dile/Hole Punch
  • Yarn/Ribbon
Esy Pieces Easy Easter Banner

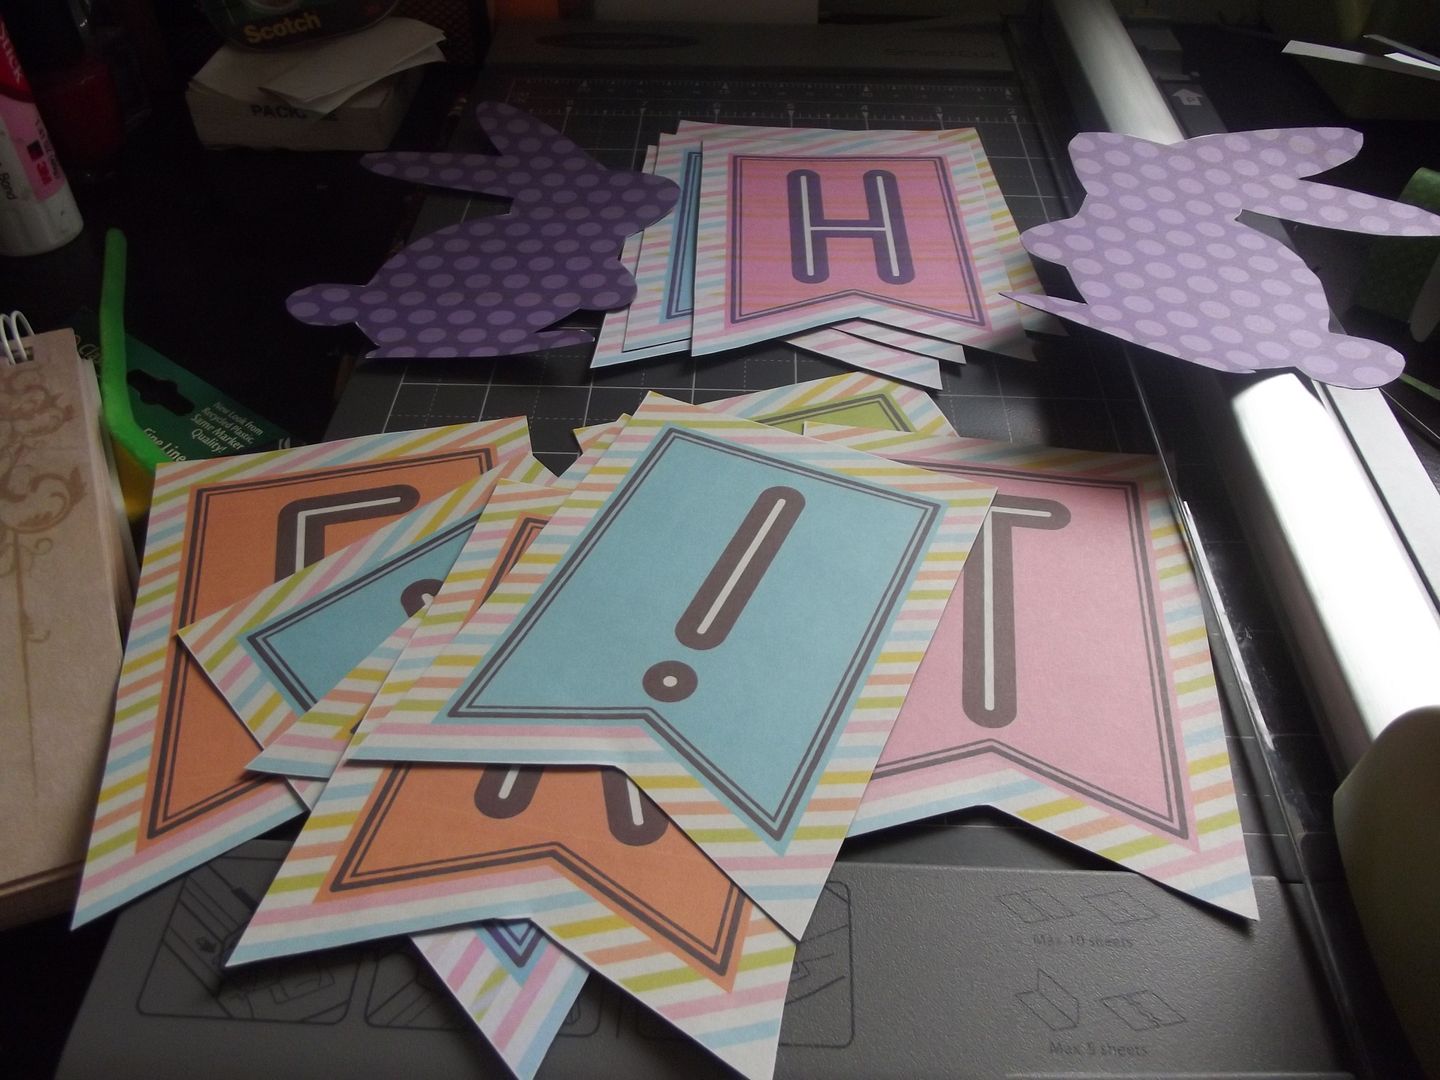
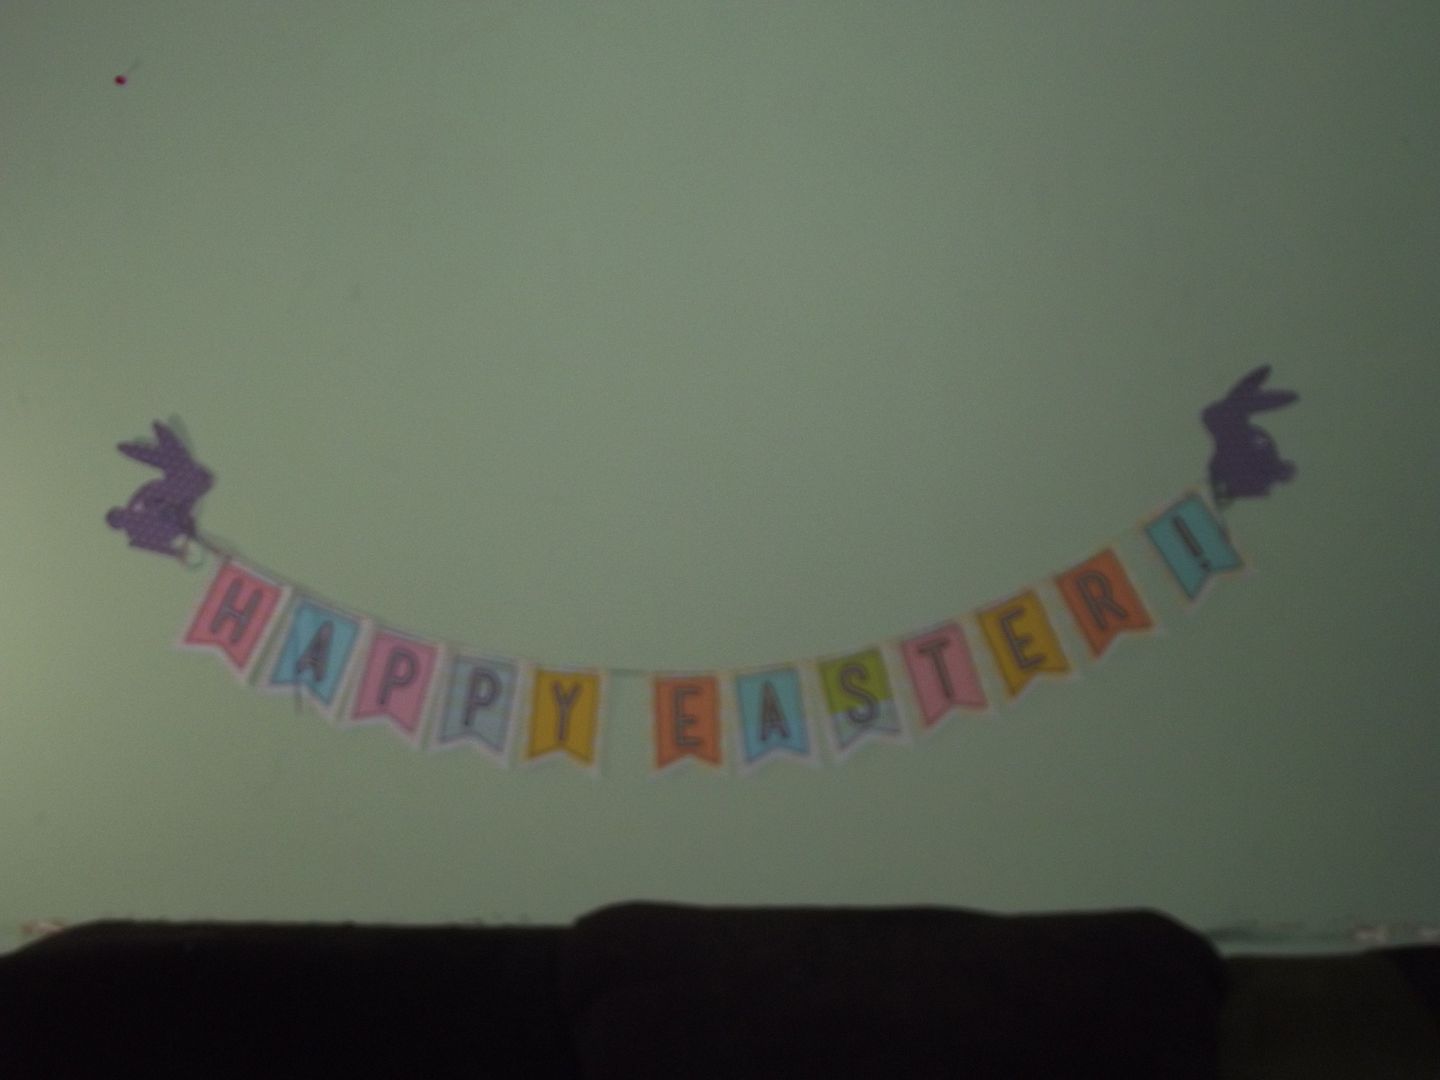
Click on my pictures to see them bigger. Just print out your banner directly onto cardstock. I didn't have any white left so I printed it out on printer paper and glued it to black cardstock before I cut it out. Just cut your pieces, punch holes and string them. I used some pretty multicolored yarn. I love the little bows at the bunnies paws. Plus, I traced the bunny silhouette onto an old Shutter Fly envelope to use as a template for my next banner. Tie your bows and hang it up! Easy Peasy!

DIY Bunny Banner

Materials

  • Bunny Template (cut from the first banner) & a slightly larger one
  • Cardstock
  • Spring Words Document/Spring Magazine Pictures
  • Scissors
  • Gluestick
  • Crop-a-dile/Hole Punch
  • Craft Cutter
  • Patterned Scrap Book Paper
  • Buttons
  • Fabric Glue
  • Yarn/Ribbon

Here's the tutorial for the bunny banner: Easter Banner Printable (from Happy Clippings).

Cardstock Bunnies Cardstock Bunnies 2
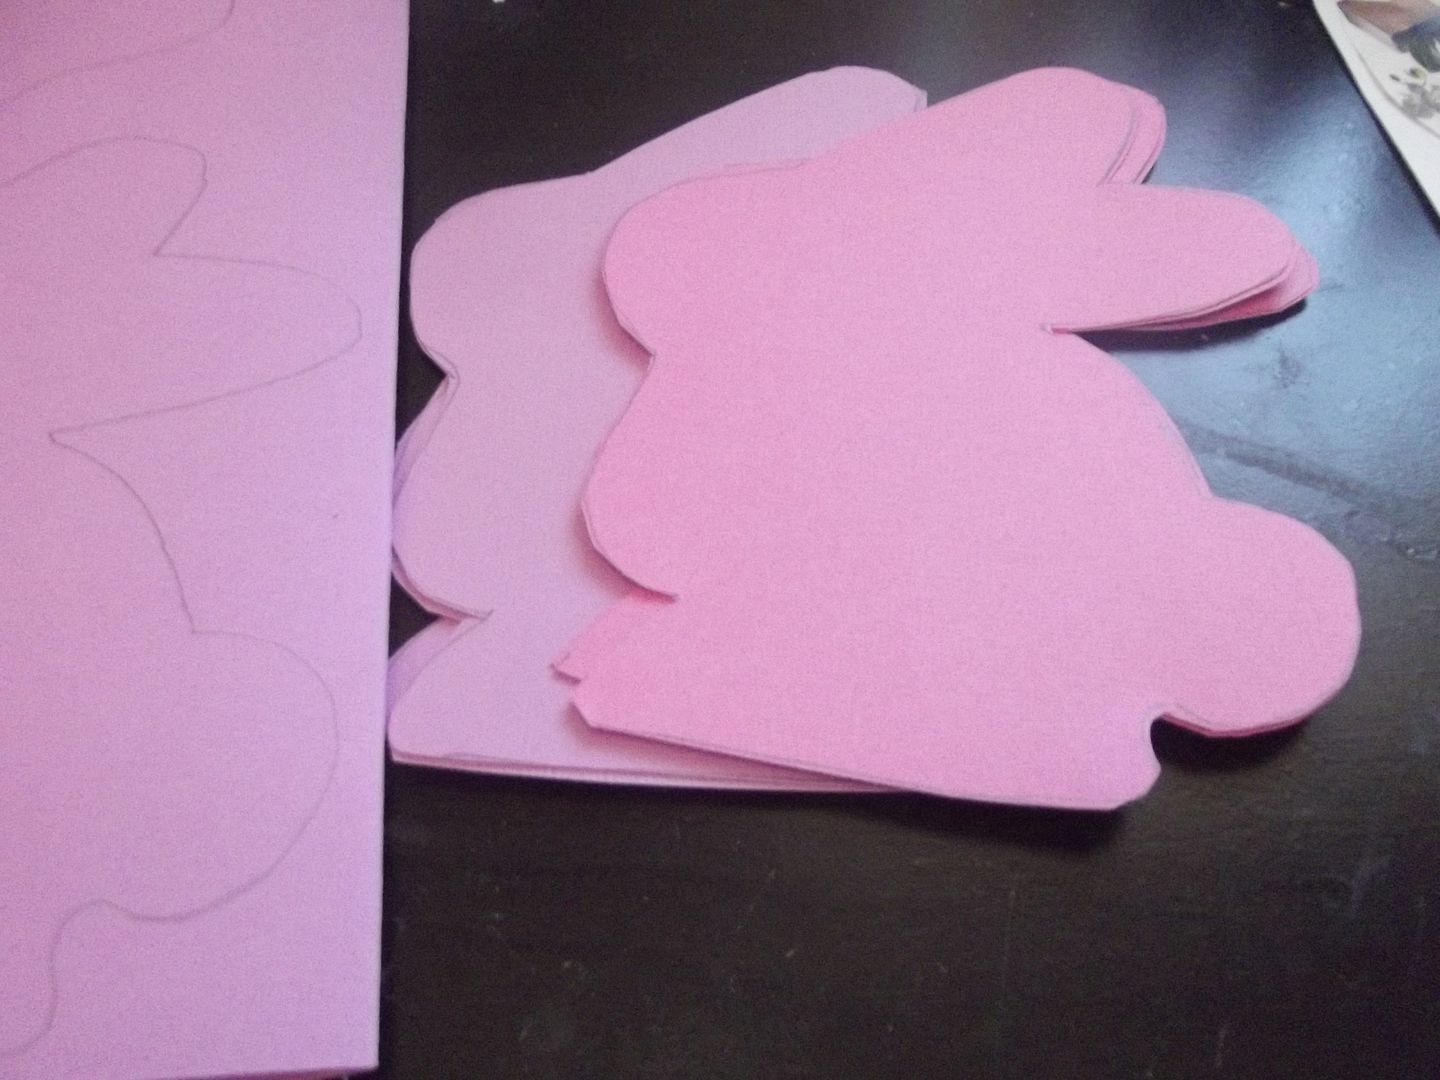
Cut Out Bunnies

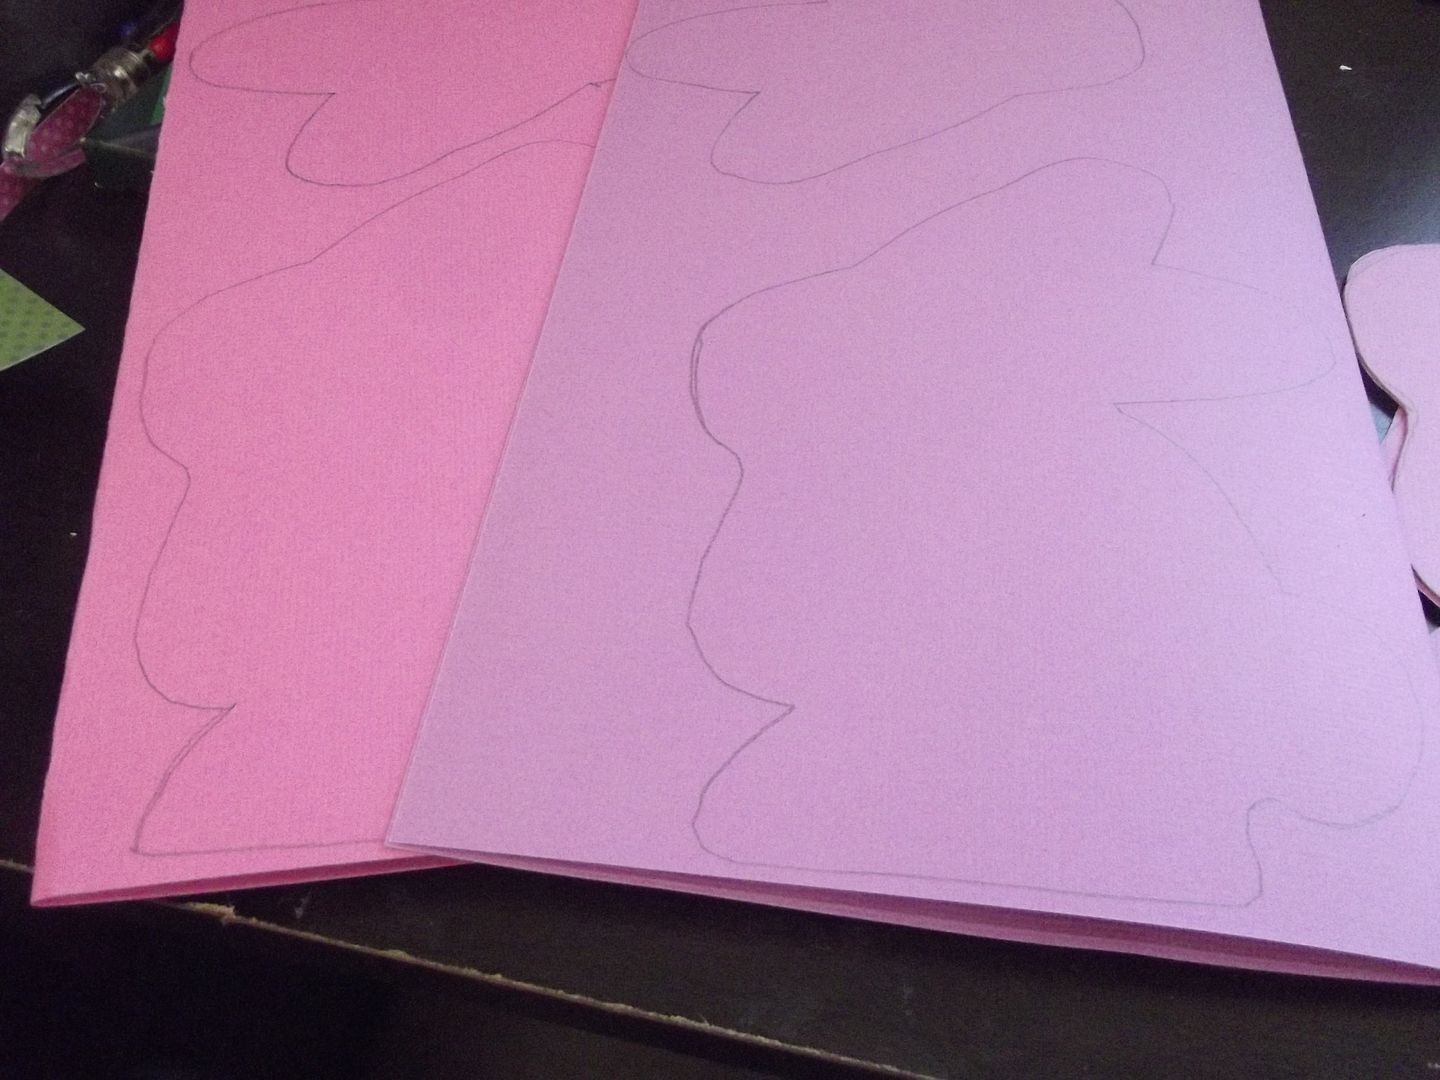
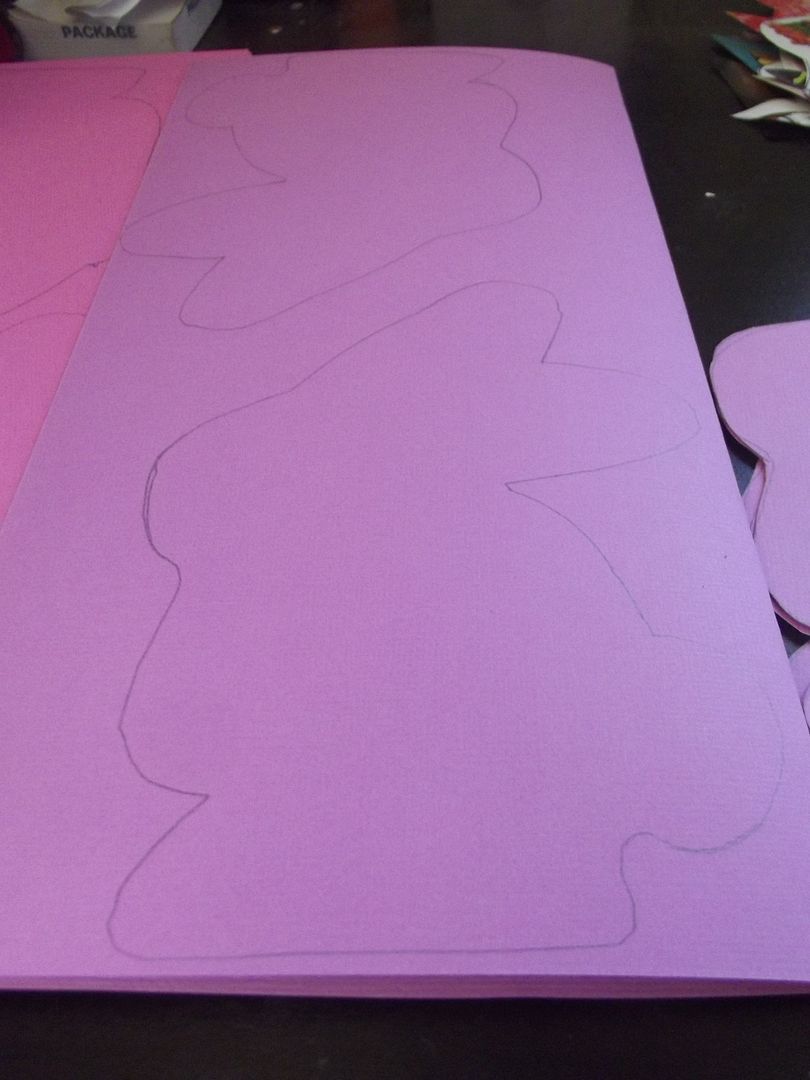
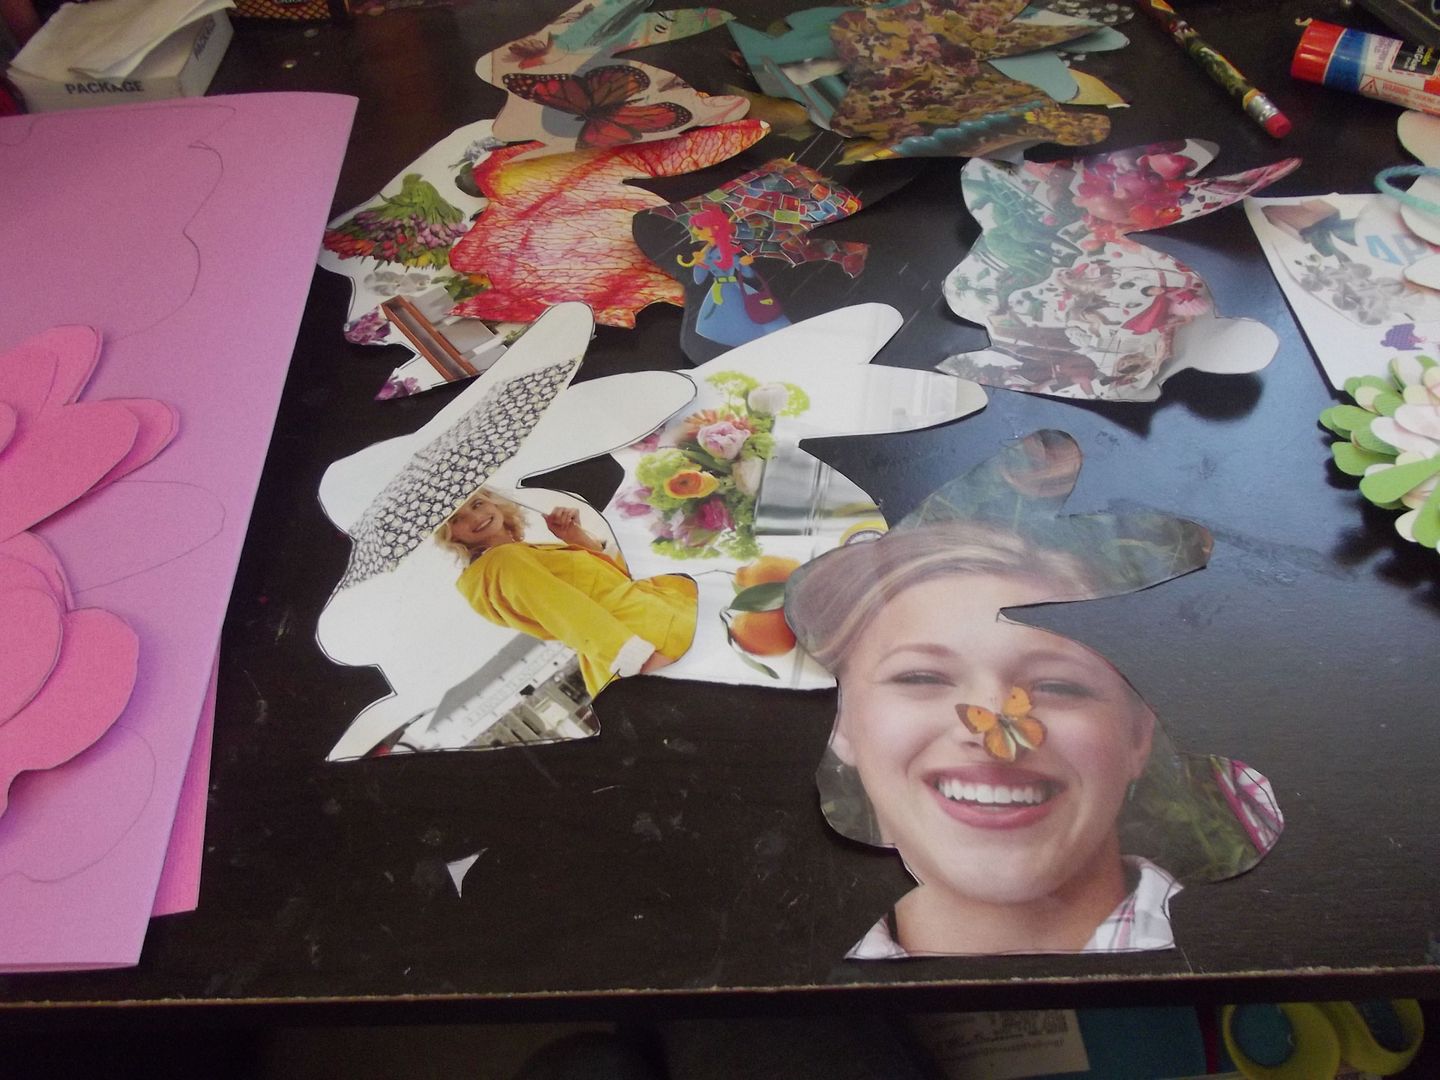
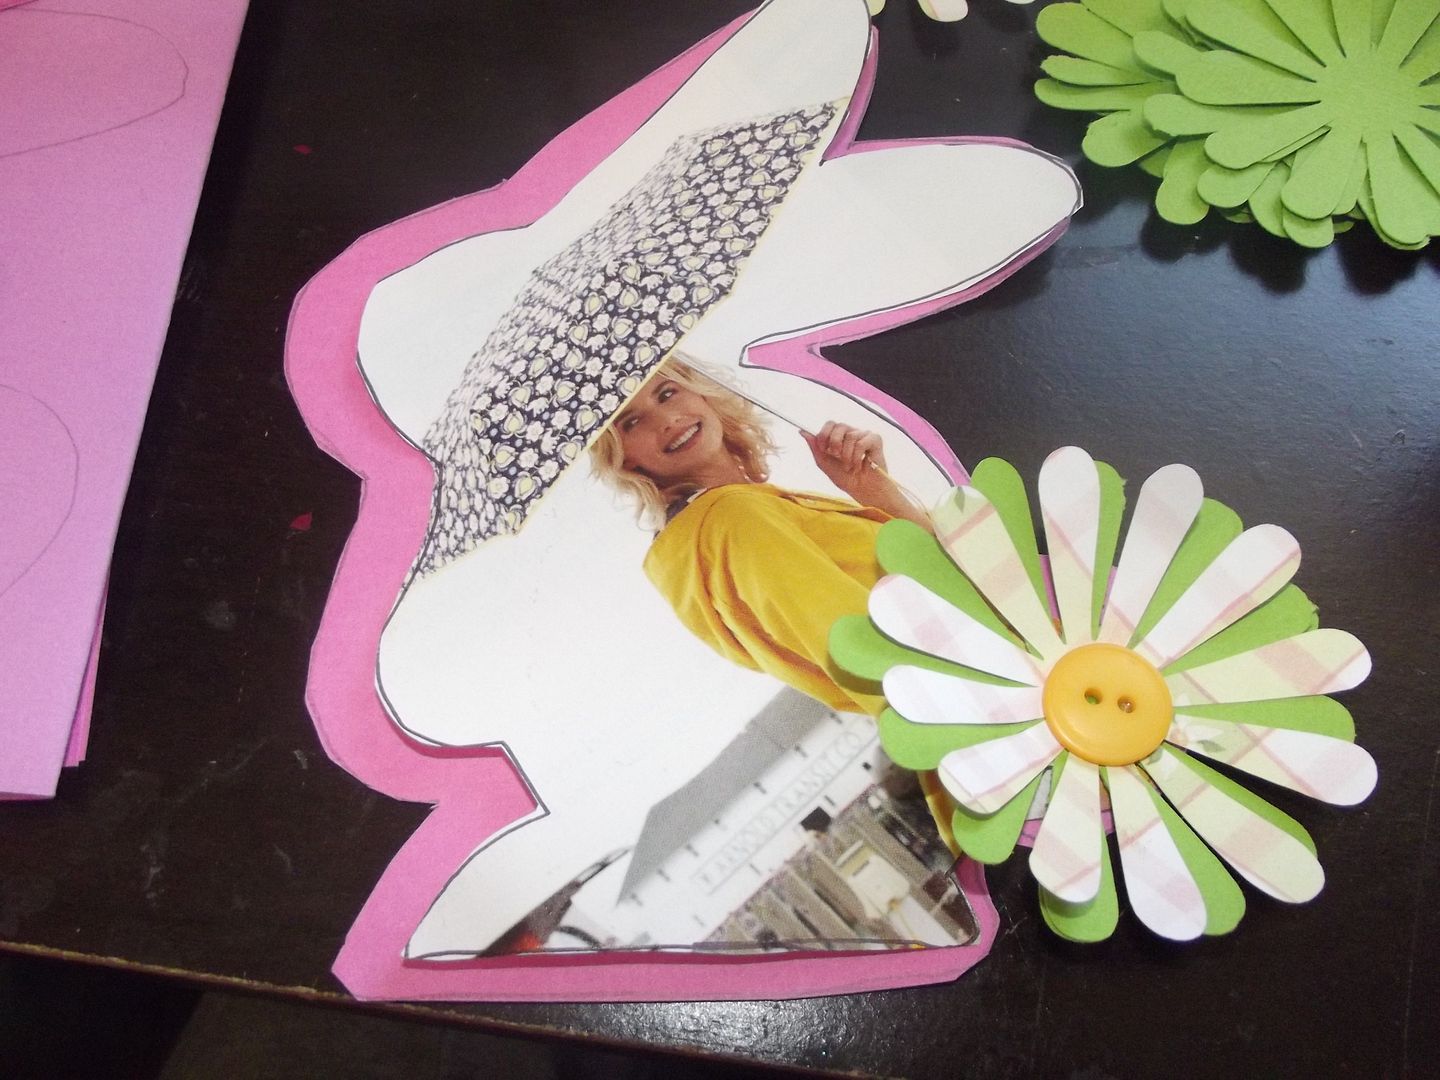
Start by tracing your larger bunny onto folded cardstock. I chose pink and purple for the background bunnies. I cut eight bunnies.

Smaller Bunnies Smaller Bunnies 2

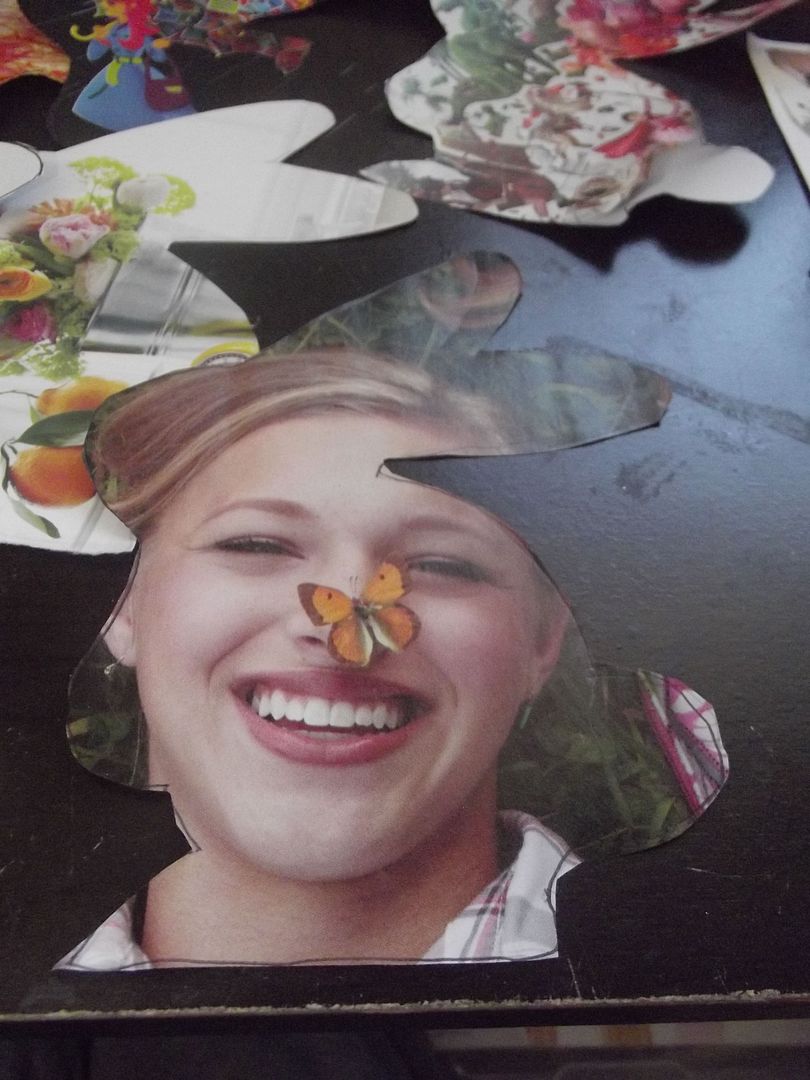
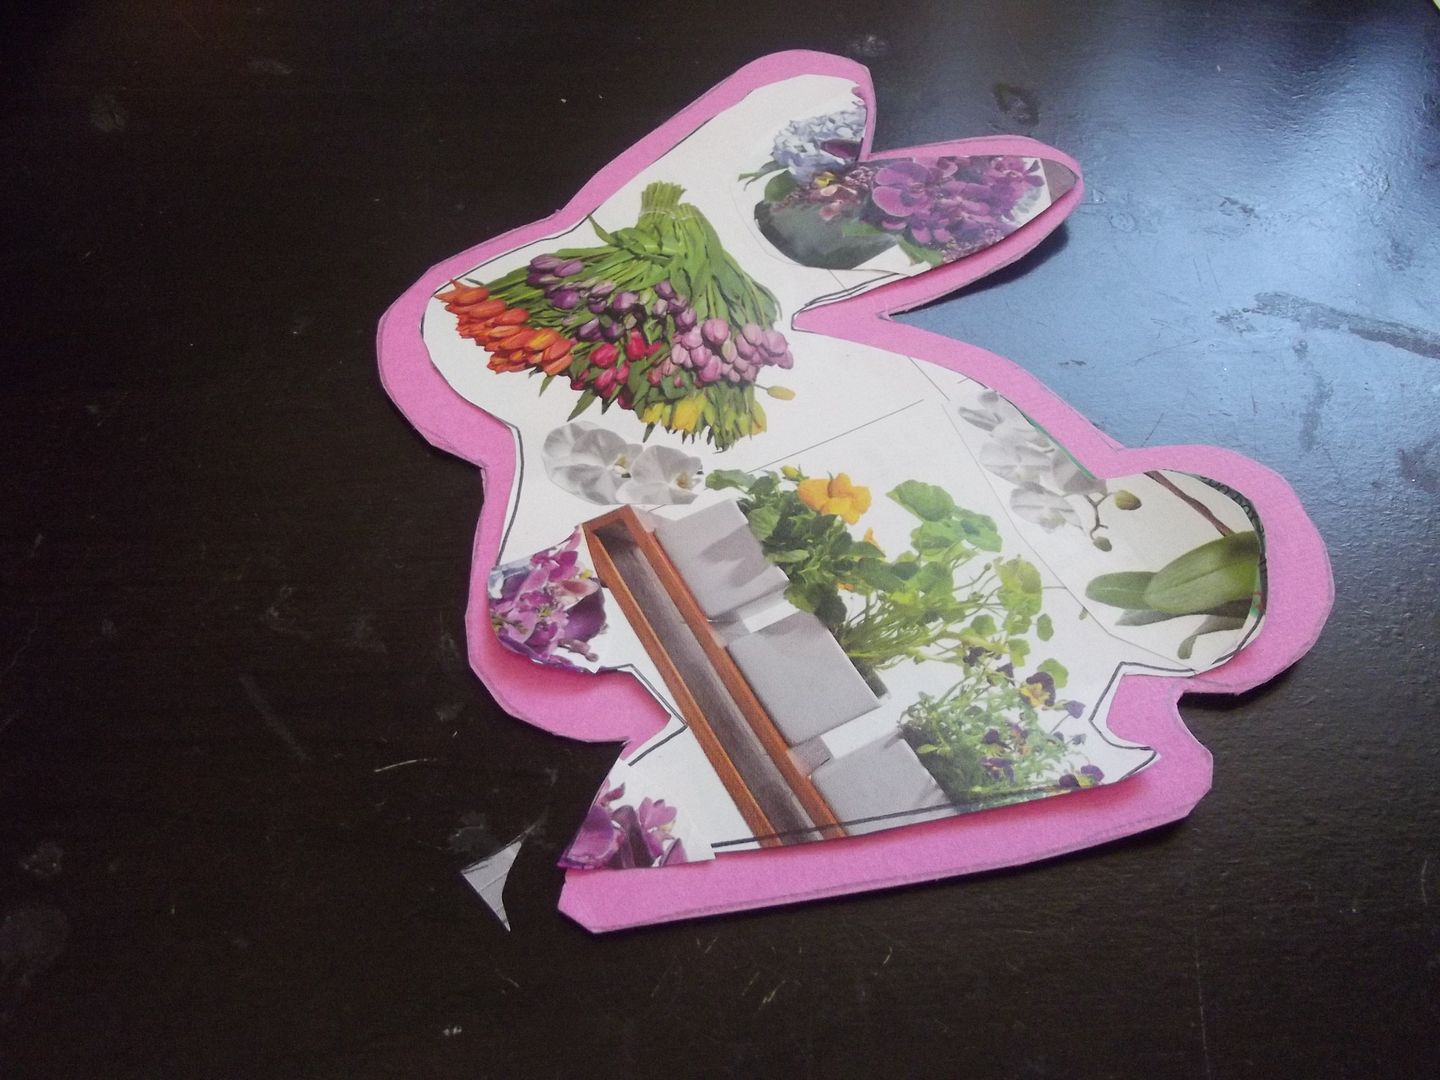
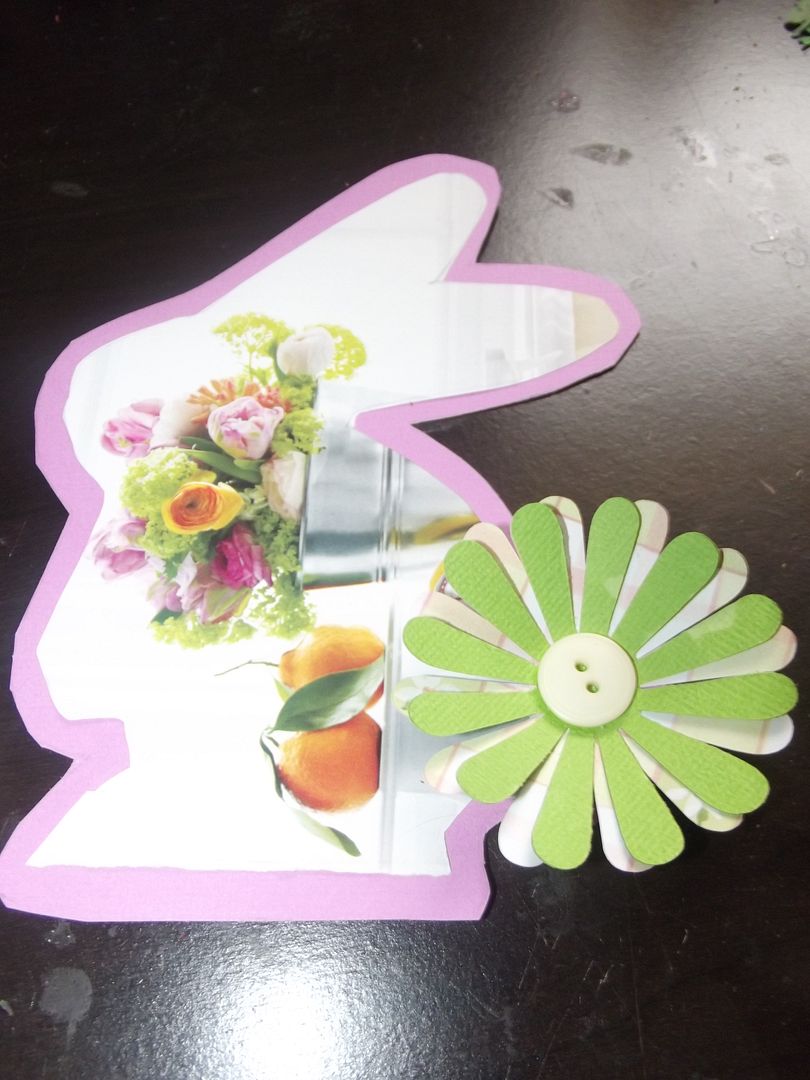
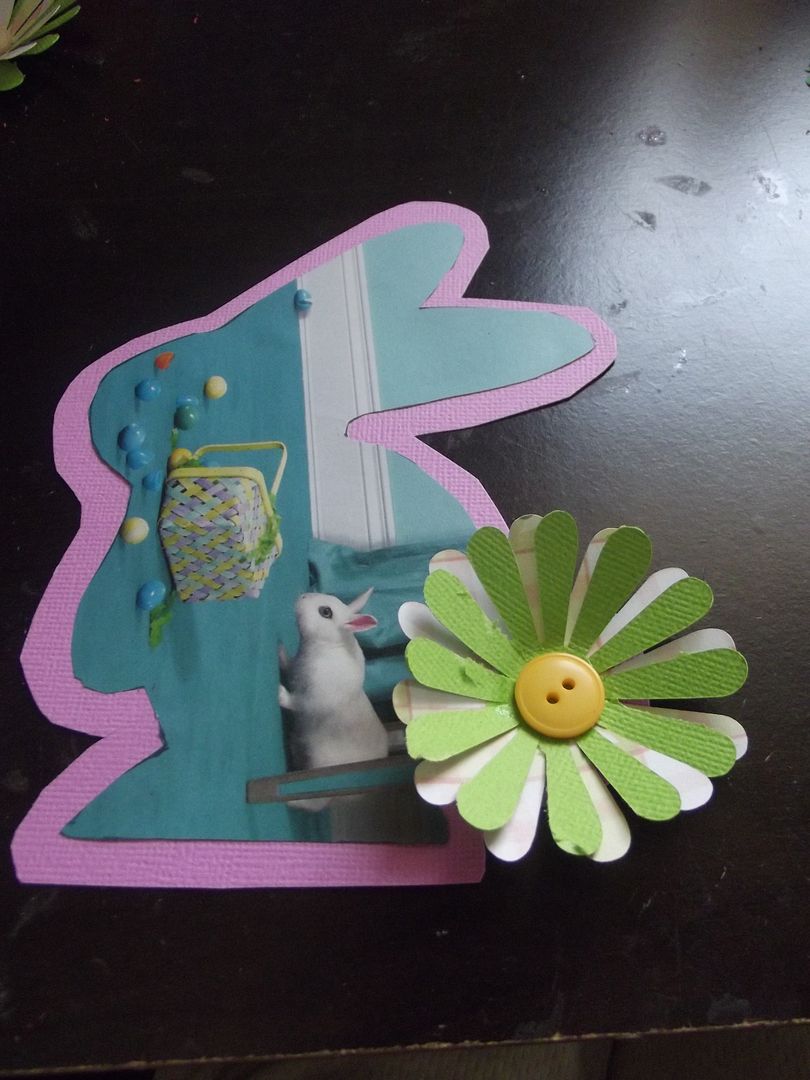
In the tutorial she typed a page of spring related words in different fonts and printed them out. I decided to cut magazine pictures instead. Cute stuff, right?

Attach Bunnies

Now just glue your spring words/picture bunnies onto the cardstock bunnies.

Flowers Flower Close-up
Finished Flower

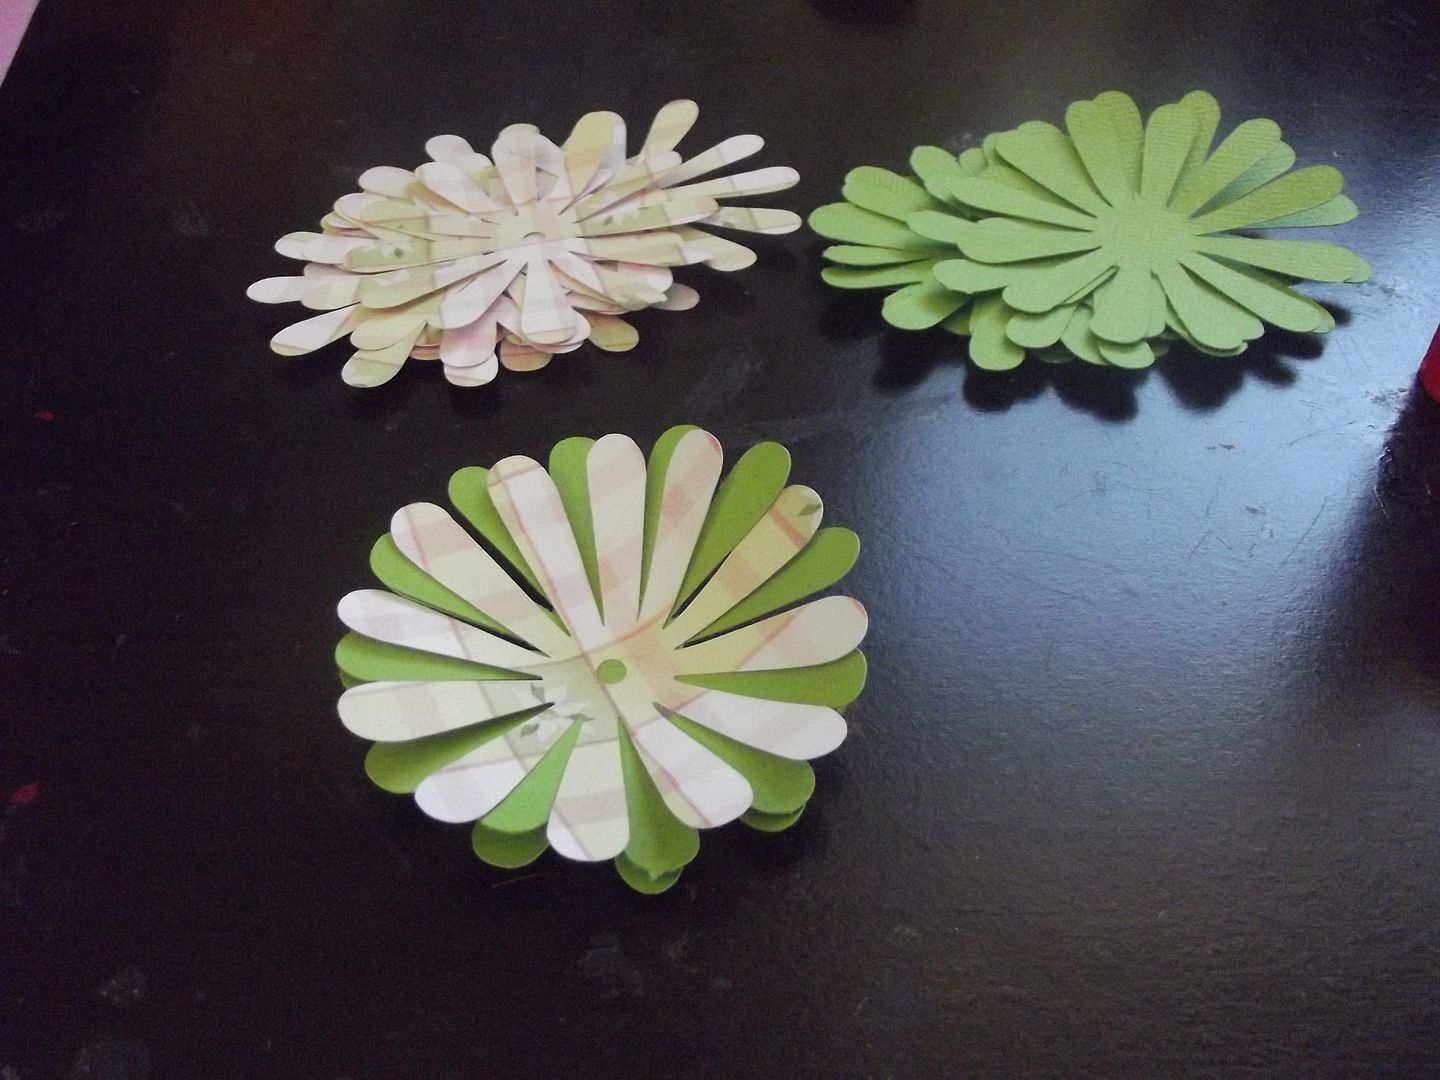
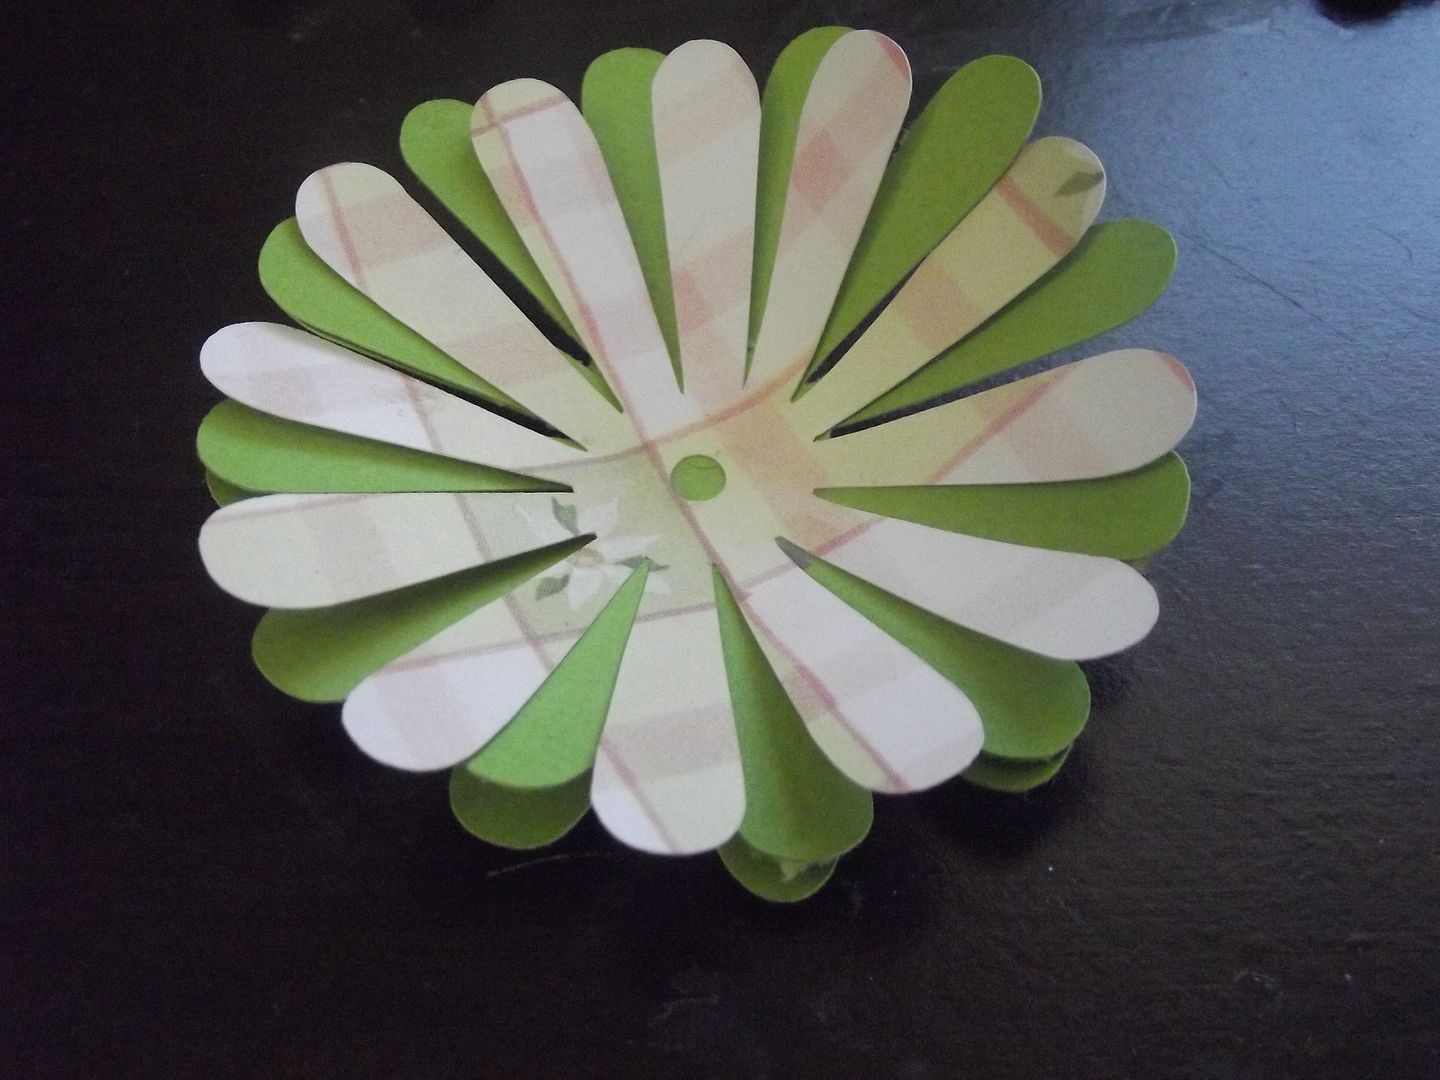
Now for the banner bunnies to get their tails. I copied the tutorial exactly on these. I chose a pink patterned scarapbooking pattern and a solid spring green cardstock. I used one of the stock patterns in my Sillouhette software to cut 8 flowers on each paper. Once I had 16 paper daisies I glued them together alternating which color was on top. On my banner all the pink bunnies have patterned petals on top and all the purple bunnies have green. Once you've assenbled a tail for each hoppy friend, add your buttons to the center. I used yellow and cream colored buttons. Fabric glue works best for adhering them. Make sure to give the flowers ample drying time before you movie them around. Once they're dry bent your petals upward.

Finished Bunny Finished Bunny 2
Strung Bunnies

Add tails to your bunnies than punch your holes. I used a wide violet ribbon to string mine.

Finished Bunny Banner

Ta-da!

Thursday, March 14, 2013

Treasured Moments

A tragedy occurred and sucked all the oxygen from the world. A dear friend lost her child. She was 18 and starting college in the fall. She hadn't done anything wrong. She's just gone. It hurts me on every level as a mother, a friend and a human being. I started typing a long winded post as I wept into my keyboard, but I changed my mind. This isn't the time or place to grieve. We were lucky enough to spend the day with our little friend while his parents attended his sister's funeral.

These kids have known each since they were a few weeks old, but they're growing up and seeing each other less. A whole day together was such a gift. When I told Riley we would be spending the day with our friend she said "That's so special, Mom! That is specialing me out!!" It was wonderful.

Reunion

Instead of focusing on the despair, I watched my favorite kids play on the playground. It was a beautiful sunny day (even if jackets were required). In a matter of days they'll start going their separate ways, but not today! Today they laughed and played. Today they enjoyed each other. That's the only way to survive being a parent, one happy playground moment to the next.

Saturday, March 9, 2013

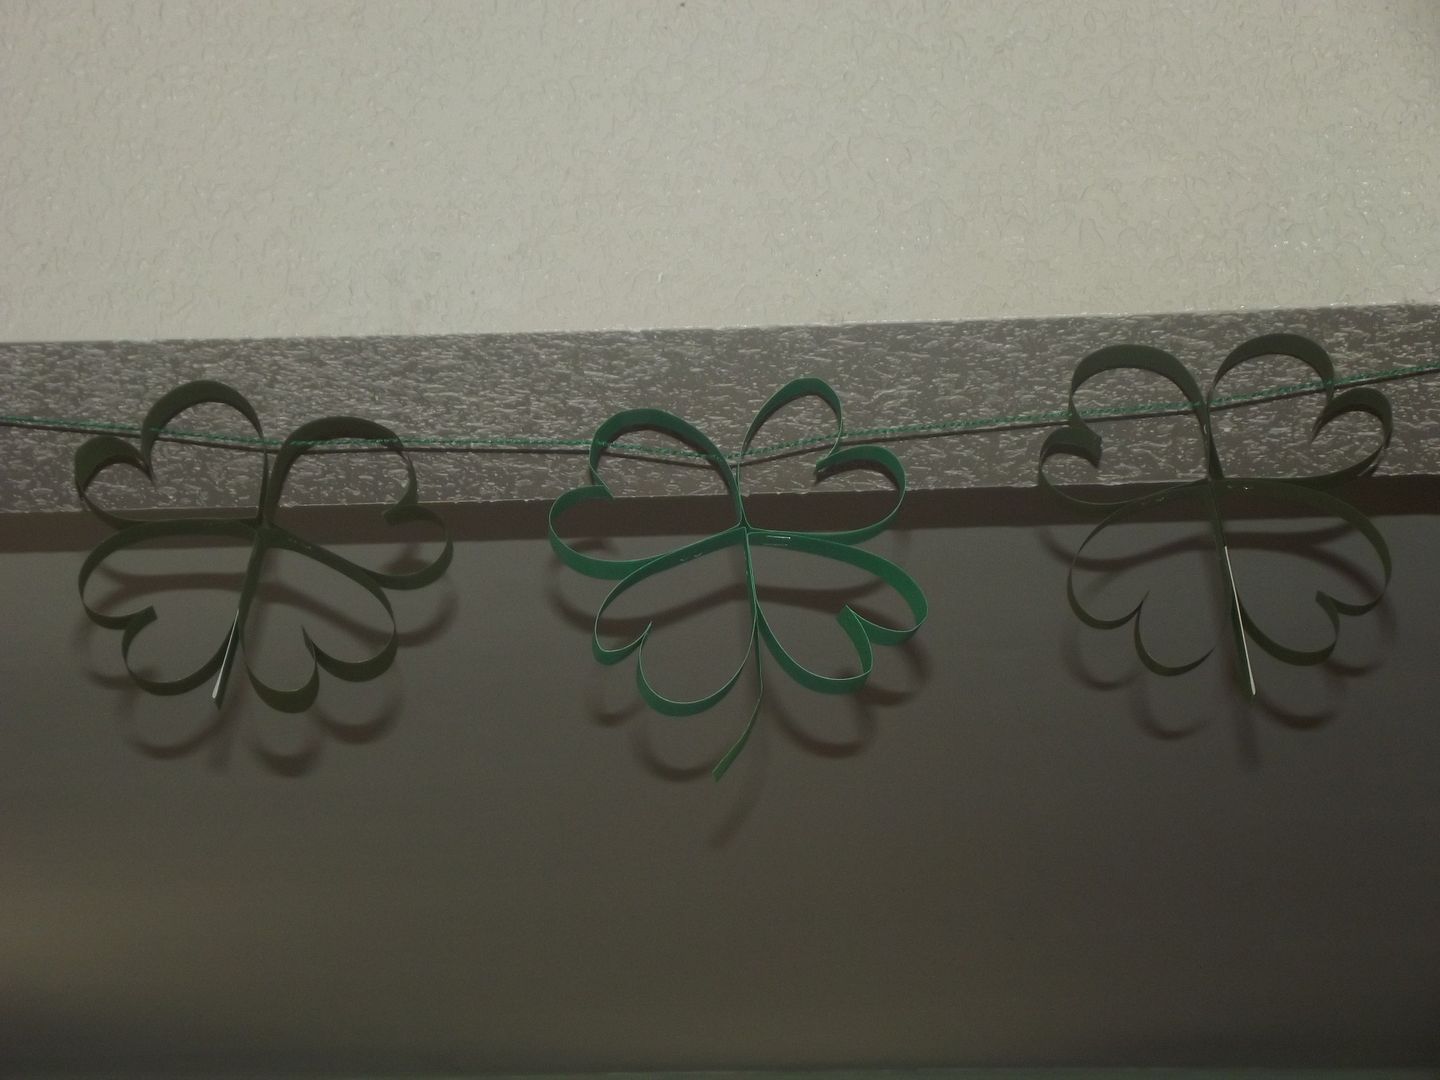
Paper Shamrock Banner

Crafty time? Heck Yeah! This crazy timing with Easter right on St. Patrick's Day's heels has been inspiring me to make decor. I decided I wanted to do a simple banner for the infamous archway. Here's my Pinterest inspiration: Click.

Materials

  • Green Cardstock
  • Cutting Board/Scisors
  • Stapler
  • Gluestick
  • Crop-a-dile/Hole Punch
  • Green Yarn/Ribbon
  • A little o'ye Irish Spirit
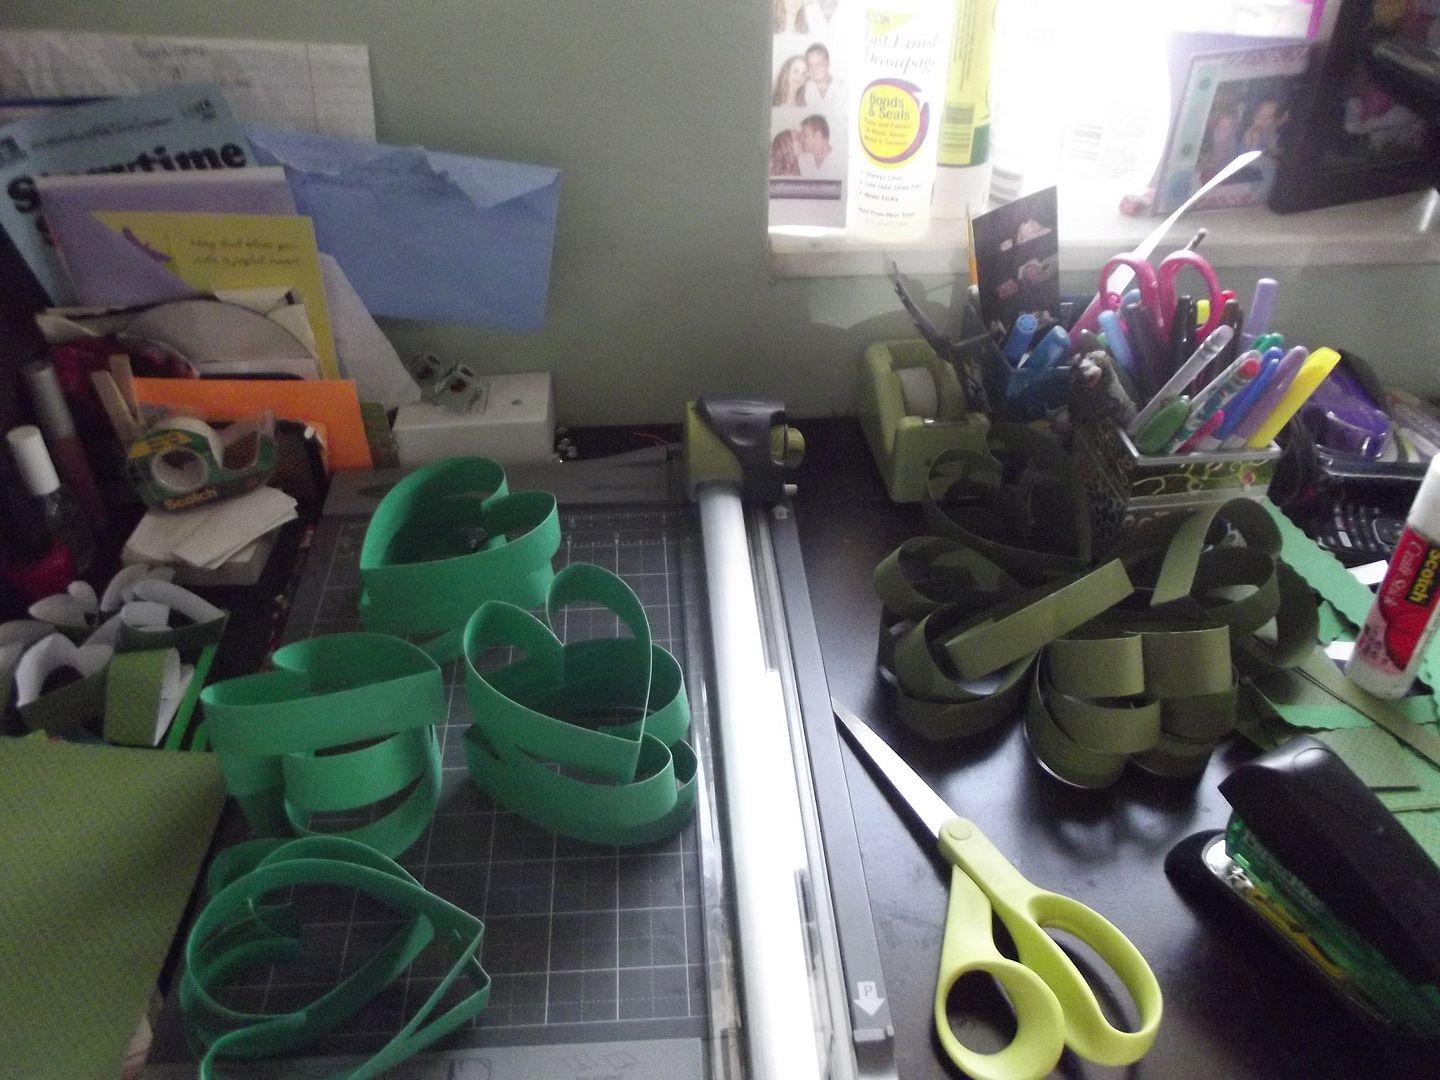
Cut Strips

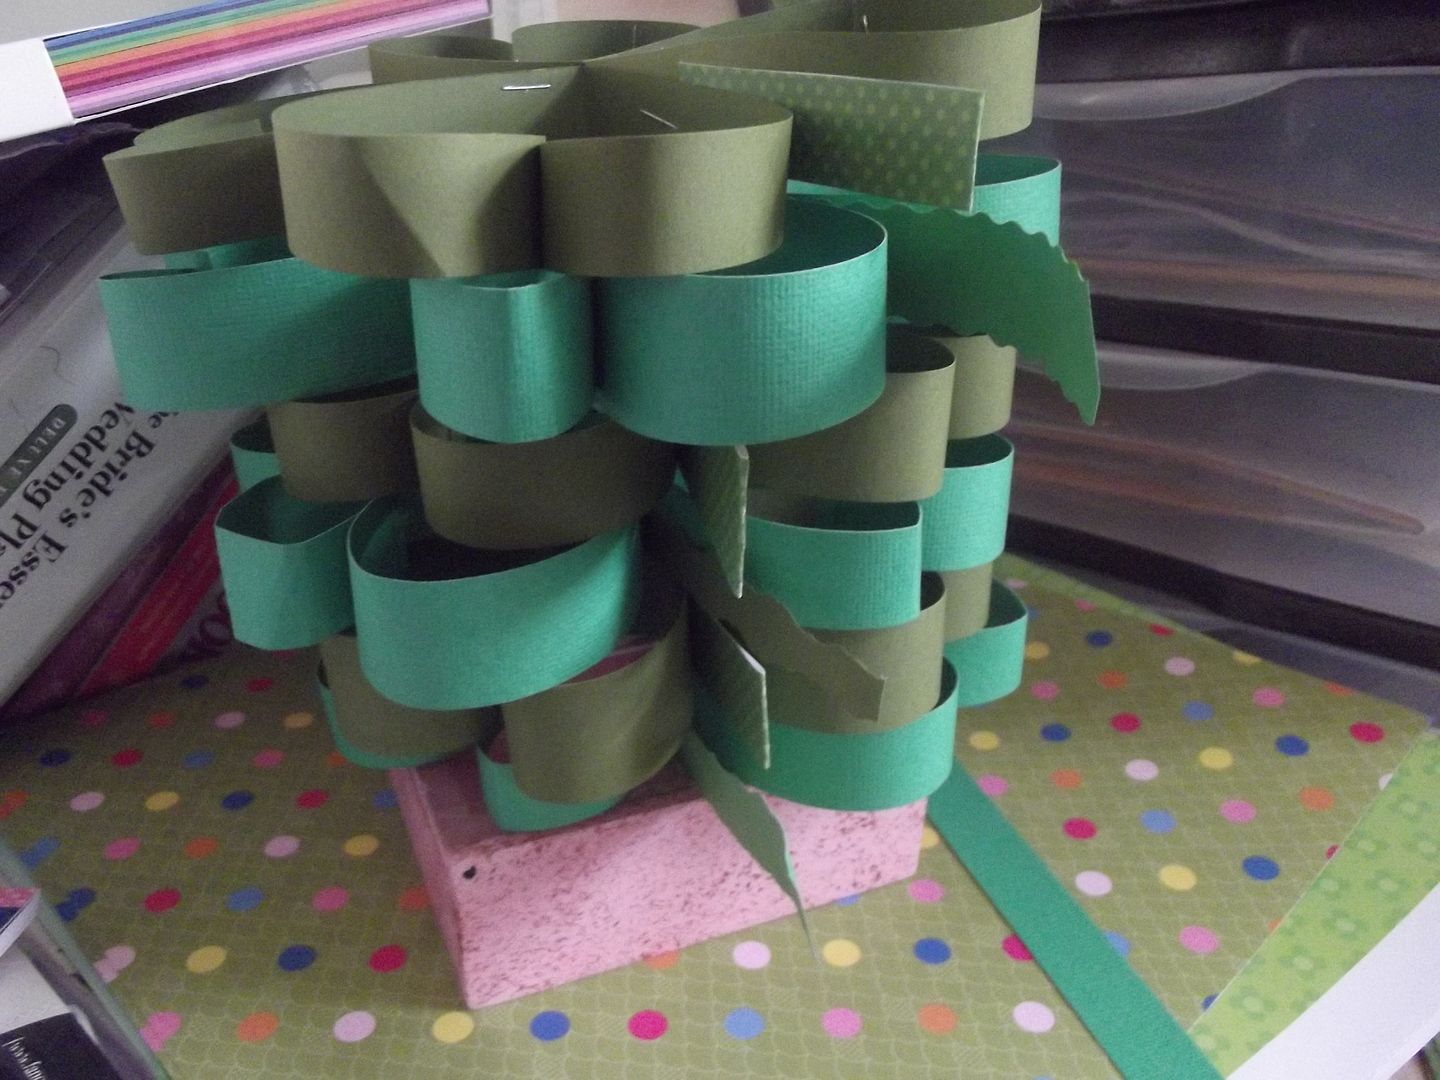
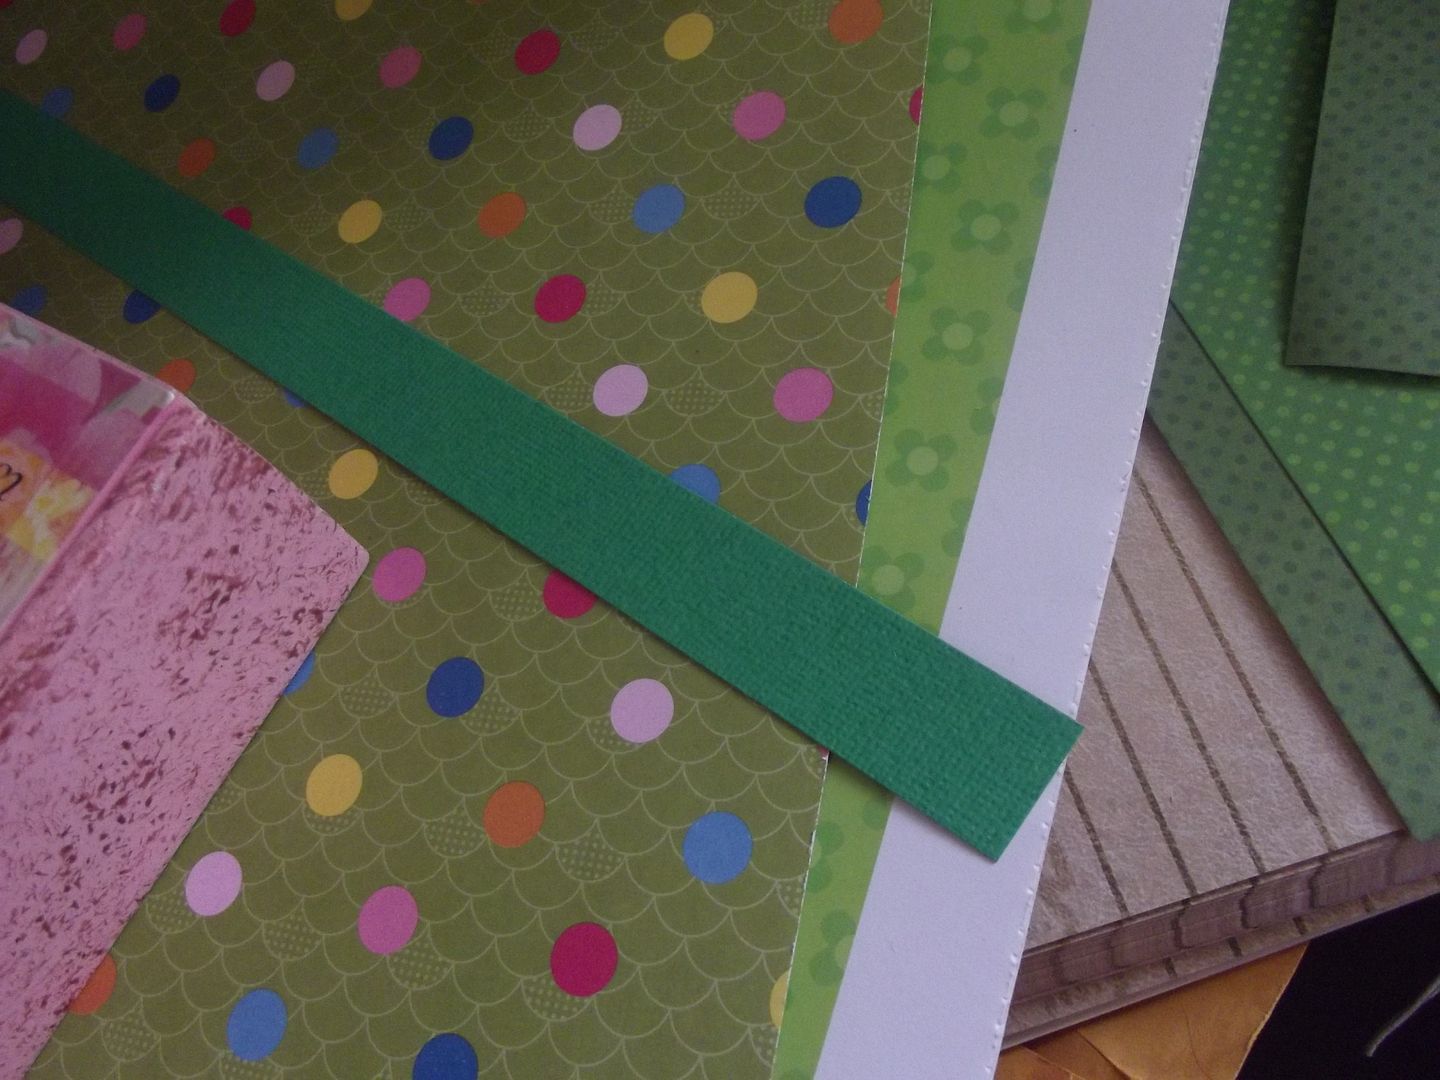
I chose a kelly green and an olive green card stock to make alternating colors of shamrocks. I highly recommend using double sided paper like I did to avoid all the white showing in the Pinterest example. I cut my strips approximately 1.5in wide. You need 4 strips for each Shamrock.

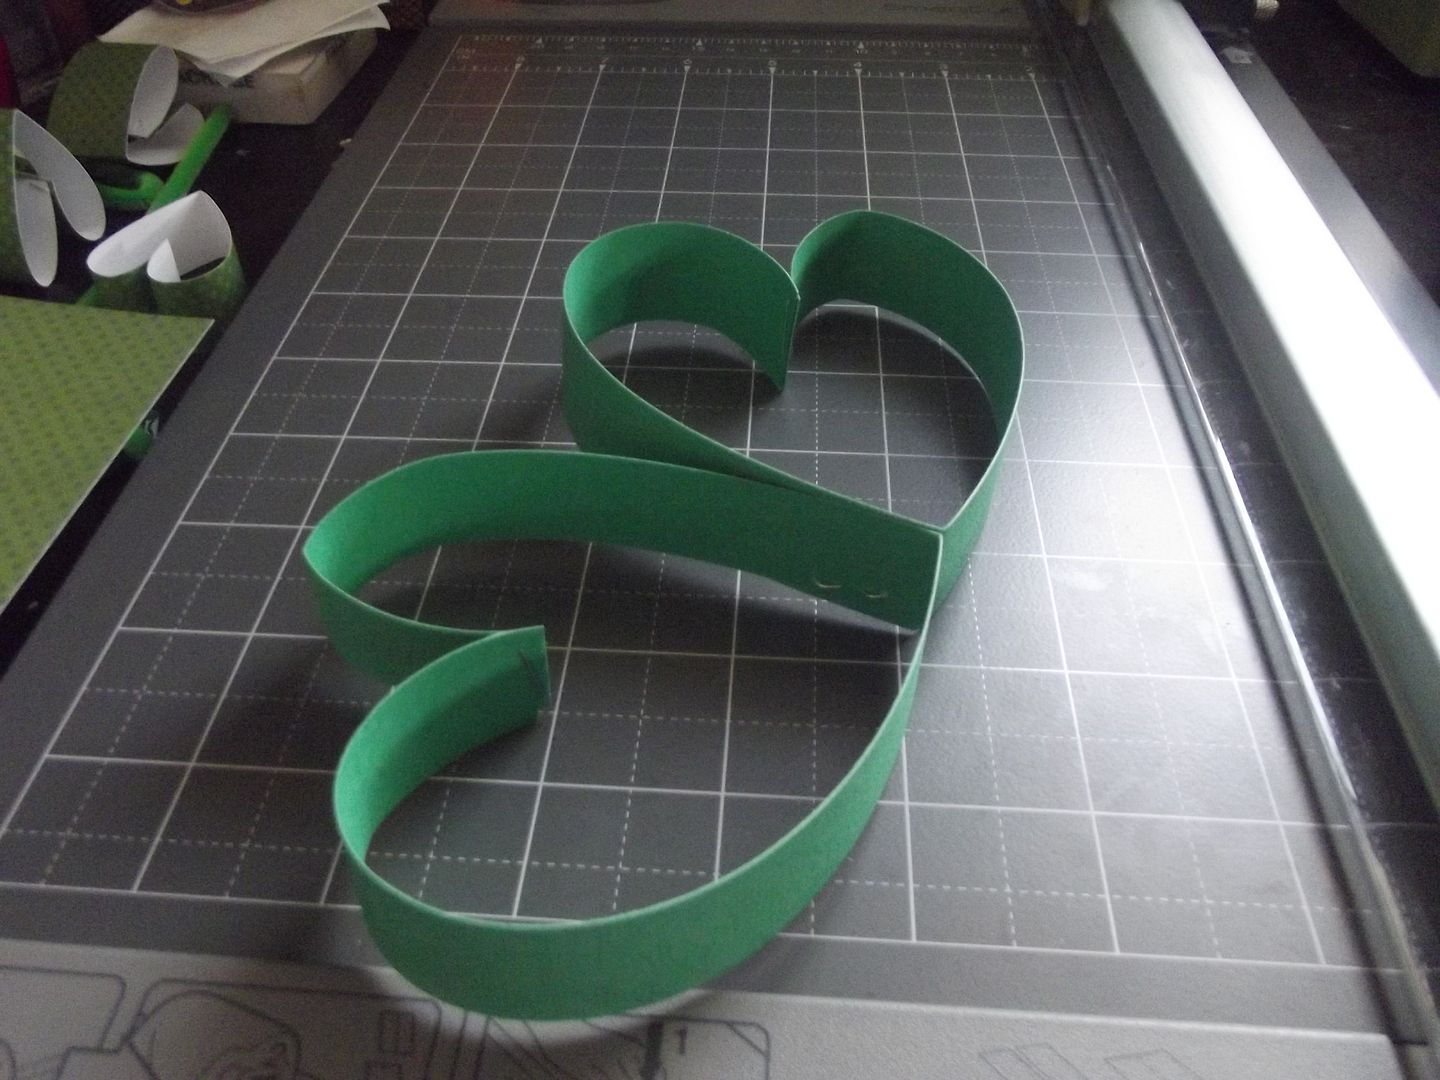
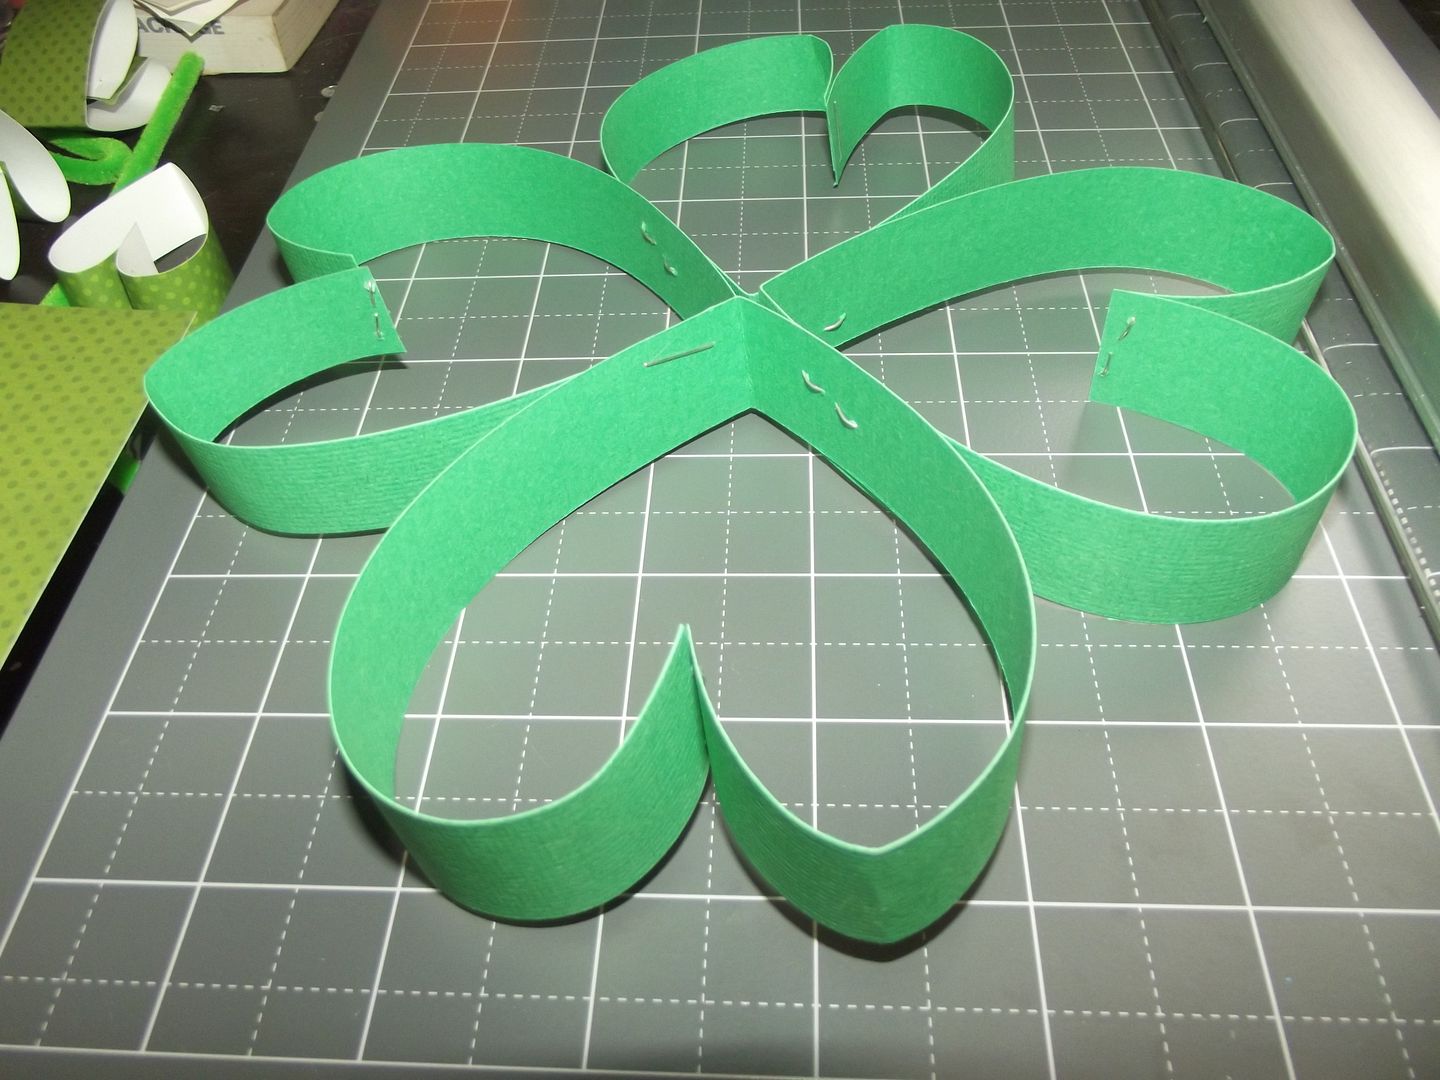
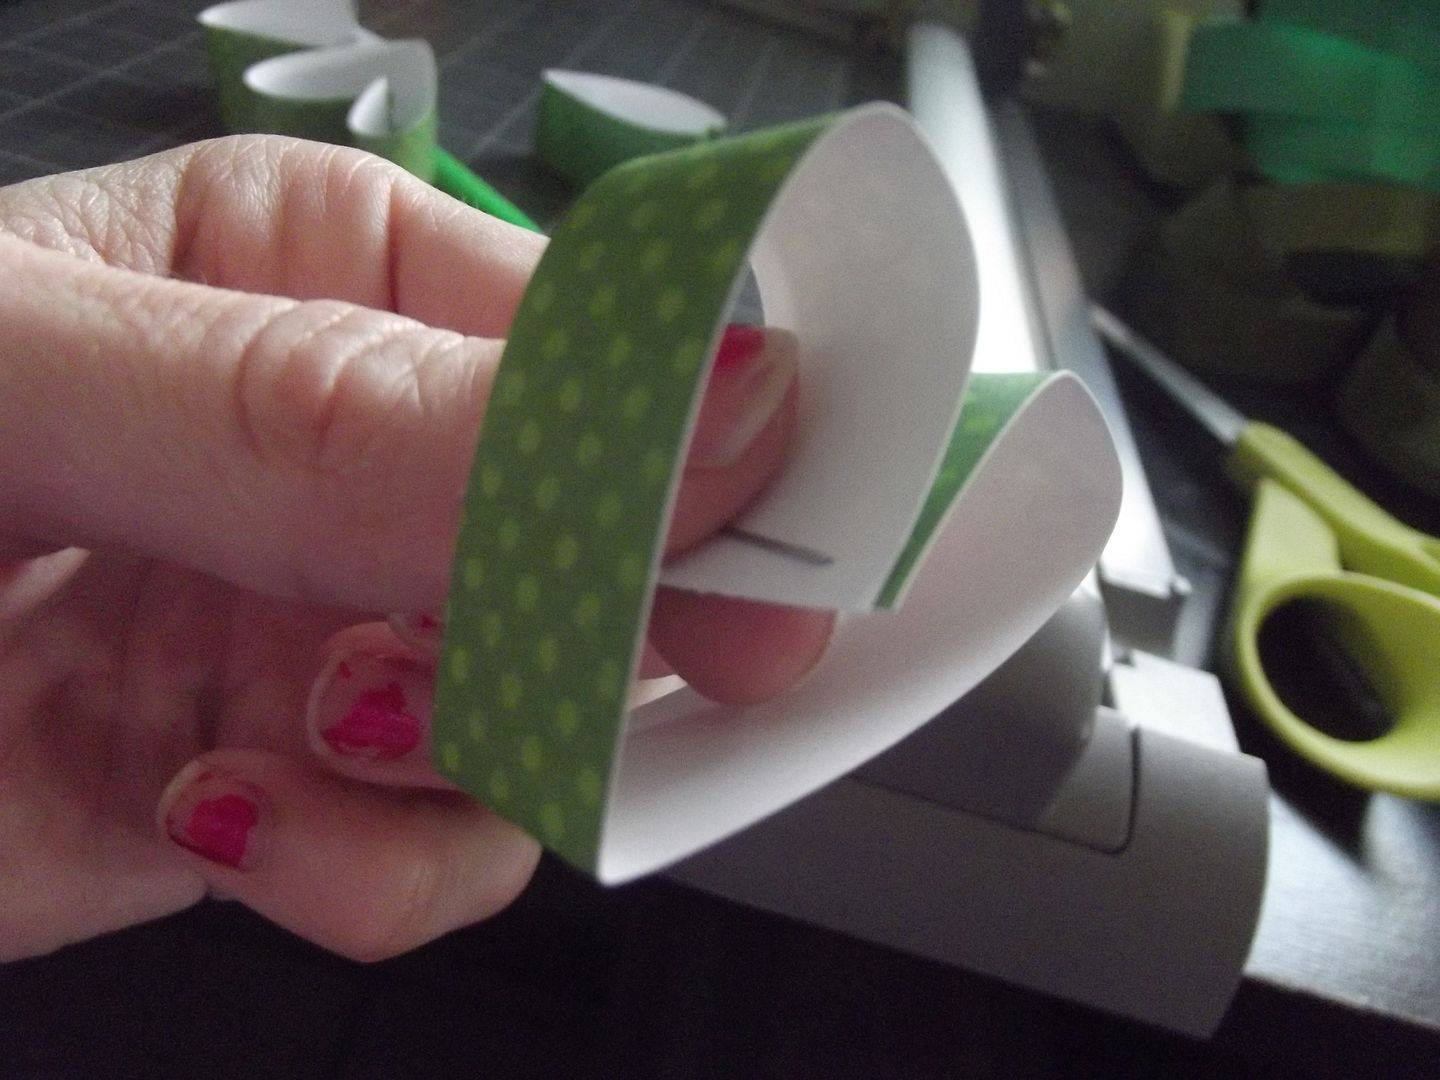
Fold & Staple Hearts

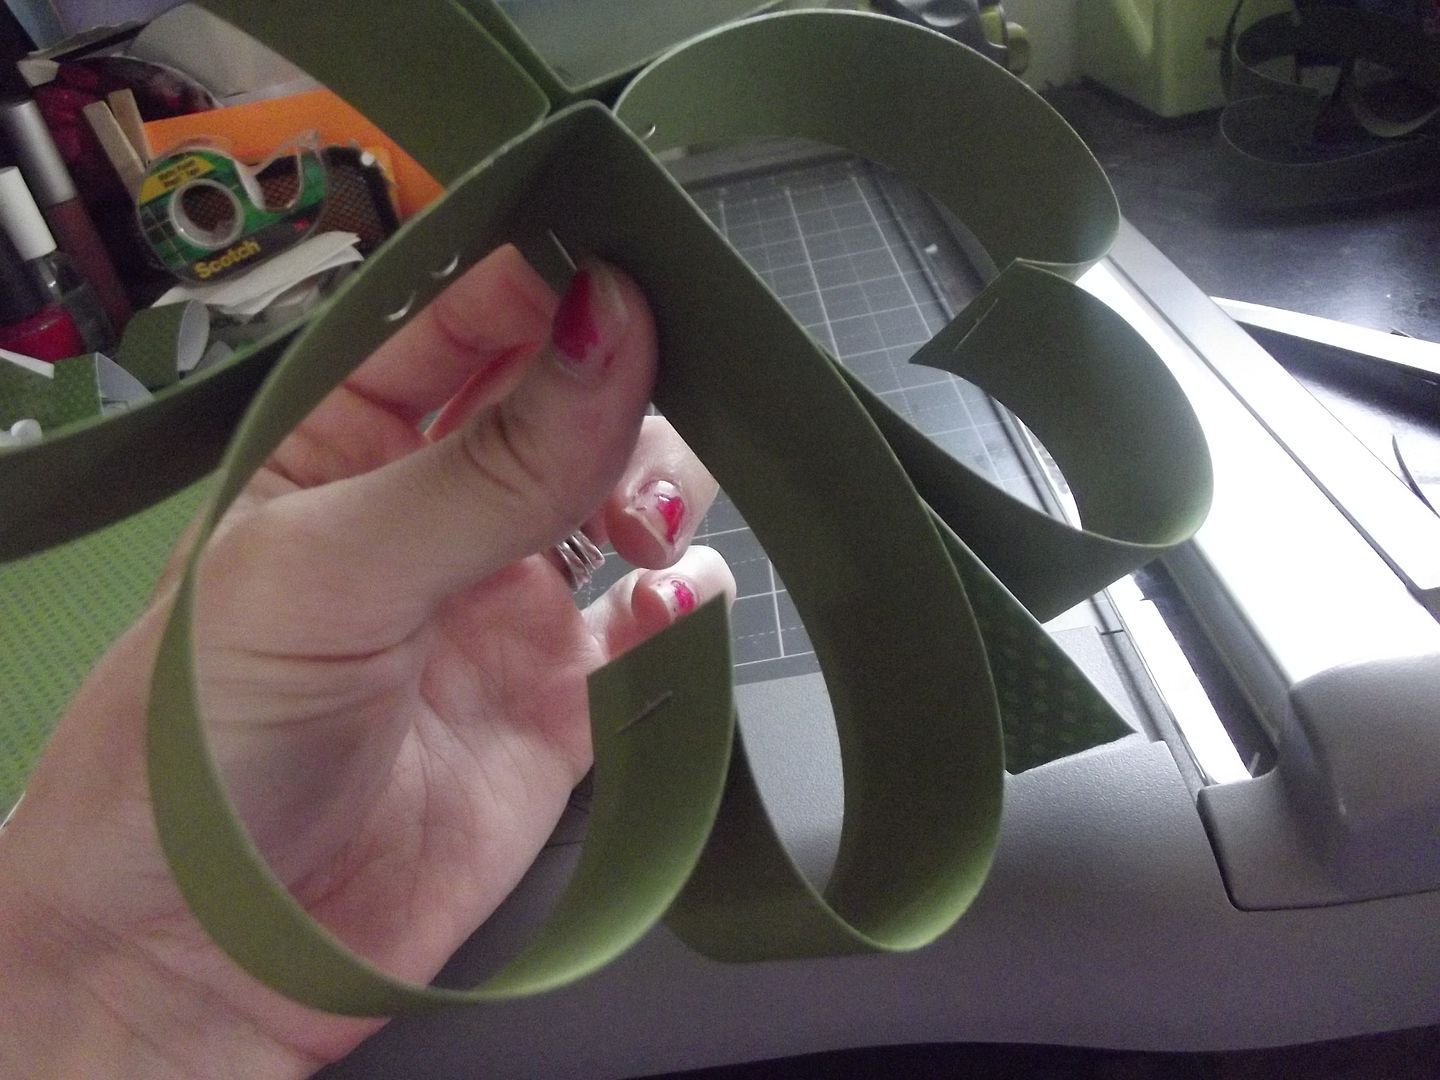
Now you fold your strips into heart shapes. Fold the paper in half (paper will form a V shape when un-folded). Then you fold the top ends in towards each other to form the top of the heart. The first picture was a test I did with patterned paper (you can see why double sided is best for this project). After you've folded your shape just staple once as indicated in the picture. The second pictures shows you all my finished hearts.

2 Hearts 3Hearts
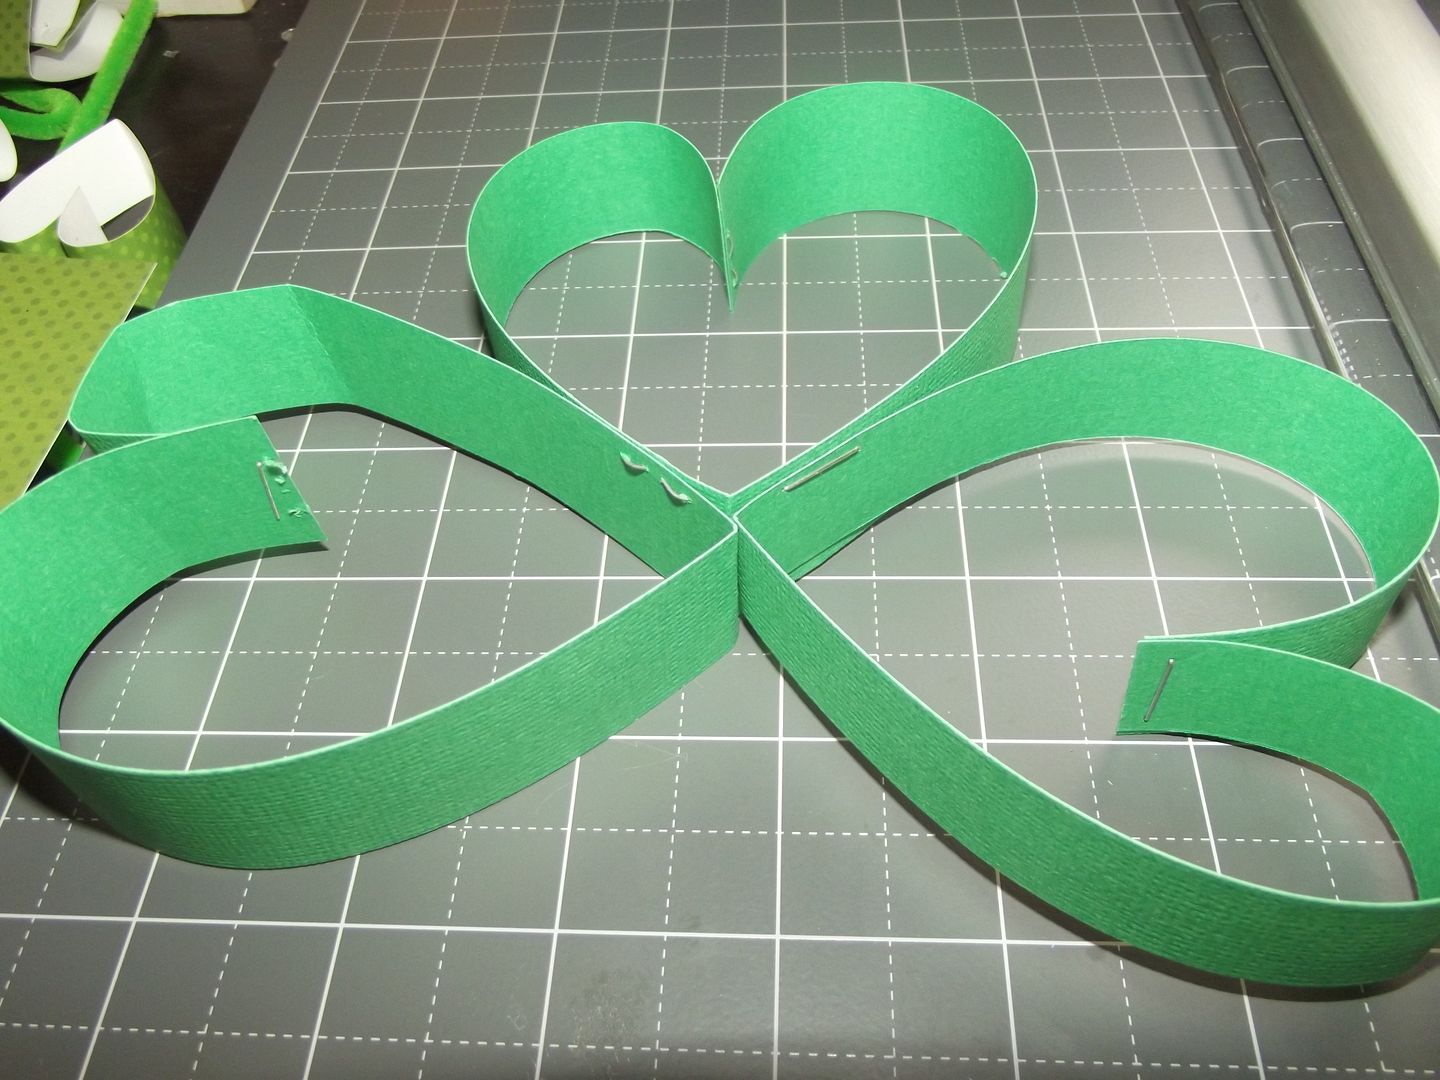
4 Hearts

Now attach your hearts together in groups of four. Staples work best.

Stem Finished Shamrocks

After I assembled the leaves of each shamrock I added a stem. I used patterned paper or green paper that I used a paper edging scissors on. I just folded the paper in half, put glue on both sides, and then slid it into place and squeezed the hearts together.

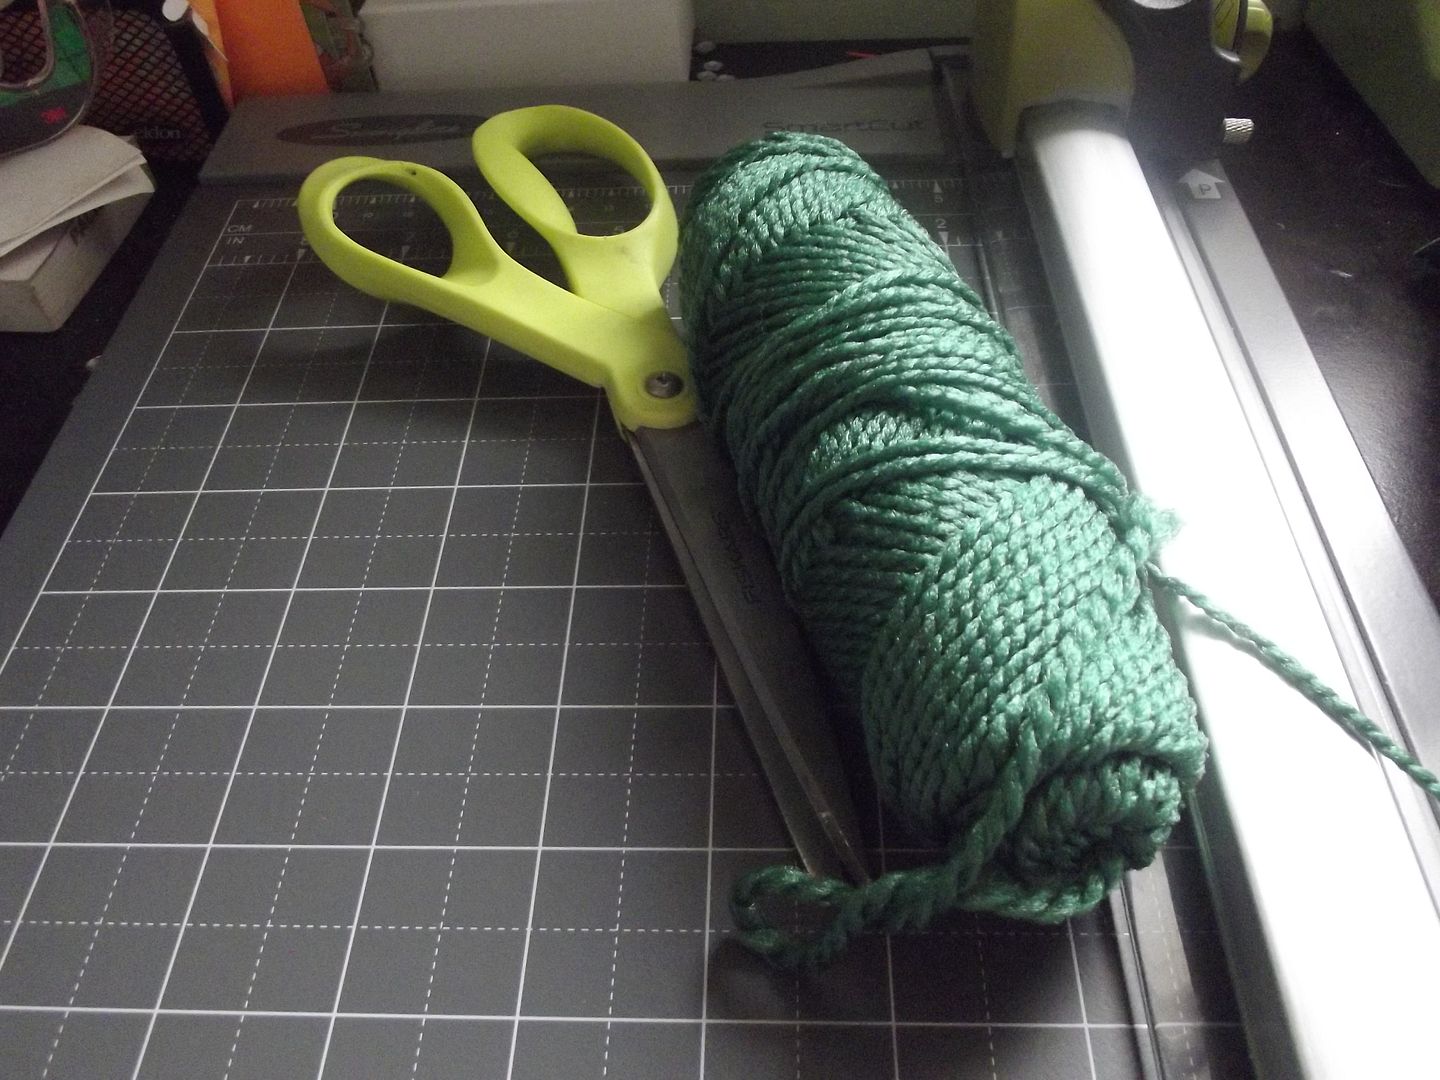
Scissors and Yarn Close-up

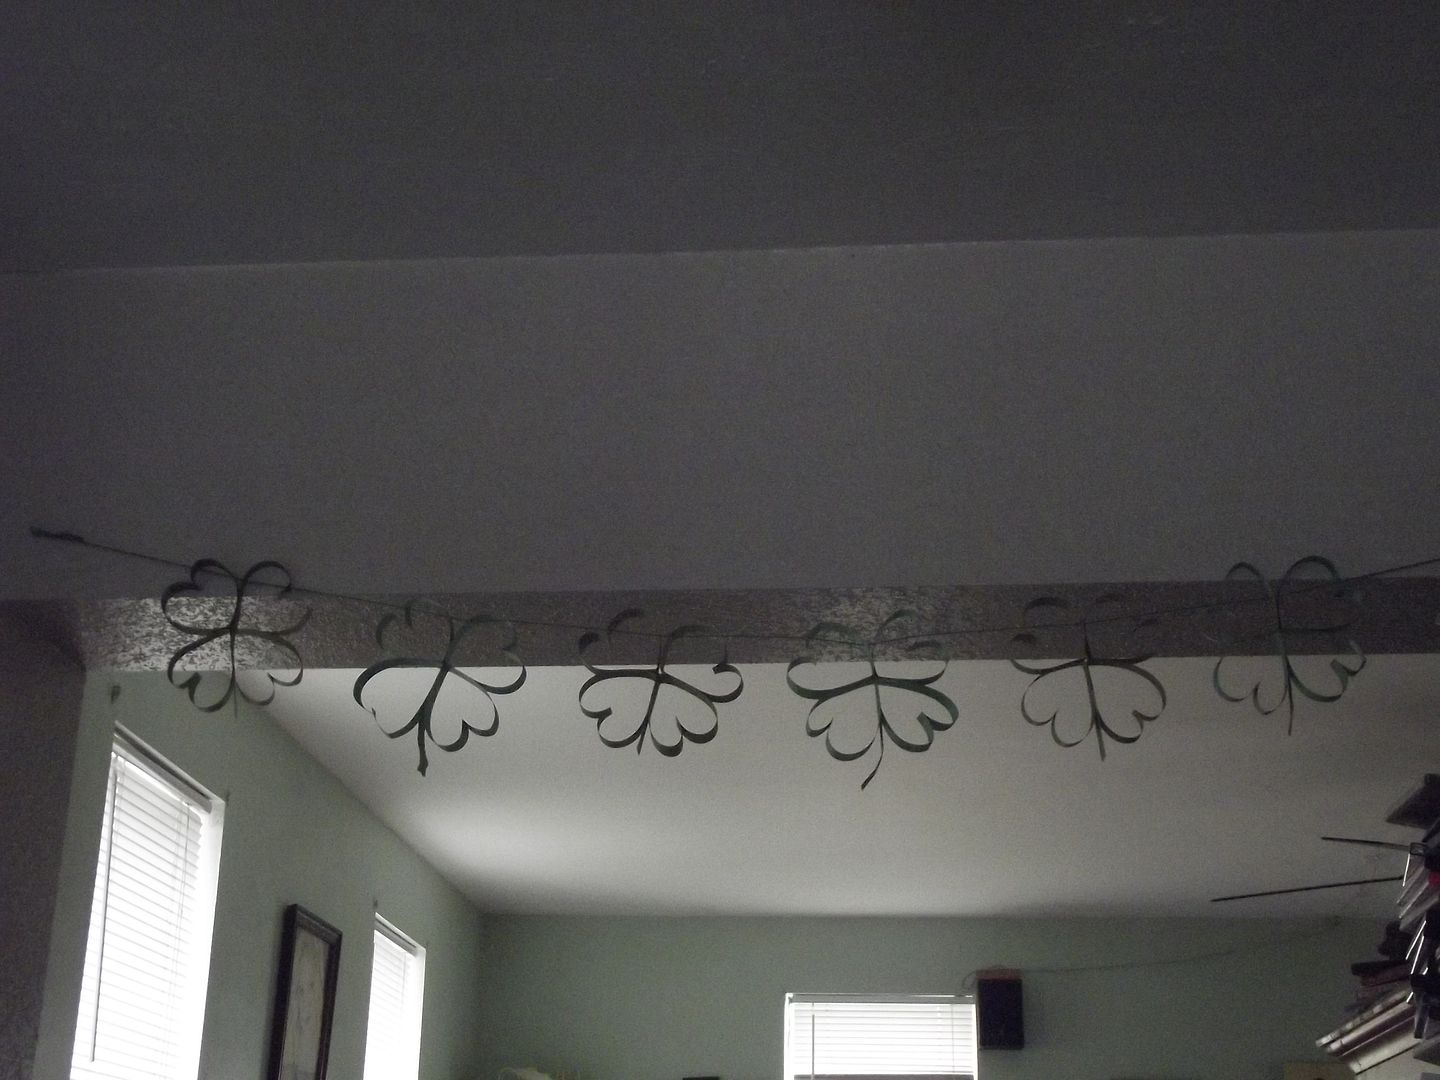
Next punch a hole in the "V" at the top of the heart, the wall the hearts share and the the "V" of the second heart. This hole configuration helps the shamrocks keep their shape. String them with whatever yarn or ribbon you choose. I liked my simple.

Finished Banner